


Recently bought one of these from a forum member and was asked to do a how-to on its installation.
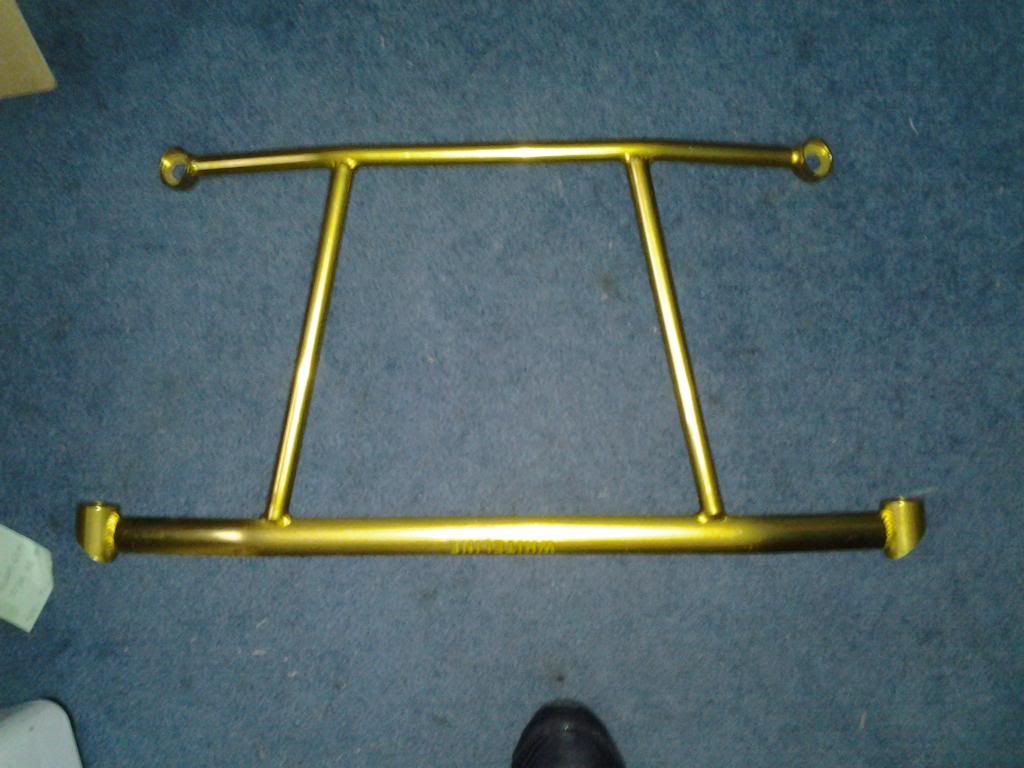
Here is the brace
Now mine didn't come with the original hardware so here is what you need:
Two(2) M12x1.25 bolts (should be AT LEAST 35mm long, mine are 50mm and fit fine)
Four(4) Regular washers that fit above bolts
Two(2) Spring washers, aka lock washers, to fit said bolts
Two(2) 9mm thick washers to fit said bolts
**The alternative to one 9mm washer is to stack three(3) regular washers. The 9mm washers are easily found but tend to be more expensive than three(3) separate regulars**
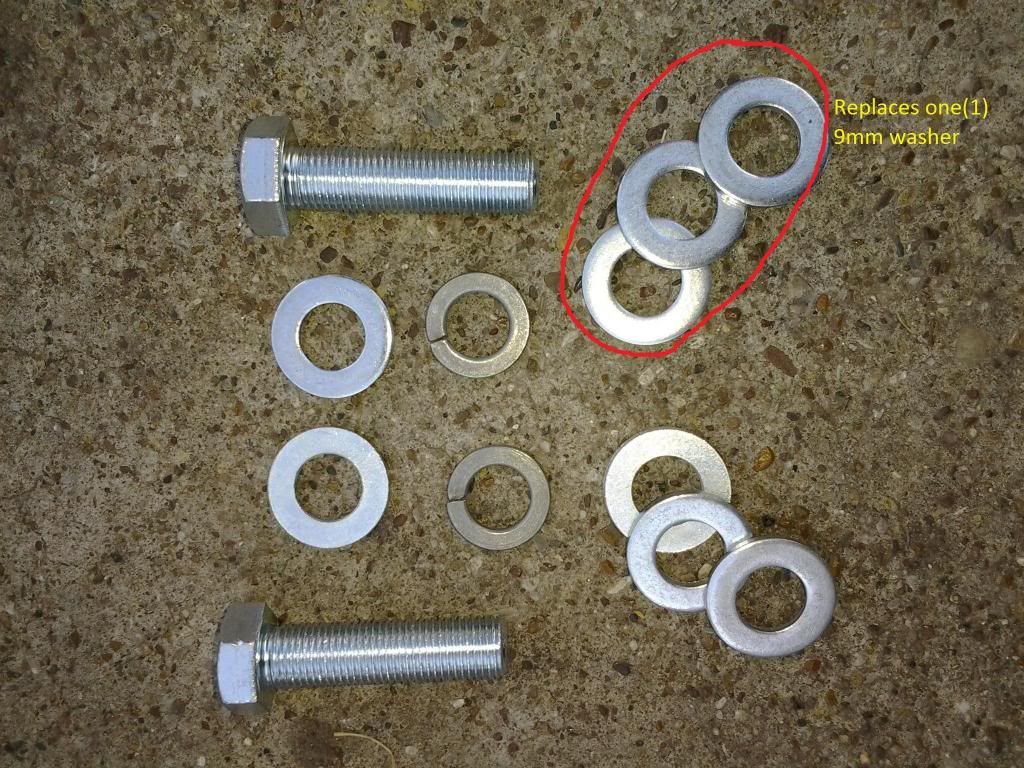
*In the above picture I'm missing two washers*
(Original thread from where I got the hardware specs
Whiteline Control Arm Brace= Missing Hardware info - SR20 Forum)
Tools needed:
17mm socket and corresponding ratchet
22mm socket and corersponding ratchet
22mm wrench
Whatever socket you need for your new bolts (mine were 19mm)
Whatever tools you need to remove your wheels
Jack
Jack stands
***This installation will throw off your alignment, slightly but it will***
(Here is the installation PDF straight from Whiteline http://www.whiteline.com.au/docs/install_guides/Z272.pdf)
Installation:
1) Lift vehicle to a level where you feel safe and can easily access all subframe bolts. Secure vehicle and remove both front wheels.
2) You can now see the control arms. Look at the rear of them and you'll see this
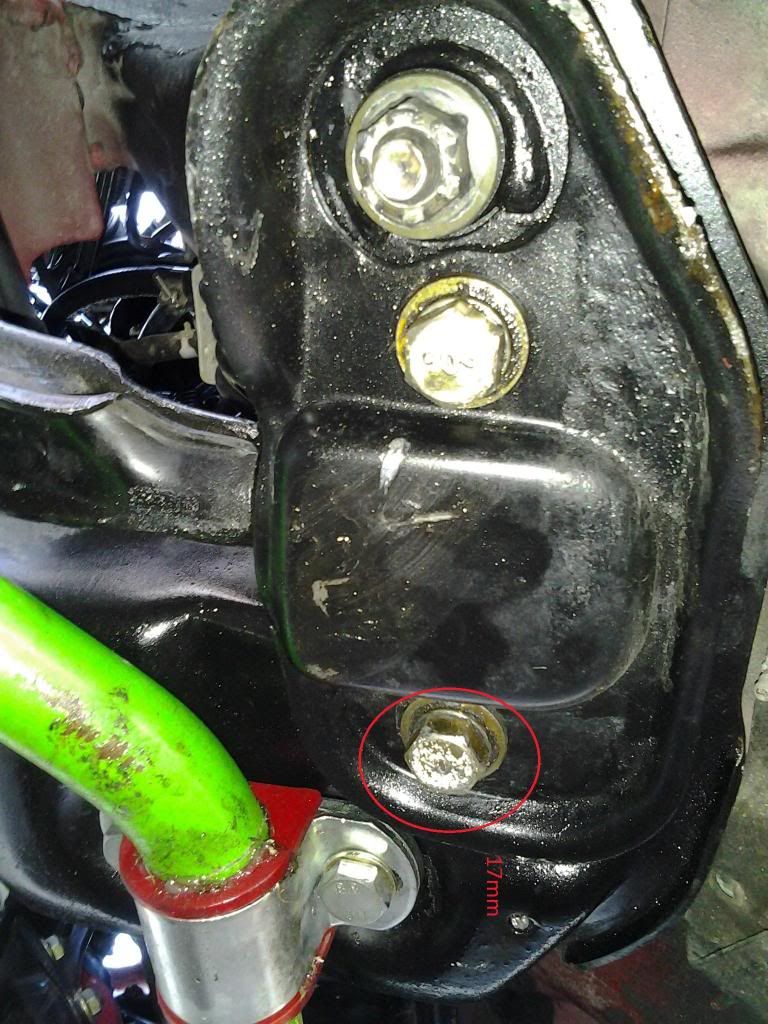
Remove the inner-most bolt using your 17mm socket and ratchet, from both sides of the vehicle.
3) Look at the front of the control arms. You'll see this

Remove the large bolt and nut using your 22mm socket and ratchet, as well as the wrench.
4) Now take your brace and bolt in the rear piece by using your new bolts with a lock washer and a regular washer underneath the brace; as well as your 9mm washer, or equivalent, between the subframe and the brace
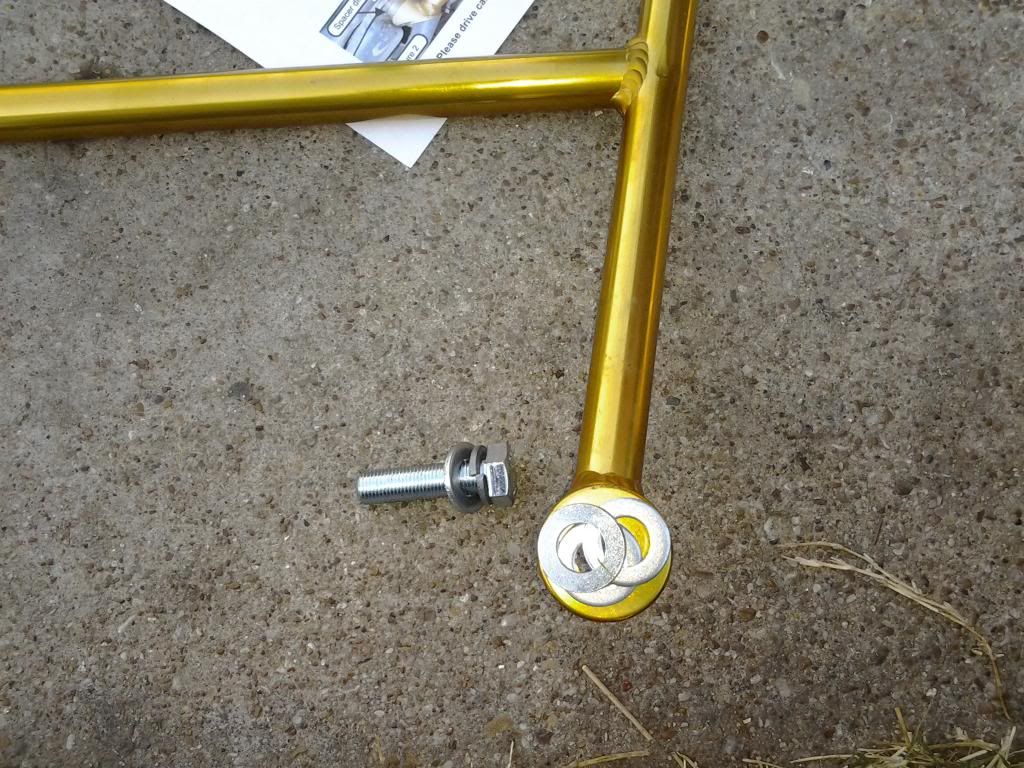
*DO NOT TIGHTEN BOLTS ALL THE WAY YET*
5) Since the brace is held up now by being bolted up in the rear put a washer on the bolt for the front of the control arm and insert it as you normally would, but obviously this time it'll be tying the brace to the front of the control arms.

6) Now that all four bolts are threaded in tighten them all and you're done
----
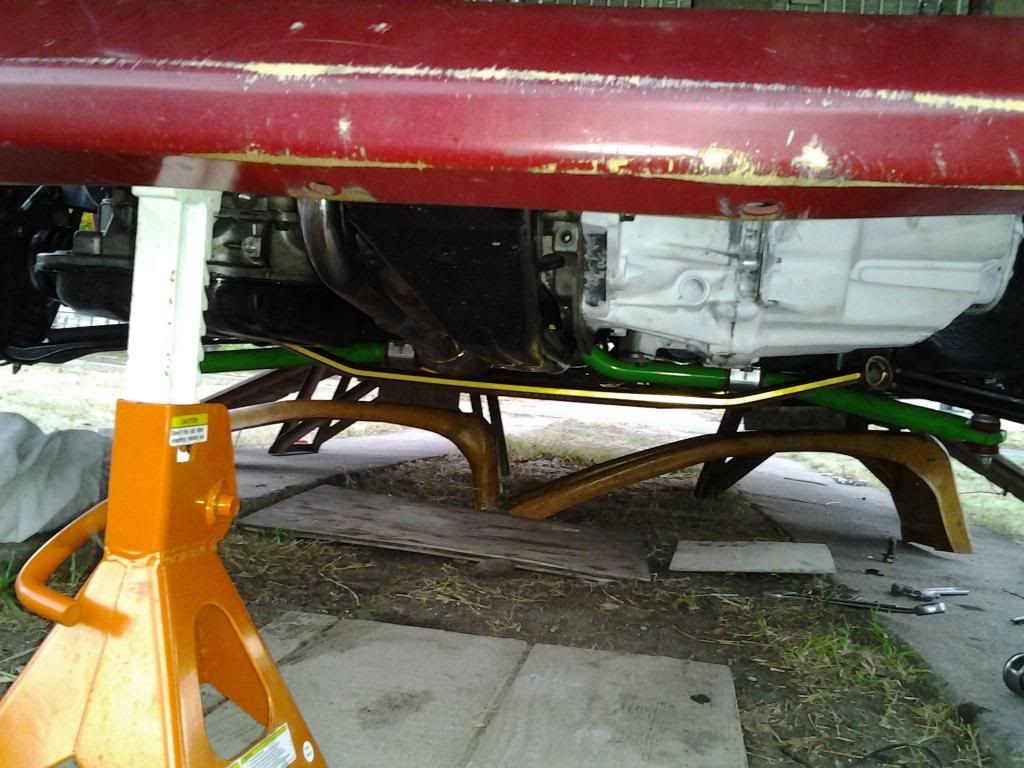
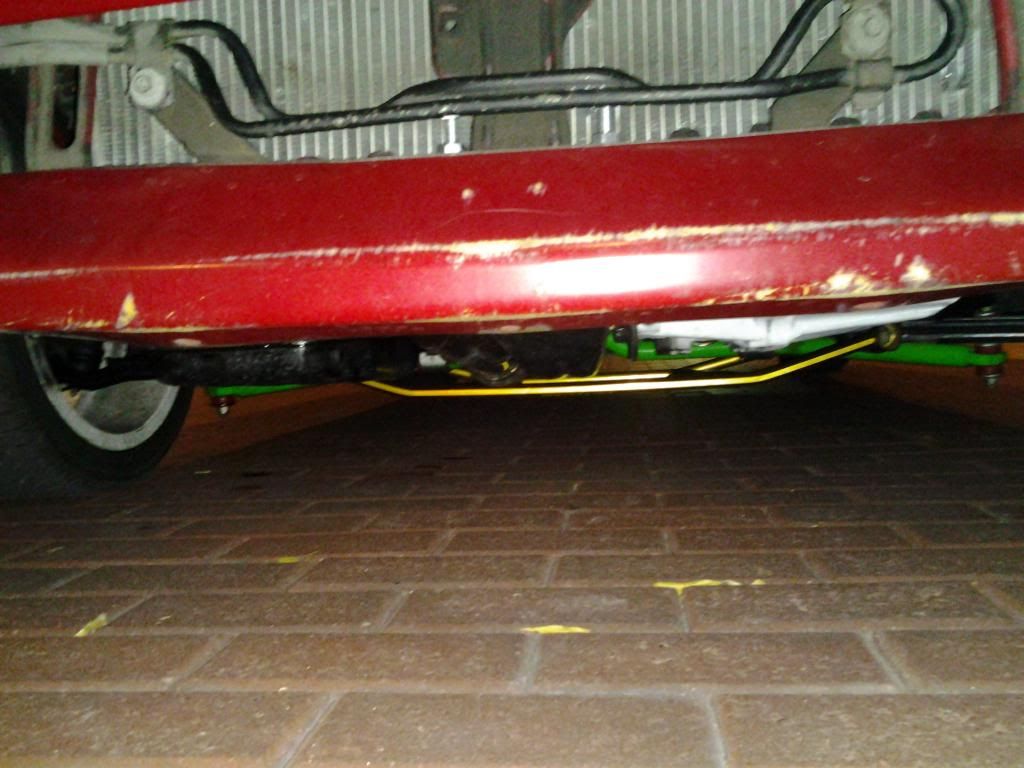
Some people have asked for pictures of the brace on the car here are some
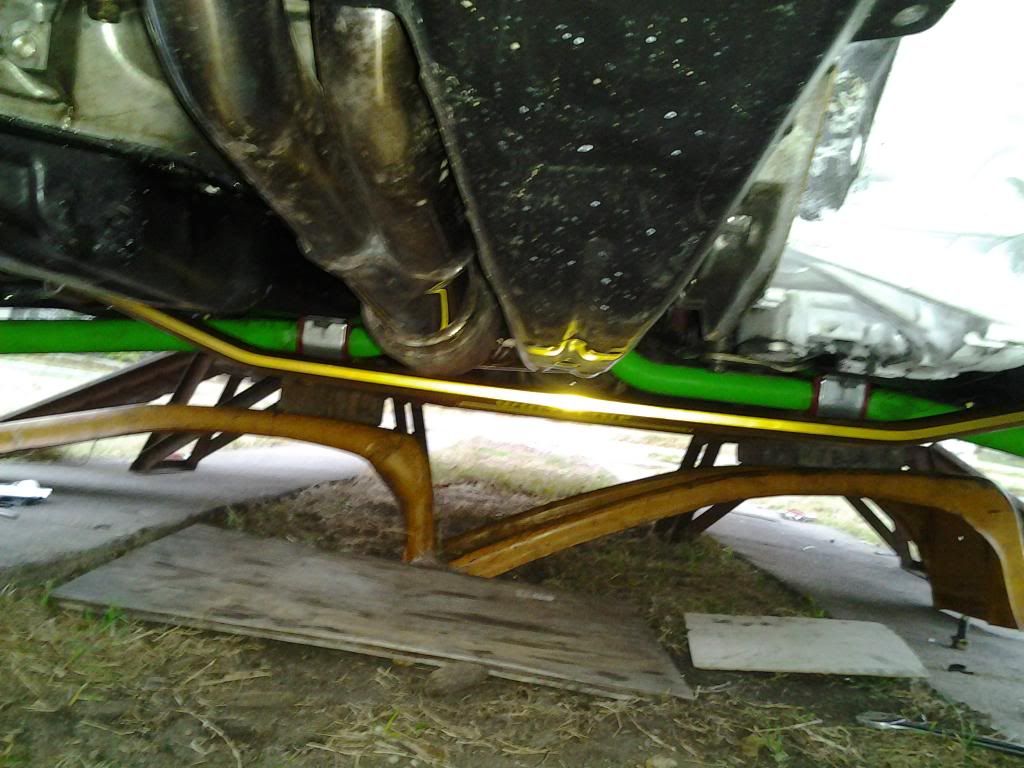
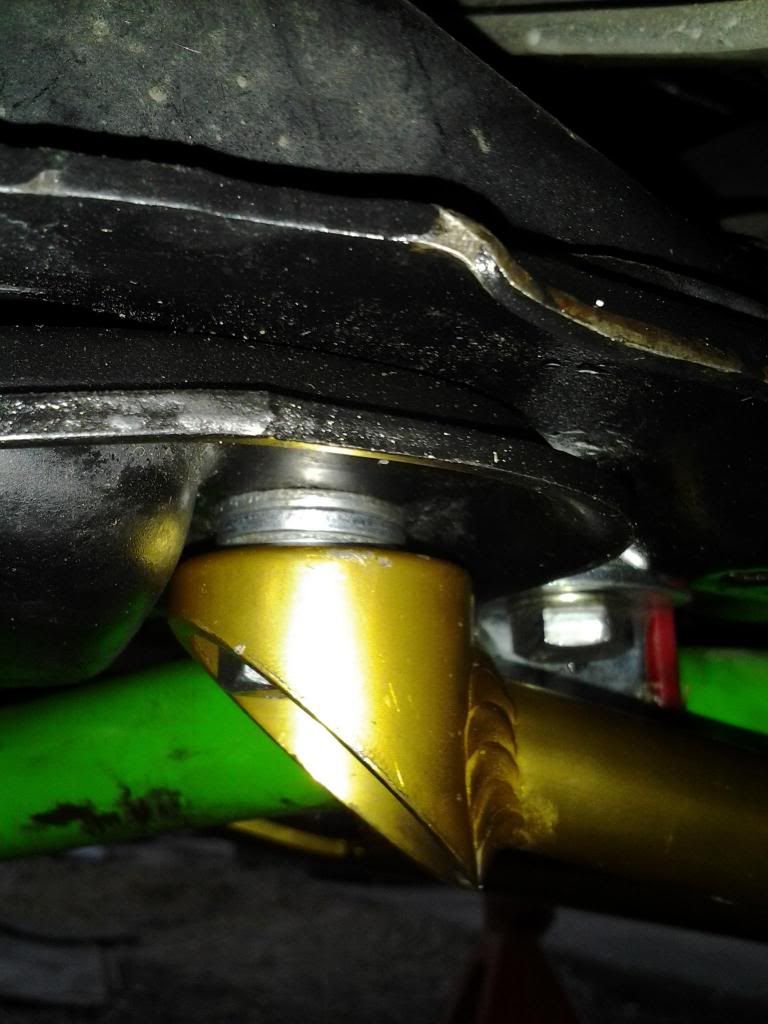
I only have a 2.5" SSAC and I had fitment issues
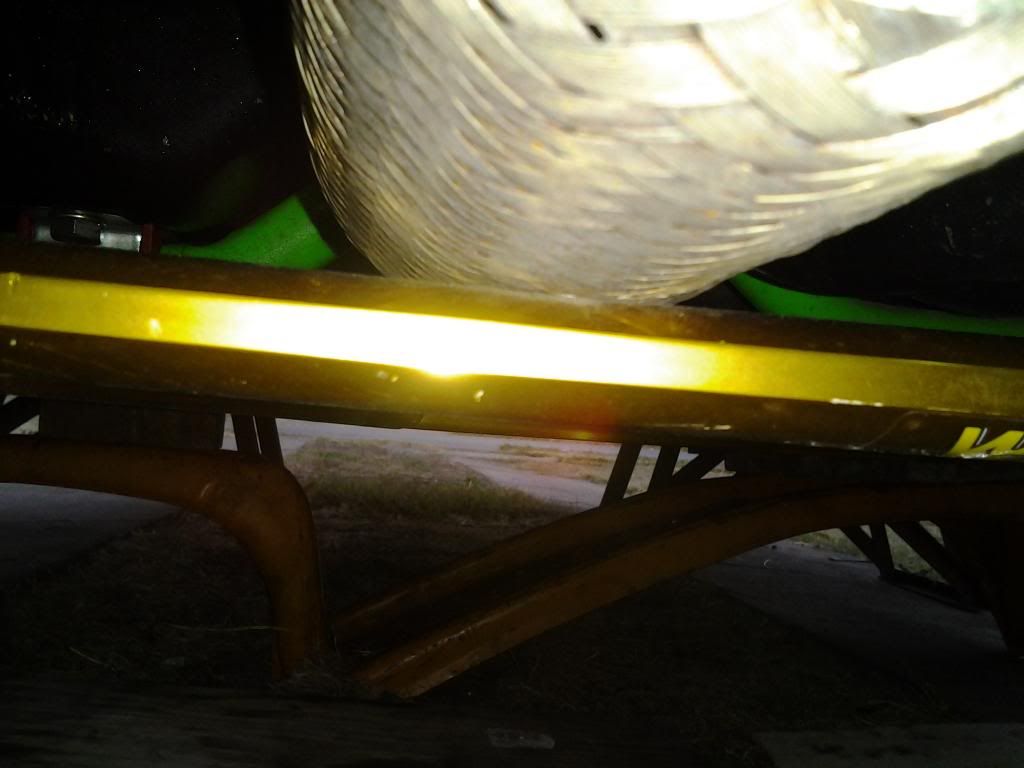
But as far as it hanging low here is how much lower it is
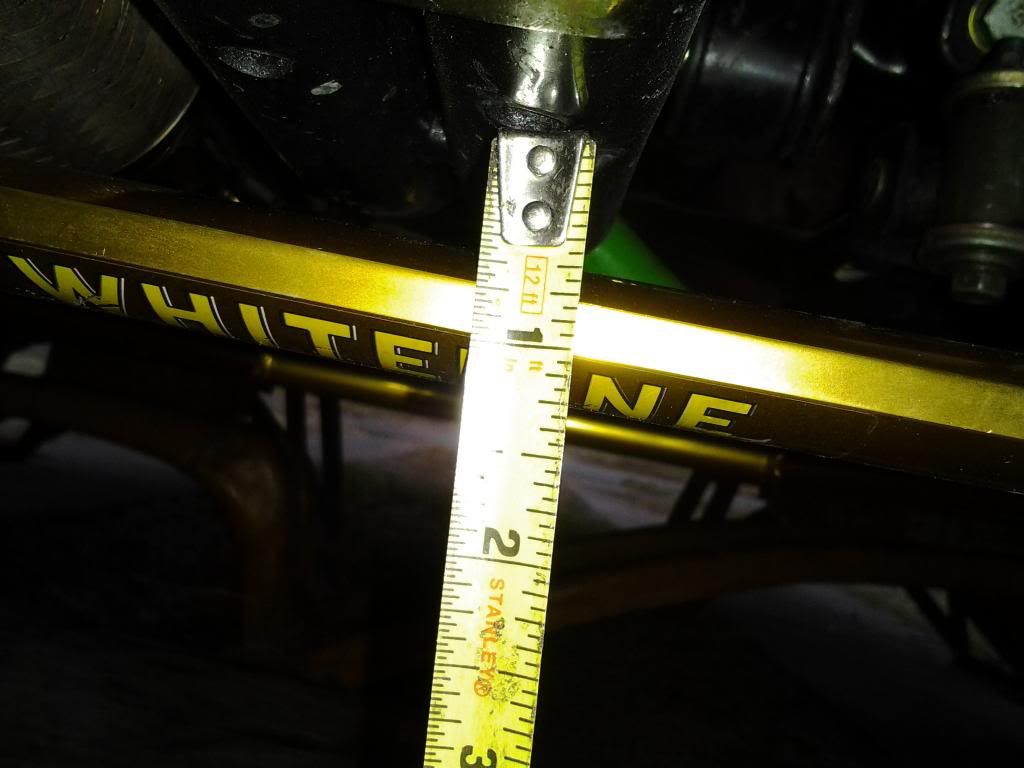
That's 1 and 1/4 inches lower than the crossmember
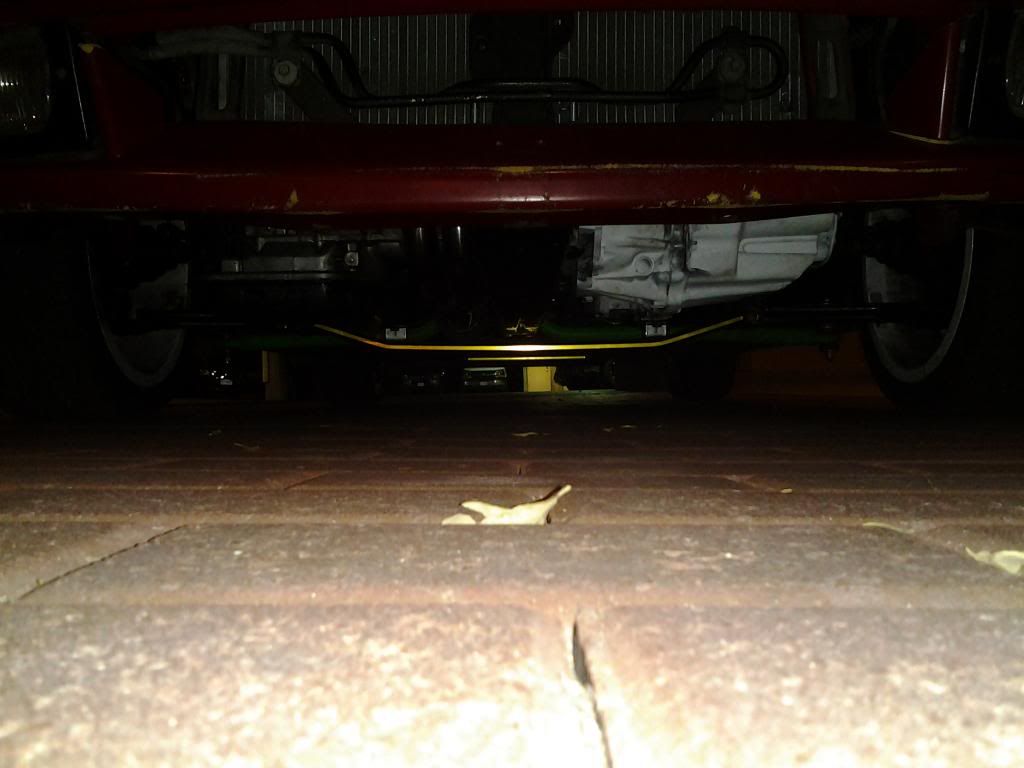
Ground level picture
Here is the brace
Now mine didn't come with the original hardware so here is what you need:
Two(2) M12x1.25 bolts (should be AT LEAST 35mm long, mine are 50mm and fit fine)
Four(4) Regular washers that fit above bolts
Two(2) Spring washers, aka lock washers, to fit said bolts
Two(2) 9mm thick washers to fit said bolts
**The alternative to one 9mm washer is to stack three(3) regular washers. The 9mm washers are easily found but tend to be more expensive than three(3) separate regulars**
*In the above picture I'm missing two washers*
(Original thread from where I got the hardware specs
Whiteline Control Arm Brace= Missing Hardware info - SR20 Forum)
Tools needed:
17mm socket and corresponding ratchet
22mm socket and corersponding ratchet
22mm wrench
Whatever socket you need for your new bolts (mine were 19mm)
Whatever tools you need to remove your wheels
Jack
Jack stands
***This installation will throw off your alignment, slightly but it will***
(Here is the installation PDF straight from Whiteline http://www.whiteline.com.au/docs/install_guides/Z272.pdf)
Installation:
1) Lift vehicle to a level where you feel safe and can easily access all subframe bolts. Secure vehicle and remove both front wheels.
2) You can now see the control arms. Look at the rear of them and you'll see this
Remove the inner-most bolt using your 17mm socket and ratchet, from both sides of the vehicle.
3) Look at the front of the control arms. You'll see this
Remove the large bolt and nut using your 22mm socket and ratchet, as well as the wrench.
4) Now take your brace and bolt in the rear piece by using your new bolts with a lock washer and a regular washer underneath the brace; as well as your 9mm washer, or equivalent, between the subframe and the brace
*DO NOT TIGHTEN BOLTS ALL THE WAY YET*
5) Since the brace is held up now by being bolted up in the rear put a washer on the bolt for the front of the control arm and insert it as you normally would, but obviously this time it'll be tying the brace to the front of the control arms.
6) Now that all four bolts are threaded in tighten them all and you're done
----
Some people have asked for pictures of the brace on the car here are some
I only have a 2.5" SSAC and I had fitment issues
But as far as it hanging low here is how much lower it is
That's 1 and 1/4 inches lower than the crossmember
Ground level picture
 Be the first to like this post.

