


I think they turned out pretty well:


I am very thankful for your write-up. I have done this mod, had my body-guy look at this very thread before he welded in the proper mount. I fully and truly appreciate all your efforts.
")
However....ahem....that looks like ass.

I'm gonna call your write-up Part A, and please allow me to offer Part B of this installation.
I am very particular about my interior, everything is getting re-done, or has already been re-done. I bought the last BNIB Nissan dash pad for $500 plus from Greg V a few years back. Re-did my upper door panels so the hole from the original door-mounted seatbelt route is gone. Z32 pedals, Redline leather, Momo wheel with real Nismo CF center horn button. The headliner is new, black. All the plastic bits were swiped from other Nissan cars that came in black, for instance my "oh shit" handles are Nissan OEM black from a '90's Maxima. Visors in black. Rear parcel shelf in black. BNIB OEM window cranks so mine aren't faded and I have a set of the "SE-R" aluminum window cranks not installed yet. Z32 shift knob. A-pillar trim covered in black vinyl that matches my doors, and my lower rear quarter panels. You get where I am coming from?
About six months ago, I bought an extra set of used upper interior quarter panels. So I'd have something to practice on and mess around with, without ruining my originals.
This is what I came up with.

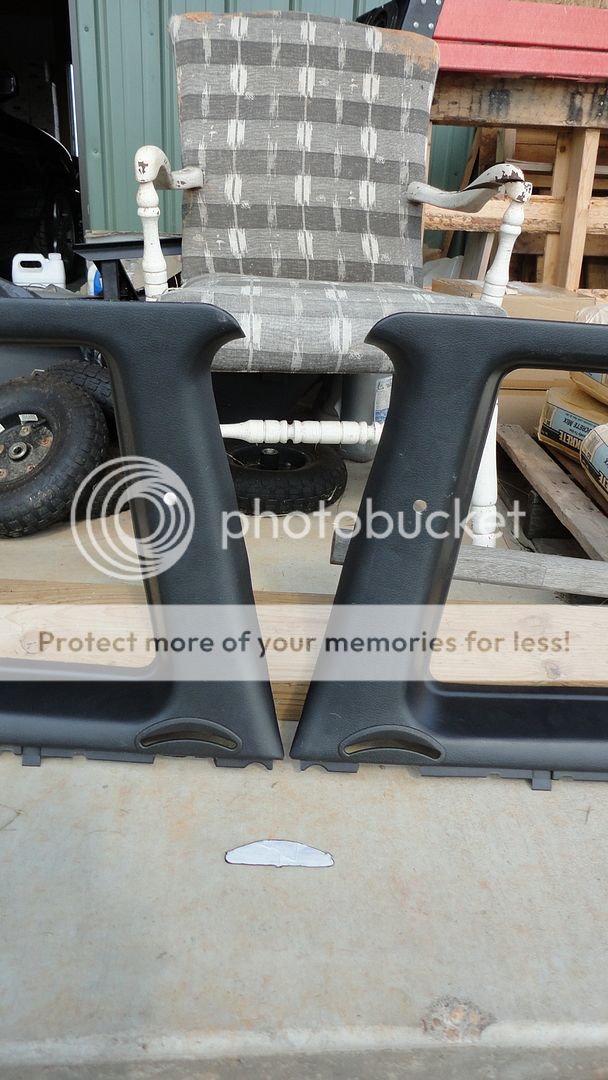
You will require an extra two (2) of the rear quarter panel trim rings, the ones that go around the rear seatbelt pass through as shown below, for a total of four (4). I had some from the extra set of rear panels I got to practice upon. I also had yet another pair that I have no idea where they came from. Go raid a scrapyard.
Front:

Back:

This hole right here is where the back seatbelt goes through the panel. I removed the trim piece, it pops out easy. As previously mentioned, you need four (4) of these rings total as pictured above.

I put a piece of white paper over the hole on the backside, and then covered the entire thing with blue painters tape that I had laying around.

Flipped over it should look like this on the frontside.

Take a pencil and trace the outline. I put my hand on the back to keep the paper real tight.

Carefully peel off the tape and paper together. You should have this.

Manly Kobalt scissors.

Yessir. Right on the money.

Tester, hacked, panel on top. The bottom one is my original panel, with the stencil I made placed in the right spot.

Traced the stencil with a black Sharpie. Also blacked the material I am going to remove to route the seatbelt.

There we go.

Drill first. The hole for the upper seatbelt mount is actually about 1/4" too far back, towards what will be the rear of the vehicle. Didn't matter because the hunk of metal at that mount completely covered the fact I was off a bit.
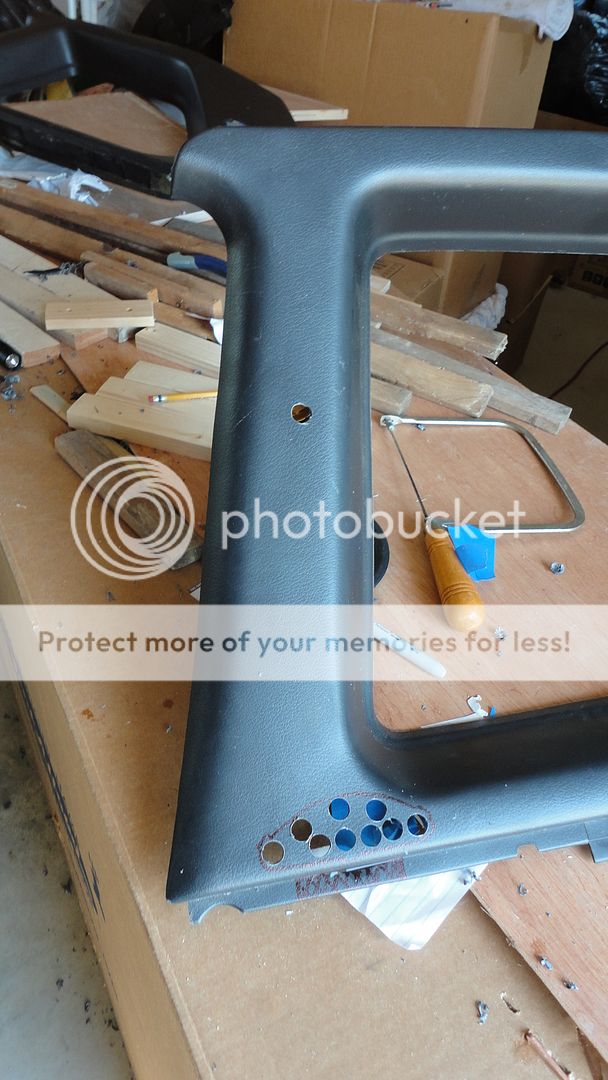
I used a drill, razor box cutter, wire cutters and a coping saw to remove material.
Wire cutters snip the plastic no problems. Unhooked the coping saw blade, threaded it through the hole and sawed some. Once I had a pretty decent rough hole, I finished by shaving the edges very, very carefully and slowly with the box cutter. Go slow, you can firmly sliver and shave it just perfect.
Trim ring installed. Remember, you need to source a pair of extra trim rings.

Note that I not only cut out the bottom flat part in the picture, I cut about a sixteenth of an inch, about the thickness of the seatbelt-belt, upward in this shot (as we are looking at it).

That would be bada-bing and bada-boom. Once again, the upper seat belt mount holes are 1/4" too far towards the back of the car. And once again, it did not matter once I mounted the belts.
And this is the final product.

Purty:

Up close and personal:


No hole in my door where the other seatbelt went. Maxima OEM-black "oh shit" handles. Vinyl covered lower rear quarter panels to match my doors and A-pillar trim. Black headliner. Oh yeah...and the completed look of the Part B seatbelt install.


That concludes Part B of this installation.
Shawn B
Last edited by Shawn B
on 2012-05-18
at 19-02-49.


