Alrighty - pics as promised.
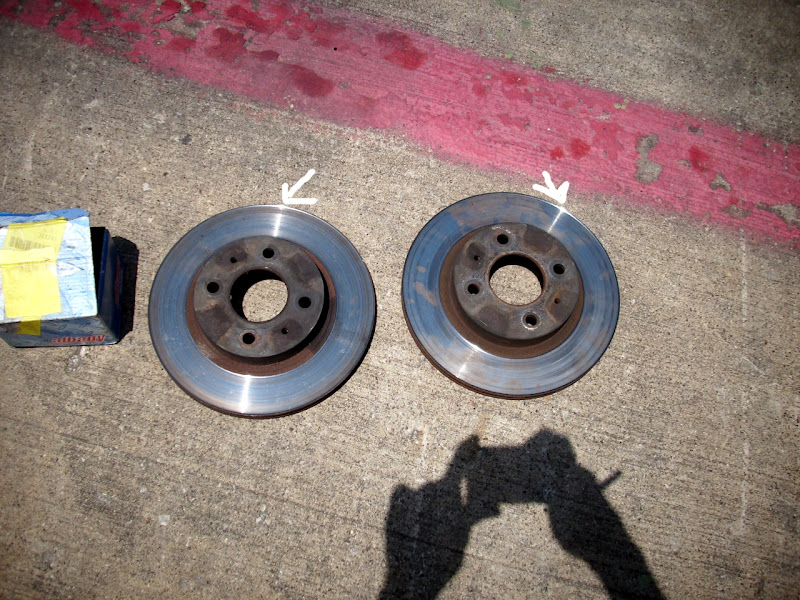
These are the old rotors.
Notice the deep lip on both.
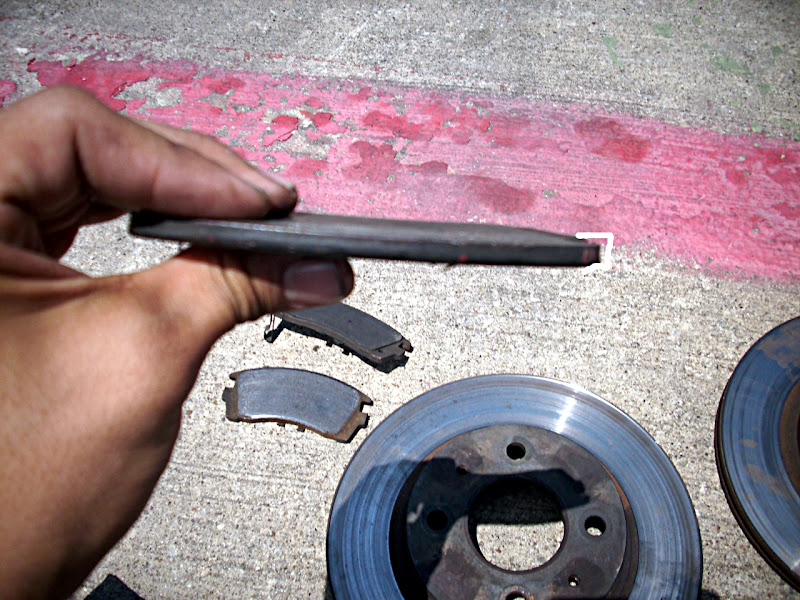
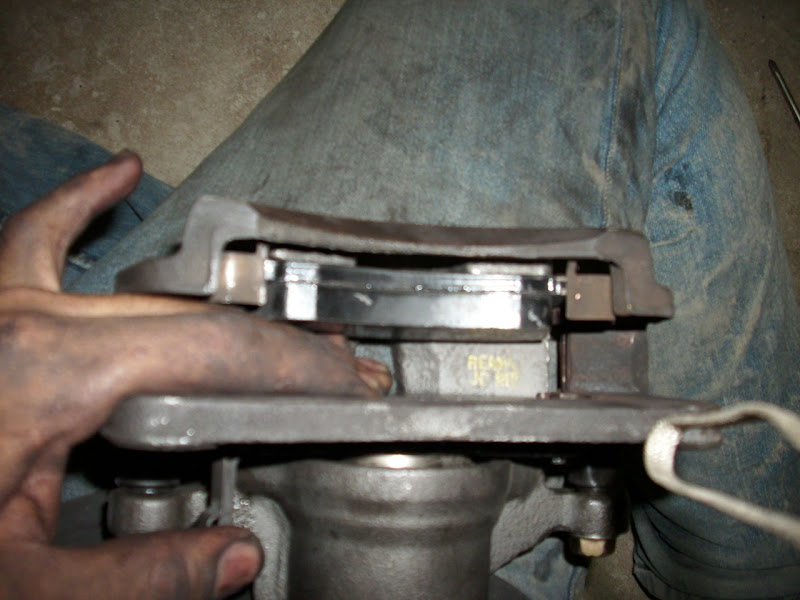
Old pads from up front. Paper thin. It gets worse.
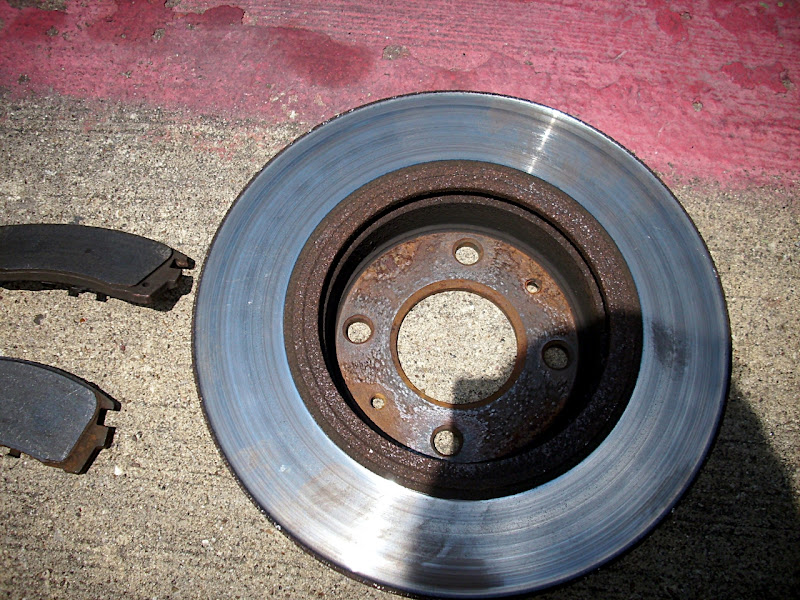
This is the inside pad on the driver's side. It makes baby Jesus cry.
Or at least 22 year old Jesus cry. Check out the matching gouges on the rotor.


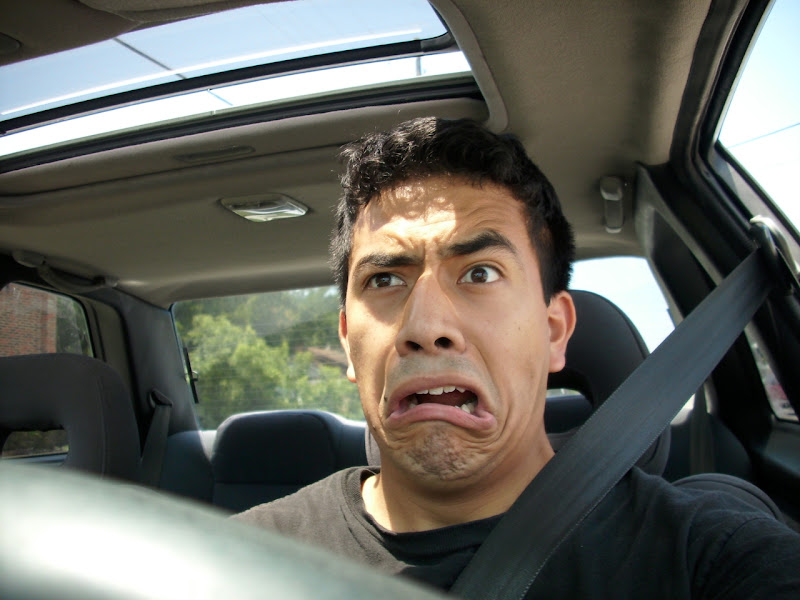
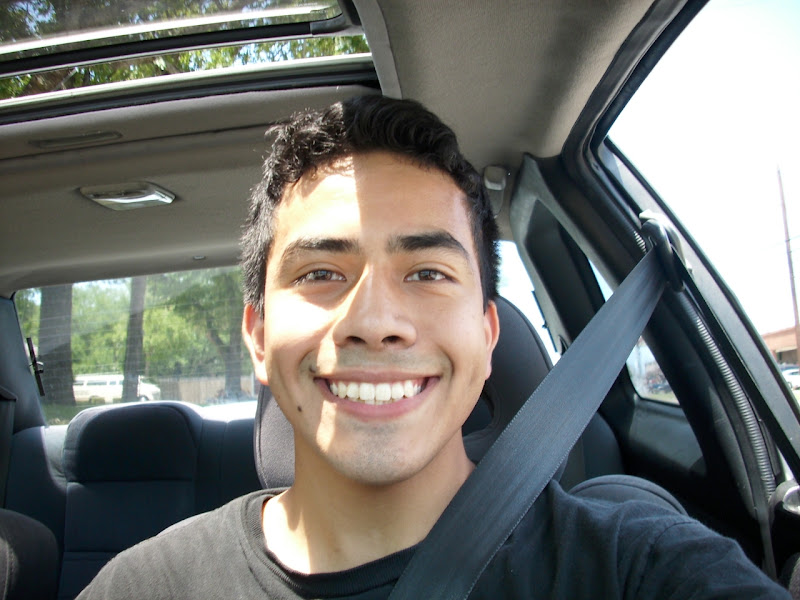
My ugly mug's reaction. I was not aware my face was that plastic.
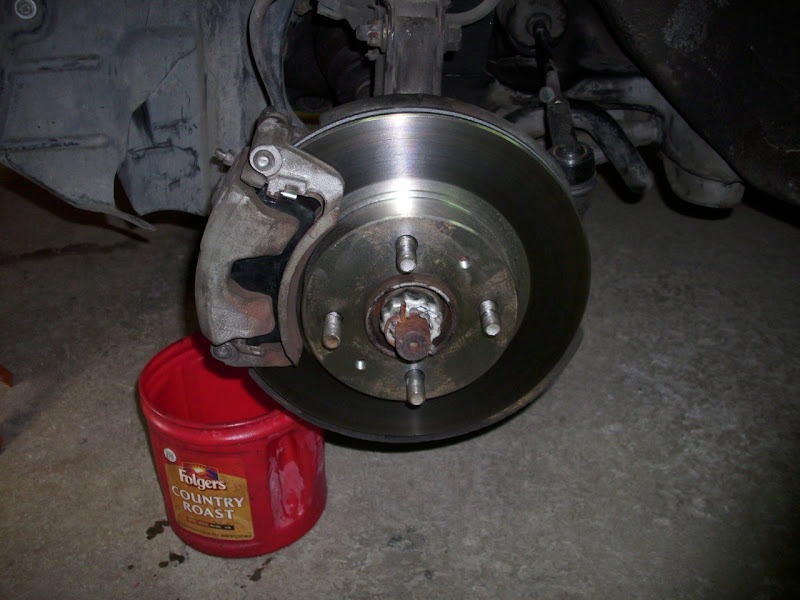
Passenger side rotor up front. Not as bad, but that's still more lip than my wheels have.
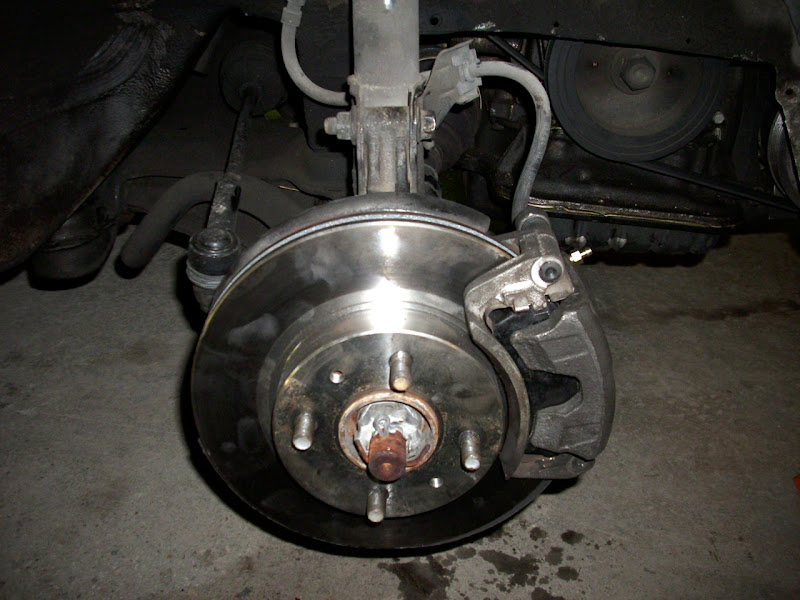
Driver's side new pads and rotors installed, ready for new calipers.
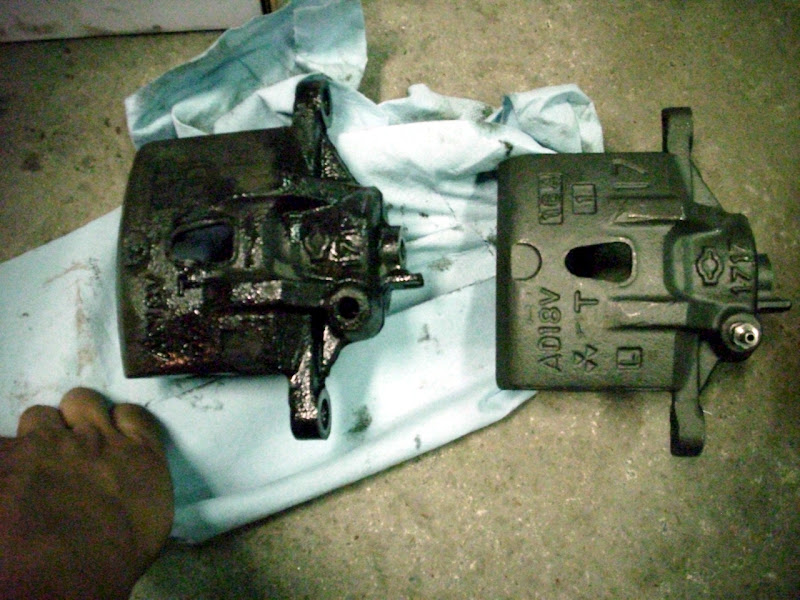
New calipers versus old calipers doused in brake fluid.

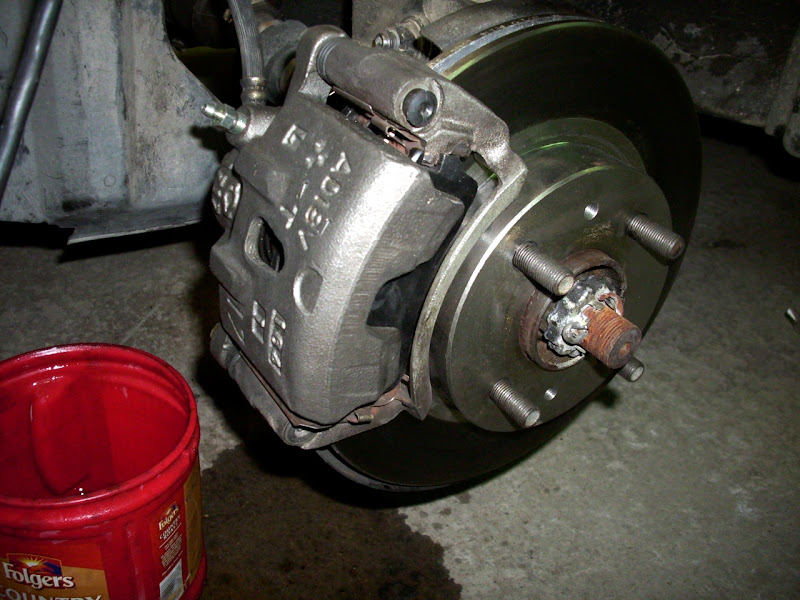
New calipers in. Damn that looks sexy, even if it isn't AD22V.
HOW TO Replace Front Calipers on a B13:
Needed:
-New front calipers
-Jack, jackstands, and someone who knows you're working on your car.
-Lug wrench
-10mm, 12mm, 14mm, and 17mm wrenches, or ratchet and sockets. I found it easier to use the wrenches, but that was just me.
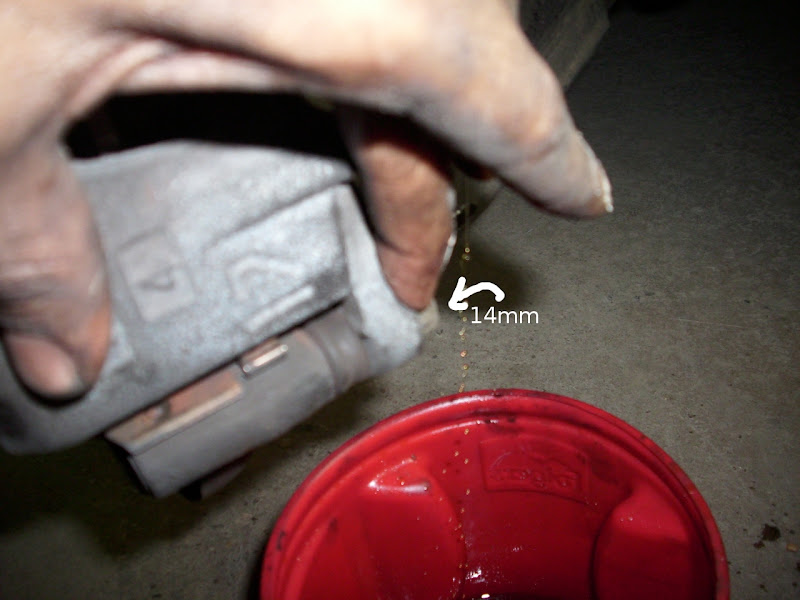
-Something to catch brake fluid, preferably bleeder hose and a bucket. I didn't have a bleeder hose, so I just let the line bleed from the banjo nut. Probably many much better ways to do this.
-Small cup (optional) to put all bolts and washers etc. you remove so you don't lose them. Those cool metal magnet trays work better.
-A bottle of new brake fluid
-A buddy to help you bleed when everything's all bolted up
NOTE: I am no mechanic and pretty green to this much work on a car on my own. If I'm doing something wrong, please correct me, and for those who may benefit from this, anything said to do so should probably be heeded, as I only know what I know and that's not much.
Before you begin, not necessary, really, but it's nice: let someone know you're working on your car any time you'll be under it or you're doing something that could be potentially dangerous, like fiddling around with the electrical system or welding something in, etc. Have them check on you periodically, and maybe even bring you some cool water if it's f-ing hot outside like it was when I was working on mine here in TX. But you probably knew that already. This helps especially here though, because you'll need SOMEBODY to help you bleed your lines. Otherwise, your shiny new brakes won't work.
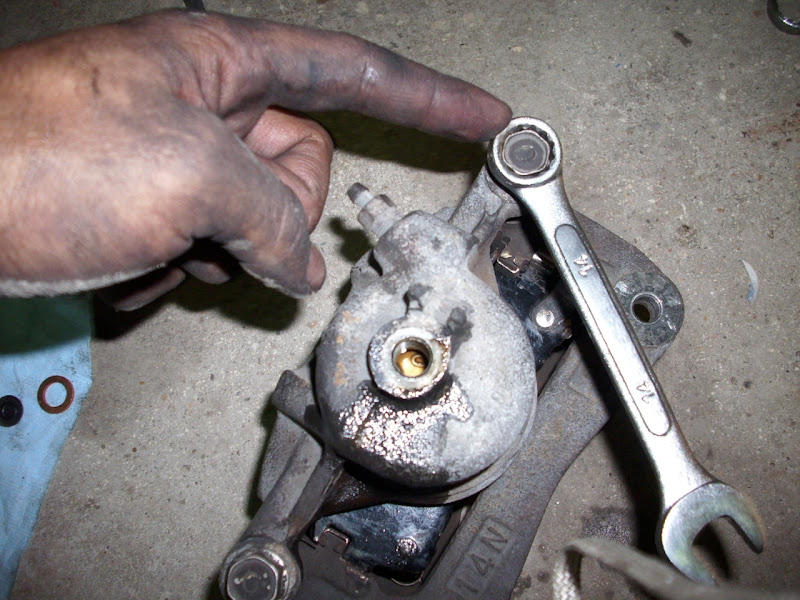
Another tip: the bolts and whatnot will be pretty stiff, so if you're not beastly strong and your wrench doesn't give you enough leverage, you can cheat using another wrench, running the closed end of the extra wrench around the open end of the wrench on the bolt, and fiddling with it till you can use it to give you more leverage. You'll know you did it when it sort of locks and it looks like one long wrench and pulls like one. I'll make a diagram later if you don't know what I'm talking about.
1. Use the lug wrench to loosen the lug nuts to where you can turn them with your hand.
2. Jack up the car and support it with jackstands. Then remove lug nuts and the wheel.
Passenger side before new calipers.

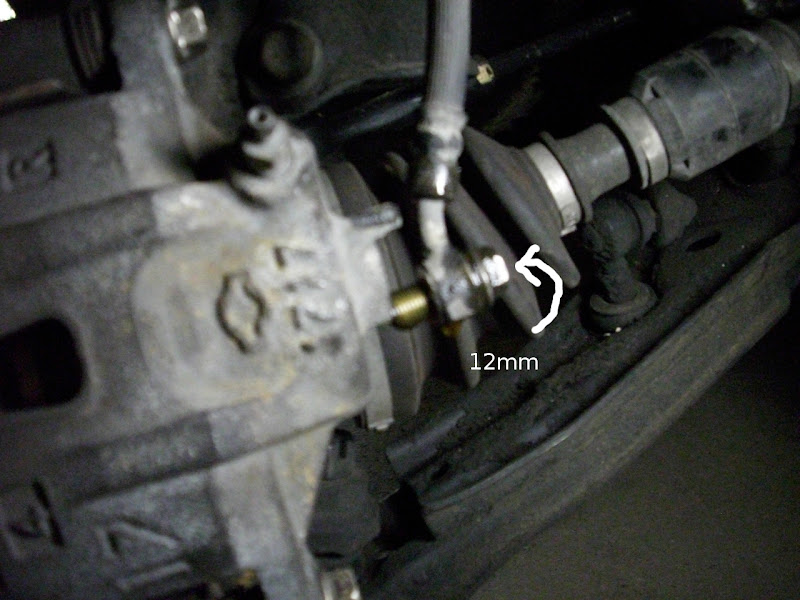
3. (Now's a good time to use that 10mm wrench and bleeder hose if you have it and bucket to drain the fluid here. Put the hose on the bleeder hose nipple, the other end in the bucket, and use the 10mm wrench to open it til nothing comes out. Otherwise, just do it like I did.) Remove the 12mm bolt holding the brake line to the back of the caliper.
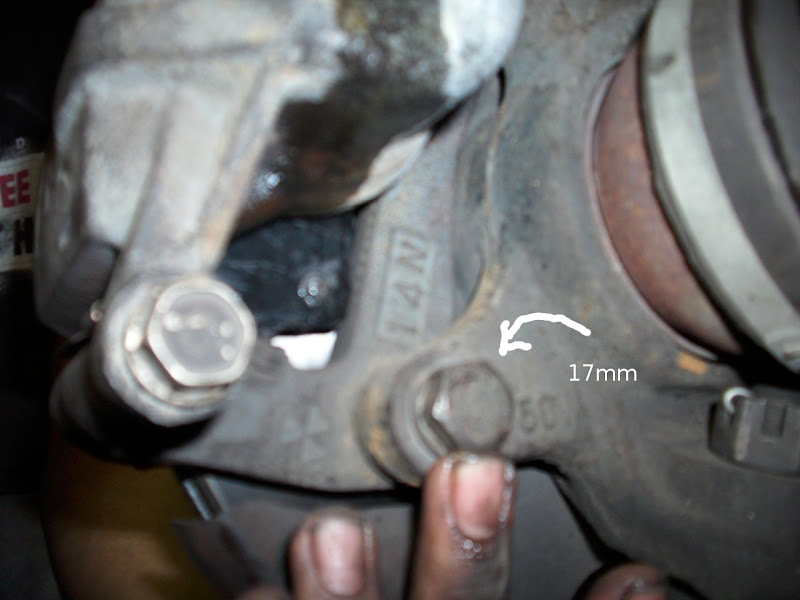
4. Then break the 2 14mm bolts here loose, but don't remove them just yet. It's best to do this before removing the 17mm bolts that follow so you can use the bracket to torque against to do this. Likewise, when you're putting it back together, put the 17mm bolts in first.

5. Now remove the 2 17mm holding the torque member (also called the bracket) to the steering knuckle.

6. Now the caliper complete with torque member and pads should slide right off the rotor. It may require some wriggling or a few taps with a hammer to get it off.
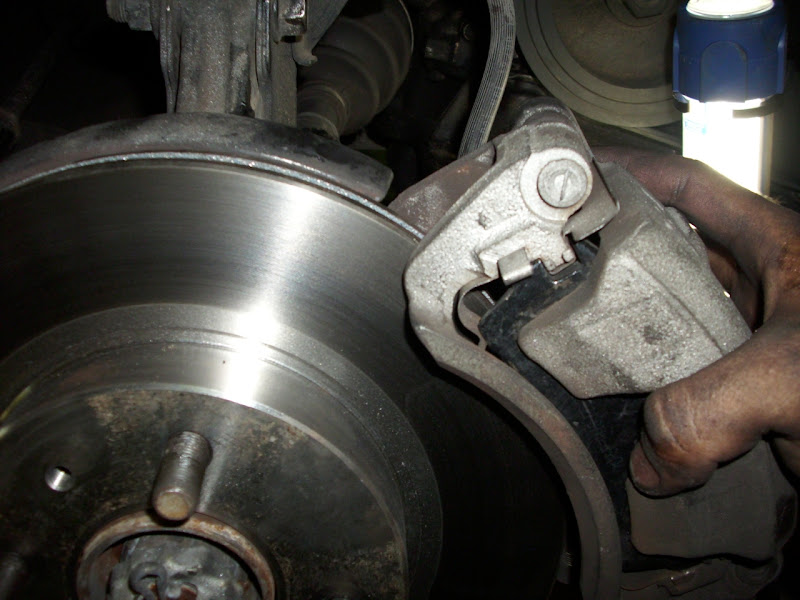
At this point, if you need to replace it, the rotor should just slide forward. Unless it's like my rear rotors were: rusted/grimed and stuck to the hubs, so I had to remove the hubs to then gently tap them off with the hub sitting face down on the lug studs.

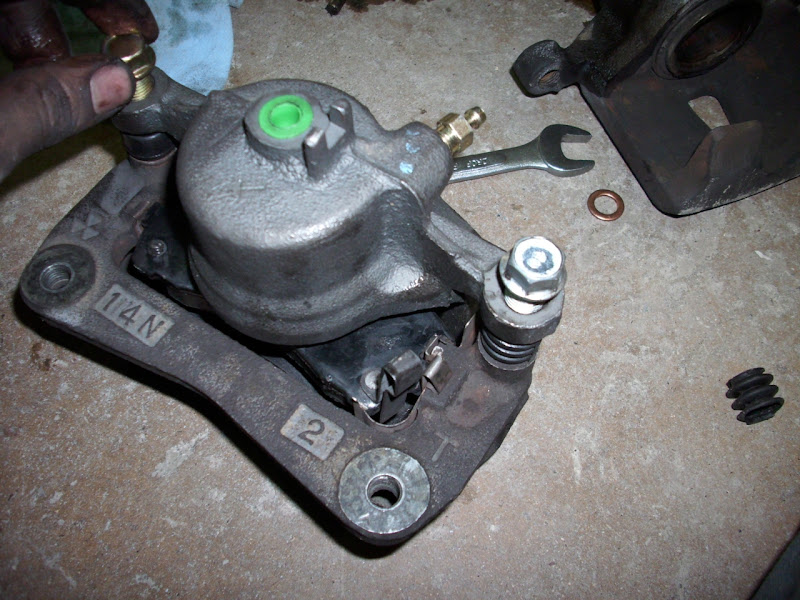
7. At this point, you can choose to keep the old hardware and bolts on the torque member, or replace it with that supplied with the caliper. I recommend replacing it. If you don't, however, match up the new caliper to the old torque member, and reinstallation is the reverse of removal. Just don't remove the little green cap till you're putting in the brake line again.
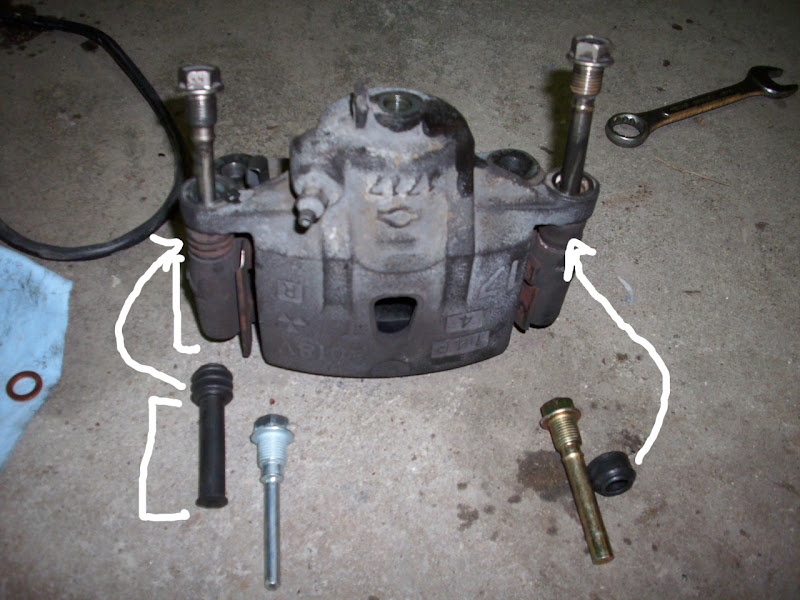
Hardware with new caliper.
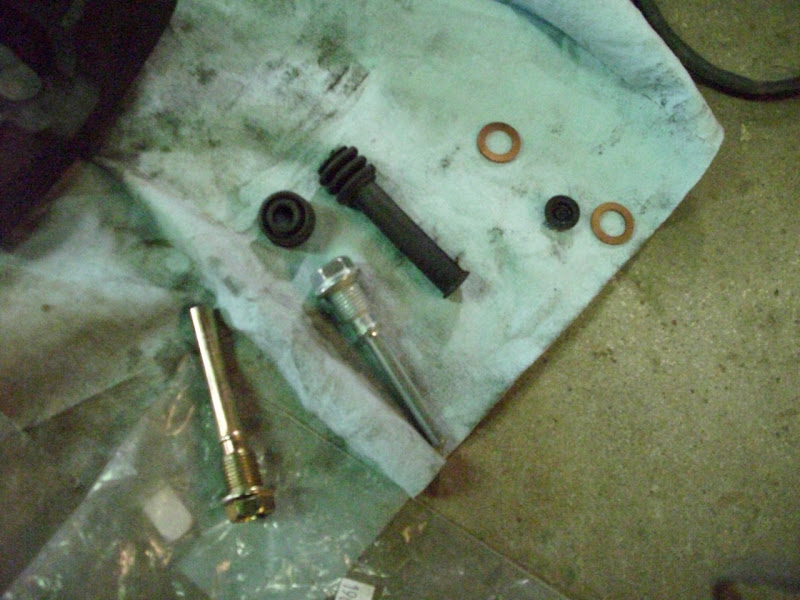
Fully remove the 14mm bolts on the torque member. They'll slide out with a pop. These create pressure when pushed in by your caliper's piston, which pushes the caliper back out when the pedal is released. Simple, yet ingenious.
8. Then just pull the caliper off the torque member and brake pads.

9. Put the new rubber components into the torque member. There are also new little brackets, but I chose to keep the old ones because I had better luck getting the pads and caliper back on that way. The pads themselves should float freely, so replacing them is probably a good idea, but what do I know?

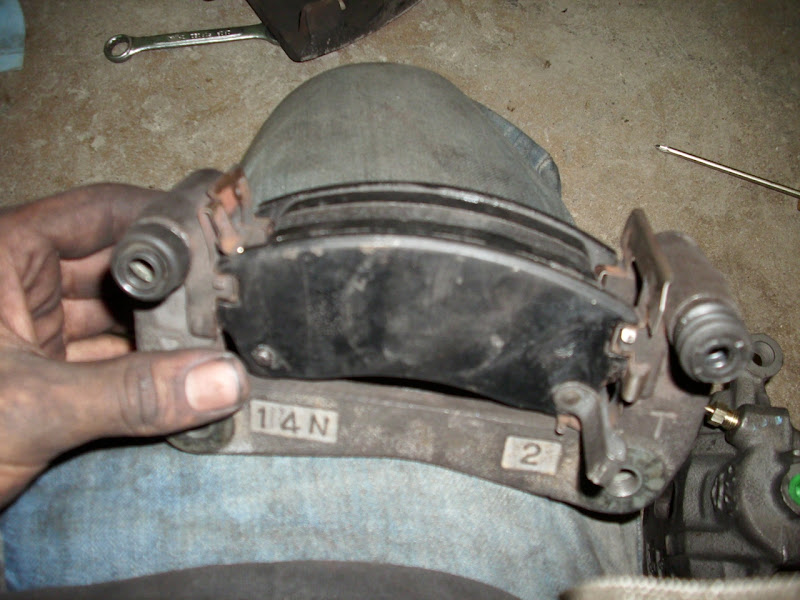
10. Seat the new pads where the old ones were.
These are new pads. Compare to the paper thin ones above. No wonder the caliper seized.

Seated and ready for action:
Then slide the caliper over the new pads and back into place, and put the new bolts in and tighten them. Don't ask how many ft-lbs because I haven't got a torque wrench. I just tightened them as much as I could, then retightened them some more once it was mounted on the steering knuckle again.
11. Then put your fingers between the two pads and press them against the walls they meet once everything is back together. This'll make it easier to get them over the rotor.
12. Then, put everything back together, making sure 1. the rotor is as far back and well seated as possible on the hub and 2. everything's tight. Don't forget to pull the green plug out before trying to screw your brake line back in. I did this for 5 minutes before I figured out why it wasn't threading.
You should be just about done and it'll look like this:
13. Now get your buddy of the couch, tell him to pause the COD3 for a little bit and help you bleed your brakes. I'm not sure what FSM says the order is for this car, but I do know that normally you start with the brakes furthest from your MC and move closer, so the order I did was RR, LR, RF, LF. For this, you'll need to remove the rear wheels and prop the rear end on jack stands. If you're shy on jackstands, or are squeamish about having the entire car off the ground, you can just put the front wheel back on and lower the car, then go one wheel at a time. Either way, here's how to do it.
Turn off the radio and lower all windows. This'll allow the best communication. Pop your hood open. Then set up your bleeder hose with one end to the valve and the other to a clear plastic container with about a half inch of brake fluid in it. A water bottle with the top cut off works great. You'll also want your buddy to have that bottle of new brake fluid handy. Once the wheel is off, get your buddy to CAREFULLY climb into the car. Then, the sequence is as follows:
1. Buddy pumps pedal firmly to the floor 7-10 times and holds it down at the bottom, calling to you to let you know he's done so and not letting go until you say so.
2. At this signal, use the 10mm wrench to open the bleeder valve. Wait till nothing comes out anymore, then tighten the valve again and holler to let your buddy know you're done. At first you'll get a bunch of air and not much else, then it'll be really frothy brake fluid. Repeat until you're not getting any more bubbles, just smooth brake fluid.
Be sure to NOT open the line BEFORE the pedal's down at the end of the pumping, and tighten it BEFORE it comes up again. After you're satisfied, either have your buddy get out and add more fluid to MAX in the MC, or do it yourself. You can, however, set up at the next wheel as he's doing this to save some time.
3. Repeat for each of the other three corners.
4. Once done, turn on the car for a few minutes, and test out pedal feel. If it feels spongy still, then repeat till it's stiff again. Once you're satisfied, put all the wheels back on, drop the jack after cleaning up around the car, and give it a test. I suggest keeping speeds real low so you don't end up in your neighbor's yard or his living room.
Congrats, you've got new calipers! (And probably pads and rotors)!
This was my reaction once all done:


 Be the first to like this post.


