UPDATE: Picture's are back up. And a bit more info added.
I know a very few of us own this suspension so I thought I would give it a shot and see how it performs.
~Megan Racing Coilovers
~Spring rates: 6kg/4kg (roughly 330/220)
Purchased from Sonic Motor - Power and Performance Great service and products. Highly recommend them.
The install took me a full weekend. This is my process. What you may do could be different, but in the end, it's just a matter of removing old suspension and installing the new suspension.
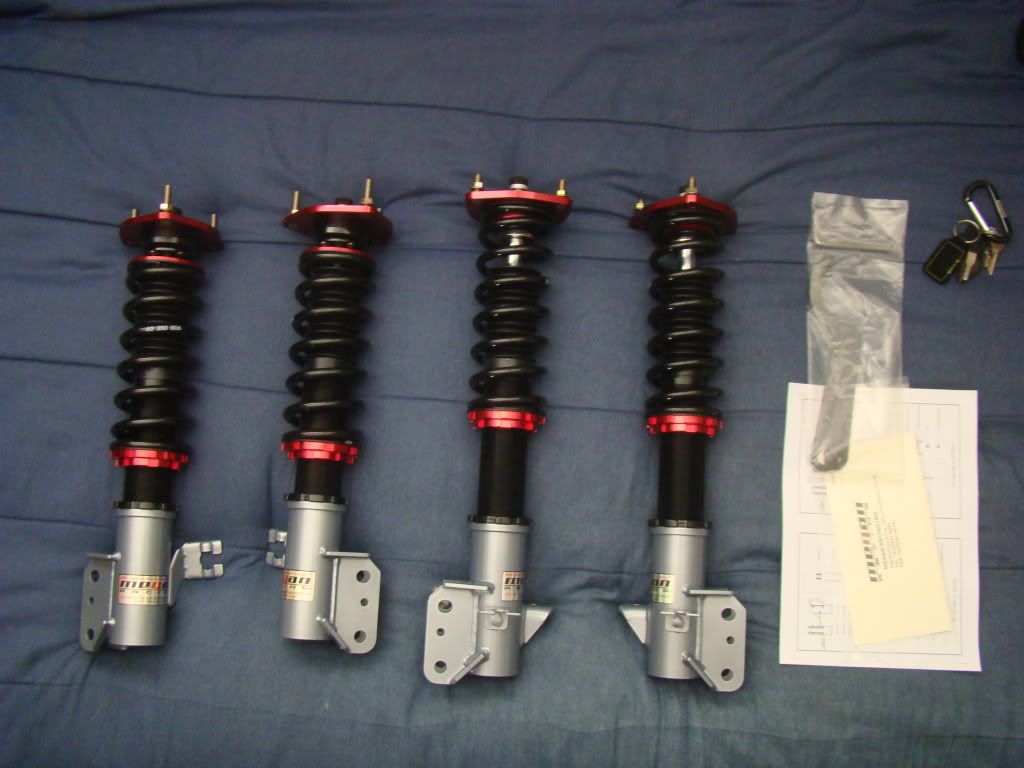
Here is what comes in the box. (exluding the car keys)
First I attacked the rears.
Comparison pic:

Here it is installed.
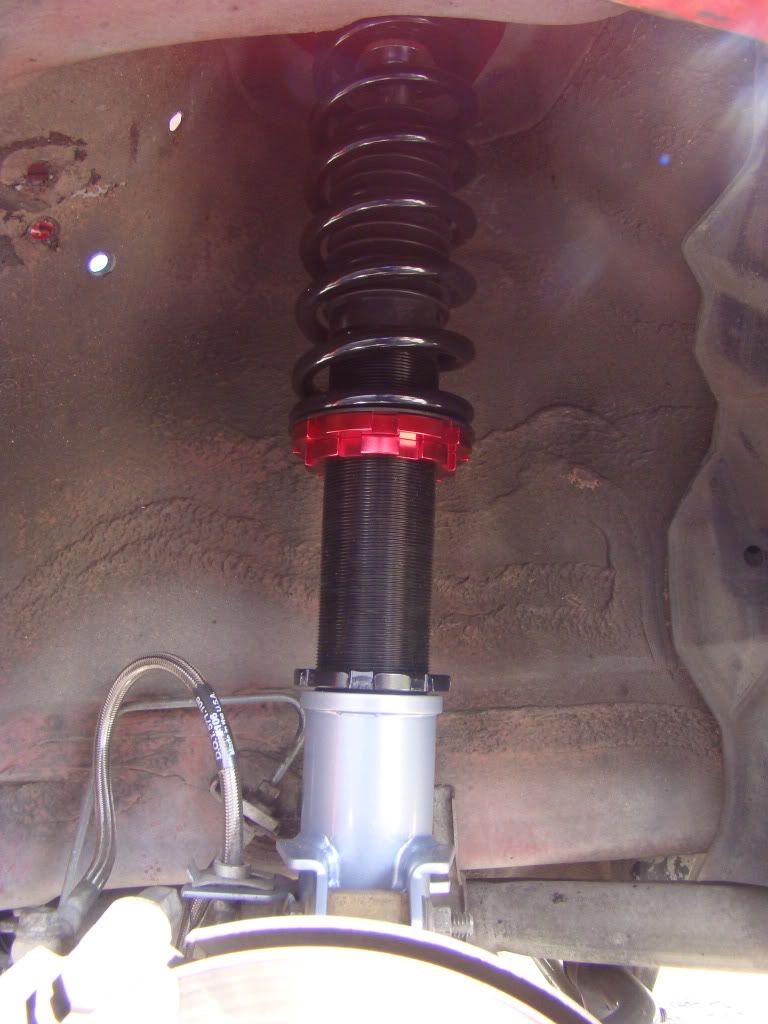
When installing the rears and you have a progress rear sway bar, I would recommend discontecting it for it causes a bind when trying to move around the knuckles. Stock sway, you would have to disconnect it anyways. Be sure to adjust ride height accordingly.
Now the fronts.
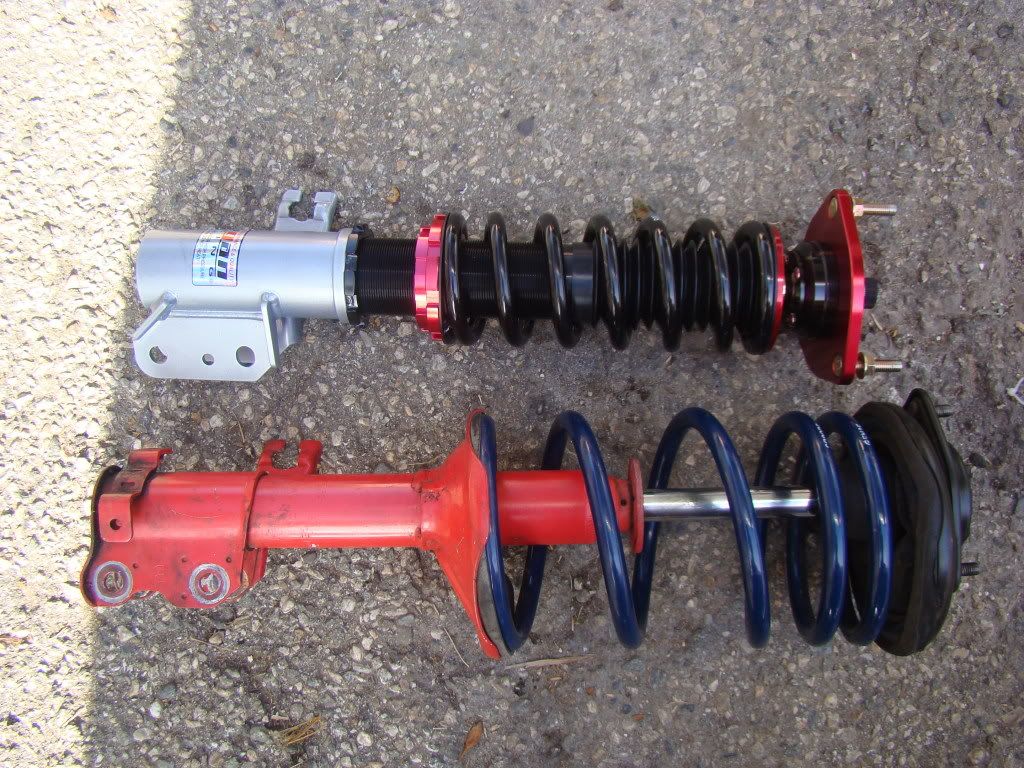
Comparison pic:
Installed;
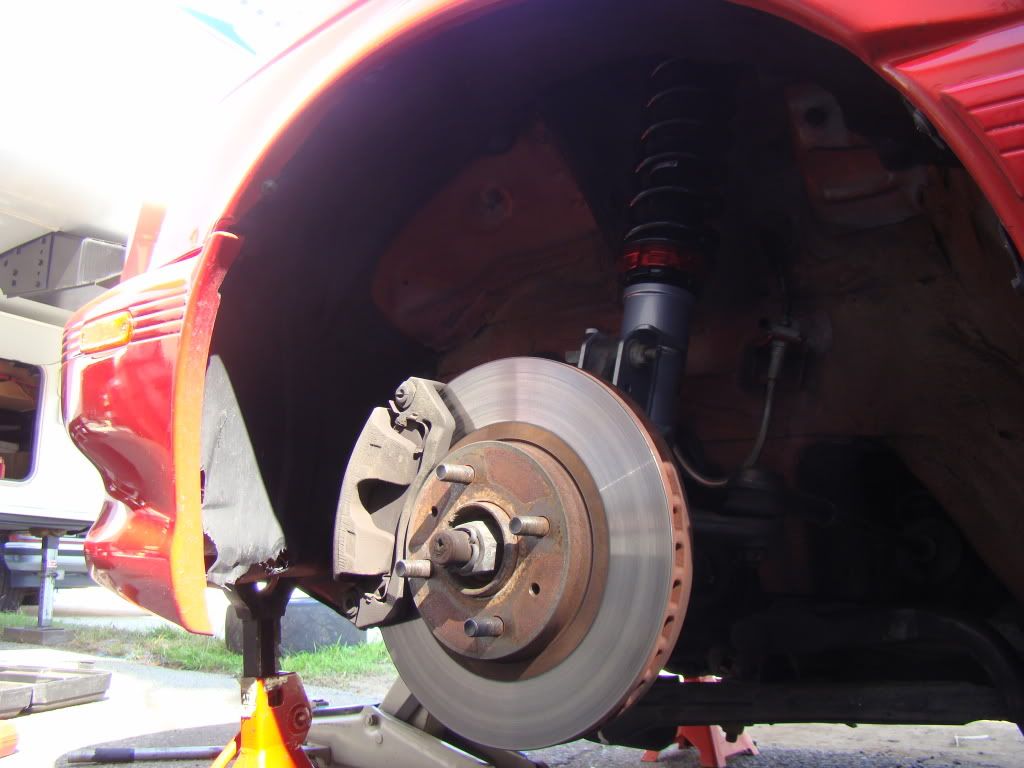
This results to the final product:
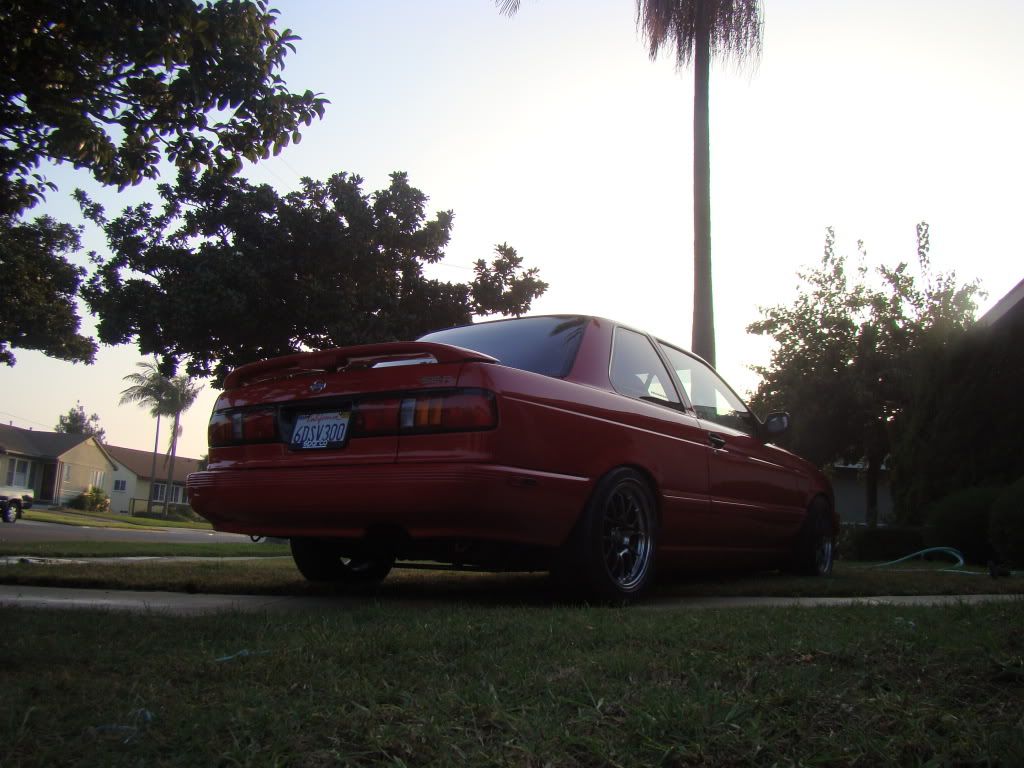
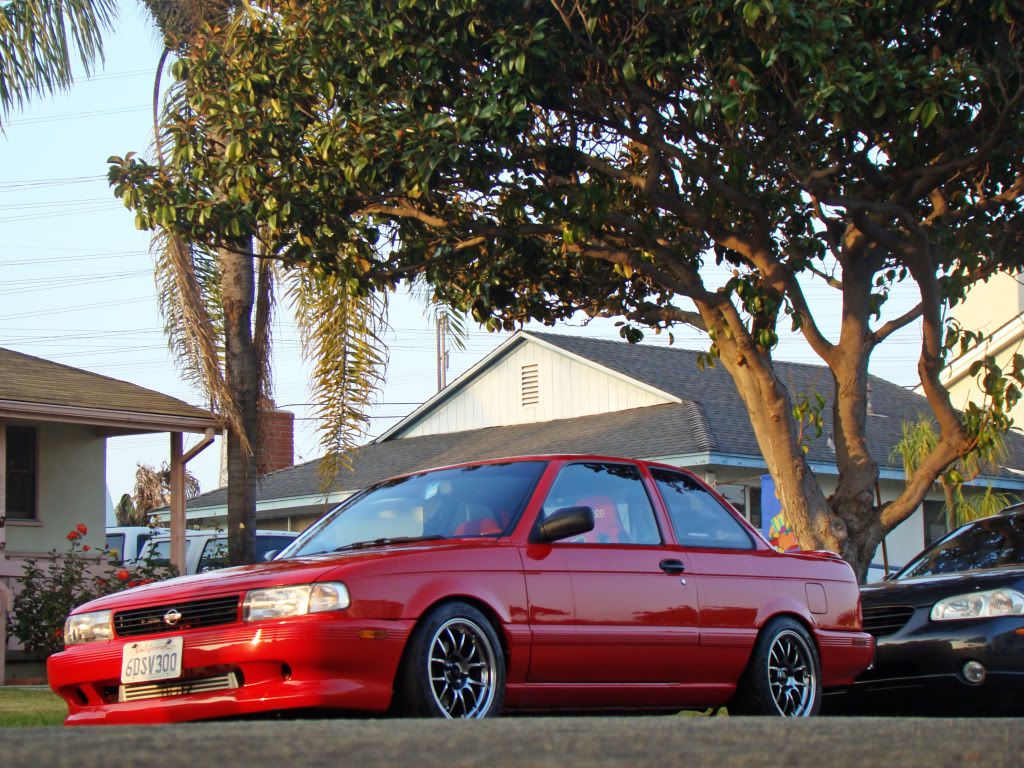
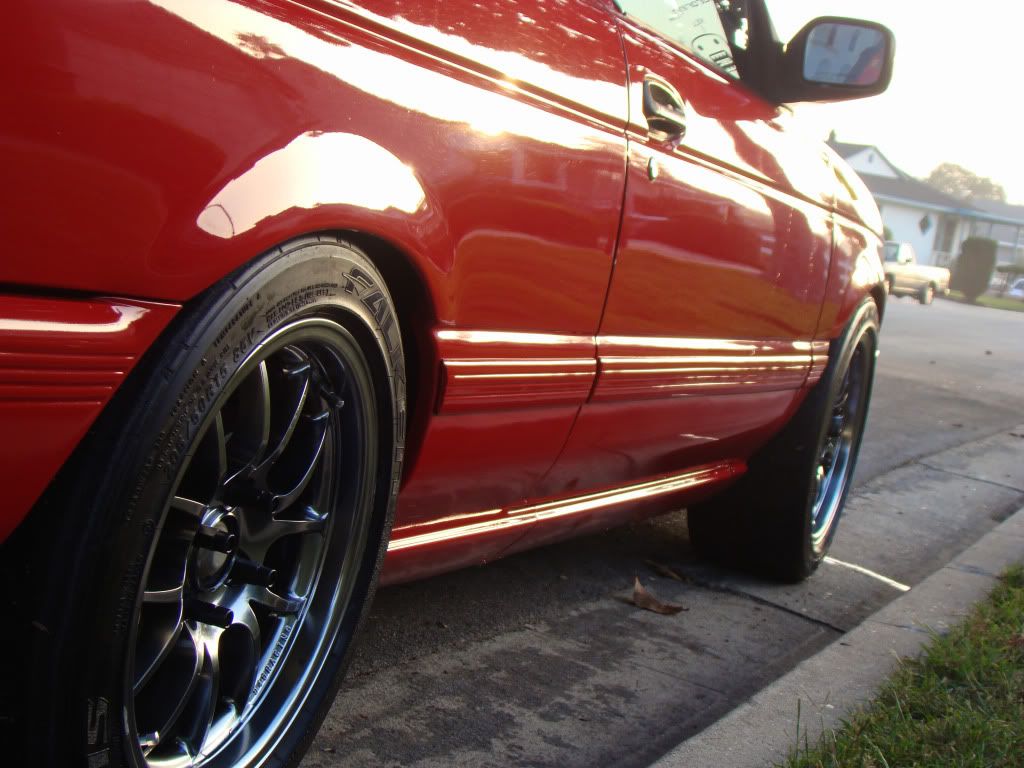
The fronts were very straightfoward. Just be sure to re-torque everything down to manufacture specs.
In order to achieve your ride height, first drop the car using the settings the coilovers come with. Then measure how low you want to go. Measure the distance between quarter panel/fender and the top of the tire. Jack the car back up and turn the threaded collar clockwise in that amount.
The first test drive, I ran into a couple issues. My tires rubbed the inner fender lips in the rear. So I hammered those flat and then it started to rub the top of the fender well. So I'll work on that. Having the coilovers on the stiffest setting would help this as well.
Somehow, my right side tie arm got misaligned giving me massive toe out while the driver's side was fine. So I eyeballed it and fixed that issue.
The car vibrates more with I'm assuming because of the solid mounts.
In about a week, I'll report how it operates under regular street driving and spirited driving.
I know a very few of us own this suspension so I thought I would give it a shot and see how it performs.
~Megan Racing Coilovers
~Spring rates: 6kg/4kg (roughly 330/220)
Purchased from Sonic Motor - Power and Performance Great service and products. Highly recommend them.
The install took me a full weekend. This is my process. What you may do could be different, but in the end, it's just a matter of removing old suspension and installing the new suspension.
Here is what comes in the box. (exluding the car keys)

First I attacked the rears.
Comparison pic:

Here it is installed.

When installing the rears and you have a progress rear sway bar, I would recommend discontecting it for it causes a bind when trying to move around the knuckles. Stock sway, you would have to disconnect it anyways. Be sure to adjust ride height accordingly.
Now the fronts.
Comparison pic:

Installed;

This results to the final product:


The fronts were very straightfoward. Just be sure to re-torque everything down to manufacture specs.
In order to achieve your ride height, first drop the car using the settings the coilovers come with. Then measure how low you want to go. Measure the distance between quarter panel/fender and the top of the tire. Jack the car back up and turn the threaded collar clockwise in that amount.
The first test drive, I ran into a couple issues. My tires rubbed the inner fender lips in the rear. So I hammered those flat and then it started to rub the top of the fender well. So I'll work on that. Having the coilovers on the stiffest setting would help this as well.
Somehow, my right side tie arm got misaligned giving me massive toe out while the driver's side was fine. So I eyeballed it and fixed that issue.
The car vibrates more with I'm assuming because of the solid mounts.
In about a week, I'll report how it operates under regular street driving and spirited driving.
Last edited by Prodrifter
on 2012-11-17
at 04-41-36.


 Be the first to like this post.


 Back to top
