HOW TO: Build a (Quiet & Inexpensive), 3" Side Exit Exhaust
***Awesome for you sleeper turbo guys on a budget, or people who like a more reserved tone***
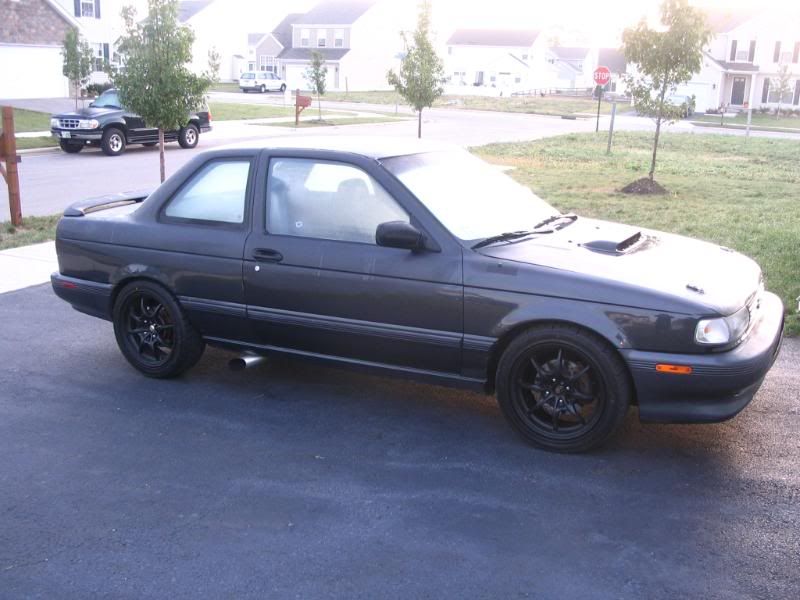
***Awesome for you sleeper turbo guys on a budget, or people who like a more reserved tone***
Sound Clip Provided by Tank & Coach: http://www.fatrabbitclub.com/video/ipssr20day2.wmv
[/size]
Intro
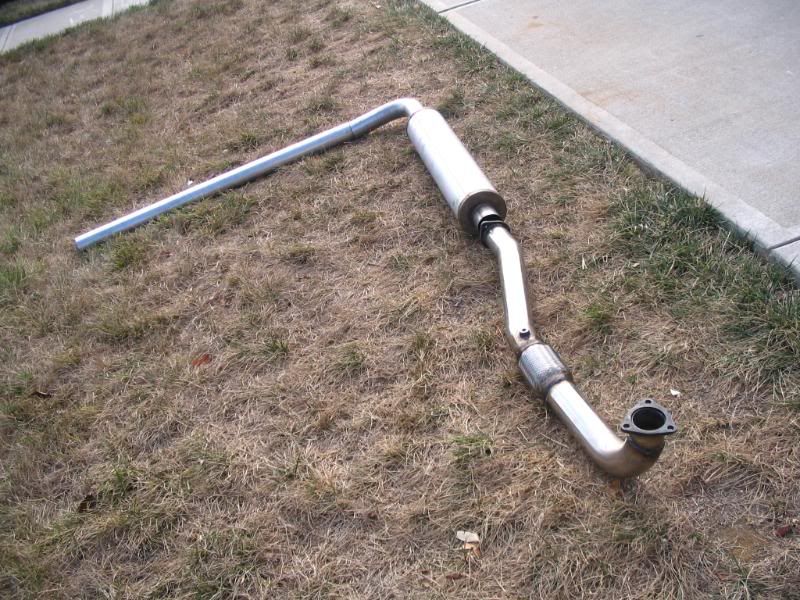
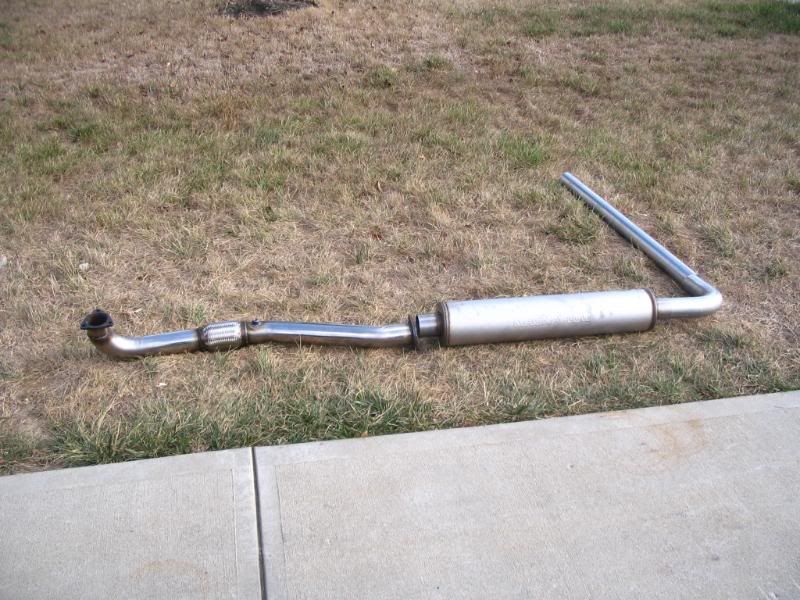
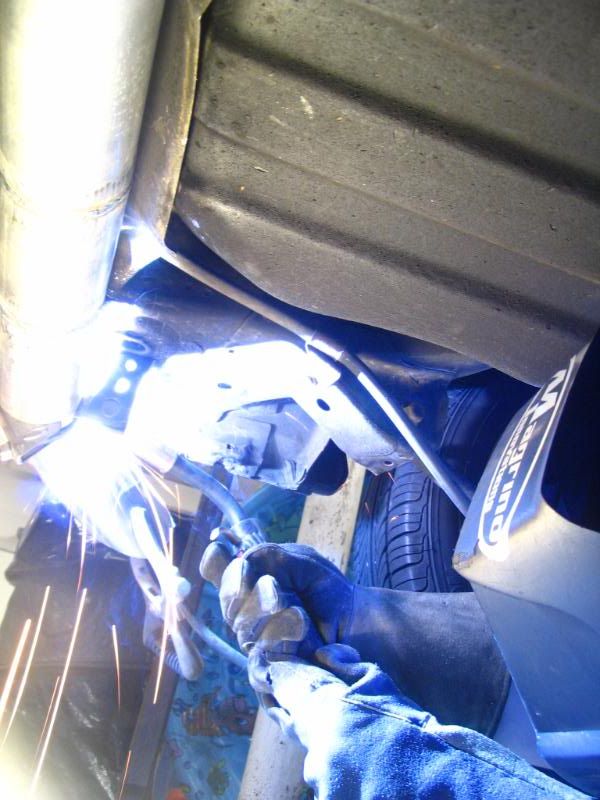
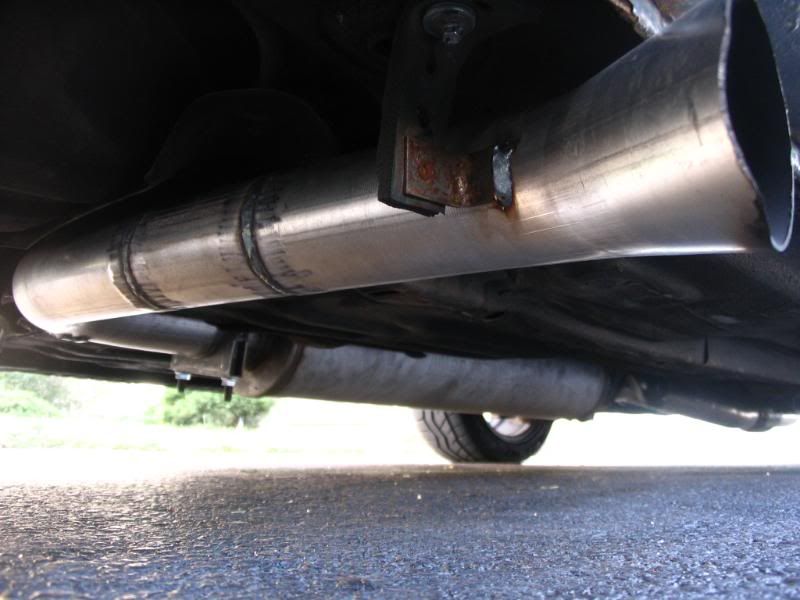
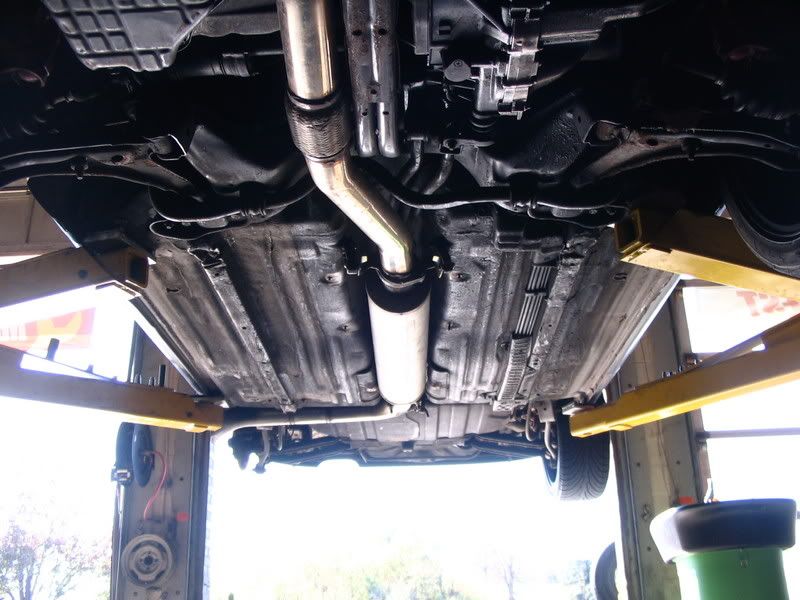
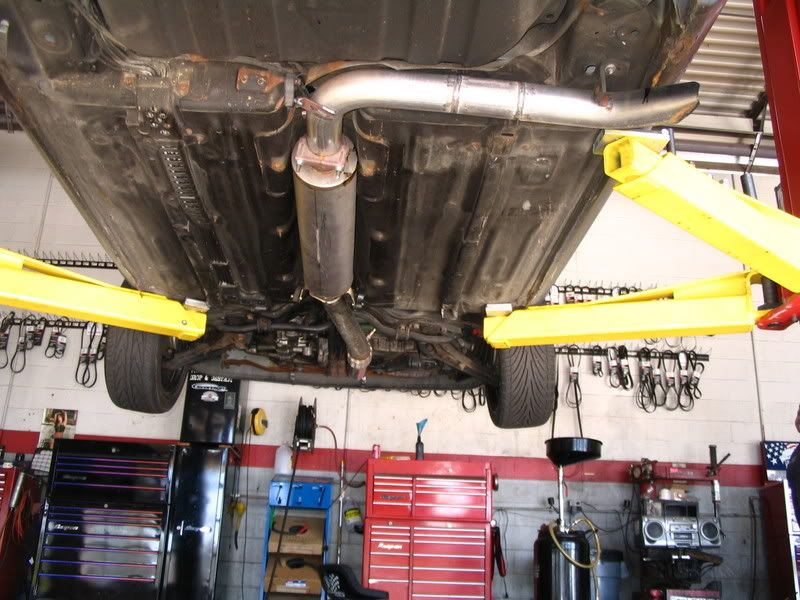
This how to is just a guide to make yourself a very nice exhaust for under $200 that will be more quiet than any aftermarket exhaust (even on an n/a car). The exhaust will fit perfectly on a b13 w/ only two cuts involved. It worked VERY well for me… length wise the pieces were an exact fit, and fitment is very tight. As a matter of fact there are only 3 welds needed. If you don't believe me ask some of the boys from the last Ohio meet.... its quiet as hell. Video's will be up soon... The exhaust is very sound, but just keep in mind. Using this guide, you will not use a catylic converter (which is illegal in states with emmision regulations). Installing an exhaust w/o abiding by your local OEPA regulations is illegal and should be done at your own risk. On that note, if you want to follow this guide and do a side exit with a cat for emissions purposes, just understand that it will probably be a little louder. Special Thanks to Don (aka TOOQIKK) for parts sources and Glen from Magrino Innovations for welding this baller exhaust together for me in such a limited amount of time!!
Clearance?
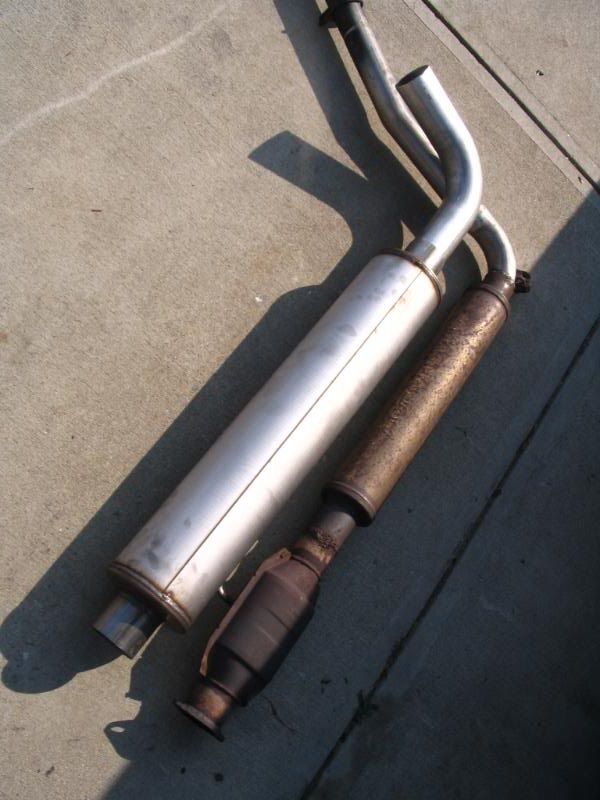
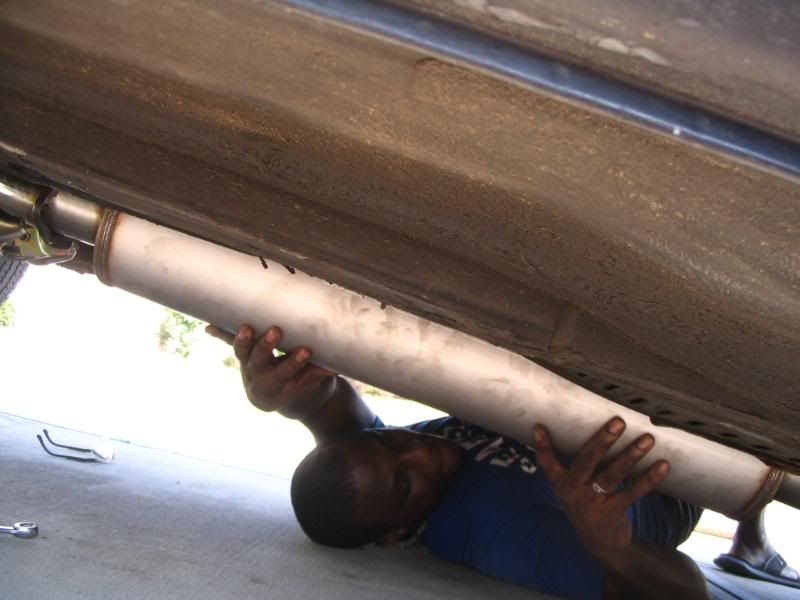
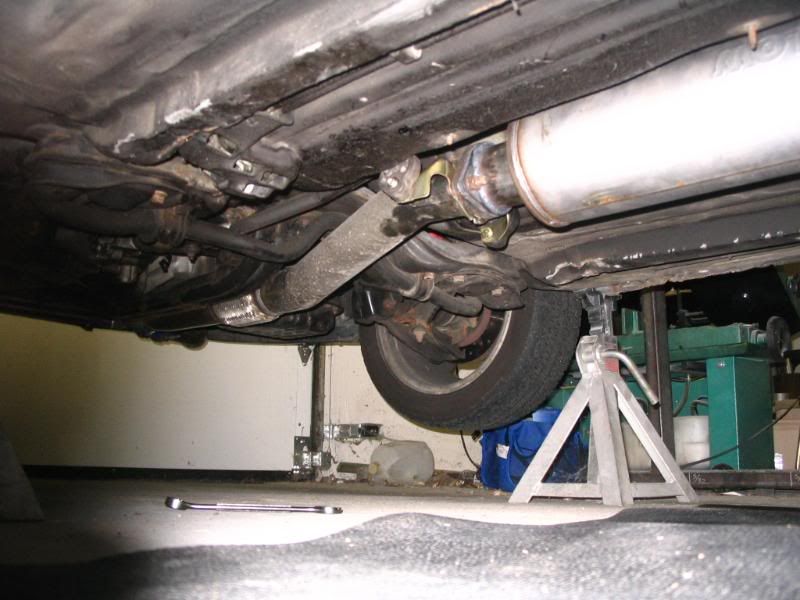
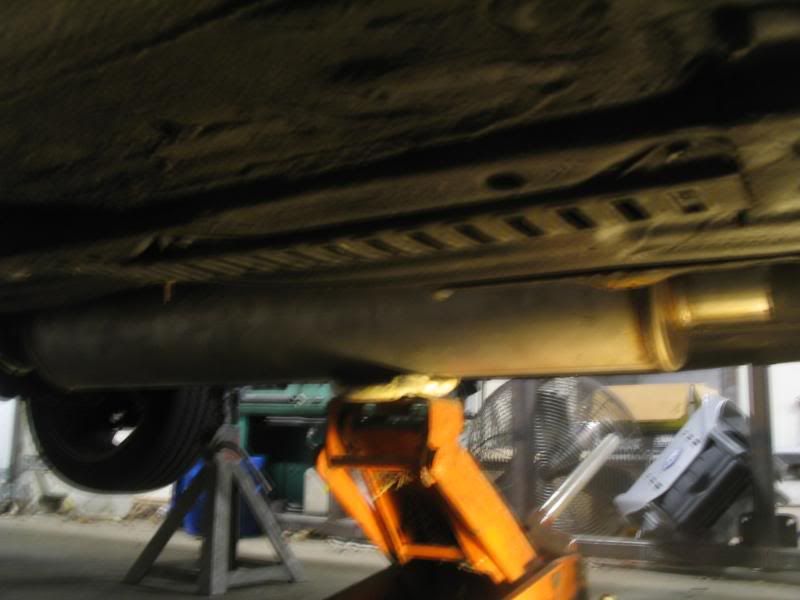
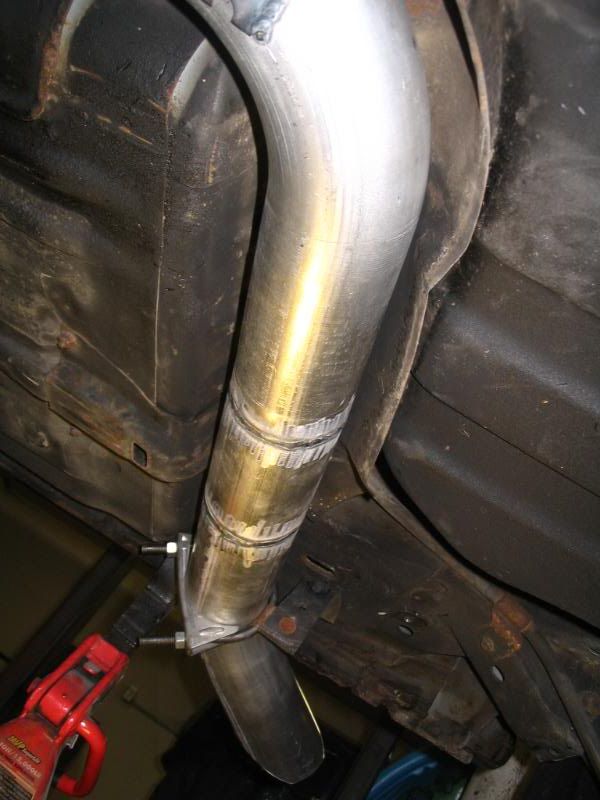
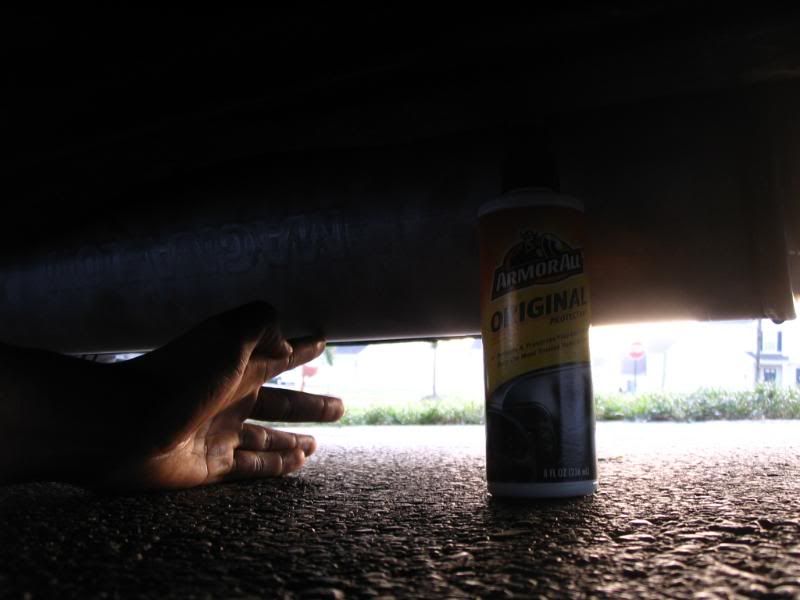
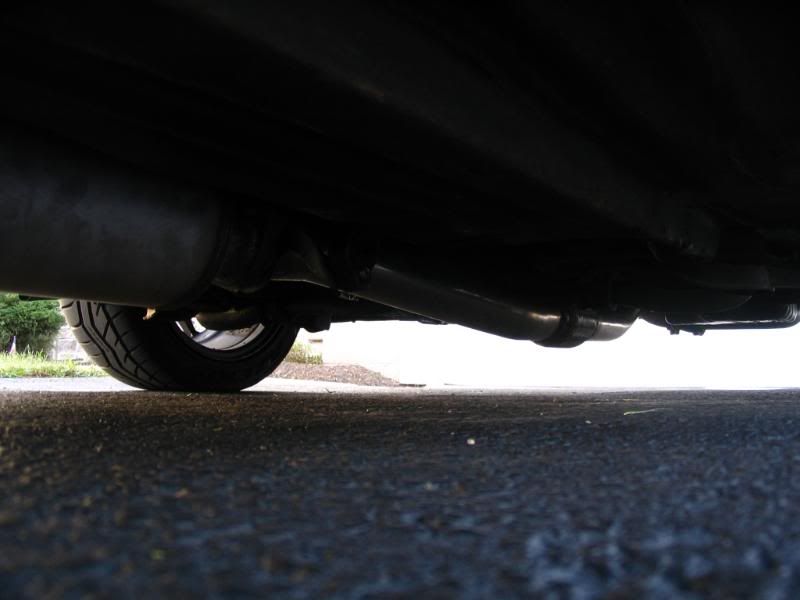
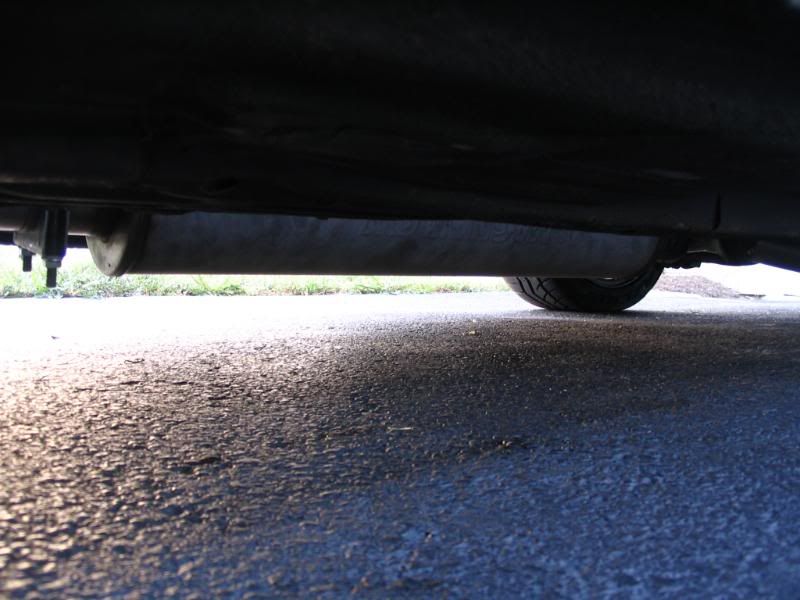
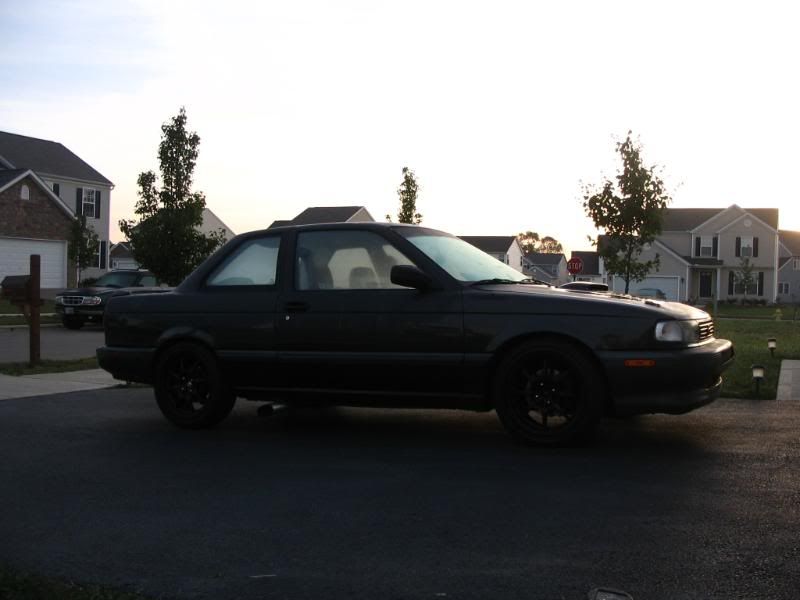
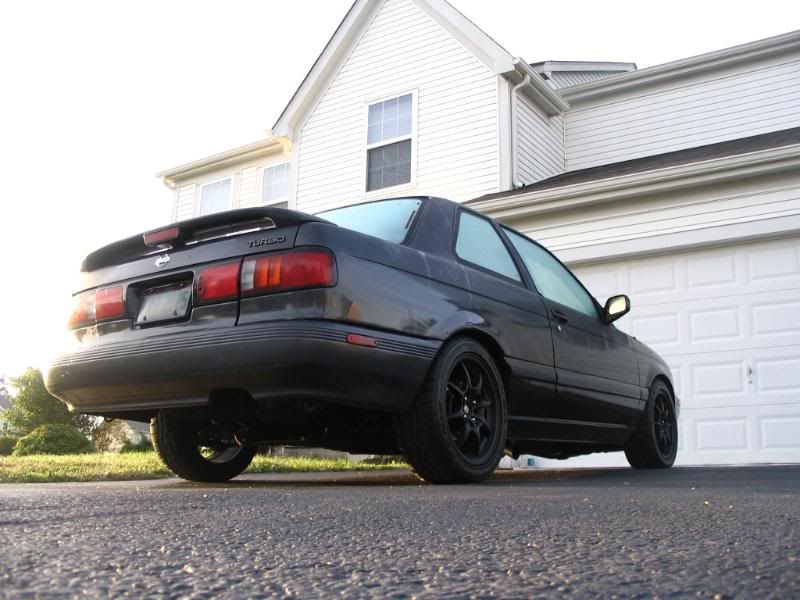
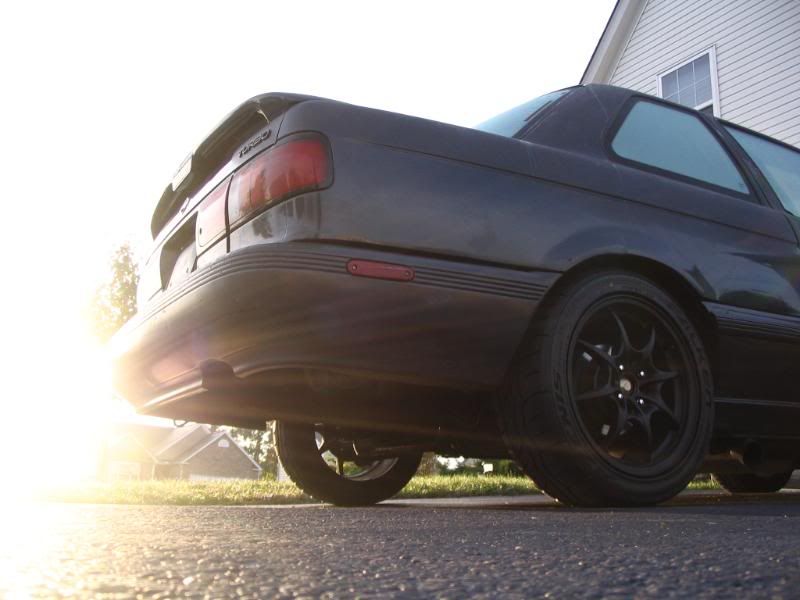
This is the beauty… I’m currently using this exhaust on my b13. I have the car lowered to where I have two finger widths from top my tire to the fender in the front and rear on a 195/50/15 tire. In other words I’ve got a moderate lowering on my ride. In order to get the larger 6” diameter resonator to fit the removal of the middle exhaust shields from underneath the vehicle in necessary. This isn’t an issue as this resonator doesn’t get as hot as the smaller diameter resonators. I can reach my hand under and touch the exhaust with m hands after a good run no problems. The shifter & center console doesn’t get warm at all. I have it pushed as far as it gets under there and I have no problems with the ebrake assembly either. There is literally only a few millimeters of clearance from the side walls of the exhaust passage so getting the fitment tight is imperative.
Materials Needed for Super Quiet Side Exit: Total Cost = $127-196[/b]
1 - 3" Straight  16 Gauge Steel Pipe (Ebay) [color=darkgreen][b]$20-$30[/b][/color] *** Only need 5" Straight Section

1 - 3" 90* 16 Gauge Steel Bend; 4.5" Rad. & 6" Legs (Ebay) [color=darkgreen][b]$10-20[/b][/color]

1 - 3" 45* 16 Gauge Steel Bend; 4.5" Rad. & 6" Legs (Ebay) [color=darkgreen][b]$10-20[/b][/color] (optional)

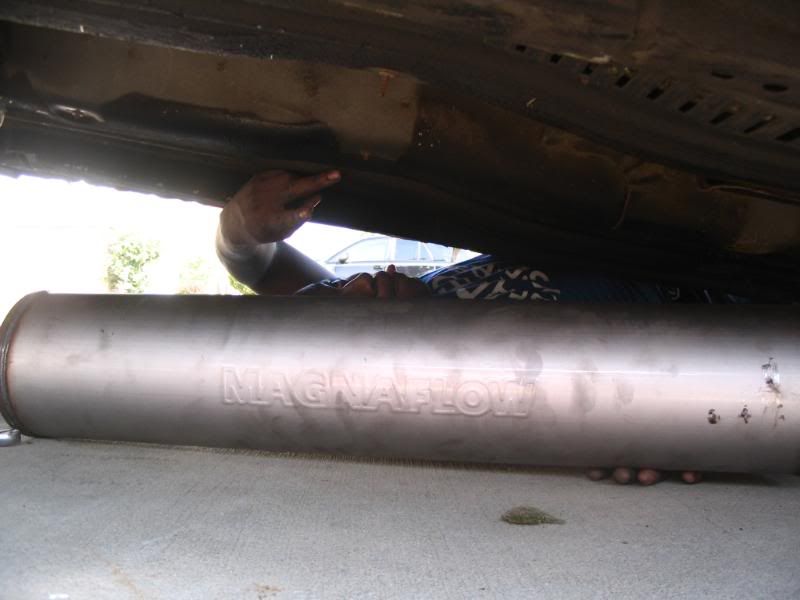
1 - 3" Perforated Magnaflow Resonator Part# 12641 (36" Total Length; 6" Width) [color=darkgreen][b]$70-90[/b][/color]

1 - 3" Two Hole Exhaust Gasket (Ebay) [color=darkgreen][b]$3-8[/b][/color]

1 - 3" Two Hole Steel Exhaust Flange (VRS or Local Exhaust Shop) [color=darkgreen][b]$7-17[/b][/color]

2 - 3" Exhaust Clamps [color=darkgreen][b]$2-3[/b][/color]

1 - Universal Wire Exhaust Hanger (Auto Zone) [color=darkgreen][b]$2-3[/b][/color]

1 - Heavy Duty Swivel Exhaust Hanger (Auto Zone) [color=darkgreen][b]$2-3[/b][/color]

2 - 17mm Bolts & Corresponding Nuts [color=darkgreen][b]$1-2[/b][/color]
Extra Materials that May Be Needed for Including a Cat:
2 - 3" Two Hole Exhaust Flanges

1 - 3" In & Out Catylic Converter (Length = [b][i]x[/i][/b])

1 - 3" Resonator 6" Diam (Use Length = 36" - [b][i]x[/b][/i] - 1")
Tools Used:
4 - Jackstands

1 - Racing Hydraulic Jack

1 - 10mm, 12mm, 14mm, 17mm Open End/Ratcheting Wrench

1 - 3/8" Ratchet

1 - 1 - 10mm, 12mm, 14mm, 17mm Deep & Shallow Sockets

1 - Sharpie(R) Permanent Marker

1 - Self Tapping Screw for New Swivel Exhaust Hanger

1 - TIG/MIG Welder, or a Good Friend that can Weld for You

1 - Sawzall, Bandsaw, Grinder, Table Saw, or Dremel w/ Large Cutting Wheel (Something to Cut Exhaust Piping)
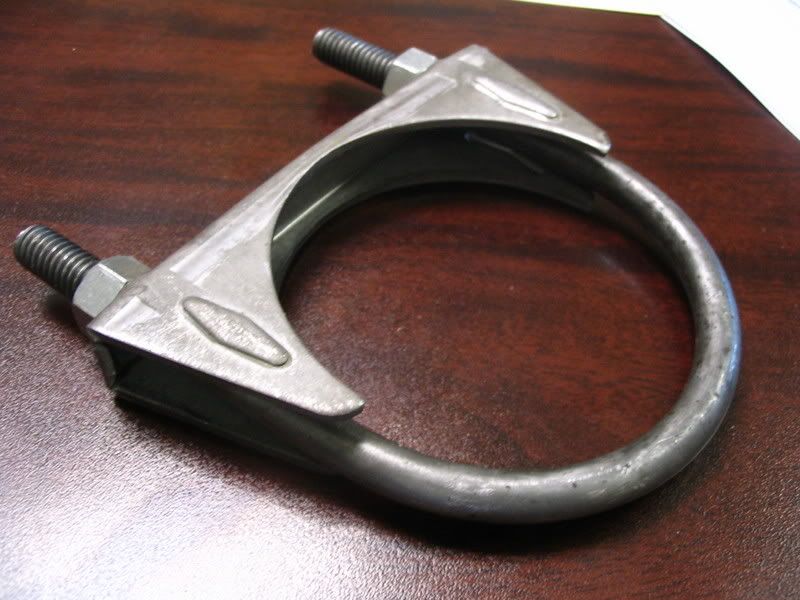
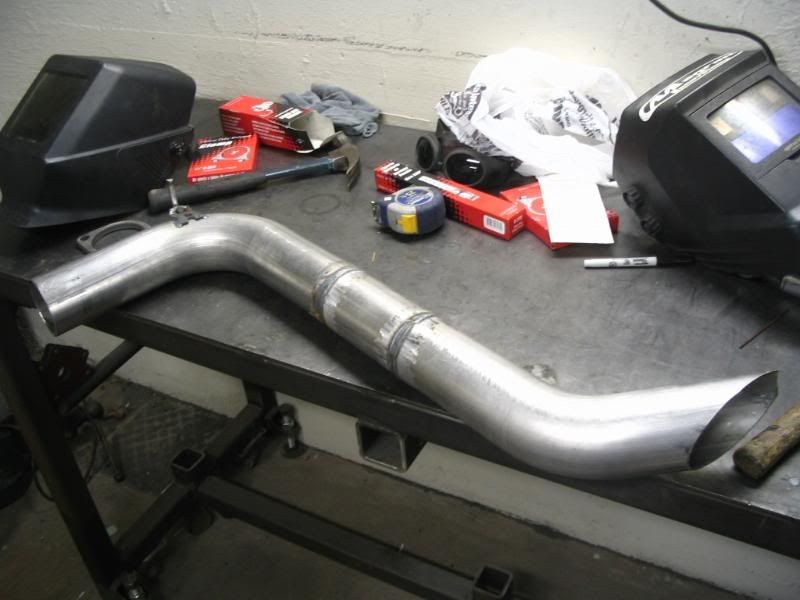
Here is an example of the 3" exhaust clamps you can use to clamp the 90* bend into the back end of the new resonator
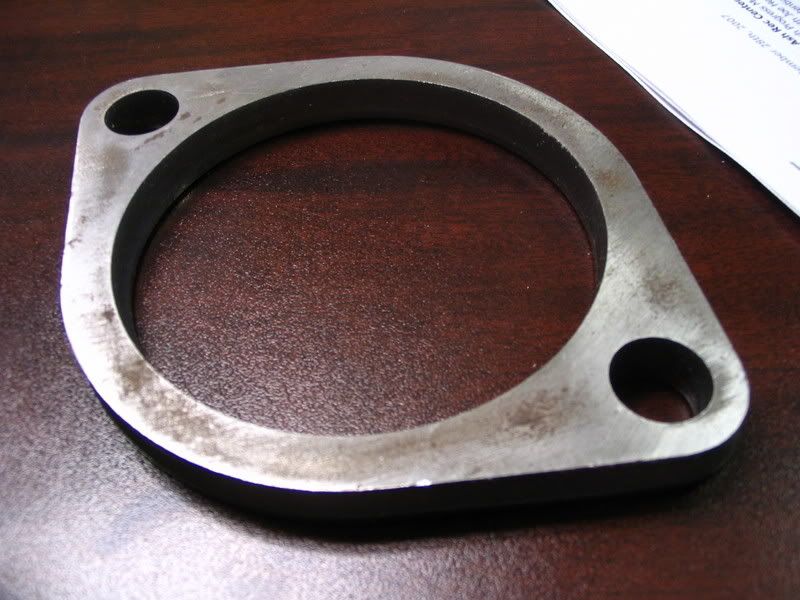
Here is the gasket side of the 3" flange you can buy, this is an extra one I bought for later, you will weld the front side of the resonator directly to the other side of this flange
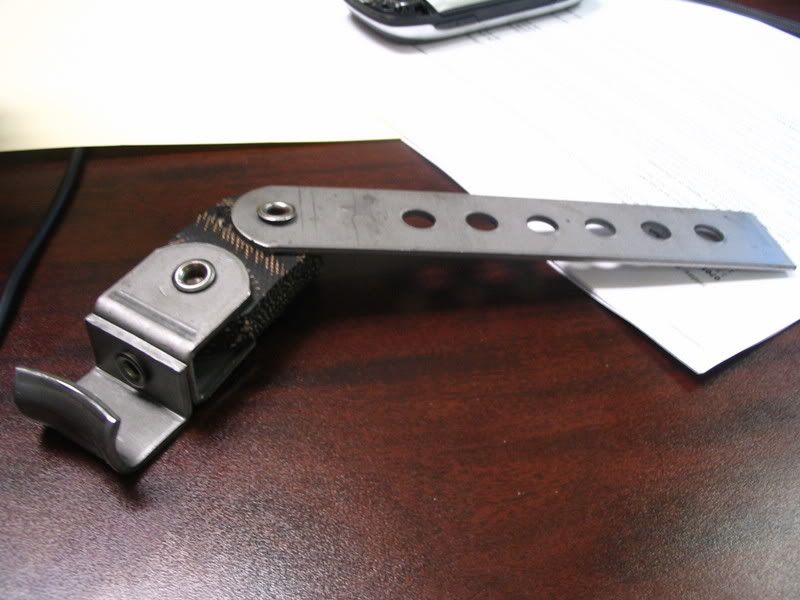
Here is an example of a Swivel Hanger you can purchase from any autozone or parts place... for the end of the side exit.
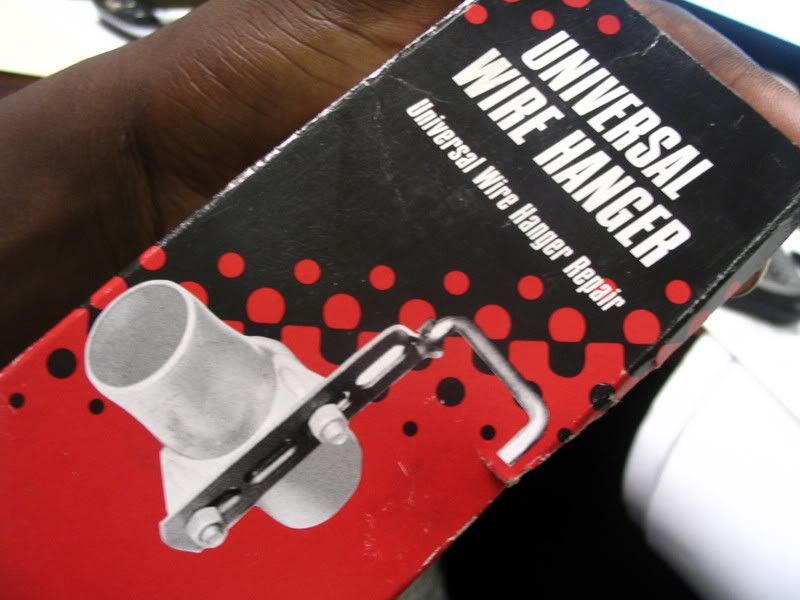
Here is an example of the Universal Hanger you will use for the 90 bend hanger in the stock location... Glen cut the bracket part in half and welded this end to the 90* bend... its all shown below, Let's get this How To started!!!!

Here is the gasket side of the 3" flange you can buy, this is an extra one I bought for later, you will weld the front side of the resonator directly to the other side of this flange

Here is an example of a Swivel Hanger you can purchase from any autozone or parts place... for the end of the side exit.

Here is an example of the Universal Hanger you will use for the 90 bend hanger in the stock location... Glen cut the bracket part in half and welded this end to the 90* bend... its all shown below, Let's get this How To started!!!!


 Be the first to like this post.


 Under the train tracks where the sound echo's told me my shisit too loud and its modified.... Klootzack!!!! when i see him in court im gona tell him something in front the judge after i get my judgment cant wait
 .Yo where can i find one of those mufflers?? i have no cat either
 Its like my signiture but as i said i think this will make her less noisy the resonator could take a hike if i put in this 24" barrel.
 Back to top
