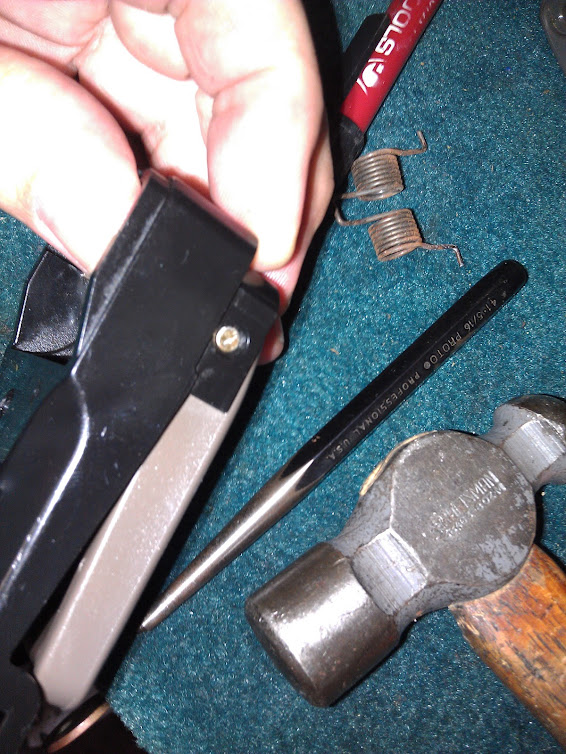
When I was replacing a window regulator I decided to repair a broken piece at the door handle...because I have extras. The broken piece is used to hold the trim piece in place (seen below):

It would have been much easier to swap the entire handle assy but of course they were different colors and I can't have that. So here we go...
First, make sure you have the correct side. There will be a stamp on the assembly marked with either LH or RH....I'm working on the right hand side so RH it is (no pic).
Remove the one mounting screw then carefully finagle the rods out, noting their location. Next, you need to remove the pin that's holding everything together. Note the direction the pin comes out because it needs to go in the same way.


Using a pick, remove the spring (NOTE THE ORIENTATION!) and pin. A pick with an angle is preferred here. Kinda tricky but not that bad. If you work on cars, you gotta have a set of picks!

I pushed the pin out with another pick. Once everything is disassembled and you have the pieces you're going to use, it's time for reassembly. I used the straight pick to help align things. The hardest part was getting the spring positioned correctly. Slowly insert the straight pick on the opposite side where the pin is to be installed...pushing the spring down as you're inserting the pick...until you're all the way through.

Then, push the straight pick out with the rod as you install it. Don't tap it into place just yet...you may need to disassemble if you run into issues with the spring. One side of the spring is more difficult than the other and the hard side needs to be done first. The hard side is on the right in the pic below...and the spring should look like this when you're done.

Tap the pin back into place and reinstall. Lube with white lithium grease.


It would have been much easier to swap the entire handle assy but of course they were different colors and I can't have that. So here we go...
First, make sure you have the correct side. There will be a stamp on the assembly marked with either LH or RH....I'm working on the right hand side so RH it is (no pic).
Remove the one mounting screw then carefully finagle the rods out, noting their location. Next, you need to remove the pin that's holding everything together. Note the direction the pin comes out because it needs to go in the same way.


Using a pick, remove the spring (NOTE THE ORIENTATION!) and pin. A pick with an angle is preferred here. Kinda tricky but not that bad. If you work on cars, you gotta have a set of picks!

I pushed the pin out with another pick. Once everything is disassembled and you have the pieces you're going to use, it's time for reassembly. I used the straight pick to help align things. The hardest part was getting the spring positioned correctly. Slowly insert the straight pick on the opposite side where the pin is to be installed...pushing the spring down as you're inserting the pick...until you're all the way through.

Then, push the straight pick out with the rod as you install it. Don't tap it into place just yet...you may need to disassemble if you run into issues with the spring. One side of the spring is more difficult than the other and the hard side needs to be done first. The hard side is on the right in the pic below...and the spring should look like this when you're done.

Tap the pin back into place and reinstall. Lube with white lithium grease.


 Back to top
