We all know that our taillights are bound to leak at some point or another. Here is a cheap and inexpensive way to Reseal your taillights. This I close to how Nissan seals their taillights from the factory floor. This also beats dealing with messy silicone.
-------
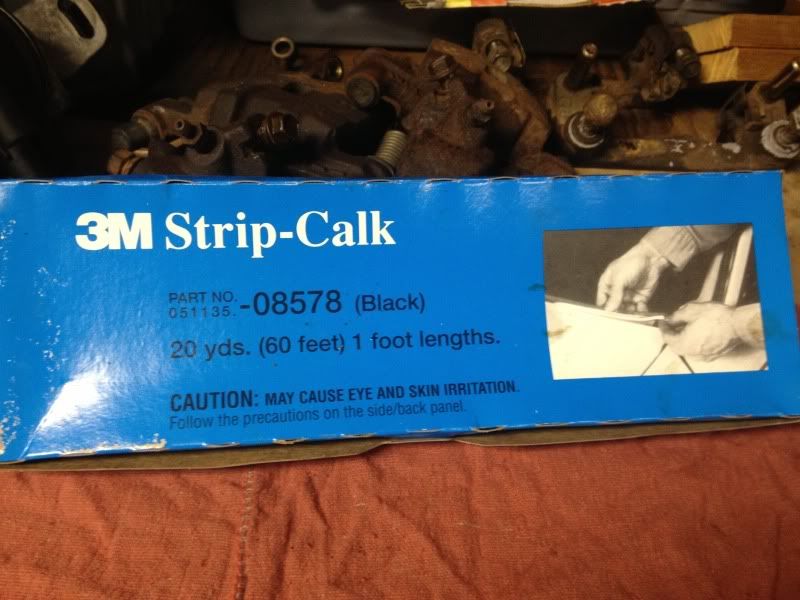
First off get yourself some 3M strip Calk. I believe I paided 8 dollars for this 20 yard box. You can get it from many places eBay etc.
------------------------------
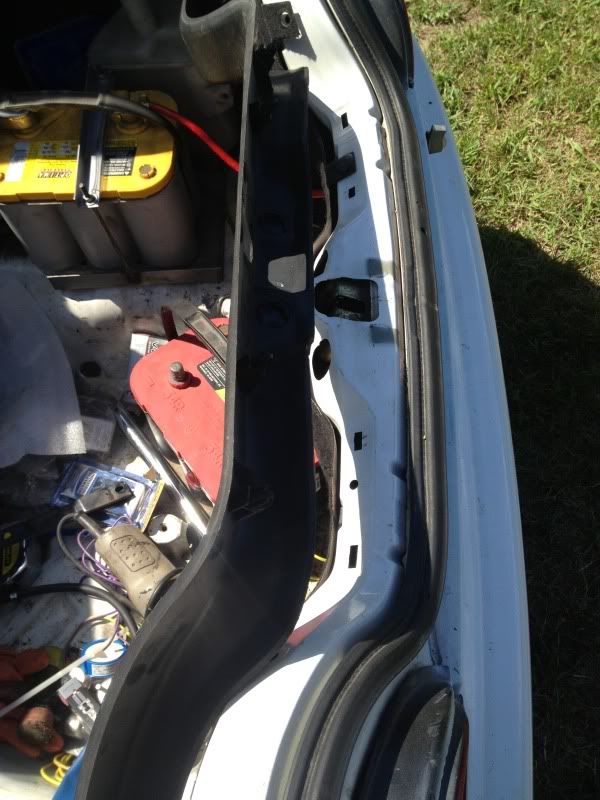
Then you will need to start to disassemble your trunk by removing the trim. A favorite handy flat head screw driver would help with the pesky push tabs...
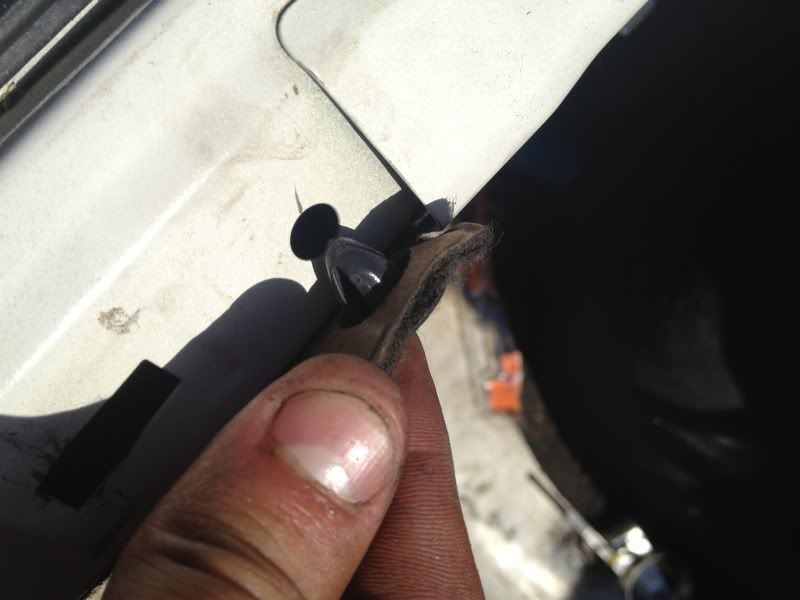
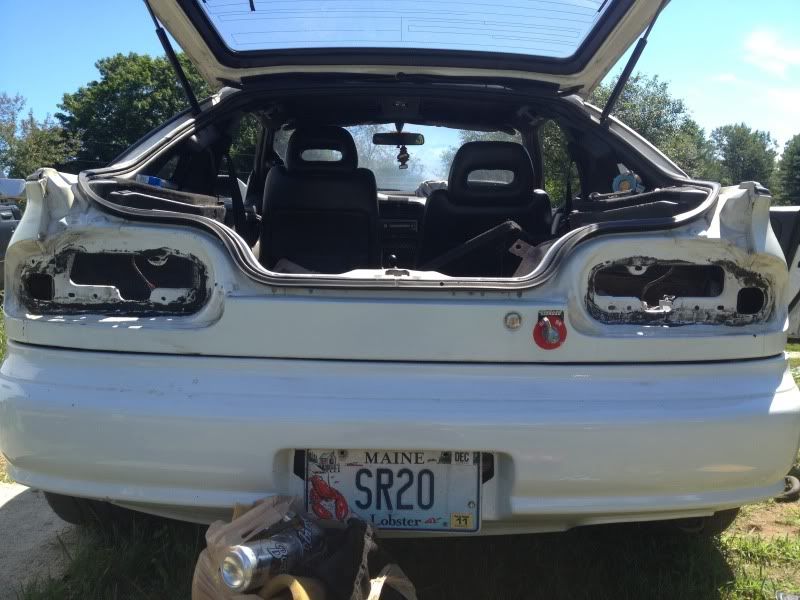
Then located your tail lights after you have removed the cardboard/felt covering.
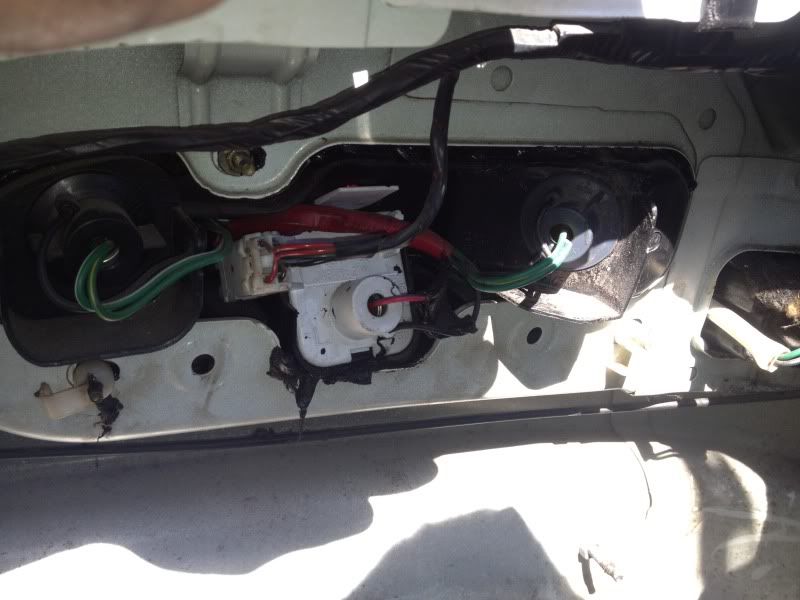
There should be 4 10mm nuts that need to be removed on each taillight.
-----------------------
Unplug your harness from the taillight housings and remove them. Once they are removed you should clean the remainder of the old strip calk off both the taillight itself and the mating surface of the tail of the vehicle
------------------------------------
Then once the taillights are clean of old strip calk, don't worry yourself they don't need to be spotless. Your ready to lay new calk down.
This picture is what you will see once removed, just scrape it off...
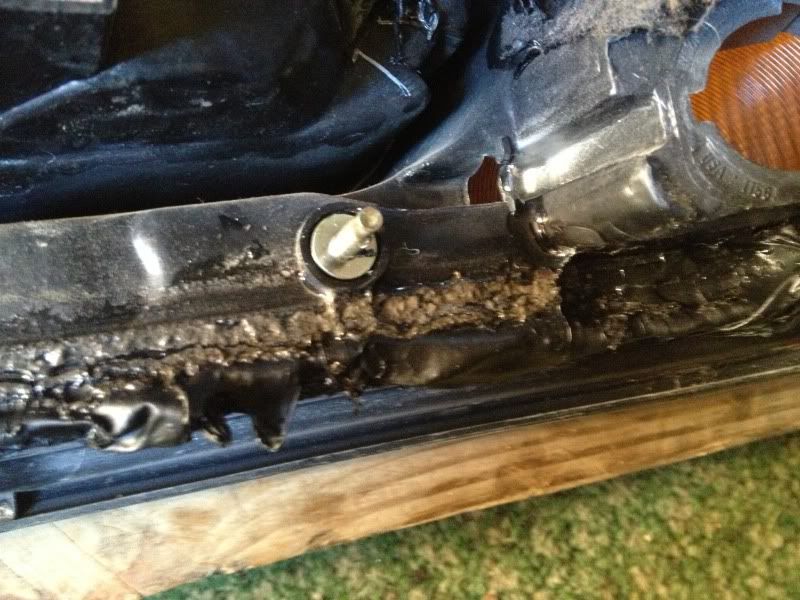
-----now this stuff is narrower than what they used at Nissan originally so you will have to make to rows side by side on the taillights.
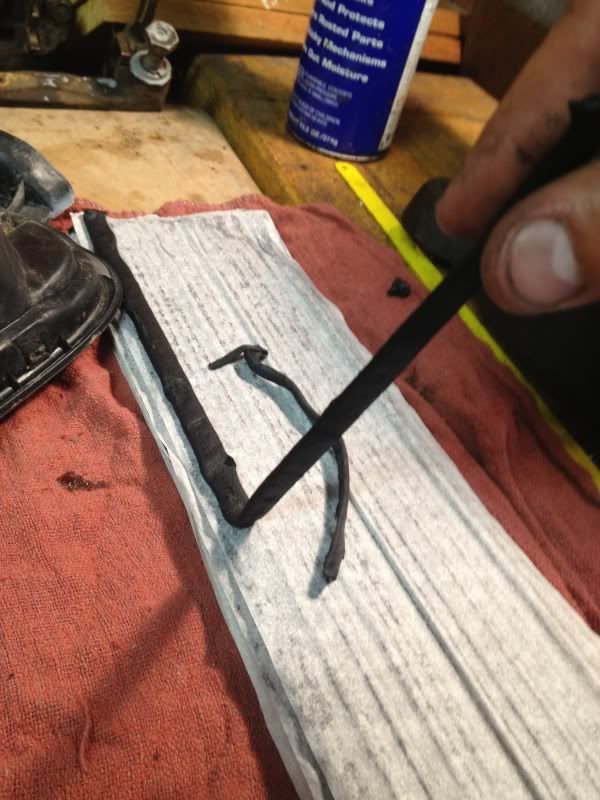
In this picture you can see that I used another strip on top for good measure ( I used to wake up after a rainstorm with a pond in my trunk)
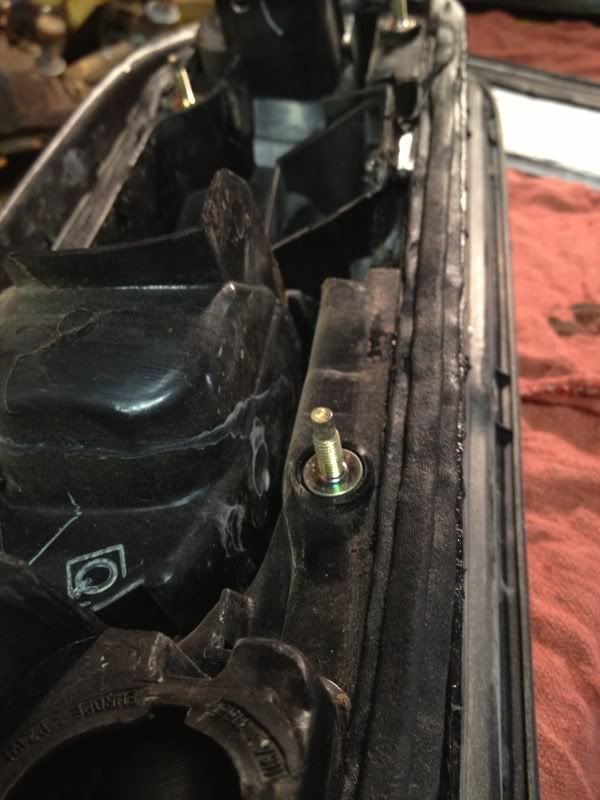
Reassemble as disassembled and you should have just the right amount of squished calk bead between your trunk trim and taillights. Good to go for another 20 years!
-------
First off get yourself some 3M strip Calk. I believe I paided 8 dollars for this 20 yard box. You can get it from many places eBay etc.

------------------------------
Then you will need to start to disassemble your trunk by removing the trim. A favorite handy flat head screw driver would help with the pesky push tabs...


Then located your tail lights after you have removed the cardboard/felt covering.
There should be 4 10mm nuts that need to be removed on each taillight.

-----------------------
Unplug your harness from the taillight housings and remove them. Once they are removed you should clean the remainder of the old strip calk off both the taillight itself and the mating surface of the tail of the vehicle

------------------------------------
Then once the taillights are clean of old strip calk, don't worry yourself they don't need to be spotless. Your ready to lay new calk down.
This picture is what you will see once removed, just scrape it off...

-----now this stuff is narrower than what they used at Nissan originally so you will have to make to rows side by side on the taillights.

In this picture you can see that I used another strip on top for good measure ( I used to wake up after a rainstorm with a pond in my trunk)

Reassemble as disassembled and you should have just the right amount of squished calk bead between your trunk trim and taillights. Good to go for another 20 years!


 Be the first to like this post.
 Back to top
