


When you buy the Fender Washer kits from our friend @b15azn - http://www.sr20-forum.com/tdmimports-kuo-s-garage/63343-tdmimports-fender-engine-bay-washer-kit.html - you get some extra inserts that you can use, five brass ones and five aluminum ones along with the tool to install them with(the socket with bolt and washer).

To install the actual fender washers and bolts you don't need anything special, just a 5/32 hex bit/key/socket/screwdriver or whatever; they are the same size and pitch as the bolts you remove from the fenders and such around the engine bay


Now, if you're wanting the dress up any other areas that arent threaded or have a cross threaded hole you can use the inserts that come with the kit.
The brass inserts are to be used on metal and the aluminum ones on plastic
Tools needed:
- 14mm wrench
- 10mm wrench or socket and ratchet
- whatever insert you'll be using
- Drill
- 23/64" drill bit
- 5/32" hex bit(to use on the bolts that come with the kit. If not using those, then whatever tools you need for the bolts you will be using)
In this example and how to I'm using a brass insert to fix a cross threaded rear license plate bolt on my 1992 NX2000
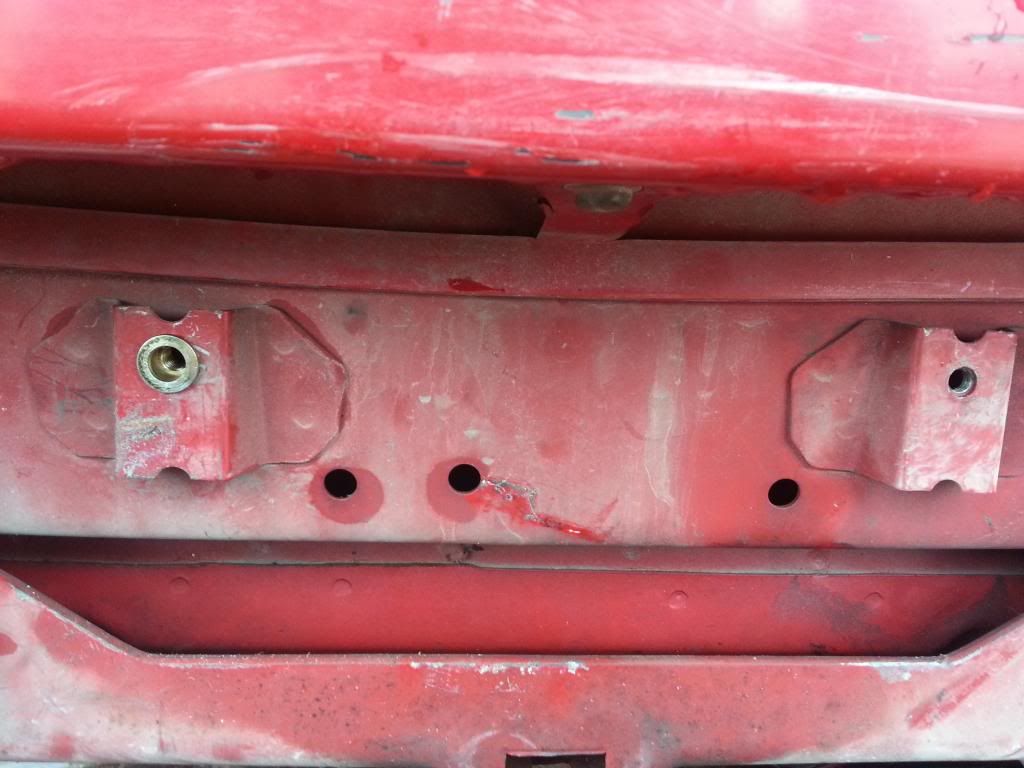
The bolt hole on the right was cross threaded so no screw or bolt would go in, thus my use of duct tape to stop the license plate from rattling
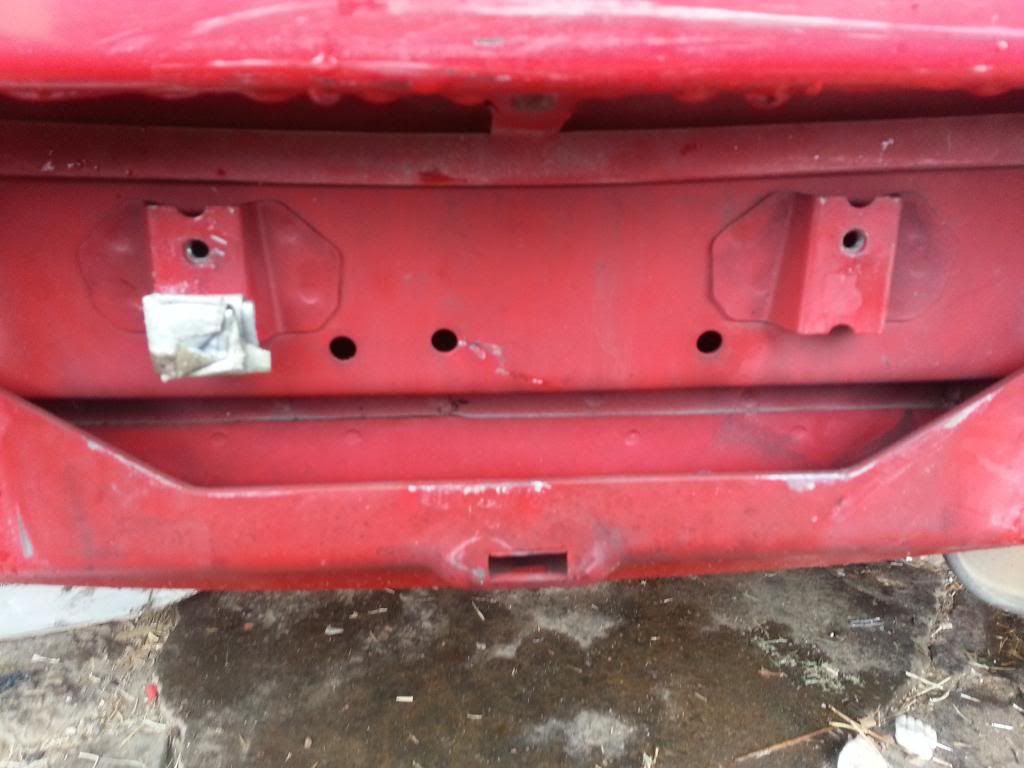
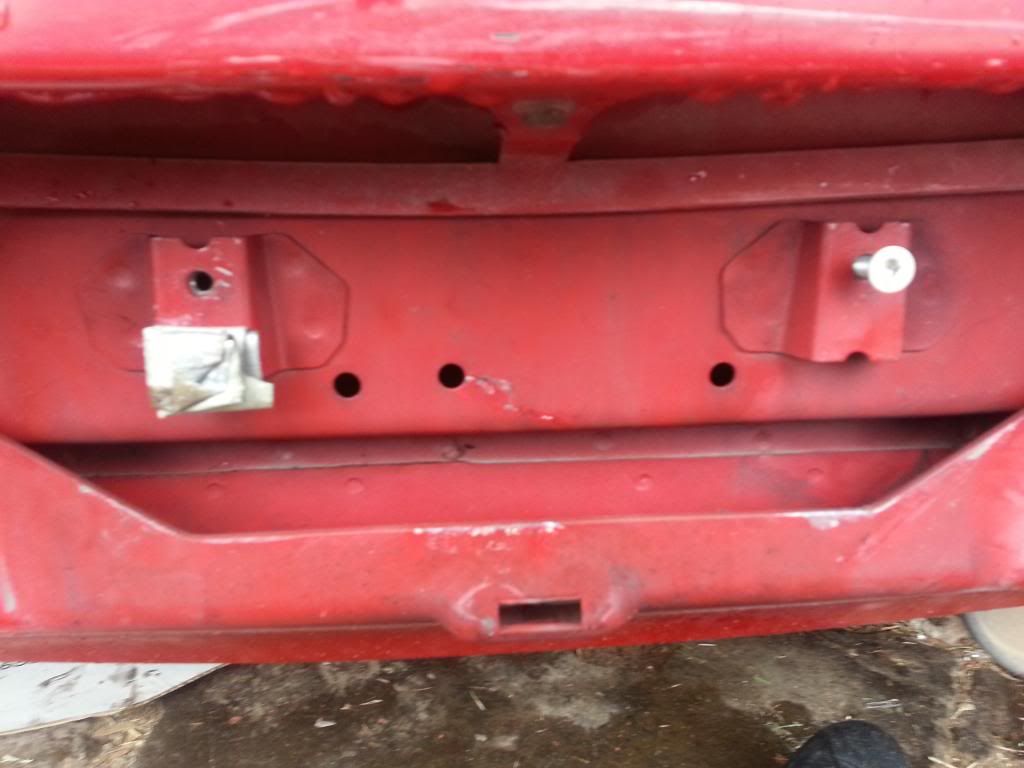
The right hole was perfectly fine and needed no attention, so I was just going to use an extra matching bolt that came with my kit
To use the insert though you will have to make the existing hole bigger - The size of the drill bit to use is a 23/64 bit
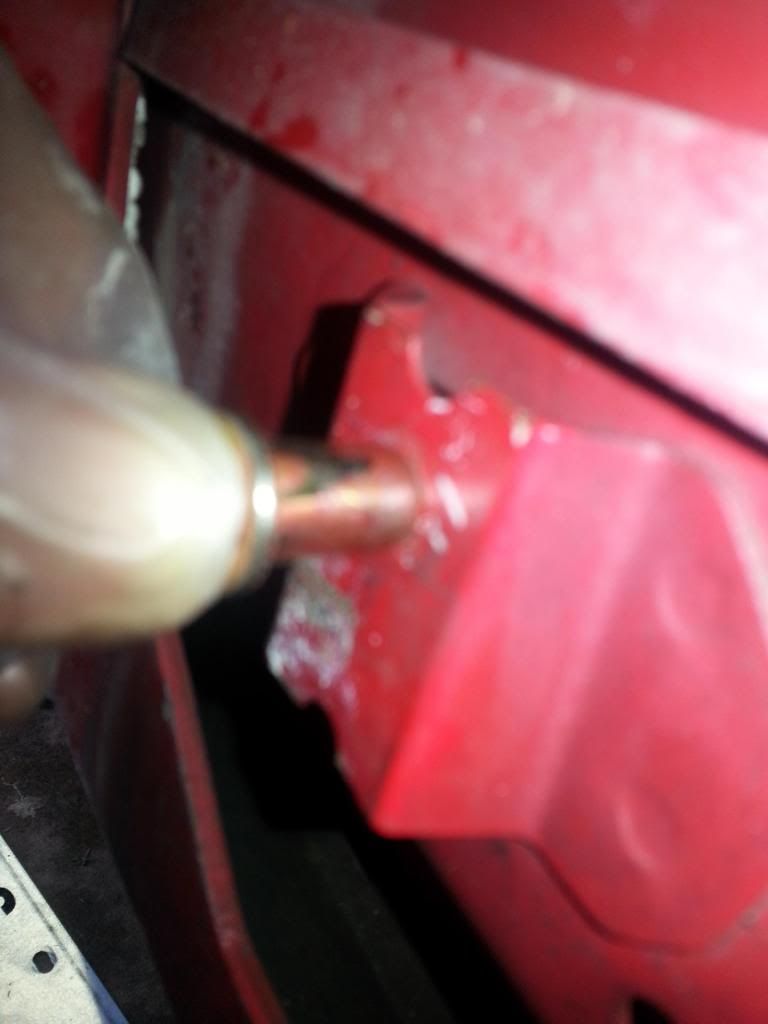
Once the hole is big enough put the insert you will be using on the insertion tool that comes in the kit, like so
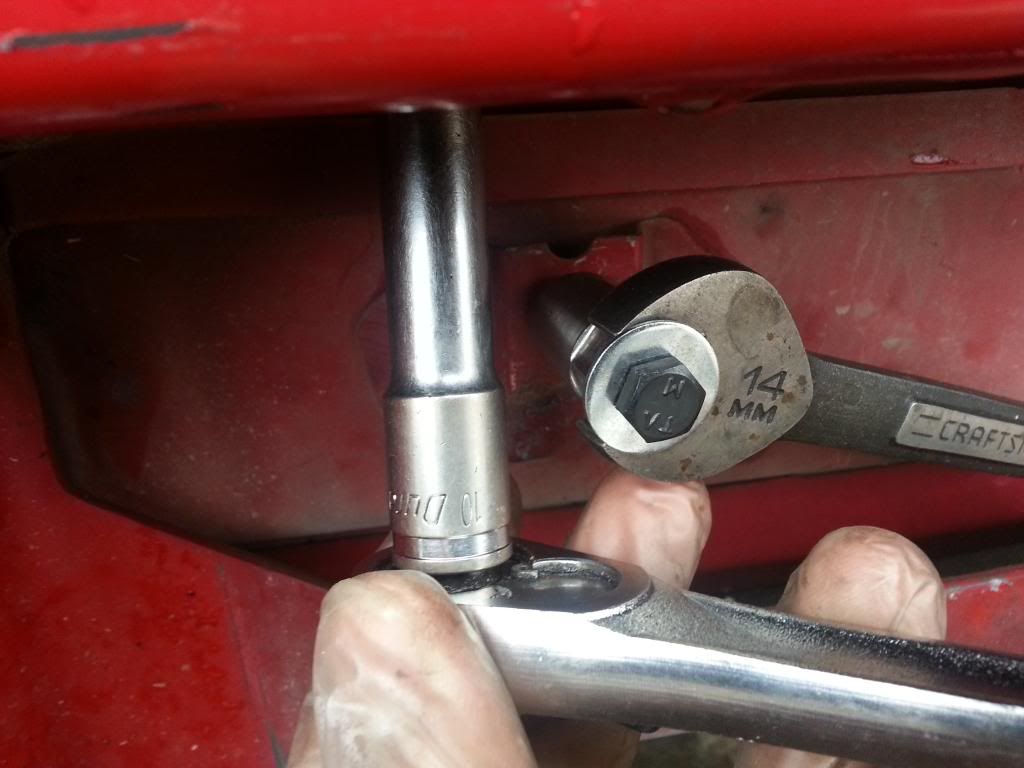
Put the insert into the hole you made and with your 14mm wrench hold the socket looking thing. Now with the 10mm socket or wrench start tightening the bolt until you feel comfortable with its tightness. You don't want to over tighten and cut the metal you're working on, then you really have a problem.
***(It would be easier to take the insertion tool apart and insert your 14mm wrench so that you dont use the open end and have it keep falling off)***
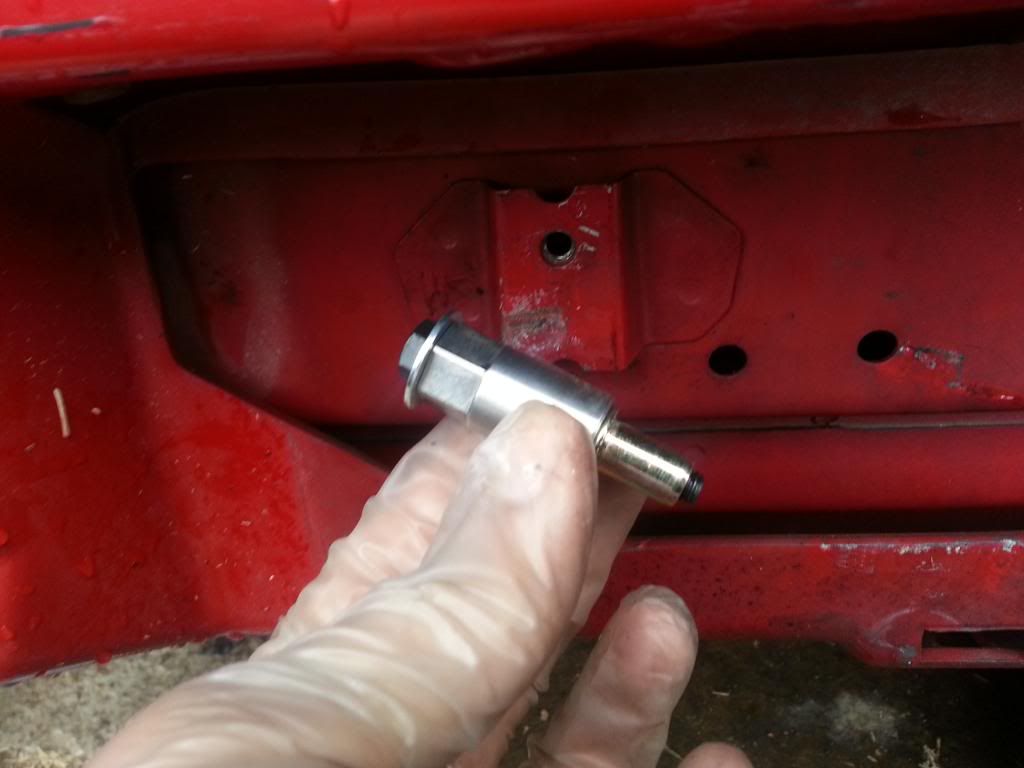
Once comfortable with the tightness of the insert, back the bolt out of the insertion tool and you'll have a permanent insert
Now enjoy the new threads

*******
Extra information:
Like previously stated the insert and bolts that come in the fender washers kit are the same size as many existing bolts on our cars. Thus the insert can be used with regular headed screws or bolts, not just the hex ones that come in the kit
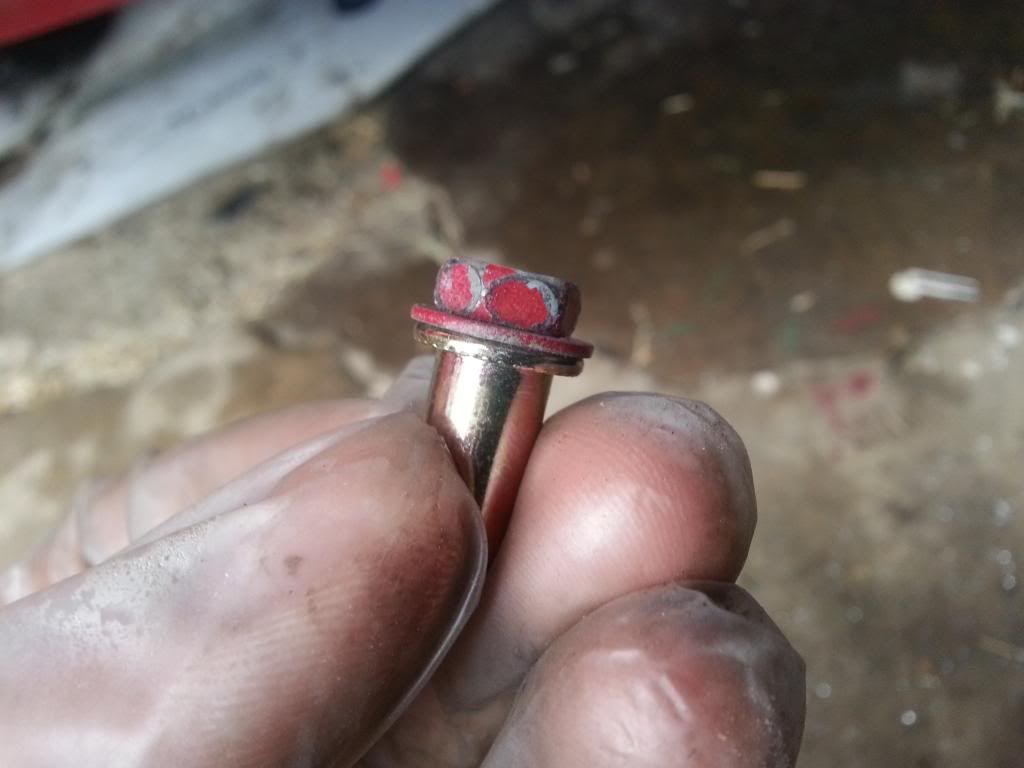
And also, this is how this all works, looking on the inside of the insert you'll see some space between the head of the insert and the threads below
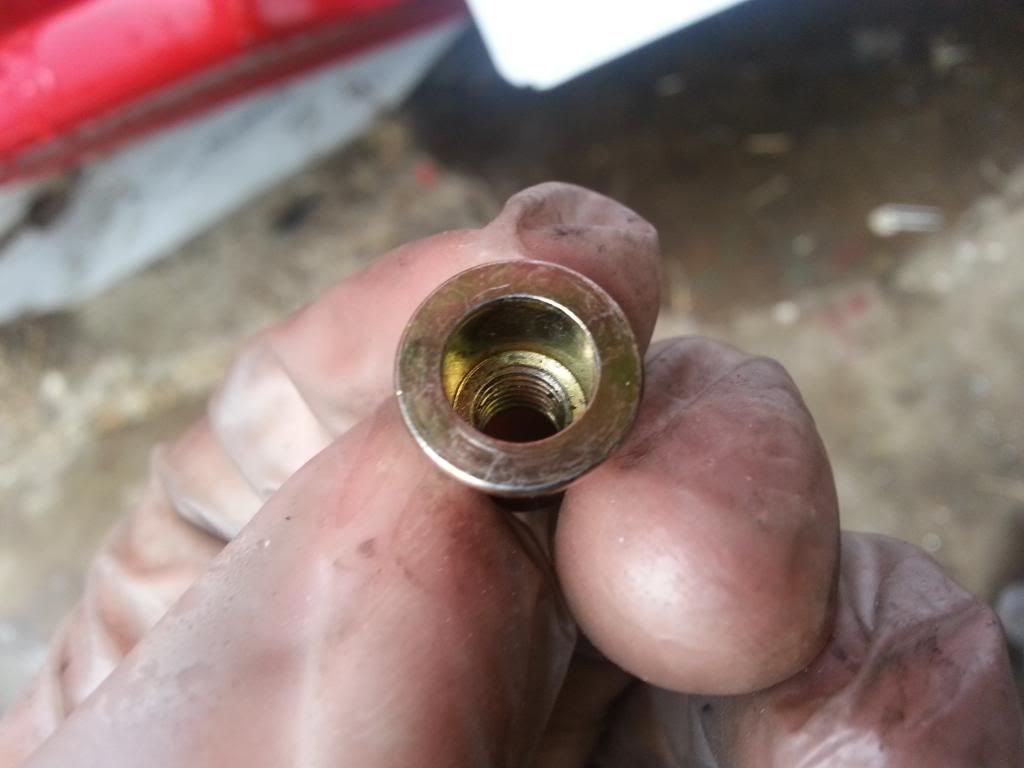
When the insert is tightened is causes the thread to pull up and make that thinner walled area spread outwards and sandwich the original metal on the car
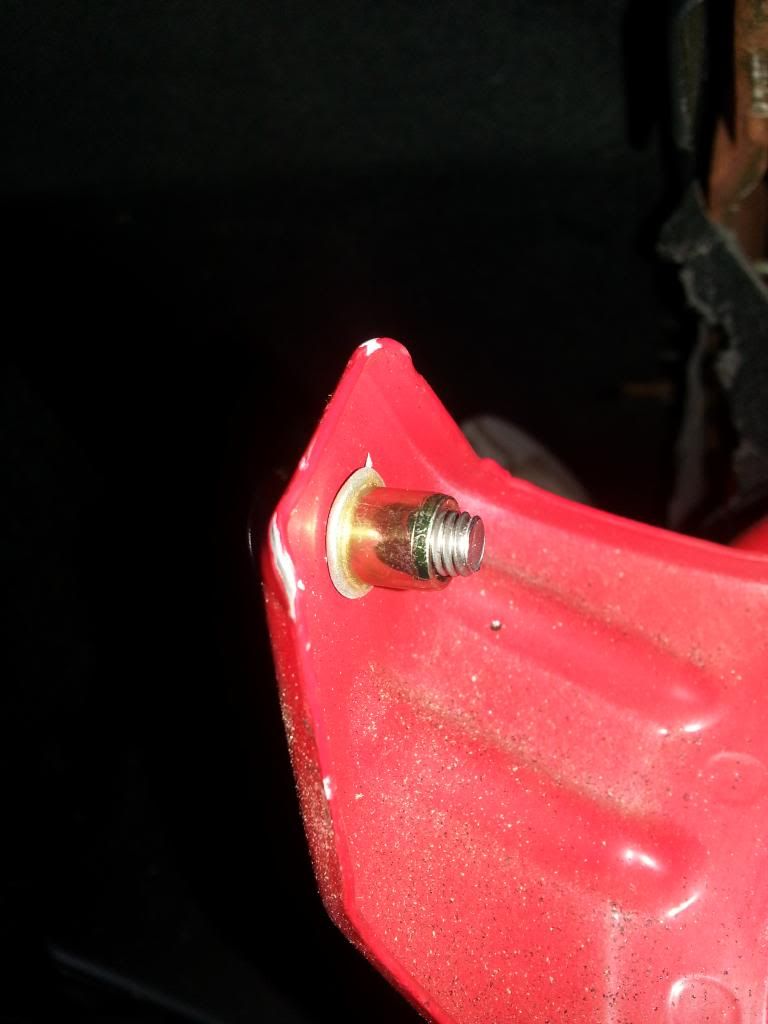
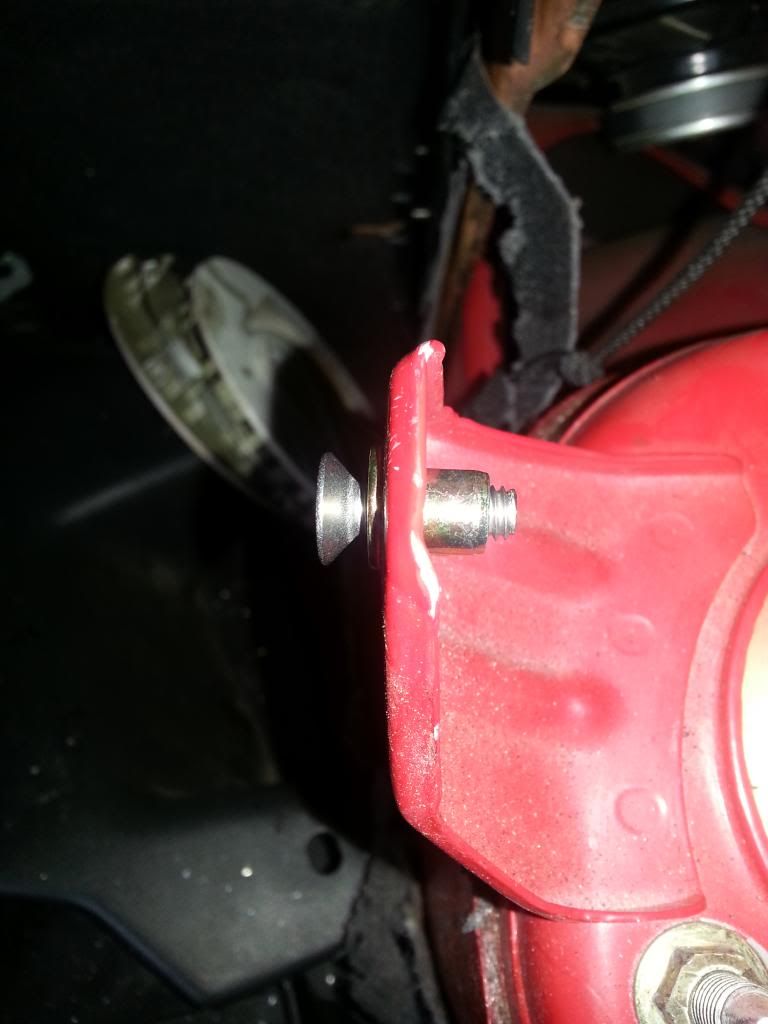
To install the actual fender washers and bolts you don't need anything special, just a 5/32 hex bit/key/socket/screwdriver or whatever; they are the same size and pitch as the bolts you remove from the fenders and such around the engine bay
Now, if you're wanting the dress up any other areas that arent threaded or have a cross threaded hole you can use the inserts that come with the kit.
The brass inserts are to be used on metal and the aluminum ones on plastic
Tools needed:
- 14mm wrench
- 10mm wrench or socket and ratchet
- whatever insert you'll be using
- Drill
- 23/64" drill bit
- 5/32" hex bit(to use on the bolts that come with the kit. If not using those, then whatever tools you need for the bolts you will be using)
In this example and how to I'm using a brass insert to fix a cross threaded rear license plate bolt on my 1992 NX2000
The bolt hole on the right was cross threaded so no screw or bolt would go in, thus my use of duct tape to stop the license plate from rattling
The right hole was perfectly fine and needed no attention, so I was just going to use an extra matching bolt that came with my kit
To use the insert though you will have to make the existing hole bigger - The size of the drill bit to use is a 23/64 bit
Once the hole is big enough put the insert you will be using on the insertion tool that comes in the kit, like so
Put the insert into the hole you made and with your 14mm wrench hold the socket looking thing. Now with the 10mm socket or wrench start tightening the bolt until you feel comfortable with its tightness. You don't want to over tighten and cut the metal you're working on, then you really have a problem.
***(It would be easier to take the insertion tool apart and insert your 14mm wrench so that you dont use the open end and have it keep falling off)***
Once comfortable with the tightness of the insert, back the bolt out of the insertion tool and you'll have a permanent insert
Now enjoy the new threads
*******
Extra information:
Like previously stated the insert and bolts that come in the fender washers kit are the same size as many existing bolts on our cars. Thus the insert can be used with regular headed screws or bolts, not just the hex ones that come in the kit
And also, this is how this all works, looking on the inside of the insert you'll see some space between the head of the insert and the threads below
When the insert is tightened is causes the thread to pull up and make that thinner walled area spread outwards and sandwich the original metal on the car
Last edited by Sentraga
on 2013-01-09
at 19-38-28.
 Be the first to like this post.
