Suppose you are tired of that stock wheel and want something smaller diameter and better looking. Maybe you've already got a spare wheel (like I did) and have no way to attach it short of buying an expensive setup for a hub adapter. Note, if you are looking at a Grant steering wheel, this how to is useless because you could just use the Grant hub directly (which is cheap!).
I found a Nardi wheel around my house that I've had for a long time but forgot about. Decided it was a good time to throw it on my car. But wait, what? The only way to adapt it was to get a MOMO or Grant hub adapter and then buy an adapter for the wheel pattern? Blasphemy! This was a total of at least $75 to create the hub needed for the wheel to get on those factory splines.
However, I found that a pure Grant hub for the B13 could be gotten at Advance Auto for just $21! Now, the Grant hub adapter (shown below) has a 3 bolt pattern meant for Grant steering wheels. That piece (which contains the splines matched to our shaft) is shown in the lower right of the photo.

Now, since my Nardi wheel has a larger diameter, 6 bolt pattern, it obviously wasn't going to mate up too well! This is where the key comes in. The aftermarket wheel to hub adapters are just a thick plate with the 6 bolt pattern and the 3 bolt pattern on it, so you just stick it onto the grant hub and you are all set. But, take a look at the black hub cover in the upper left of the picture! It's made of steel and is pretty strong (torsionally speaking of course) because of its shape.
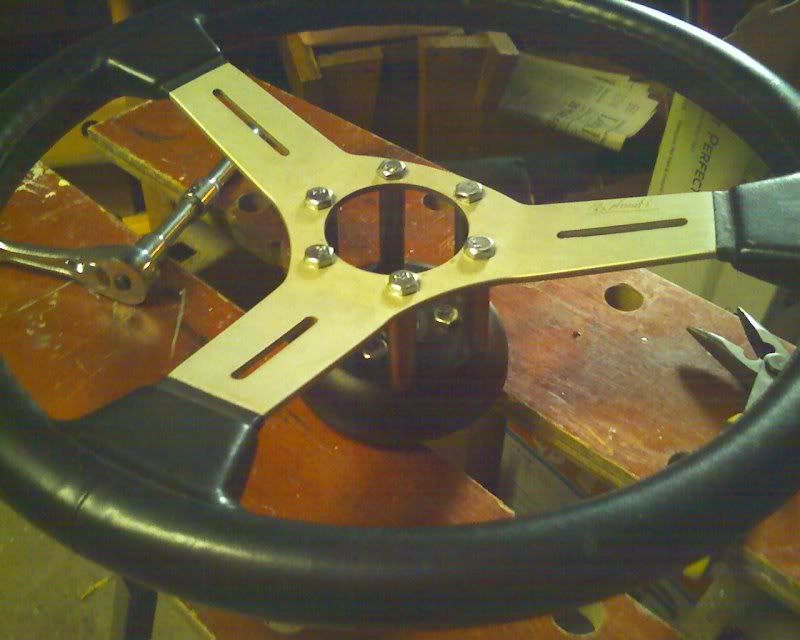
So I got to thinking, why not use that as the adapter by drilling another set of holes into it to match the steering wheel? I did just that! I centered the wheel ontop of that cover and clamped it down. I then drilled through the wheel holes straight through the cover so bolts could be inserted as shown below.
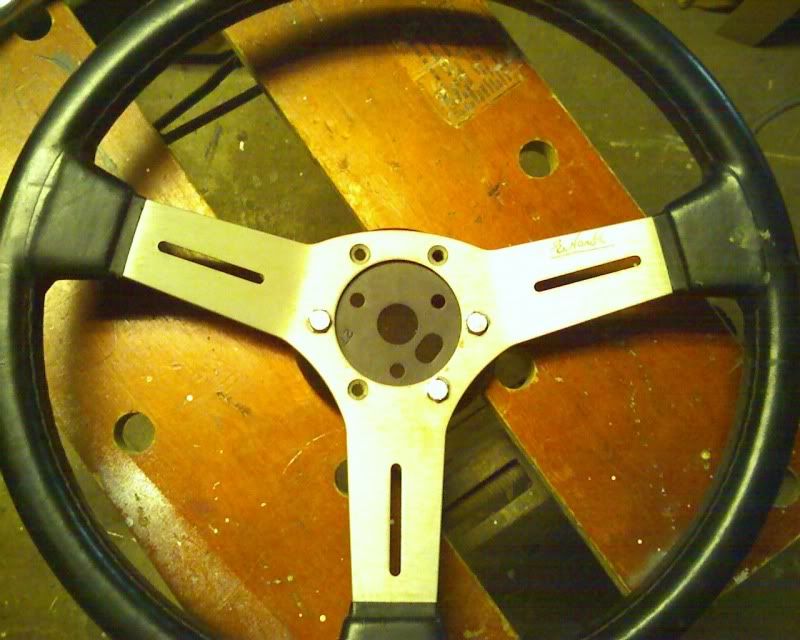
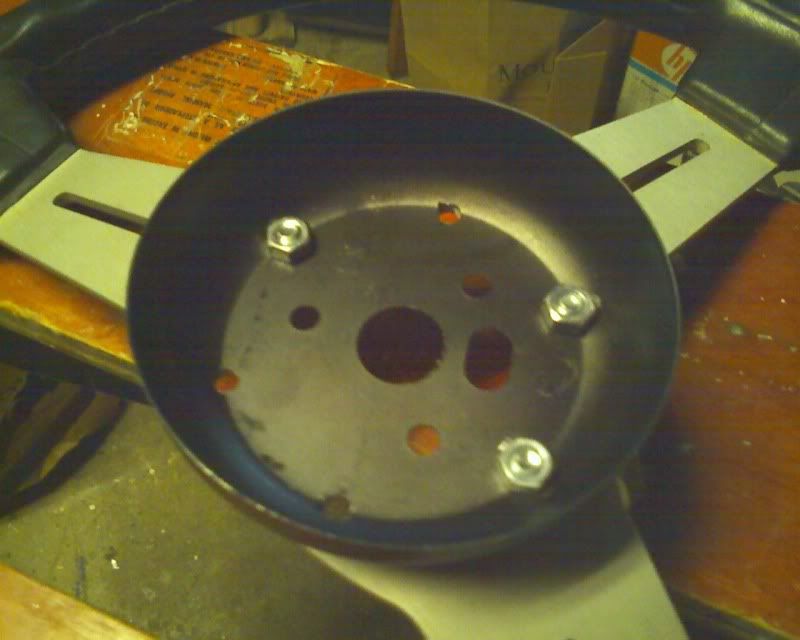
I did this for all 6 holes and attached the hub.
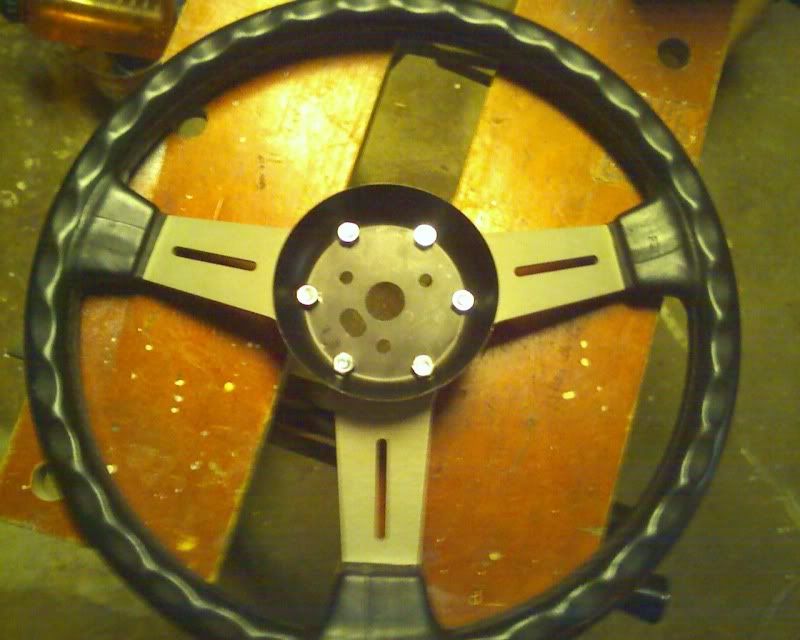
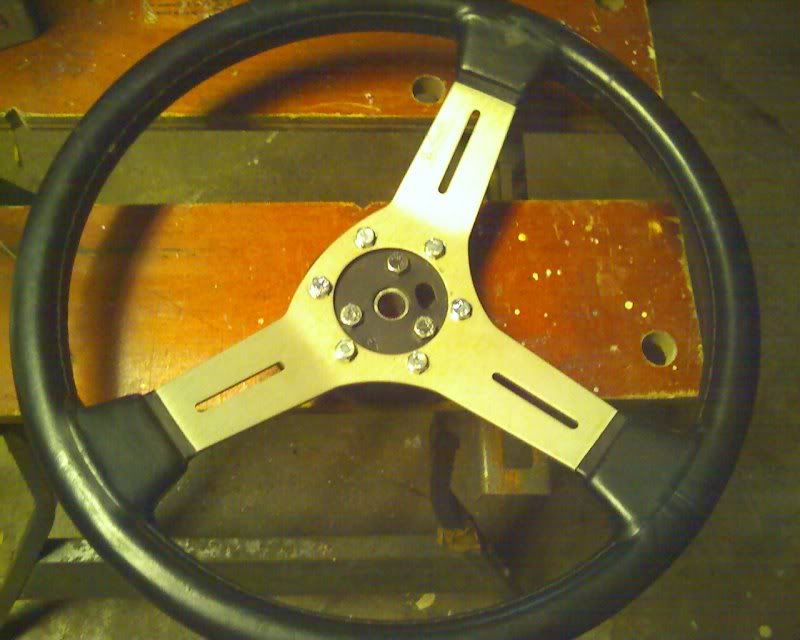
I excitedly went to attach it to the car, when I noticed a major issue! It's a little hard to see in the picture, but if you take a look at the blinker and wiper arms on the column, you'll see they are just about hitting the wheel! That makes for some difficult turning.
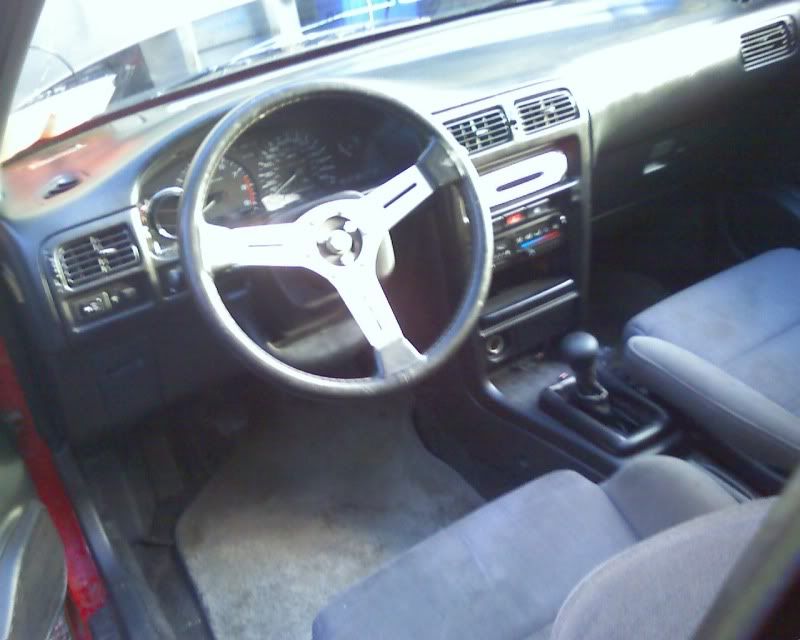
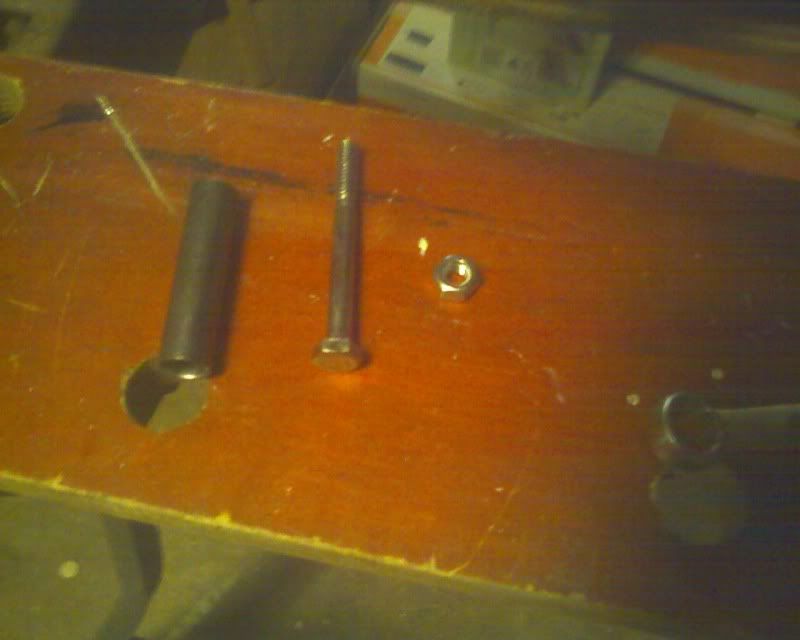
Not to be defeated by something after coming this far, I found a perfect solution. I ran up to the hardware store and got some longer bolts and steel spacers as shown below. I simply inserted them between the hub cover and the wheel to extend it outwards about 2 inches.
NOTE: It is a good idea to use locktite on the nuts! I totally forgot about it, so I'm hoping they'll stay tight because of the spacer compression (I put a good amount of torque on them). But I'm still a little worried constant wheel torsion might slowly loosen them up. If that happens, I will just pull it all off again and locktite them.
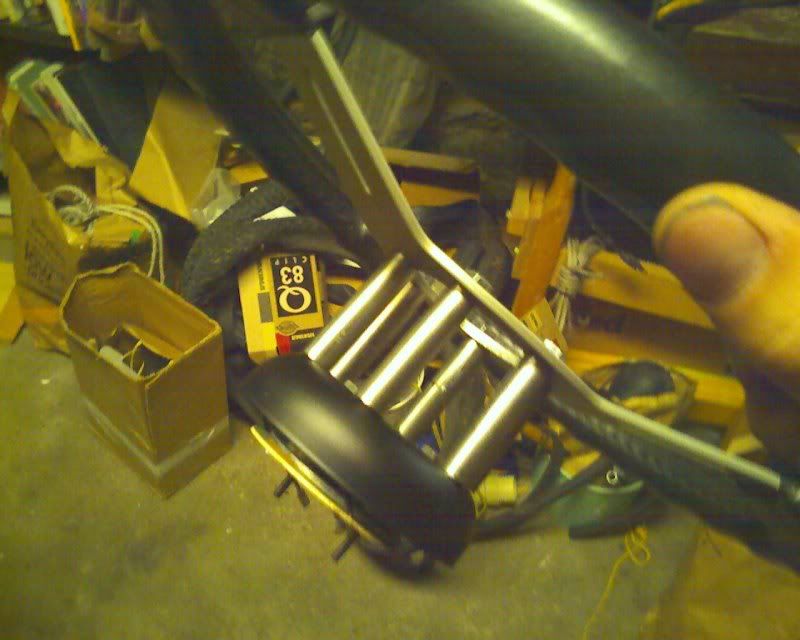
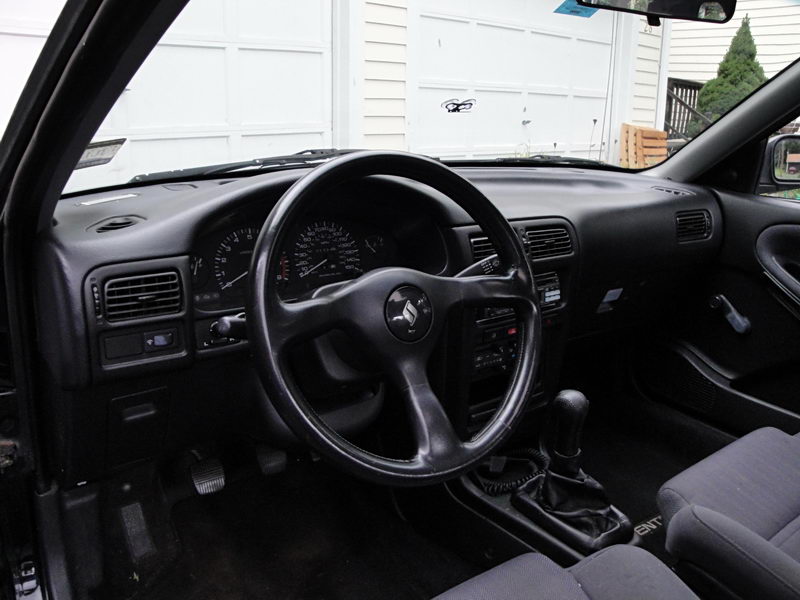
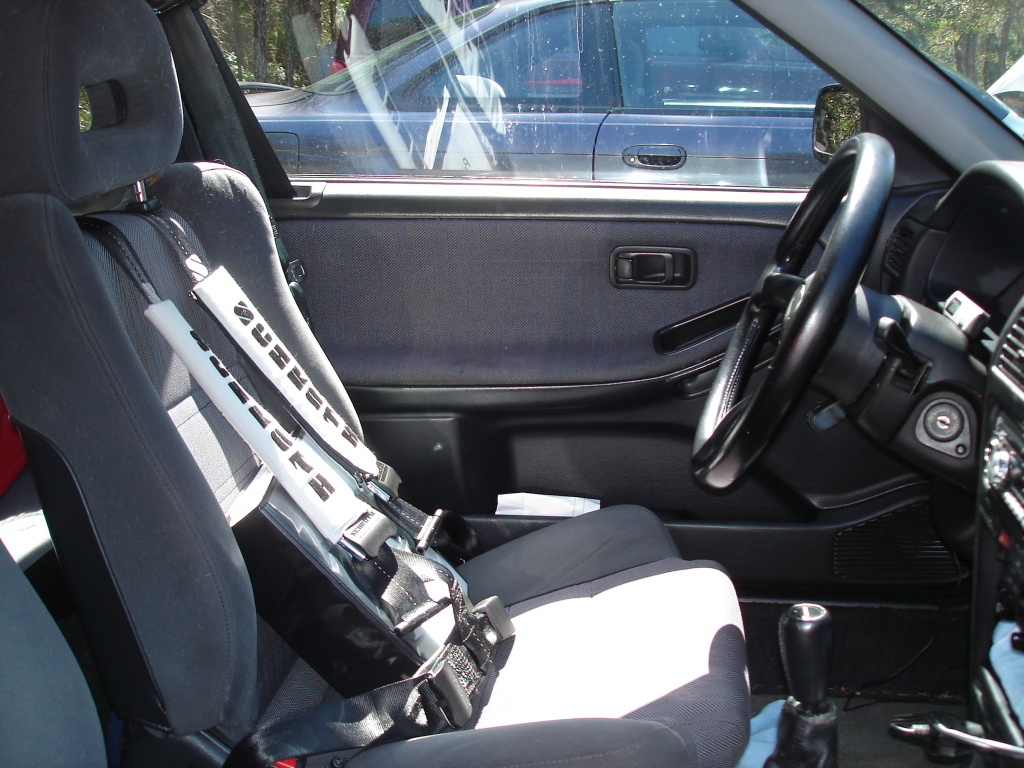
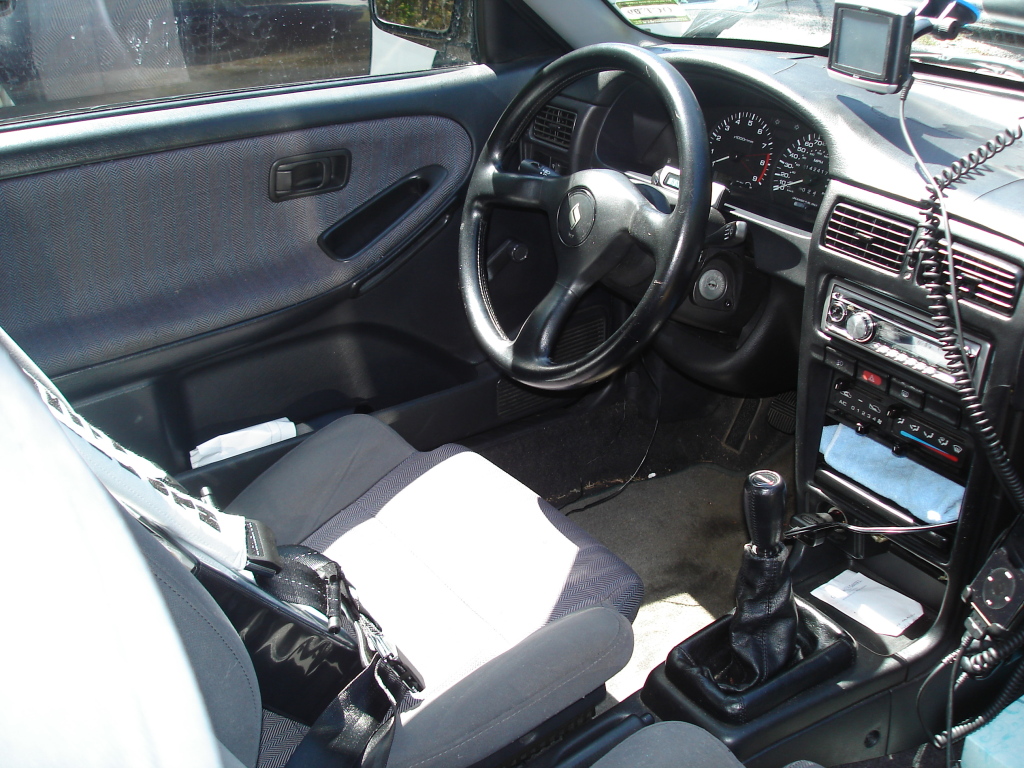
Now, when it came time to put the wheel on, it was almost the perfect distance out (nearly identical to the location of the stock wheel) and there was now room for the horn button to be installed which really cleaned up the look. Here's what the before and after pics look like!
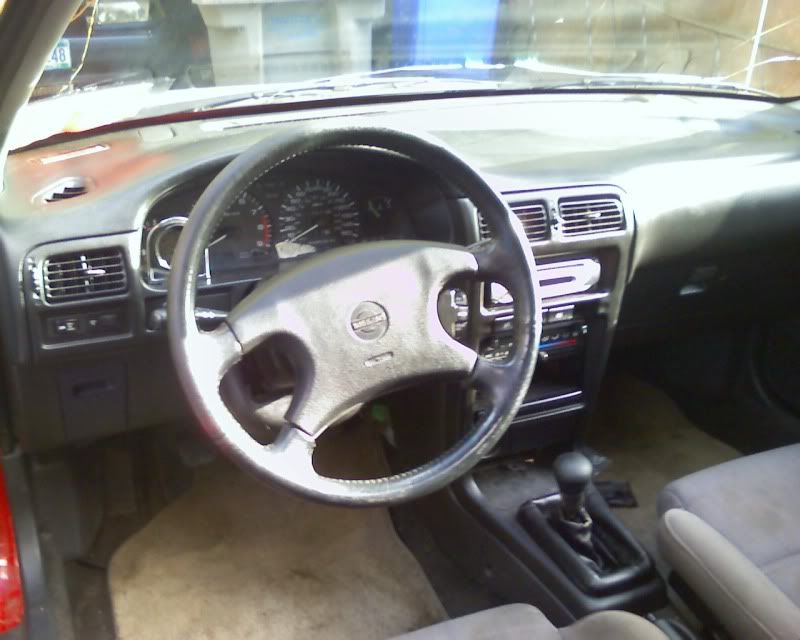
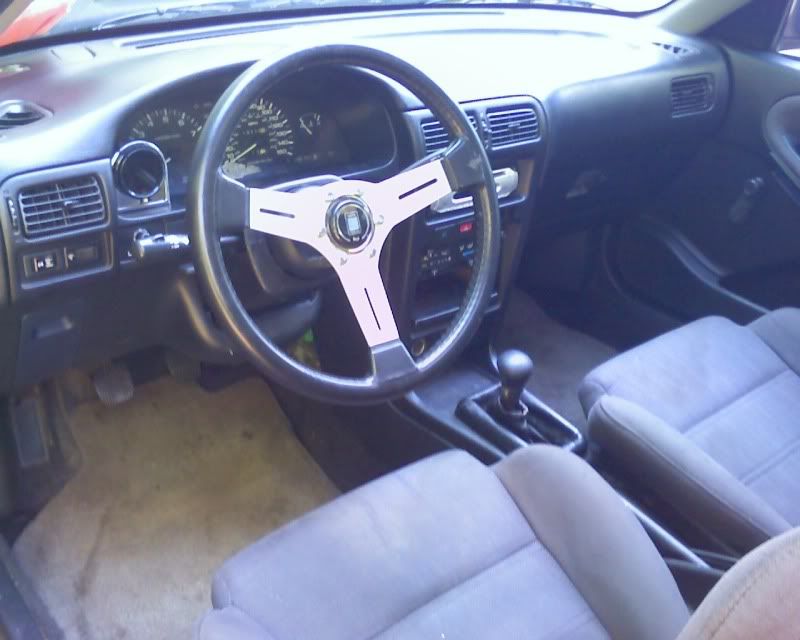
The total cost of this project was the hub adapter ($21) and the hardware ($8). Assuming you have the tools and rent the steering wheel puller needed to remove the OEM wheel, you now have a complete hub adapter for under $30! I believe this approach would work with the MOMO and Sparco wheels as well because they also run the 6 bolt patterns frequently (not identical to the Nardi pattern, but close enough that the same method should work). I don't have any to measure though so I can't tell you for sure.
As for the OEM wheel removal, it's very simple (I did not have airbags, but I don't know if any of the SE-R's did or whether the 200's do. Consult your FSM if you do!). Just pop the cover off the wheel with a screw driver (on the B13 there is a phillips screw you need to remove. You'll see it through a hole on the underside of the wheel. Sorry, didn't think to get pics of that! Then, you simply remove the wheel nut (19 mm socket) and use the wheel puller to pull it off. That easy!
I found a Nardi wheel around my house that I've had for a long time but forgot about. Decided it was a good time to throw it on my car. But wait, what? The only way to adapt it was to get a MOMO or Grant hub adapter and then buy an adapter for the wheel pattern? Blasphemy! This was a total of at least $75 to create the hub needed for the wheel to get on those factory splines.
However, I found that a pure Grant hub for the B13 could be gotten at Advance Auto for just $21! Now, the Grant hub adapter (shown below) has a 3 bolt pattern meant for Grant steering wheels. That piece (which contains the splines matched to our shaft) is shown in the lower right of the photo.

Now, since my Nardi wheel has a larger diameter, 6 bolt pattern, it obviously wasn't going to mate up too well! This is where the key comes in. The aftermarket wheel to hub adapters are just a thick plate with the 6 bolt pattern and the 3 bolt pattern on it, so you just stick it onto the grant hub and you are all set. But, take a look at the black hub cover in the upper left of the picture! It's made of steel and is pretty strong (torsionally speaking of course) because of its shape.
So I got to thinking, why not use that as the adapter by drilling another set of holes into it to match the steering wheel? I did just that! I centered the wheel ontop of that cover and clamped it down. I then drilled through the wheel holes straight through the cover so bolts could be inserted as shown below.


I did this for all 6 holes and attached the hub.


I excitedly went to attach it to the car, when I noticed a major issue! It's a little hard to see in the picture, but if you take a look at the blinker and wiper arms on the column, you'll see they are just about hitting the wheel! That makes for some difficult turning.

Not to be defeated by something after coming this far, I found a perfect solution. I ran up to the hardware store and got some longer bolts and steel spacers as shown below. I simply inserted them between the hub cover and the wheel to extend it outwards about 2 inches.
NOTE: It is a good idea to use locktite on the nuts! I totally forgot about it, so I'm hoping they'll stay tight because of the spacer compression (I put a good amount of torque on them). But I'm still a little worried constant wheel torsion might slowly loosen them up. If that happens, I will just pull it all off again and locktite them.


Now, when it came time to put the wheel on, it was almost the perfect distance out (nearly identical to the location of the stock wheel) and there was now room for the horn button to be installed which really cleaned up the look. Here's what the before and after pics look like!


The total cost of this project was the hub adapter ($21) and the hardware ($8). Assuming you have the tools and rent the steering wheel puller needed to remove the OEM wheel, you now have a complete hub adapter for under $30! I believe this approach would work with the MOMO and Sparco wheels as well because they also run the 6 bolt patterns frequently (not identical to the Nardi pattern, but close enough that the same method should work). I don't have any to measure though so I can't tell you for sure.
As for the OEM wheel removal, it's very simple (I did not have airbags, but I don't know if any of the SE-R's did or whether the 200's do. Consult your FSM if you do!). Just pop the cover off the wheel with a screw driver (on the B13 there is a phillips screw you need to remove. You'll see it through a hole on the underside of the wheel. Sorry, didn't think to get pics of that! Then, you simply remove the wheel nut (19 mm socket) and use the wheel puller to pull it off. That easy!


 Be the first to like this post.


 Back to top
