This is a step by step tutorial on how to replace your cluster gauge lights. This was done on a 1999 Sentra SE-L, the directions should be very similar on all B14's.
Please do at your own risk, I'm not responsible for any damage that you might cause to your self or your car.
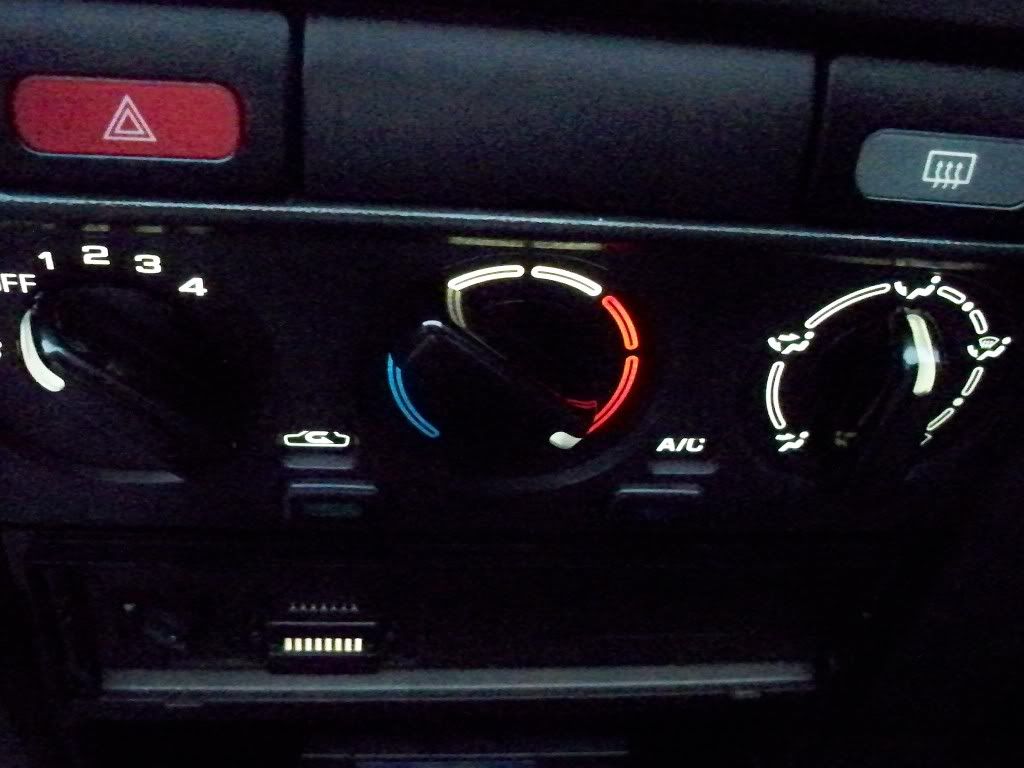
Instructions on how to change the AC Control Panel lights can be found here.
What will be needed:
- 4 WLED-x5 LED Wedge Base Bulbs from Super Bright LEDs
Go here and look for these:

Get these in what ever color you want, my order came out to be $14 for 4 Blue LED's, then $6 shipping.
- A philips head screwdriver
- A flat head screwdriver/knife
- A socket wrench and a 10mm socket - this is to unplug the wire from the battery
Installation
[INDENT]
1. Disconnect the negative wire fire then the positive wire from the battery. This is done so that you don't get shocked or fry up the cluster
2. There are two philips head screws that are holding a piece of plastic thats in front of the cluster, unscrew them and put them in a save place.
NOTE: All of the philips head screws are the same size, so you don't have to worry about keeping track of which bolt went were.

3. Carefully try to pull the top, were the screws were located, towards you. After you pulled it out a bit, you will need to take a flat head screw driver/knife, and stick it at the bottom of the plastic piece. Work with it a bit, so that the locks can be released.


4. After that plastic piece is loose, you will need to lower the tilt of your steering wheel all the way down, and pull the plastic towards yourself. Try to gently lift the bottom part of the plastic onto the steering wheel's plastic base.


5. Once you get that plastic on the steering wheel take it out and put it some place in the car, like on the back seat.
6. You will find 4 more philips screws, these ones are holding the actual cluster it self. Take the screws out and put them with the first two screws.

7. Gently take the cluster out and put it to the right side of the steering wheel. Make sure it you can get to the back of the cluster easily.


8. Locate four red/brownish plastic light bulb holders

9. Take them out, one by one or all at once.

10. You will need to hold the red/brown plastic and pull the bulb out

11. Take the x5 LED bulbs and put them in the red/brown plastic bulb holder. This should be a perfect fit

12. Put the new LEDs back in the cluster

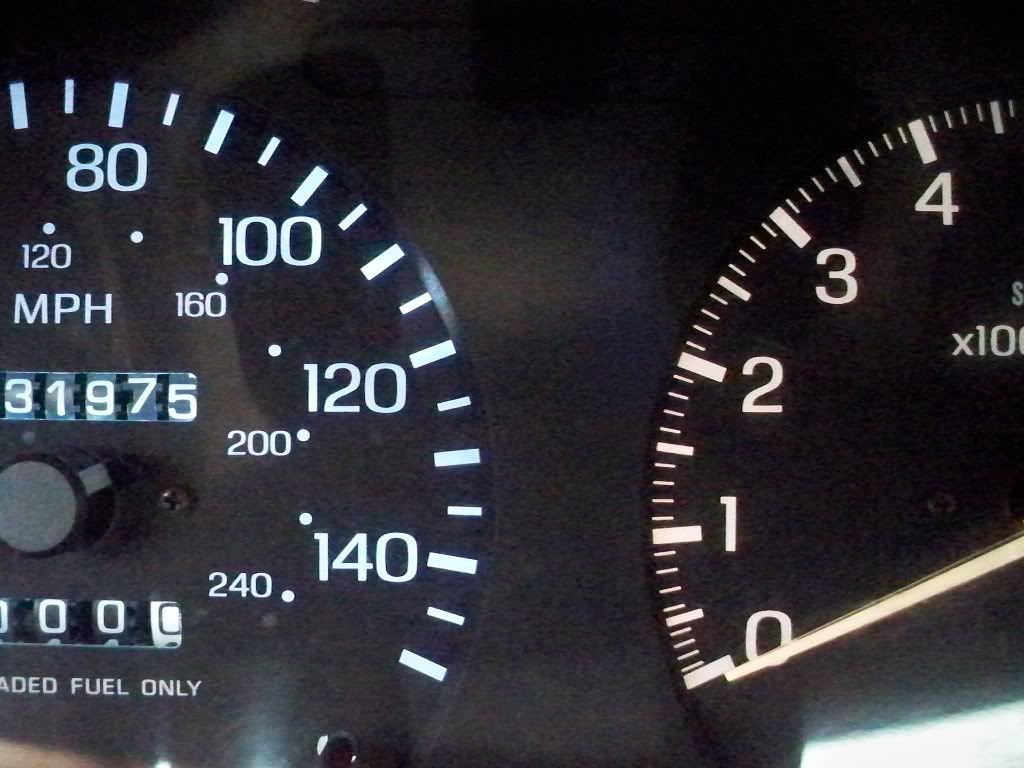
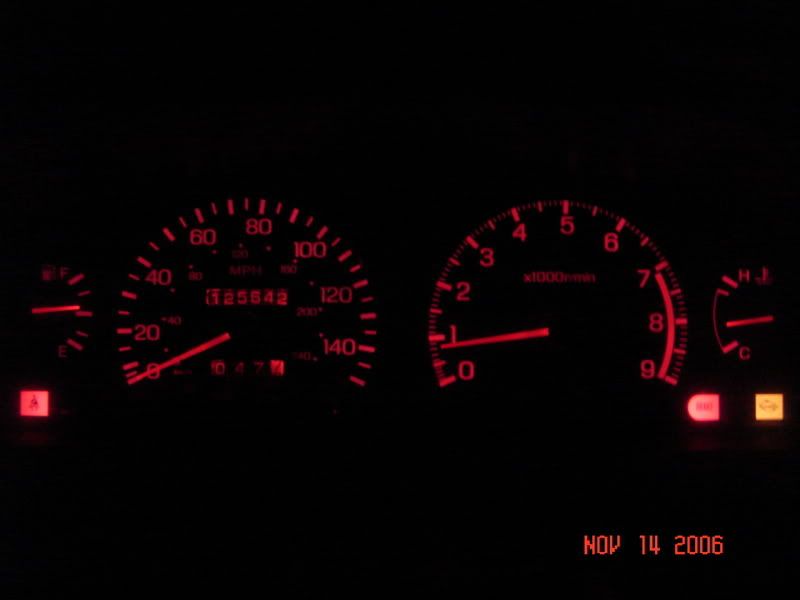
13. Since the LEDs are polarized they need to be screwed in only one way. This is why it is important for you to plug the battery back up and turn on your lights, and see which LEDs are not on.
As you can see I had only one LED plugged in correctly

If the LED is not on then, first unplug the battery again, then unscrew the red/brown and turn it a bit so that the other part of the thread catches on. Then plug the battery back up and try to turn on the ligths

14. Put the cluster back in and screw the screws back in.

15. Carefully stick the plastic dash part that goes on top of the cluster. You will have to work with it a bit. Make sure all the locks snap in place. Screw in the two screws that were holding this plastic.

[/INDENT]
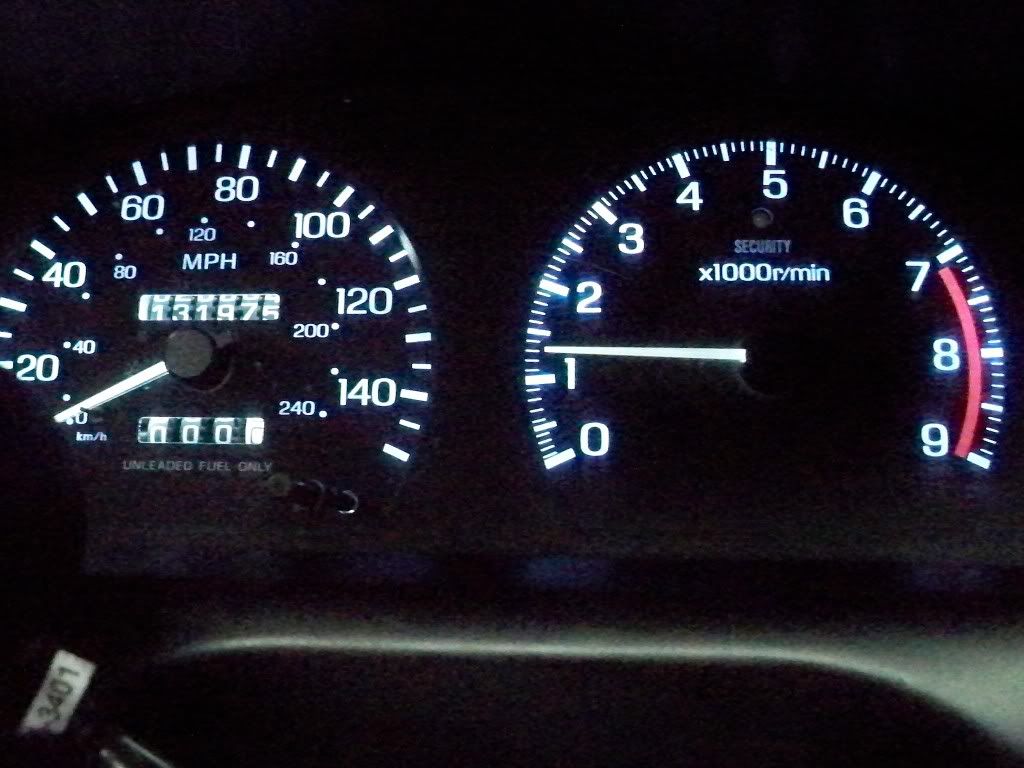
Final Product


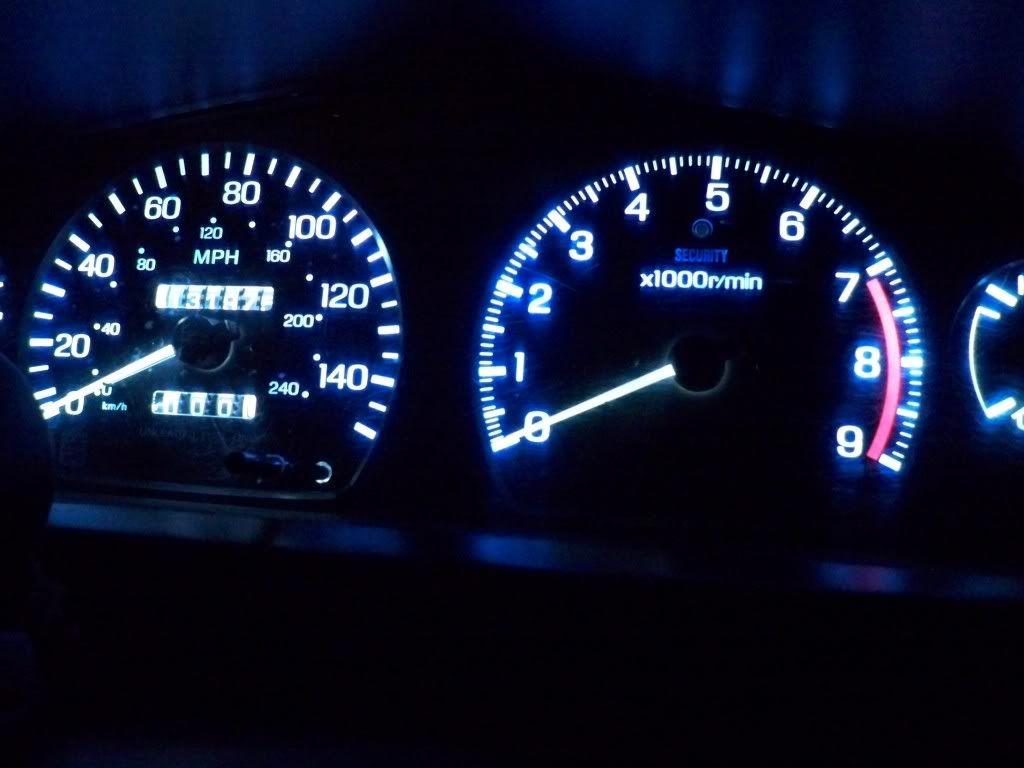
Update, changed to White
")

Problems that I Encountered
Look at the right light LED bulbs, they are sticking out quite a bit, this prevented me from being able to place it in the cluster. I had to carefully push the LED's towards the middle on the bulb it self.

That still wasn't enough, I then had to carefully put in the LED into the cluster, were it barely fit
Thats it! If you have any suggestions, please let me know
This should take you about an hour. Since this was the second time I was getting to the cluster, it took me about 30 minutes.
Thanks to Sentrixx for helping me with choosing the LEDs and for telling me how to take the whole thing apart.
 Be the first to like this post.


")