Do it Yourself: Corners & Headlamps + More
Plus More Easy Cosmetic Lamp Mods that I threw in... Grab a Seat.
*** Please check References Section for Procedure Pictures, etc ***
[/b]Plus More Easy Cosmetic Lamp Mods that I threw in... Grab a Seat.
*** Please check References Section for Procedure Pictures, etc ***
Introduction:
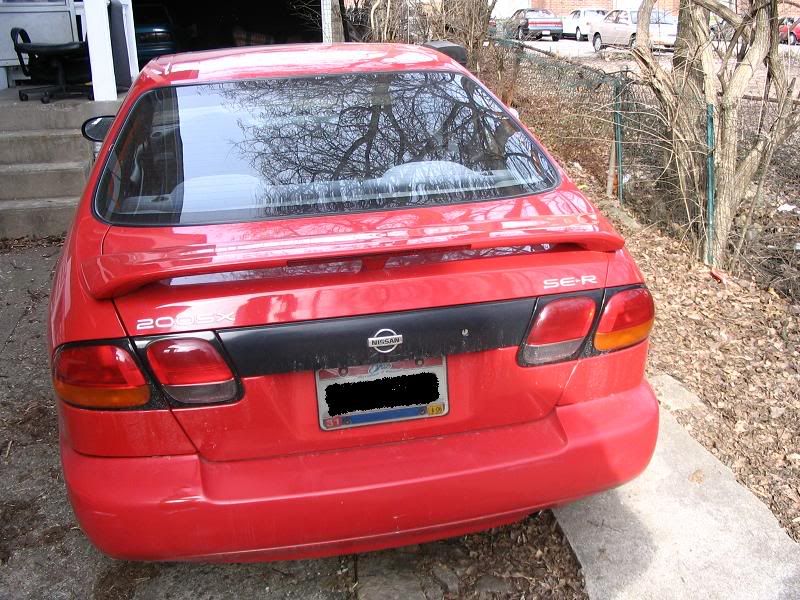
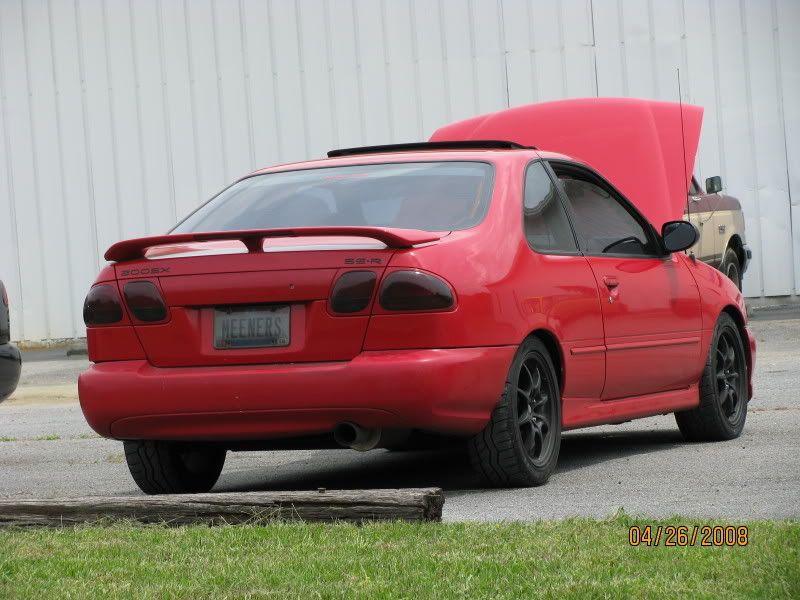
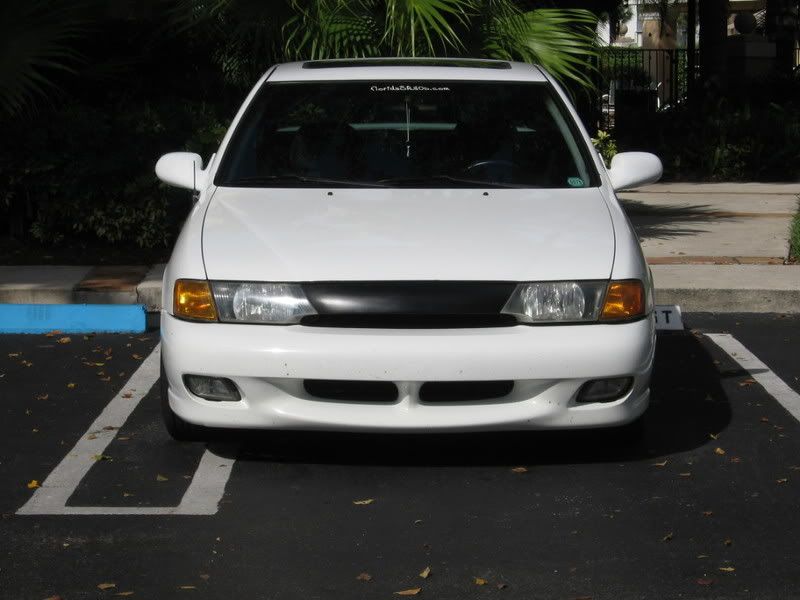
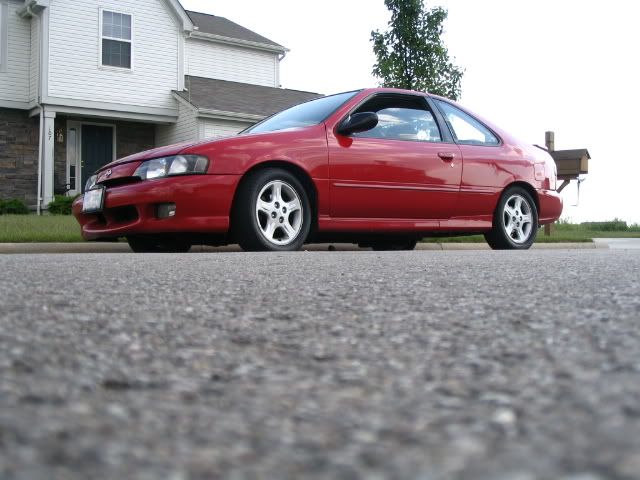
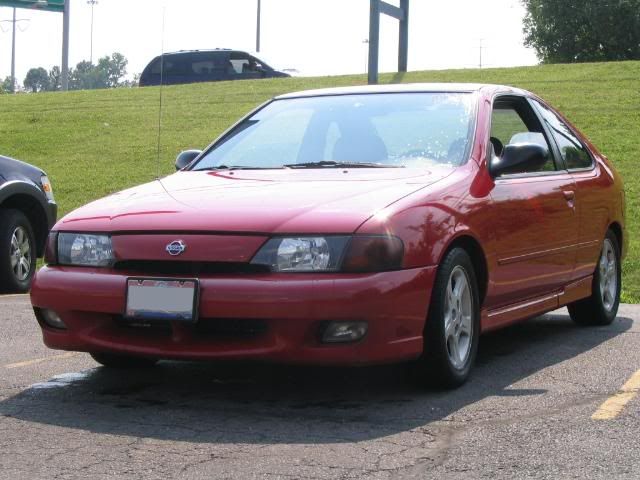
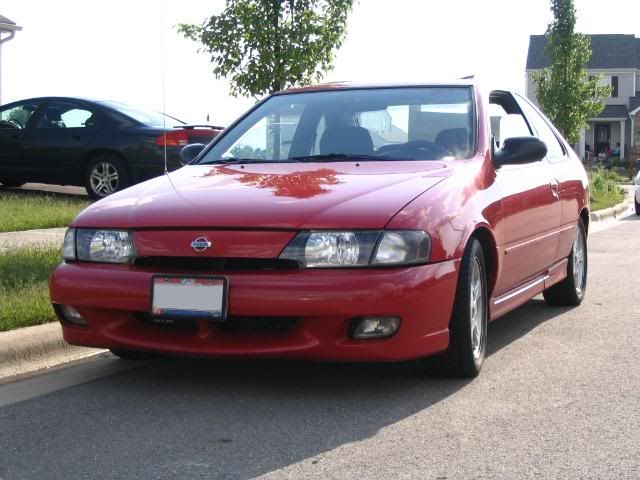
I have always loved the look of stealth corners and crystal clear headlamps. With this short HOW-TO you can learn how to make your own JDM Corners, Stealth Corners, Black Housing Headlamps, and others... This HOW-TO is applicable to any car, but I did mine on my B14
JDM Style Corners[/color]
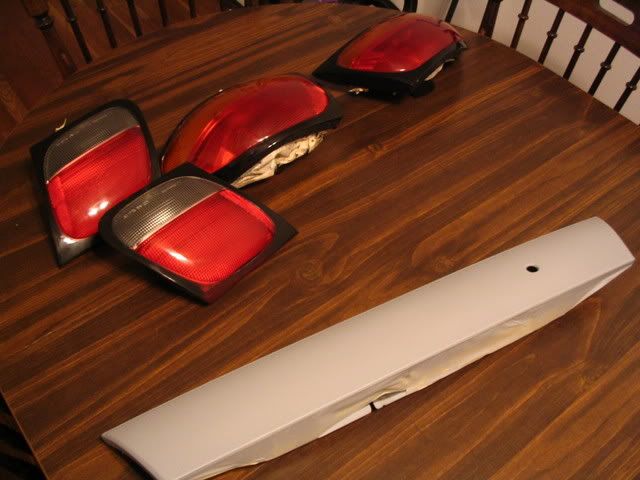
I listed these first because these are the easiest to do. They don't involve taking anything apart. It's always good to purchase an extra set of corners from ebay, or off of here just in case.
Materials Needed:
-Extra OEM Corners
-Masking Tape
-Orange Stained Glass Paint (I had to use Krylon Red & Yellow)
-Sanding Sponges (Fine & Rough; use your head)
-Clearcoat of some type
-Paint Prep Wipes (Optional)
-Tint Spray (Optional, I used VHT Nightshades)
Procedure for JDM Style Corners:
1) First you'll need to fine sand the extra corners you have, Take your rougher sanding sponge and lightly buff the area to allow for better paint adhesion. Do this until you get a cloudy haze on the lamps, maybe 2-3 minutes.
2) Next step is to get the surface ready. Prep the area by wiping it down with some prep wipes, or cleaning with a little alcohol and a clean towel.
3) Allow the lenses to dry and find yourself somewhere to paint. I just used a piece of cardboard in the basement and set it down.
4) Mask of the area with some masking tape, very simple.
5) Follow the directions on the can of paint you are using. Only paint in a large open area, paint fumes will mess you up, and cause your girlfriend to get pissed at you. Use very light sweeping motions and several light coats as opposed to thick coats as they will run. Wait about 10-15 minutes between coats.
6) Allow the paint to dry for a few hours or wait until the next day to handle them.
7) At this point you can clear coat the lenses and go to step 10, or follow the extra directions below
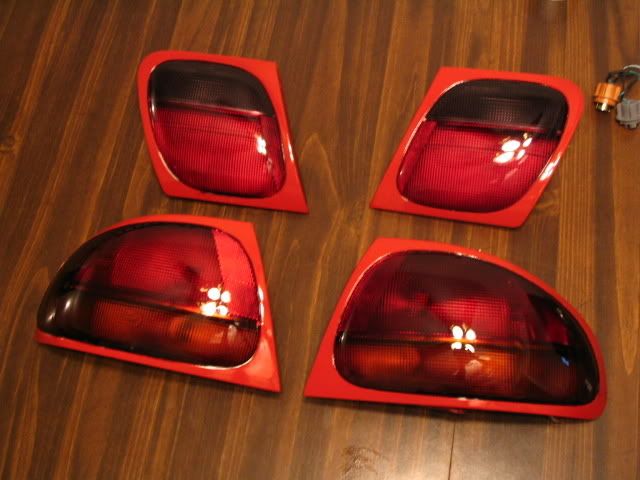
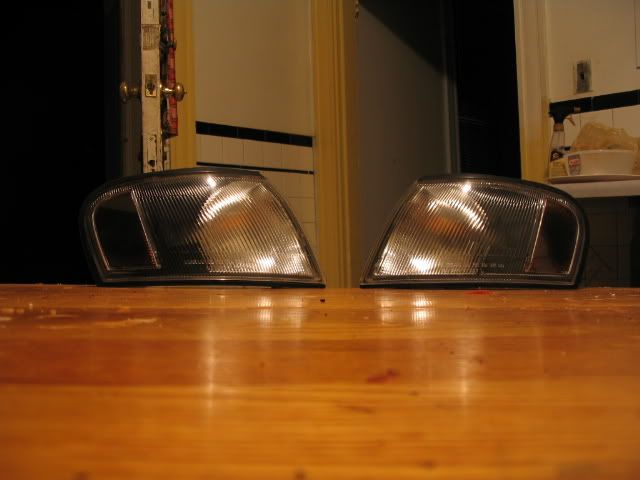
Here is a pic after I was done, I went through steps 10 though...
These next steps are purely optional and are for tinting:
8) Take your light sanding sponge and lightly buff the painted surface like in step 2. Prep the surface as well in the same way. I chose to tint them because I wanted to be different.
9) Paint as you would in step 5). You can use your VHT nightshades only if the seller on eBay shipped them to you like he was supposed to... otherwise you will have to wait another 2 weeks...
10) Allow to dry and peel masking tape, put corners back on vehicle and rock out...
Stealth Corners & Headlamps[/u][/color]
The procedure for the Stealth Front Lights are very similar... They are listed the in the same area. This procedure is VERY easy. As stated above, its a good idea to purchase a good used set from somewhere so you have an extra set. Its pretty tight to switch out your lamps when you have a change of heart.
Materials Needed:
-Extra OEM Corners and/or Headlamps
-Masking Tape
-Regular Gloss Black Paint
-Scissors, or Sandpaper (to score surface)
-Conventional Oven
-Paint Prep Wipes (Optional)
-Clear Lense Corner Bulbs (1157 Turn)
-Tint Spray (Optional, I used VHT Nightshades)
Procedure for Stealth Corners & Headlamps:
1) First, obviously you will have to remove the headlamps/corners from the car. For the corner there is one screw under the hood. For the headlamp there are four bolts, two on the side (you will have to remove the corner lense first), and two behind the lamp under the hood.
2) Next step is to preheat your oven to 200*F. You may need to go a little hotter but 200*F is a good starting point.
3) If you are doing the headlamps the next step is to remove the four metal clips on the housing.
4) Next, you will put the lamp in the oven for roughly 10-15 minutes depending on your oven... um, it will be hot...
5) Be very careful with this step. Remove the lamp from the oven and test if the lense can be pulled apart. If it is too hard and the lense doesn't move, put the lamp back in the oven... be patient. I used a butter knife to pry slowly around the meeting points and loosed the surfaces until I could get the knife between them. I worked the knife around the surface to get the rest of the housing seperated. and when I was able to put my hands in I slowly pulled them apart.
6) Okay the hard part is done, lets do the easy part... make sure to shut your oven off... Next step is to get the surface ready for painting. scratch the surface that is to be painted..... you can use the sand paper of your choise, preferebely finer to aid in adhesion.
7) Prep the area by wiping it down with some prep wipes, or cleaning with a little alcohol and a clean towel.
8) Allow the lenses to dry and find yourself somewhere to paint. I just used a piece of cardboard in the basement and set it down.
9) Mask of the area to be painted with some masking tape, very simple. I chose to leave the reflective area around the bulb alone so that I didn't decrease my visibility.
10) Follow the directions on the can of black paint you are using. Only paint in a large open area. Use very light sweeping motions and only enough coats to color the surface. Wait about 10-15 minutes between coats.
11) Allow the paint to dry for a few hours or wait until the next day to handle them if you chose. I was impatient and I only waited about an hour or two.
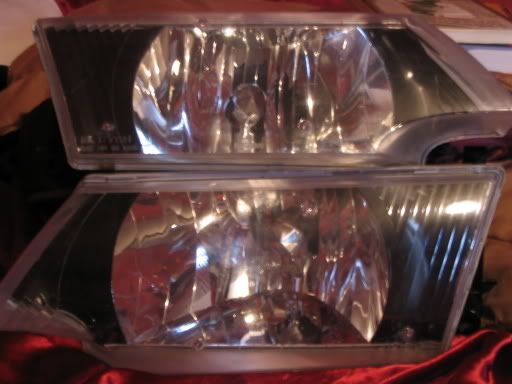
Almost done... Here is what looked like when done... Cough, OEM Sex
These steps are optional for the corner lenses...
12) I used a tiny amount of tint spray on the inside amber lense on the OEM corner lamp. When I say TINY I mean tiny... you won't need it really at all if the backround of the lense will be black...
13) Assemble the lights after the paint dries. You will not be able to fully seat the lamps because the glue/sealant is cold.
14) Warm up your Oven to 200*F again and place the lamp in the oven. The heat will make the sealant maleable again and after removal you will be able to fully seat the lamps again. If there are spots where you need more sealant, you can purchase some clear sealant from auto zone or something, but you shouldn't have to.
15) If you are doing your headlamp, put the four metal housing clips back on.
16) If you choose to do so, you can replace your corner bulbs for clear lensed bulbs so the look is more clean. Mine were amber and I changed them out and am very happy with the outcome
17) Put your headlamps/corners back on and CruiSe dE-Rty...
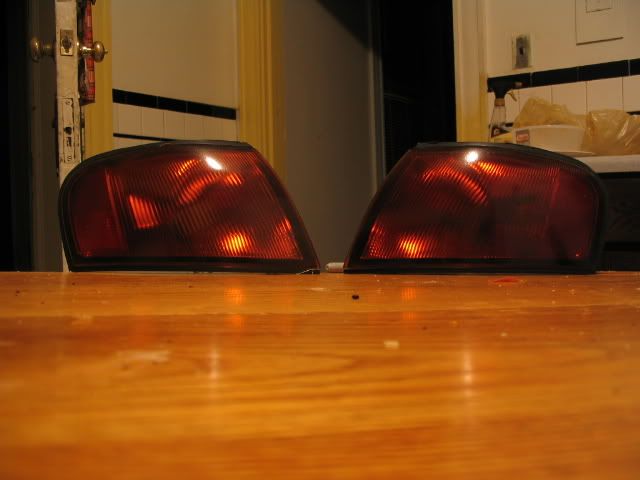
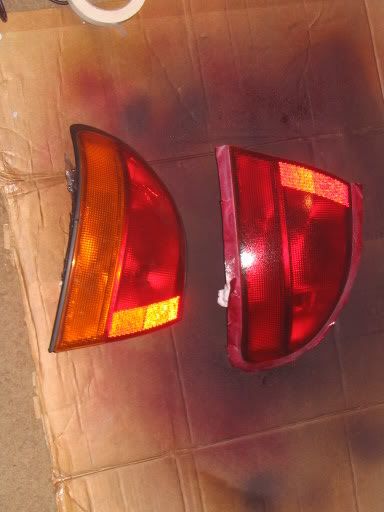
Removing Amber from Tails & Tinting Tails[/color]
The procedure for the tails is exactly the same for the JDM corners except you will only be using Red Stained glass paint , and possibly VHT Nightshades if you choose. I actually have 98 lights, but I bought an extra pair of 96 tails to match them to the black center garnish in the rear, you can choose whichever option...
Materials Needed:
-Extra OEM Tail Lamps
-Masking Tape
-Red Stained Glass Paint (I had to use Krylon Red)
-Sanding Sponges (Fine & Rough; use your head)
-Clearcoat of some type
-Paint Prep Wipes (Optional)
-Tint Spray (Optional, I used VHT Nightshades)
 Be the first to like this post.
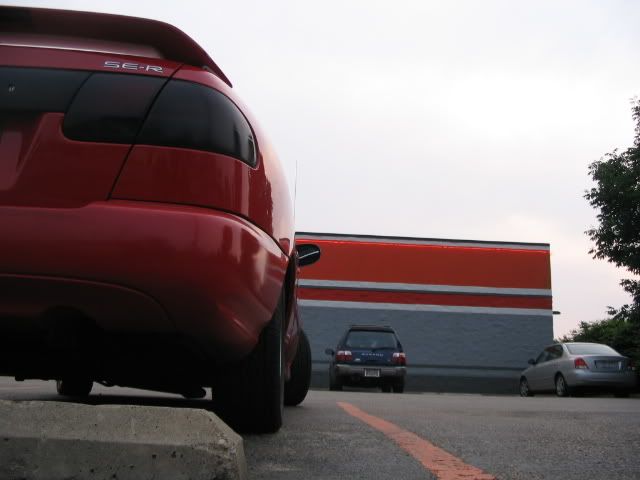


")