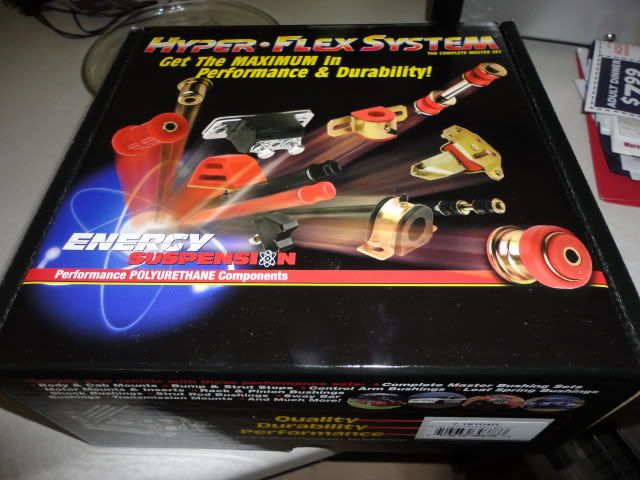
I haven't installed the kit all at once, I did them piecemeal, but I believe I have replaced every bushing under the car with urethane at one point (and uninstalled some later). I don't know which ones this kit comes with, so I'll mention them all.
Use the supplied (sticky) grease from ES.
The steering rack bushings are a total bitch with the engine in. It is recommended you save those for the next time the engine is out. Other than that, they can be a bit tight. Make sure you clean the mounting surface of all grime to make them fit, and realize you're probably going to have to use the mounting bolts to draw the mounts into place, pressing the bushings hard in the process.
The shifter bushing is pretty easy and self explanatory. While there are technically many more bushings to the shift linkage, I believe ES only has a replacement for one, up by the transmission. This can be done with everything in the car, just realize you'll need a 12mm wrench to undo the nuts holding the bushing bracket to the transmission for access.
The front and rear swaybar mounting bushings are easy and self explanatory. The end-link bushings (if the kit came with any of this) should have stronger, thicker washers for up front as this is a common failure on our cars. These are also pretty self explanatory, although most of us have progress end-links either in the rear or on both sides so you might not need these.
The front control arm bushings can be a bit of trouble. The "D" shaped one is no issue, but the round one needs the old bushing to be pressed out with the metal sleeve of the bushing coming out as well. I recommend you try to press it out, but if there is no press available there are two methods people have used with success. Some have built a sort of pressing tool out of a long threaded rod, some large washers, and nuts. Alternatively you can burn the bushing out with a torch, and then use a hacksaw to cut through the metal bushing casing in two places. Once you cut through the casing it can be chiseled out with a screw driver and hammer. Be careful not to cut the control arm or damage it much.
Personally, I have used the torch and hacksaw method with success before I got my press.
The rear has 8 bushings (for each end of the four parallel arms) and 4 bushings (for each end of the two control arms). It is recommend that you do not install any ES bushings on the parallel arms, and you install only one of the bushings on the control arms (which end is up to you, I did the knuckle side because it won't get replaced by rubber if you ever buy another control arm).
The reason for not installing the other bushings is best discussed in
a thread I will look up and link here shortly. Long story short; the rear suspension binds from the factory and the stiffer bushings exacerbate the binding issue.
If you decide to install the other bushings, it should not be too difficult to remove the old bushings as they are not pressed in with a metal sleeve.
Things to replace with you're doing this? The only thing you'll really be touching that might need replacing is the front control arm lower ball joints. Those can be replaced at this time if you want. Either get new OEM control arms (the only way to get new OEM ball joints) or get some aftermarket insertable ball joints and press out your old ones.
You might also consider buying a tiny swaybar bushing and using it to replace another rubber piece in the shift linkage. Here is the
update of my build thread with information on that. Lots of members here have bought a pair and you only use one, so you can often find another one for sale here if you ask in the Wanted section.


 Be the first to like this post.
 Back to top
