Welcome to the SR20 Community Forum - The Dash.
Register
SR20 forum logo

Thread: Golden Eagle Head studs. - 2 questions

+ Reply To Thread
Posts: 11-20 of 97
2010-12-30 22:09:28
#11
Originally Posted by Doctor
hmmm

yeah I wonder if I have some damaged threads in the block.

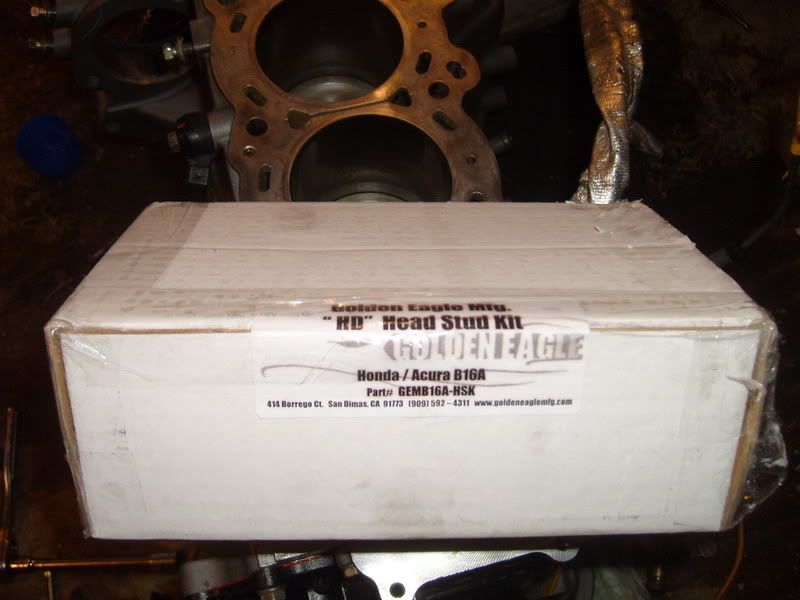
I changed to GE from new OEM botls cause they also went into the block so damn hard on the previous assembly.


Need to take them out and start over. I would also run a tap through with some aluminum cutting fluid. then flush the holes with the block upside down.
2010-12-30 22:31:29
#12
Yeah you definitely got something hindering them from going down all the way. Like he said flip the block upside down and run a tap through the holes to clean the threads and spray it out with some brake cleaner to flush it all out and clean them up.
2010-12-30 22:55:40
#13
What part number did you use?
2011-01-03 16:05:19
#14
Originally Posted by ashtonsser
Yeah studs should go in dry. you might have had some damaged threads on the block. I would take them all out and clean them, dry them off and start over. The GE studs should have more than enough threads sticking out past the head for the washer and nuts with about a 1/4" of threads maybe a bit more sticking out of the nut.

I had a couple that got stuck when trying to thread them in but they freed up once i used the allen head. They should all bottom in the block with the same height sticking up. Depending on how your assembling the motor (whether your timing cover and chain guides are on) you will have to install the studs after putting the head on if the front cover is on already. Oh and your supposed to bottom them out and torque the studs to 10 ft-lbs before putting the nuts on. I forgot to include that in the original post.

I would just start over. Its key to install them correctly.

MR - Im using GTIR main bolts. Stronger material than the stock DE/DET bolts but same price. No studs being used on the mains. Not worth the hastle when the GTIR bolts are almost just as strong as the ARP's and doesnt distort the block or main caps.


^That's what I thought. You pick them up form GregV?
2011-01-03 17:54:37
#15
Originally Posted by tj5854
What part number did you use?


I'm not sure of the exact part number. BUt it's B16A studs.


ps: WHat is the thread size and pitch of the TAP that I need to use to clean up the threads in the block?

10mm or 11mm and thread pitch 1.5??
2011-01-04 02:19:20
#16
they are 11mm but I am not sure of the pitch.
2011-01-06 20:21:57
#17
Thanks for all the info guys.

Ran a tap through the block holes. Threads seemed okay, but a lot of gunk game out of the holes. Looks like a hard paste made up of copper paste, metal filings (from decking the block I presume) and some oil. The tap did also clean up the threads nicely.

After all this, the installation of the head studs went off without a hitch. Torqued them 25lb-ft, loosen, 25lb-ft, loosen, 25lb0ft, 50lb-ft, 75lb-ft, and left it at that.

Everything else isntalled, started her up, went for a short run and so far so good.

Thanks again
2011-01-06 22:14:41
#18


Just for future reference...The threads are definitely all the way into the block.
2011-01-06 22:19:44
#19
Good news Doctor G. Glad it worked out for you, and it was just that they were gunked up.
2011-01-07 06:20:37
#20
Yeah I'm also happy it worked out. And it's so much damn easier to torque down the nuts than it is to work with stretch bolts.


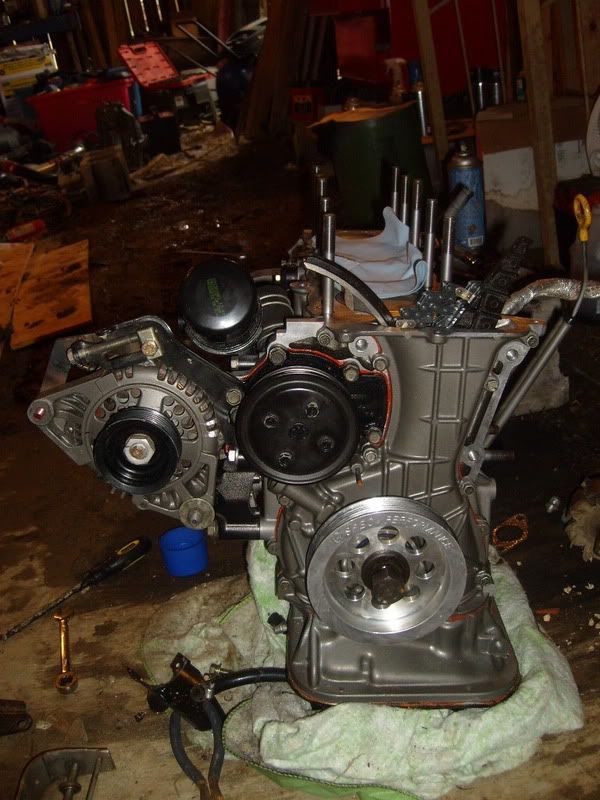
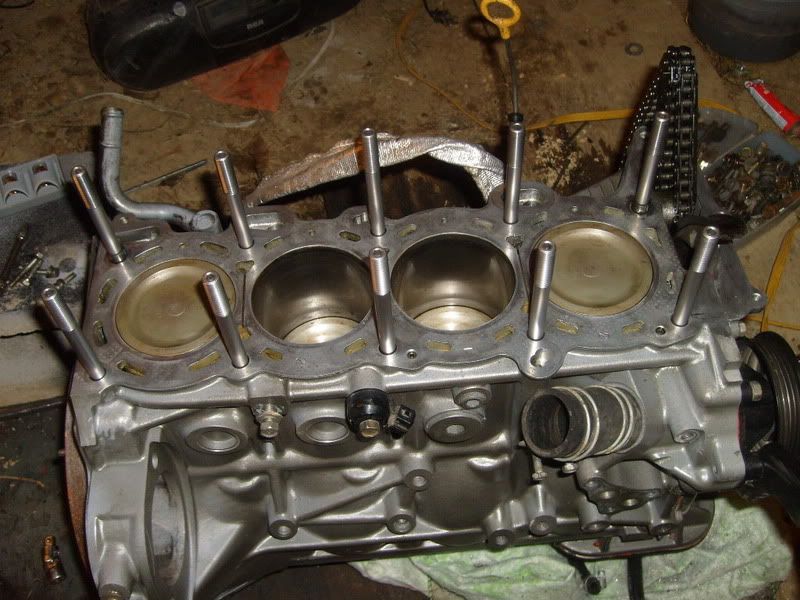
Just for reference, the middle two studs (one intake, one exhaust side) sit just a touch higher than the rest. I.E. they dont' thread into the block quite as deep as the rest. The holes are not as deep there. The pics above also show it clearly.

Oh and for those who wanna buy these. Lightning Motorsports also supply them now.

CHeers
+ Reply To Thread
  • [Type to search users.]
  • Quick Reply
    Thread Information
    There are currently ? users browsing this thread. (? members & ? guests)
    StubUserName

    Back to top