How to replace 5th gear once the transmission is out of the car
Notes: When I say the "top" of the transmission in this post I'm referring to the transmission resting on the bellhousing/engine mating surface. The "top" usually points to the driver's side fender when the transmission is in the car.
1) With the transmission bellhousing facing down unbolt the 6 bolts on the top of the transmission that hold the small circular plate onto the transmission.
2) Unbolt the 12+ bolts holding the transmission case to the bellhousing.
3) Remove the small circular plate from the top of the transmission. It will be held on by grey RTV. Be careful. Don't lose the rubber o-ring either.
4) Use spreading C-clip pliers to remove the larger c-clip holding the outer bearing race on the output shaft to the top of the transmission case. This is a silver (not dark) c-clip down lower than the smaller c-clip you'll see on the end of the output shaft.

5) Remove the transmission case from the bellhousing. It will be held on by grey RTV. Be careful. There will be spots where you can "pry" with a thick flathead screwdriver or pry bar. Be careful lifting the case off of the bellhousing as it will not come straight off. Look through the hole at the top of the case to get an idea of how you need to remove it.
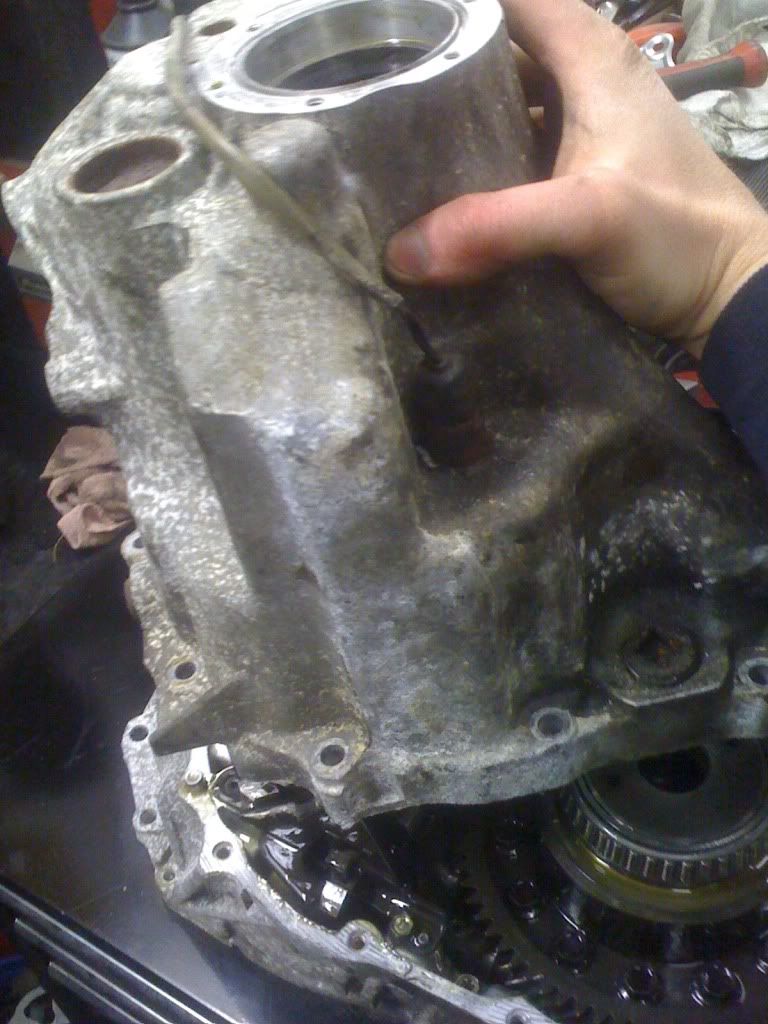
The two gear stacks and shift linkage should now be exposed. It should look like this (I like to call this the "back" of the transmission).

The "front" will have the shift linkage assembly in front of the two gear stacks. While looking at the "back" of the gear stacks in this picture, the part you'll be dealing with most is in the upper right hand section of the picture. That is where you'll find the 5th gear.
Here is another picture of the gear stacks from the "right".
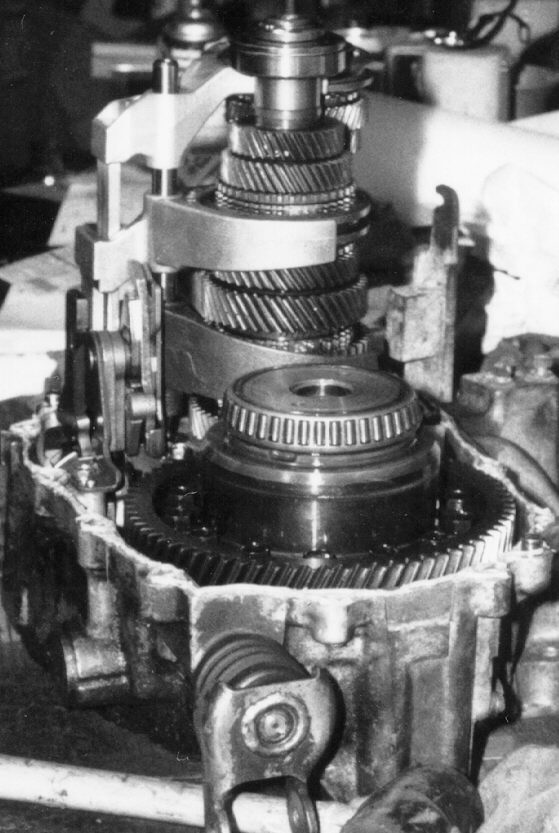
And the "left".
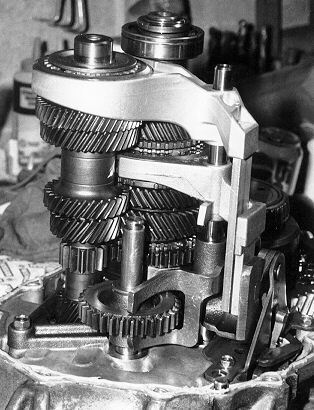
6) Remove the long metal dowel that holds all of the selector forks in place. This should be lifted by hand. It should come straight out very easily. Once it is removed the gear selector forks will be resting on their respective coupling sleeves and the shift linkage assembly only. The metal dowel in question can been seen left of center in this picture.

Here it is removed (top in picture).
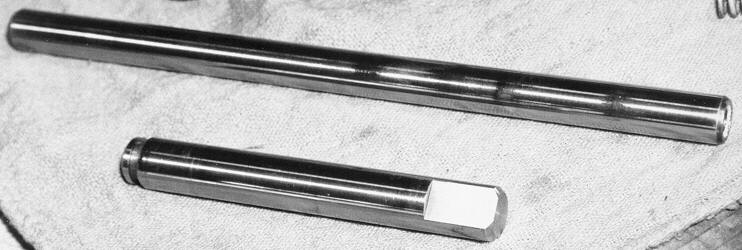
7) Slide the 5th gear shift fork around the gear coupling sleeve (making sure to keep the fork prongs inside the groove in the selector ring) to remove the fork from the shift linkage assembly. Be very careful. There is a small friction cap inside the "handle" of the fork that you do not want to loose. Keep track of this
friction cap. Make sure not to disturb the other shift forks when doing this. They too have friction caps and you will want to make sure they don't get dislodged.
8) Remove the 5th gear retainment plate on the top of the input shaft gear stack. It has a C-clip holding it on that you'll need to remove as well.

9) Mark the top of the 5th gear coupling sleeve and hub assembly with a sharpie marker so you will know which side was "up". (You will want to reassemble this upside down.)
10) Remove the 5th gear coupling sleeve and hub assembly by sliding it off of the top of the input shaft gear stack. Be careful not to let it disassemble. It is held together by two ring springs and three retainers. Sort of a pain to put back together, but not too bad. If this doesn't come off easily because the bearing on the output shaft is preventing it from coming off you can lift the output shaft some and carefully spread the two gear stacks apart to get the wiggle room needed to remove it. If this fails you should disassemble the 5th gear coupling sleeve and hub assembly to remove it from the shaft. You do this by pulling the hub up and out of the coupling sleeve. Make sure not to loose the three retainers or the two ring springs.
11) Remove the 5th gear synchronizer by sliding it off of the top of the input shaft gear stack.
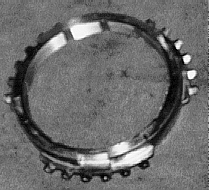
12) Remove the 5th gear by sliding it off of the top of the input shaft gear stack. This should be possible by hand but you might need a gear puller if you're the unlucky type.
Now you're basically going to reassemble the transmission in reverse taking care to replace all of the parts you removed with new parts if you have them. Keep reading though, there are some
important details you won't want to miss.
13) Replace old 5th gear with new 5th gear by sliding the new 5th gear onto the input shaft.
14) Replace the 5th gear synchronizer with a new one if you bought one, or re-use the old one. (A new one is recommended).

15) Replace the 5th gear coupling sleeve and hub assembly by sliding it back onto the input shaft.
Be sure to put it back on the opposite of how you took it off. This means what ever side was facing up before should face down. This is because this part will have worn out along with the 5th gear and you will want to use the "fresh" side. It has two sides, but only one is used.
Alternatively you could buy a new coupling sleeve and hub assembly and avoid re-using the old assembly (you can't buy just the coupling sleeve anymore). If you buy a new coupling sleeve and hub assembly you will have to disassemble the 5th gear selector ring/collar and inner spline ring assembly to re-use your old spring rings and retainers. This is not very difficult. Also, if you buy the entire kit it comes with two new ring springs and three new retainers for this assembly. You'll want to assemble all these new parts to replace the old if you bought the kit. (I don't feel this is necessary at all.)
16) Replace the 5th gear retainment plate on the top of the input shaft gear stack. Don't forget the c-clip.

17) Slide the 5th gear shift fork back onto the gear coupling sleeve (making sure to keep the fork prongs inside the groove in the coupling sleeve) and rotate the fork to put it back into the shift linkage assembly. Be very careful. There is a small friction cap inside the "handle" of the fork that you need to make sure is present and does not fall or dislodge itself during this step. Make sure not to disturb the other shift forks when doing this. They too have friction caps and you will want to make sure they don't get dislodged.
Here's a picture of one of the friction caps. Here is
where it should reside in the "handle" of the shift fork.
18) Reinstall the long metal dowel that holds the all of the selector forks in place. This should be fitted by hand. It should slide straight in easily aligning all of the shift forks back into place.
Here it is in the top of this picture.

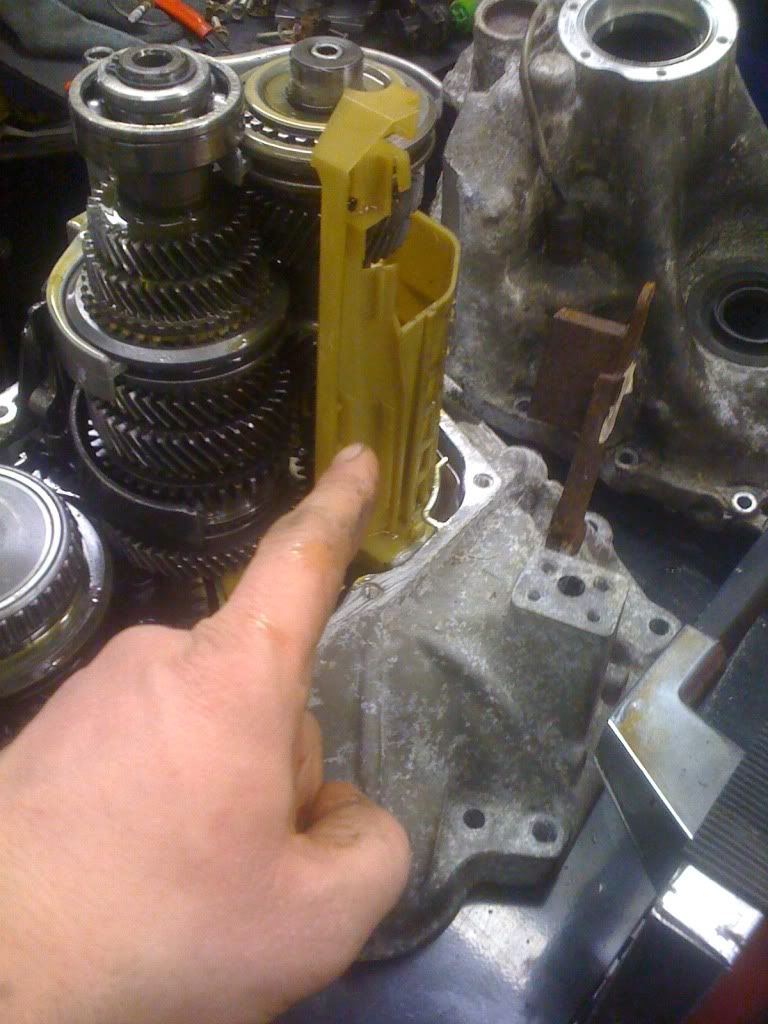
19) Replace the oil spreader if it fell out. You may have noticed this piece in the transmission case.

Or you may not have even noticed it. If it is still in place where it goes, leave it alone. If it has fallen out, it's not readily apparent where it goes back. See the two tabs on the left hand side of the spreader? Those two tabs mount into the two small, oval holes in the bottom left of this picture.

See them right above the second bolt hole from the left? Good. That's where that thing goes.
Here is another picture showing the oil spreader installed in its proper location.
20) Clean all gasket surfaces. Clean the bellhousing mating surface and the transmission case mating surface of all Grey RTV material. Clean the small, circular cap of all Grey RTV and clean the side of the transmission case where this cap mounts. Be careful not to ruin the rubber o-ring if it is still in place.
21) Apply grey RTV gasket sealant to the bellhousing mating surface. Be careful to make sure you apply the bead to the "inside" of the bolt holes.
22) Replace the transmission case back onto the bellhousing making sure to tilt it and rotate it as it will not go straight down onto it. Look through the hole in the top to make sure you're avoiding everything and the oil spreader doesn't fall out as you do this.
23) Torque down the transmission case. I like to use an "inside out" torque method, not a star pattern.
24) Replace the C-clip that holds the outer race of the bearing on the top of the output shaft to the transmission case. If the output shaft is not tall enough and the groove in the bearing race is not showing you can lift the output shaft by hand (it should move easily) or pry it up with a screw driver to get the C-clip to seat.
25) Apply grey RTV to the top of the transmission where the small circular cap mounts.
26) Replace the small circular cap.
27) Torque down the bolts on the cap using a star pattern.
28) Take a break, grab a (root)beer and let the RTV cure. You are finished.


 Back to top
