


plan and simple, this doesn't even have to be a write up. There are multiple different ways you can make the GA16 line fit on the sr20.
1. Cut and dremel the bolt hole that connects the line to the compressor. ( This is what i did and pictures will follow)
2. Bend and tweak the line that connects the line to the compressor.
3. also I have heard you can add washers to the bolts that attach the compressor to the block so it extends farther out like the GA16 does.
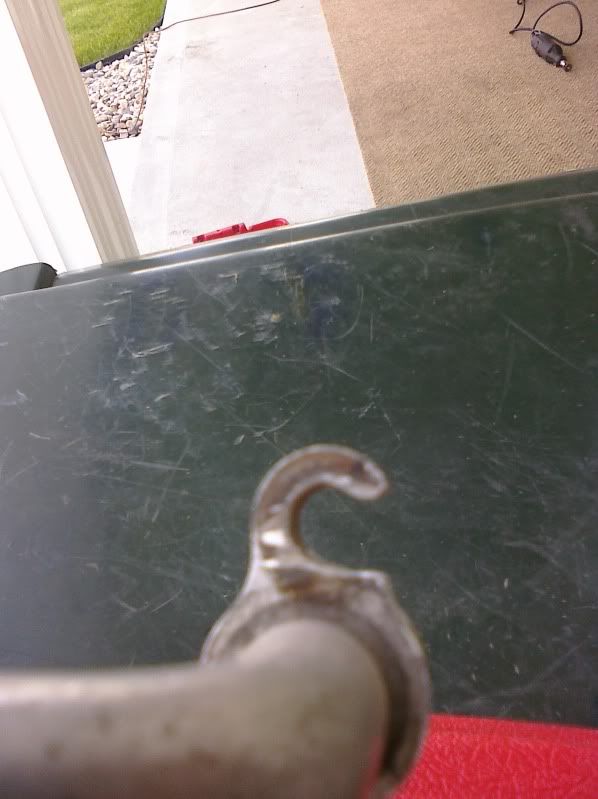
now on to the pictures, when the GA16 line is fit flush with compressor the two holes do not match up. So what I did was cut all the way into the the aluminum end and took a flat head screw driver to open the bolt hole a little. I grinned away on the inside of it so the both can drop right in with no clearance issues. I added a washer to the top to make sure.
another one

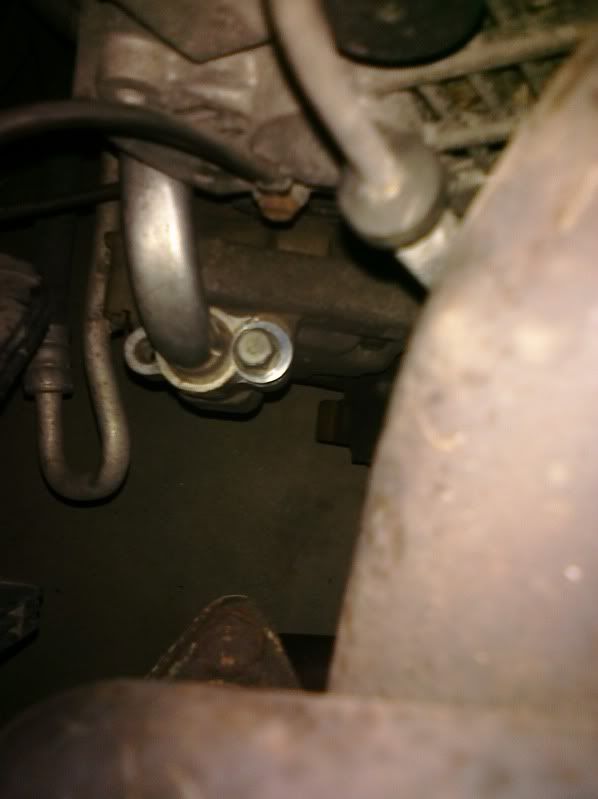
bolted on, with screw and washer on top
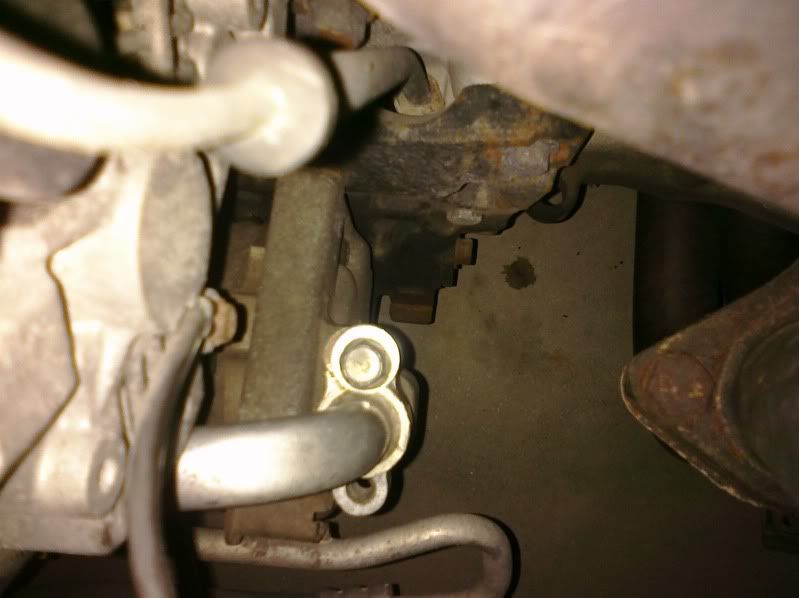
another, look at the clearance, hello 3" downpipe
last but not least how flush the line and compressor matches up.
1. Cut and dremel the bolt hole that connects the line to the compressor. ( This is what i did and pictures will follow)
2. Bend and tweak the line that connects the line to the compressor.
3. also I have heard you can add washers to the bolts that attach the compressor to the block so it extends farther out like the GA16 does.
now on to the pictures, when the GA16 line is fit flush with compressor the two holes do not match up. So what I did was cut all the way into the the aluminum end and took a flat head screw driver to open the bolt hole a little. I grinned away on the inside of it so the both can drop right in with no clearance issues. I added a washer to the top to make sure.
another one
bolted on, with screw and washer on top
another, look at the clearance, hello 3" downpipe
last but not least how flush the line and compressor matches up.
 Be the first to like this post.


