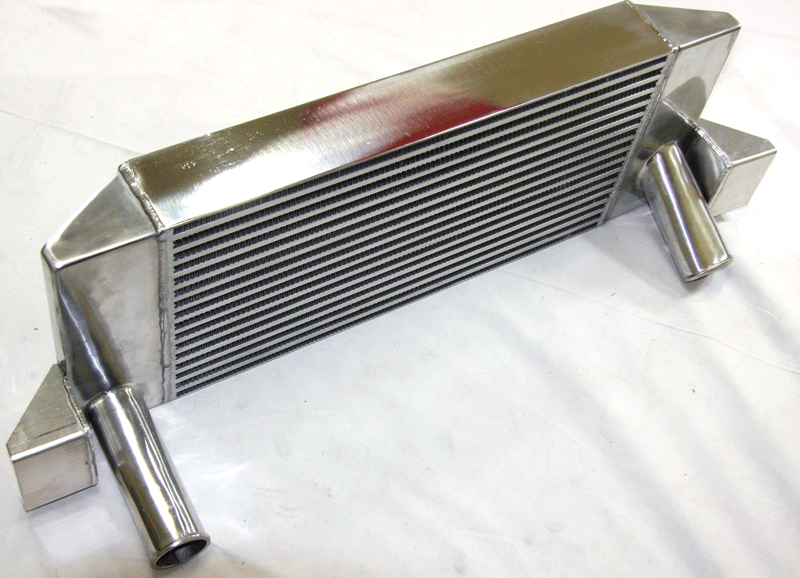
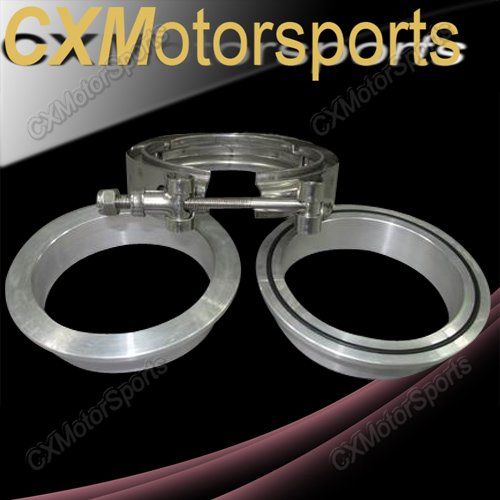
Originally Posted by
kevwal  The mazworx flange is a nice piece. It is slotted so it can be used on either engine and it has a cut-out for the 1 1/2 sch10 pipe to fit into, which makes life a lot easier. It also has a nice transition from oval to round. The price is good too. I just bought two more for some stuff I want to try.
I really wish I bought it. I just finished cutting mine to shape, what a pitta!
Originally Posted by
ashtonsser Yeah im not gonna do much more than port match and remove casting and polish on the intake side. Exhaust side however, im gonna port the exit portion just to match the flange as well as remove casting and polish. Other than that the head ports are staying the same size and design.
It will be hard to make the exhaust ports bigger will be hard, you will have to figure out how to port it right not to disrupt the flow.
Originally Posted by
TheSam get a tungsten carbide cutting bit on a dremel and it will eat through anything, I cleaned up the welds on my manifold in seconds using it
Where did you get it? I have a Tungsten carbide for regular drills that also works on a pneumatic die grinder. I've been using it on my exhaust flange, it works very well! I would love to get one for the Dremel for more precision.
Originally Posted by
chapnutz1 DO NOT polish the intake, leave it with an 80 grit finish...if you polish the intake it will not atomize the fuel correctly and will need to be redone, i wouldn't even gasket match the exhaust, the design of the head has set up in a particular valve angle, choke, etc...telling you, leave it alone
Did you do 80 grit by hand or with a rotary device? I believe I left mine at 80 grit, but I'm wondering if it's too fine still.

Exhaust side I did polish up though.

As for port matching I highly suggest it, especially if you are going to run thermoblok spacers. You create about 1-2mm flow walls around the runner.


Originally Posted by
nsusammyeb what about the intake side of things? Is the ve flange the same as the de? or even close?
DE:

VE:


 Be the first to like this post.