This is what I did today. I'm going to just put my write-up here for now until I get a full sticky thread for just that. But you guys can at least see what is involved. This is a rather simple job, but there are a lot of pieces involved, and some experience would def be preferable since you can mess things up if you don't get it right.
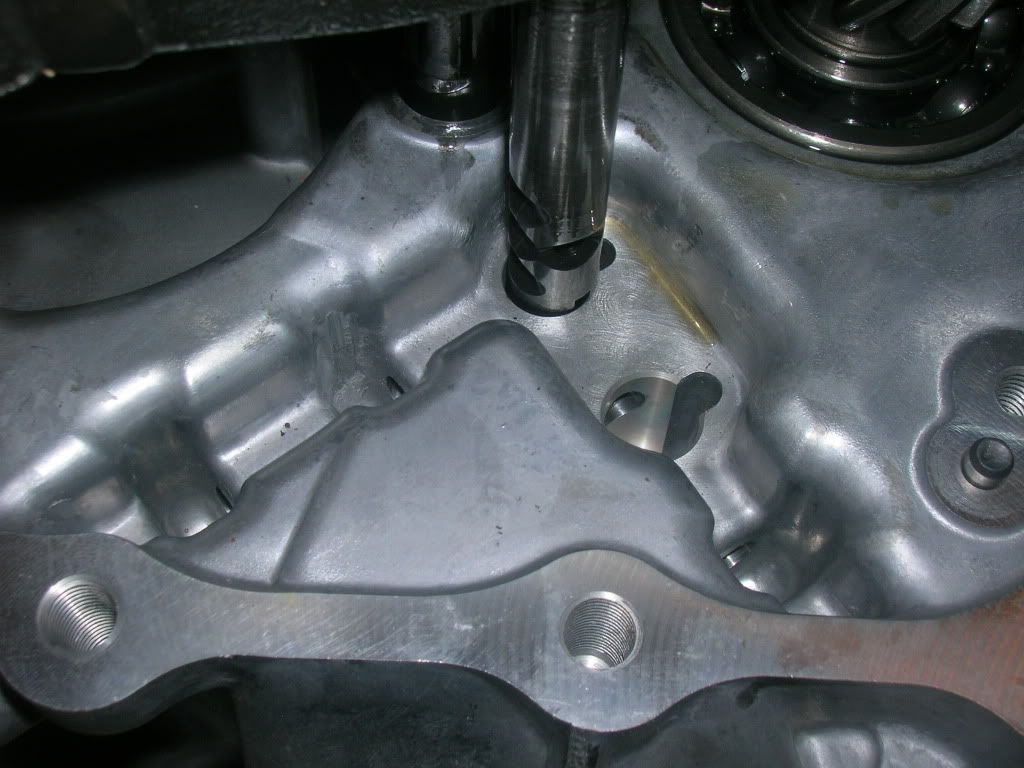
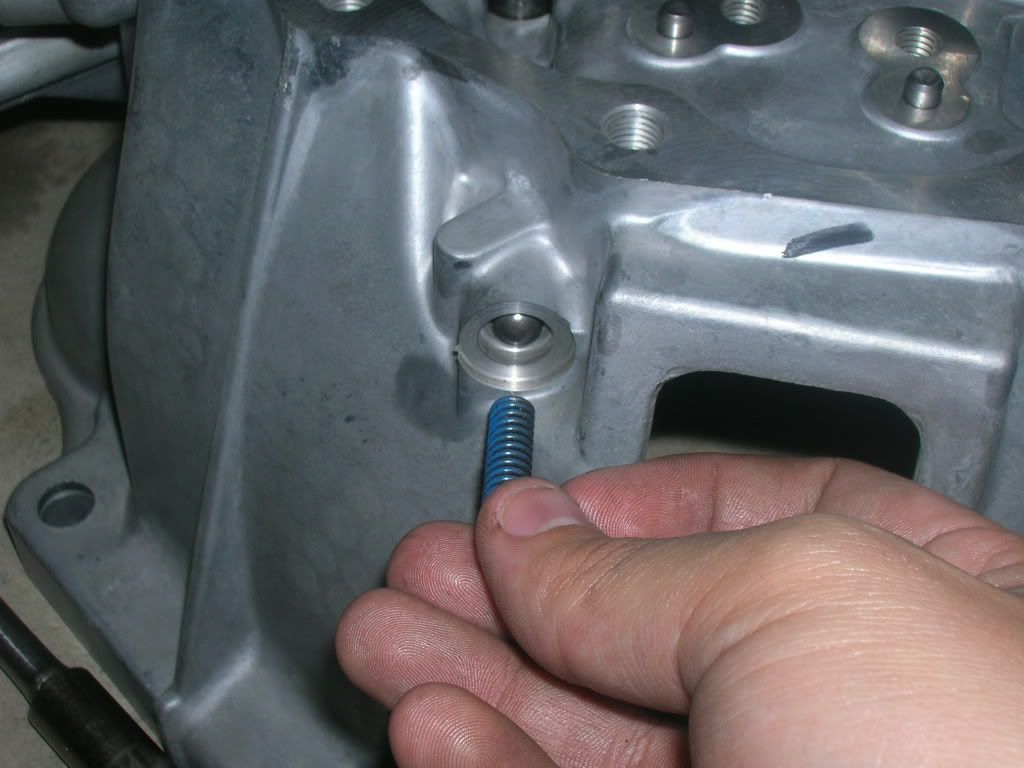
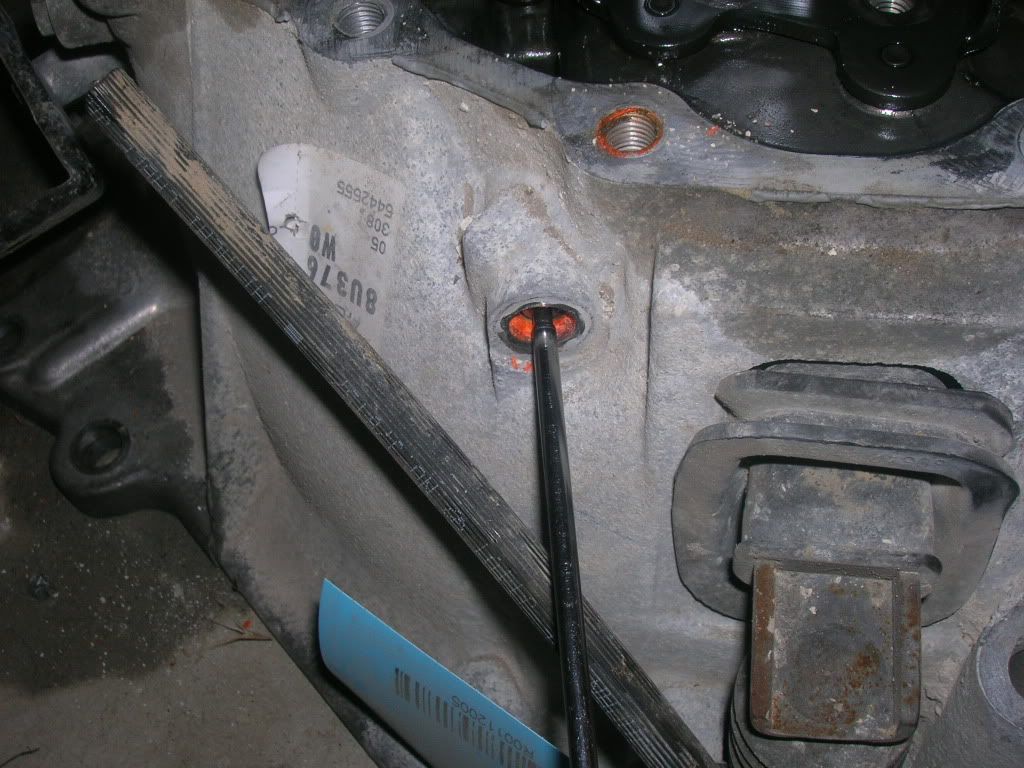
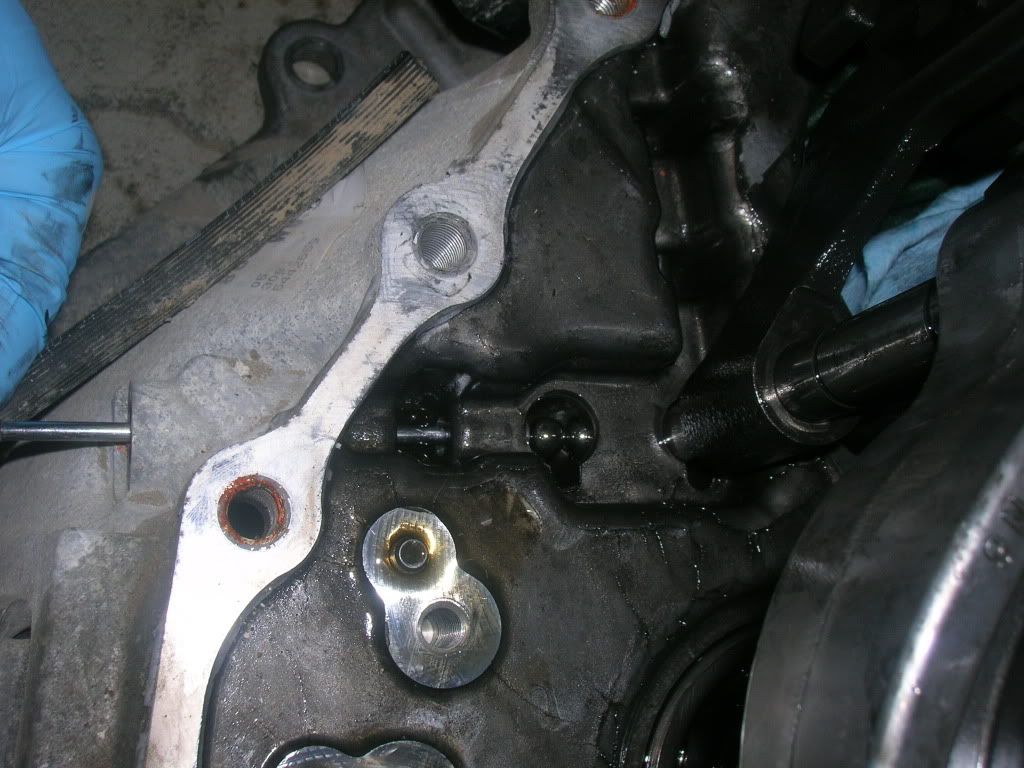
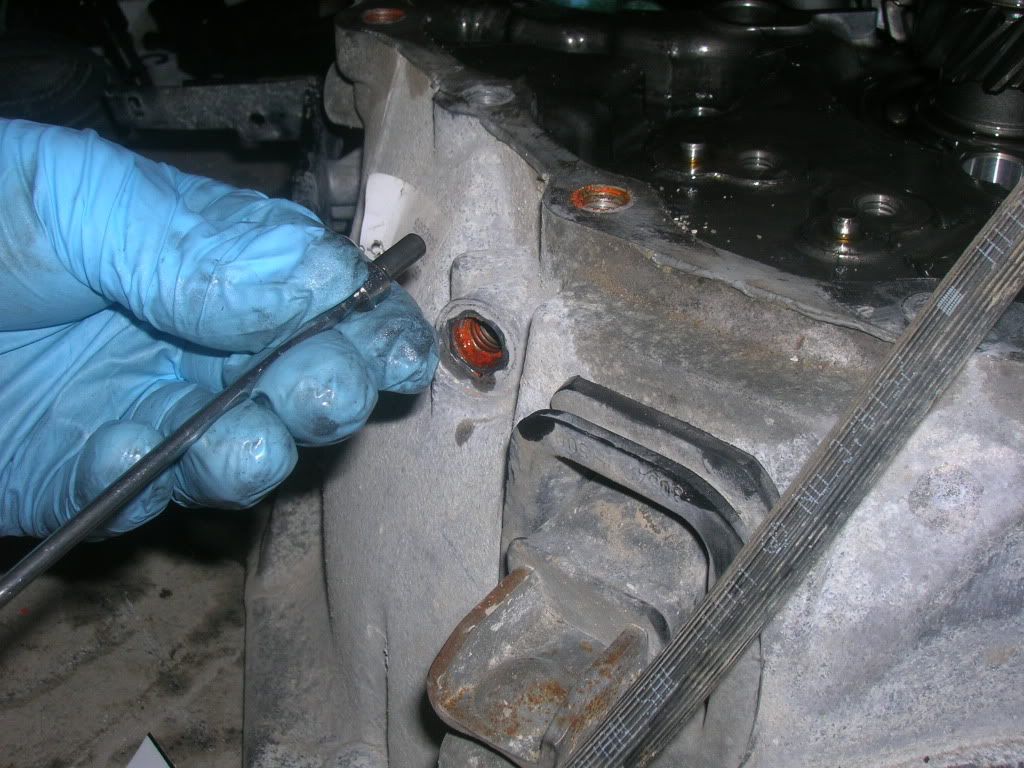
Once you have the case off as done previously, Then there are two bolts that hold the shift check balls for the shifter rods.
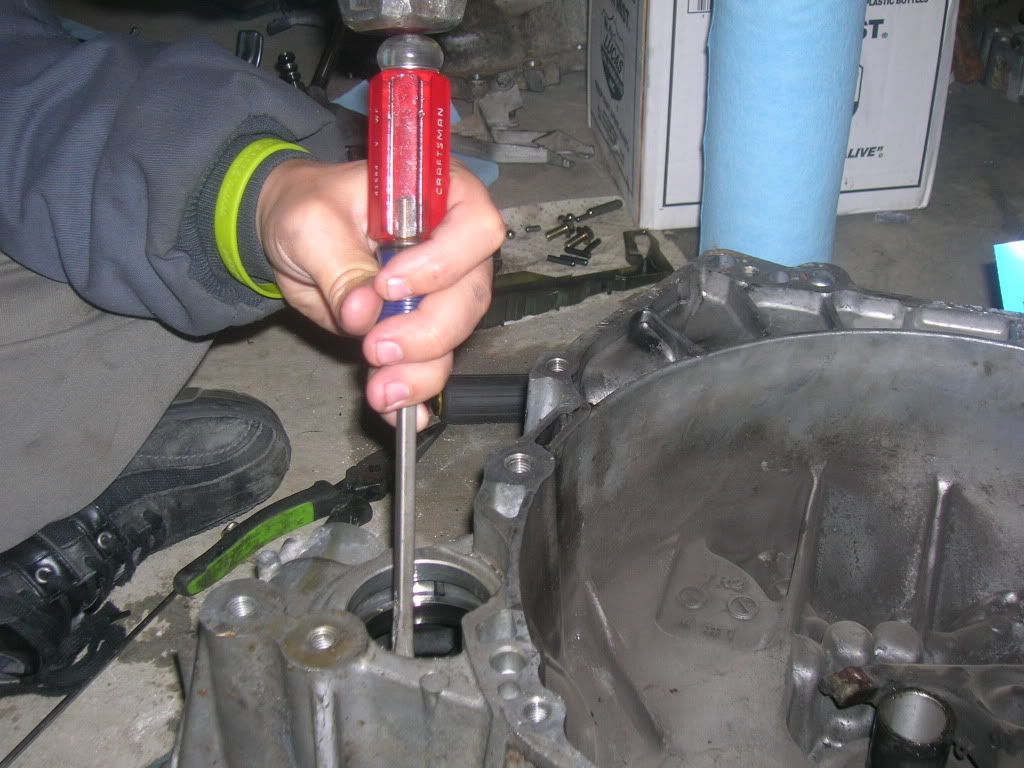
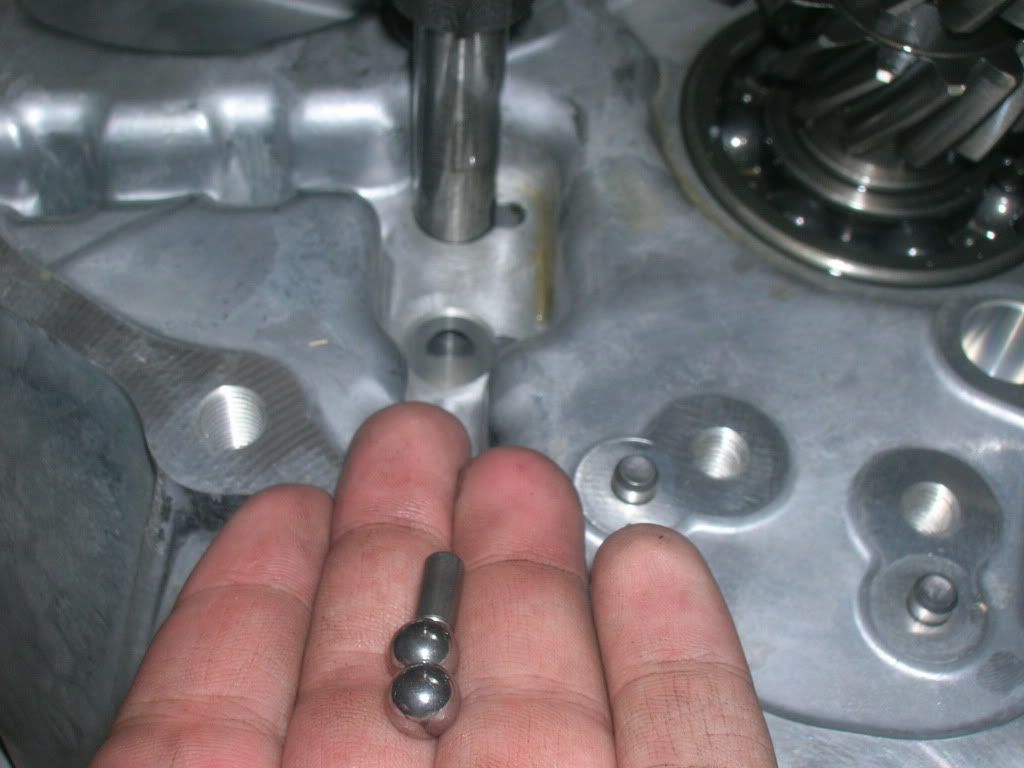
Use a magnet to remove the check balls.
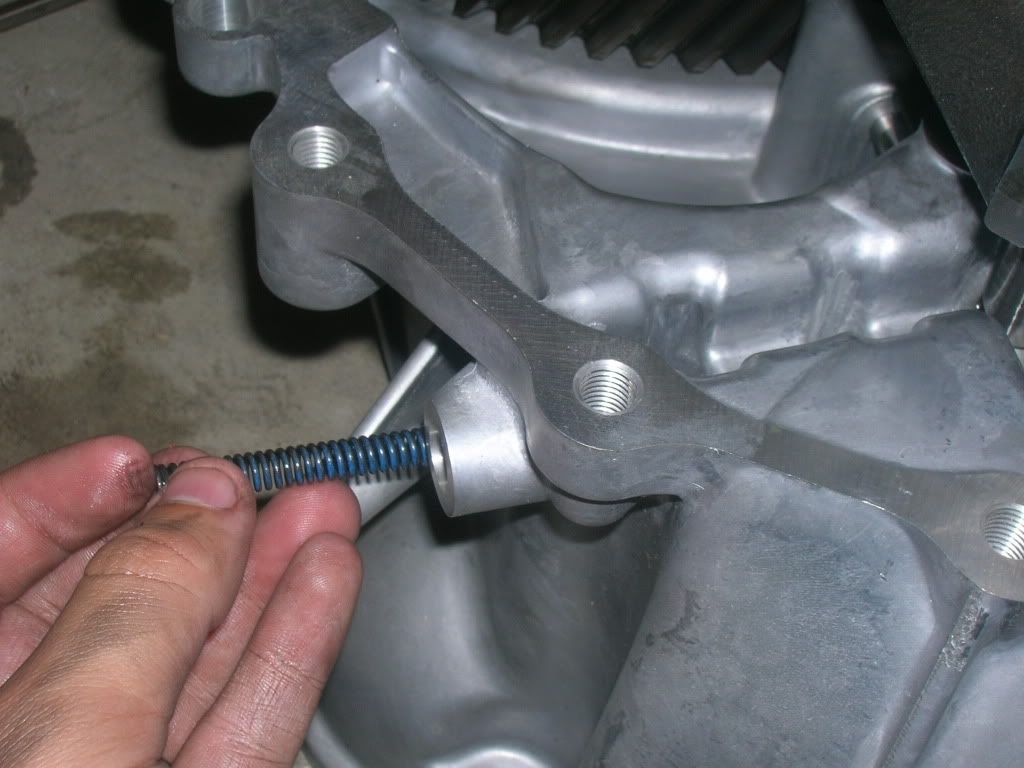
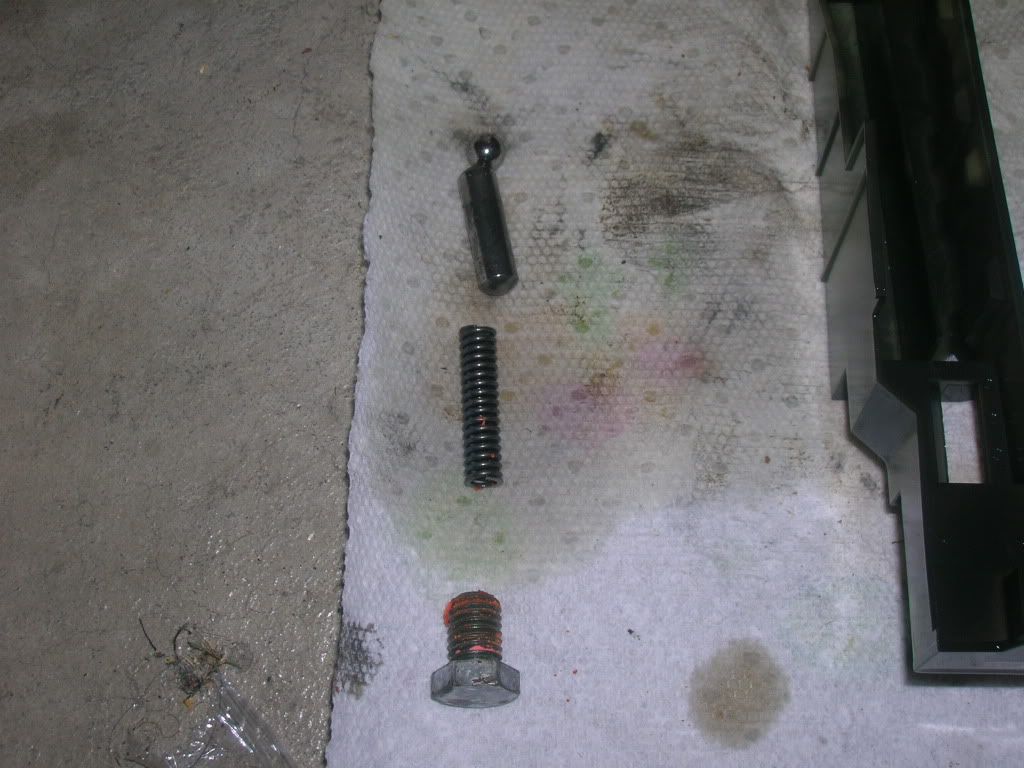
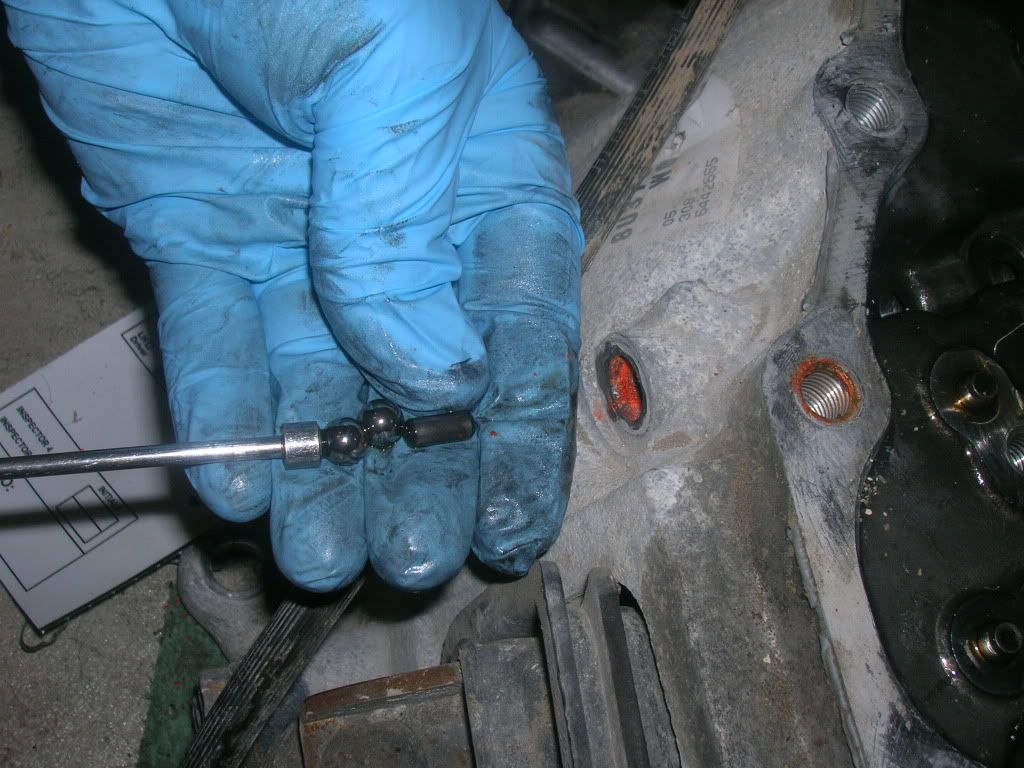
You will pull out a spring, a long rod, and a ball.
Then start to remove the roll pins and circlips. There should be 4 clips and 4 pins iirc.
This is the reverse shift roll pin.
Then the 5-6th roll pin.
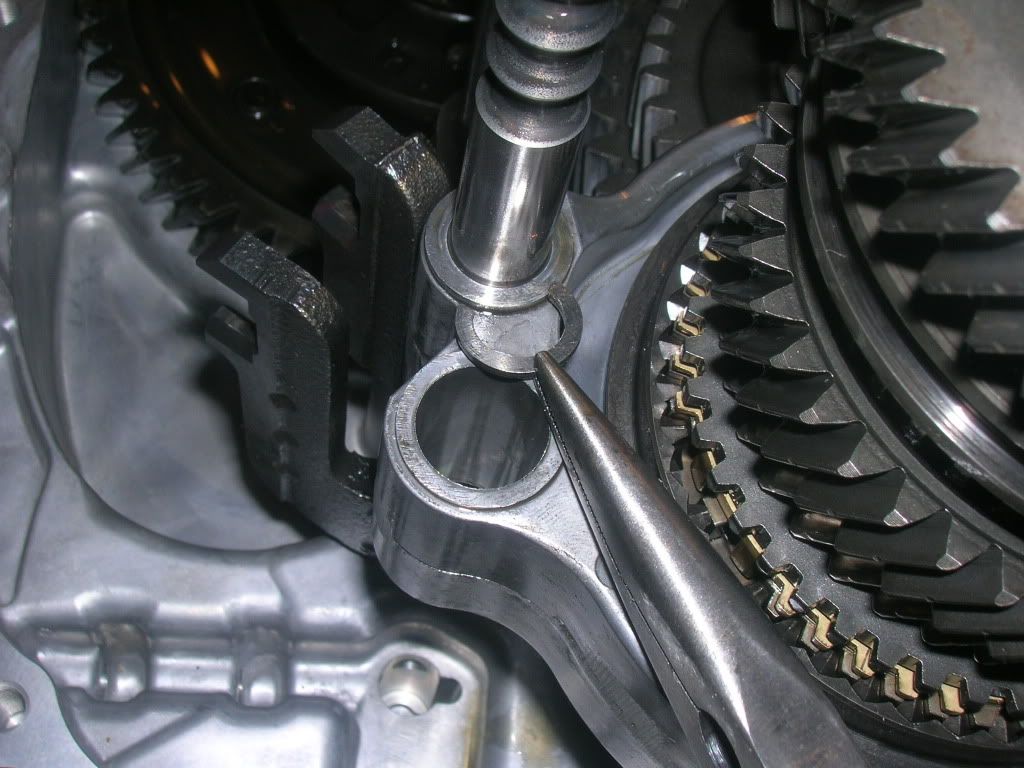
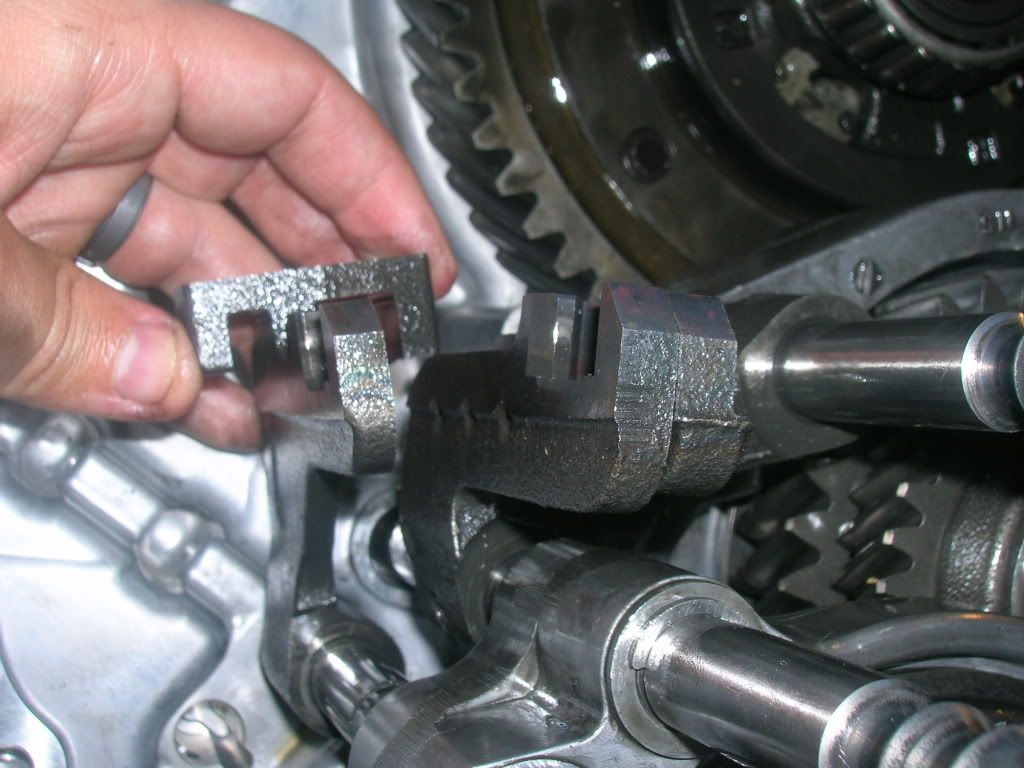
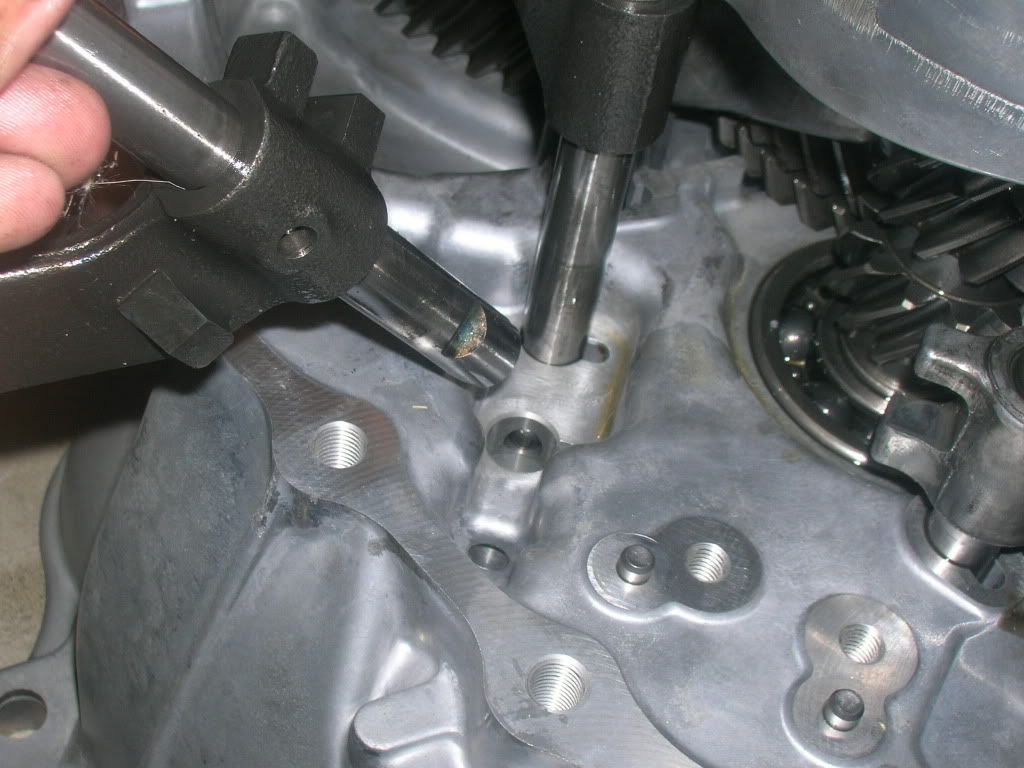
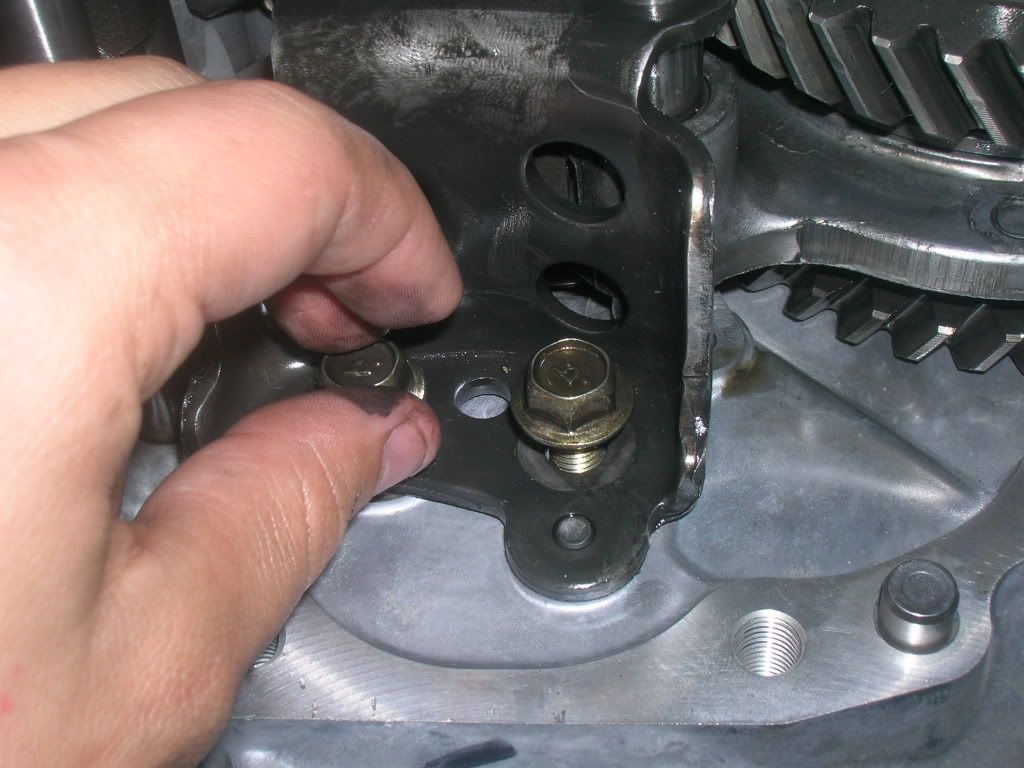
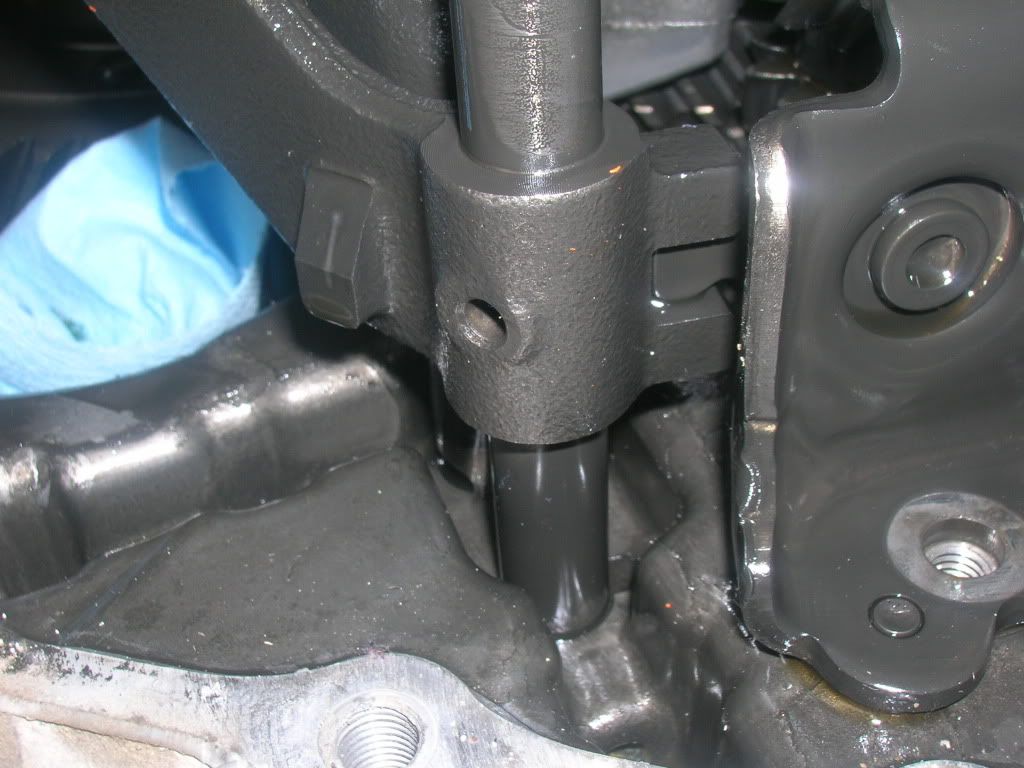
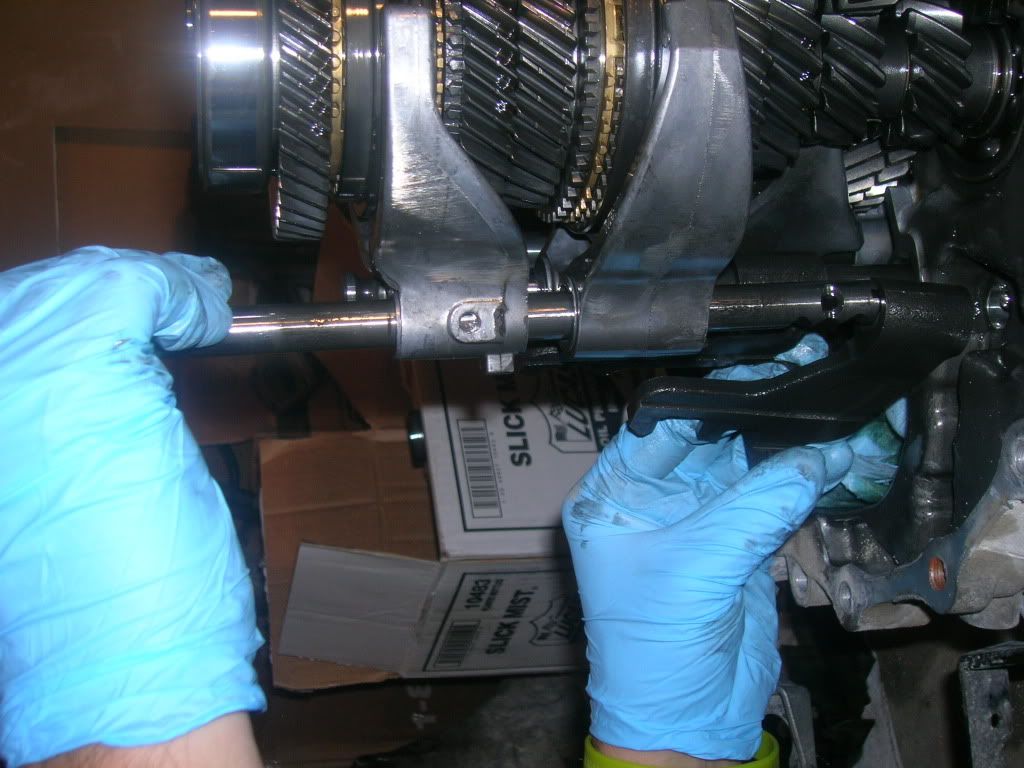
There are two pins on the 3-4th shaft that need to be removed. You can see both here, one on the shift collar and one on the linkage.
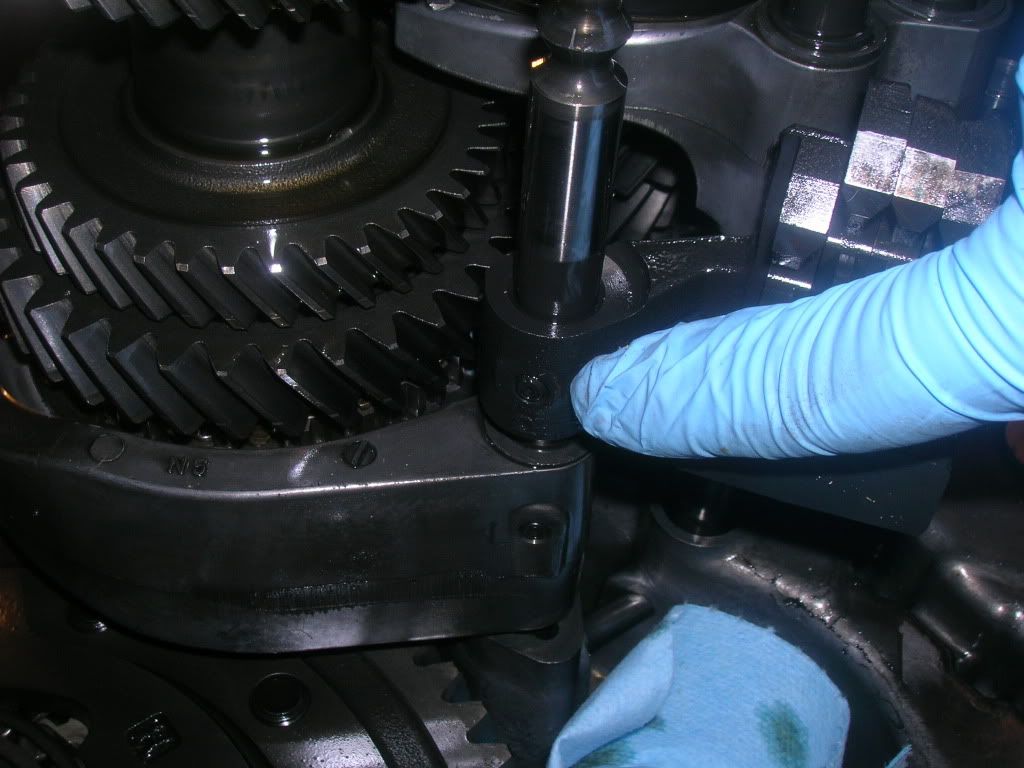
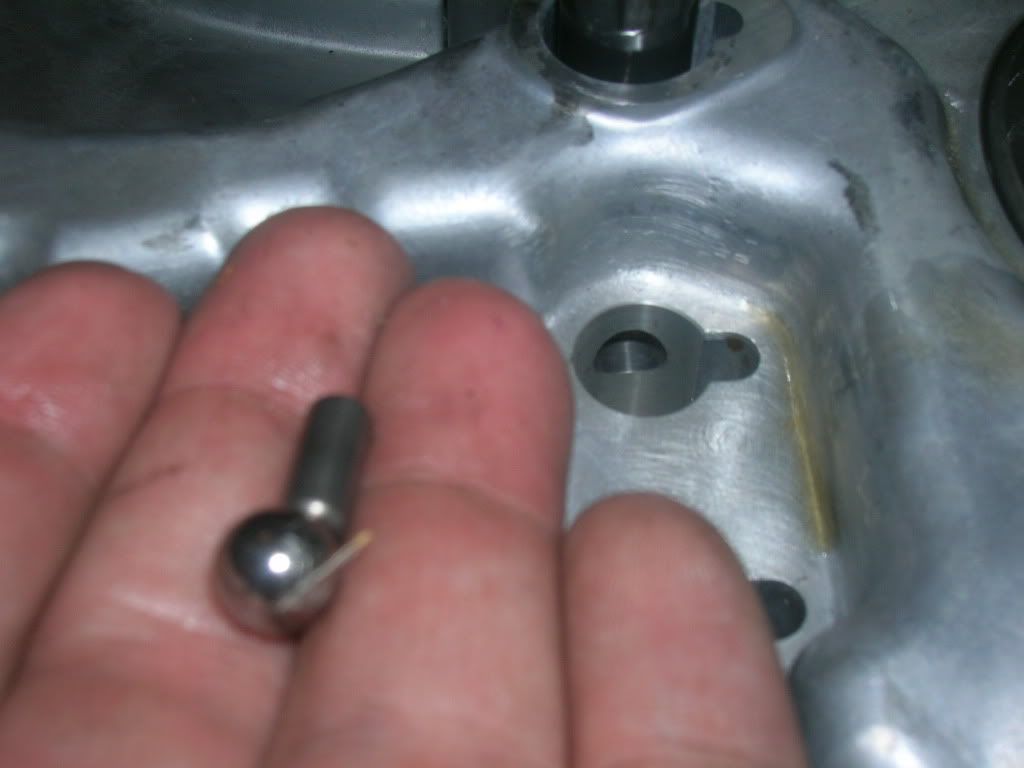
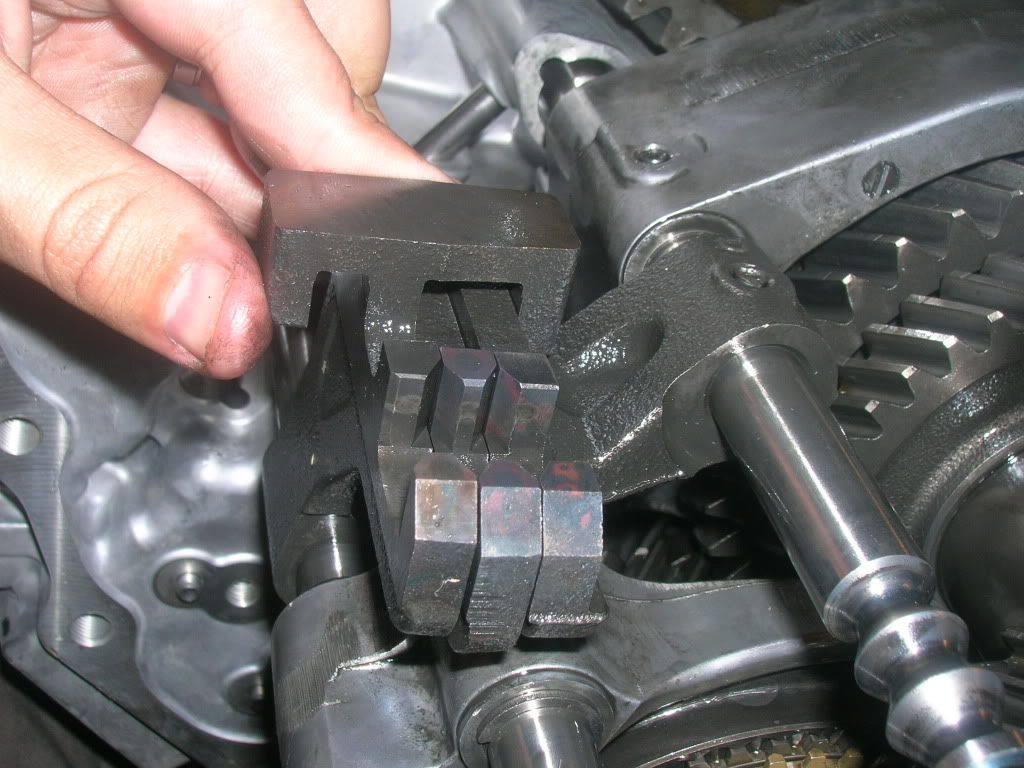
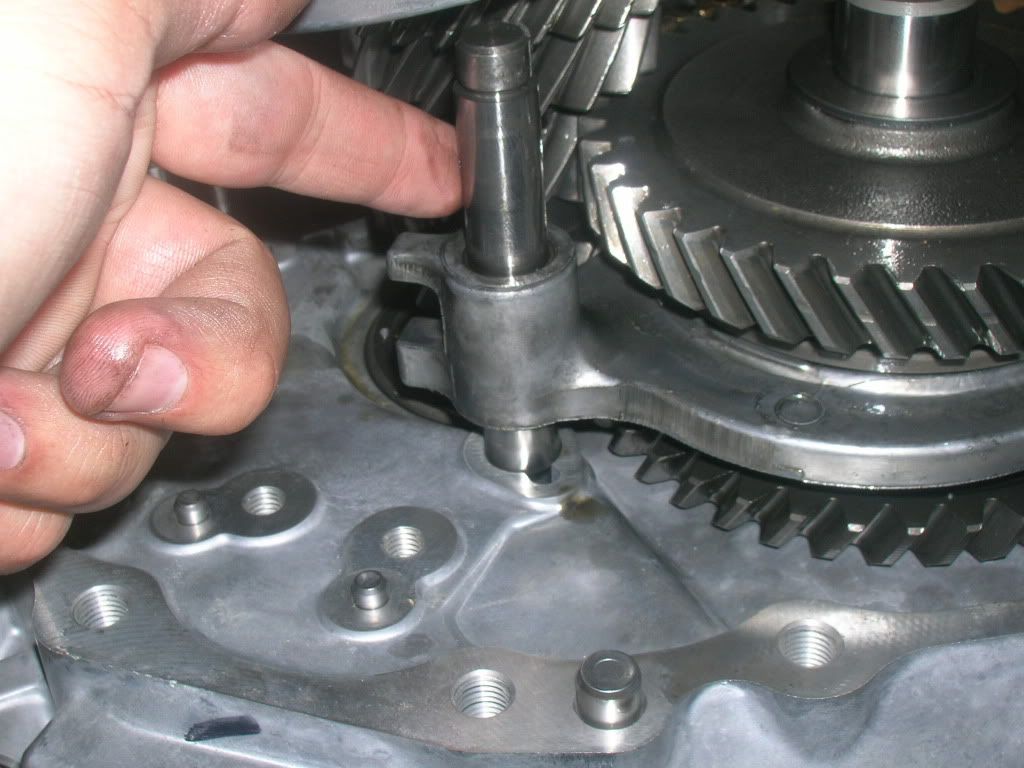
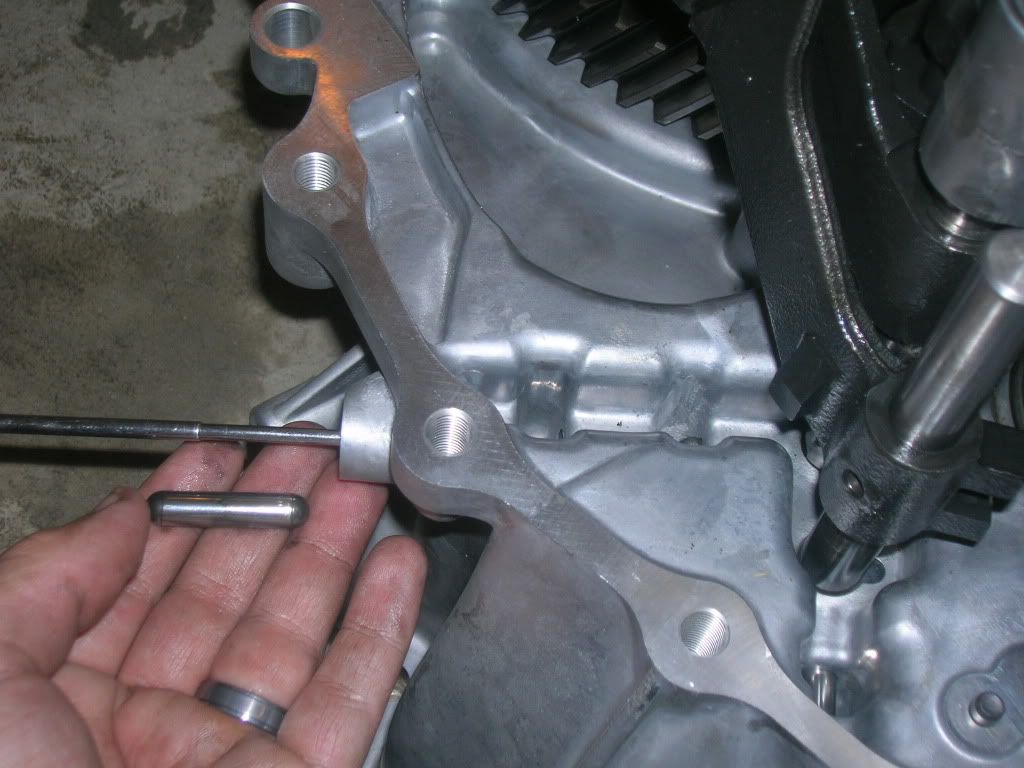
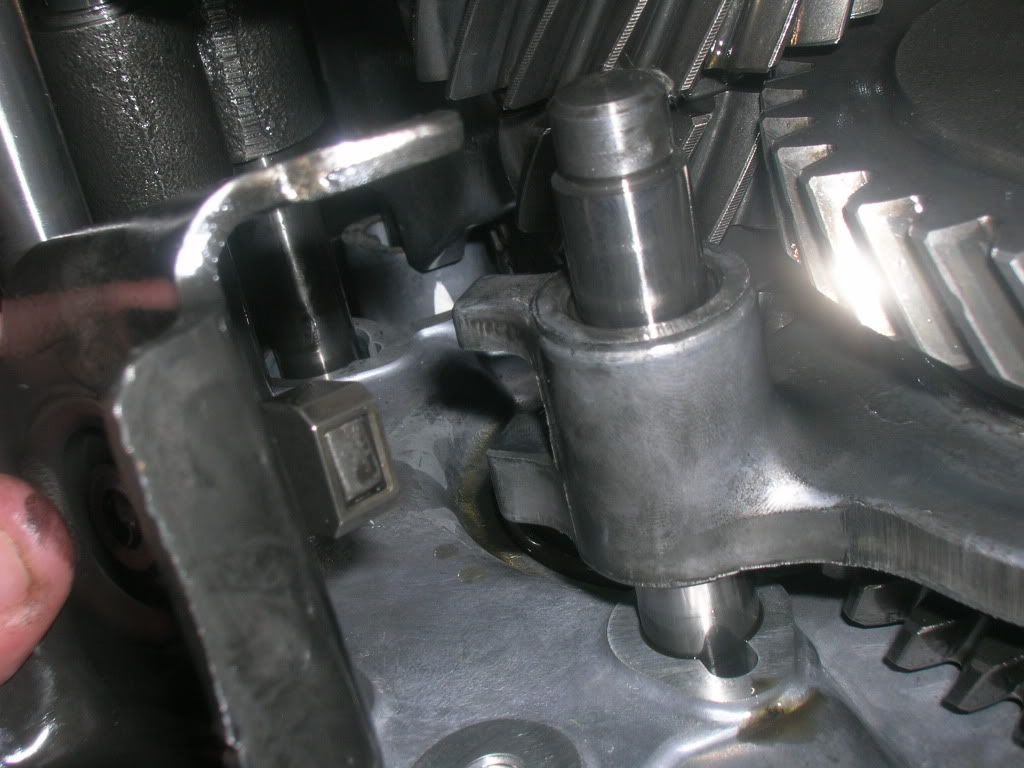
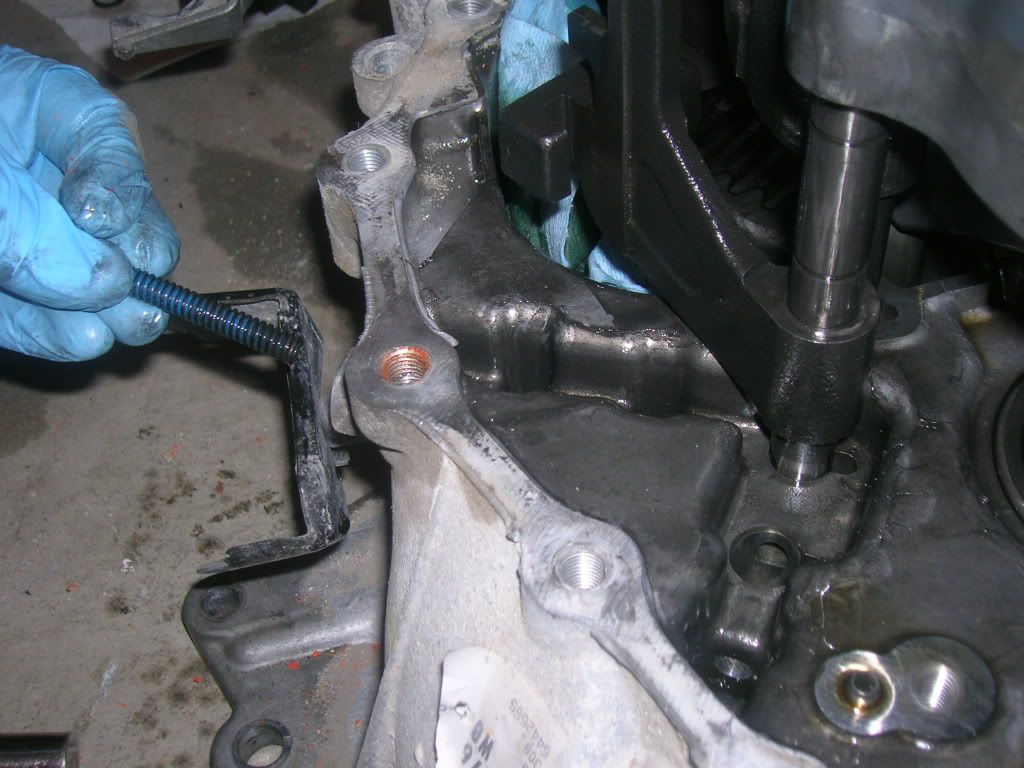
Take the two bolts off of this reverse shifter. There is an interesting collar-adapter on the back, make sure you don't lose it.
Just up and to the left of my index finger you can see this collar-adapter. It just slides right off.
Now pull the reverse shaft out.
Then remove the first shift rod for 5-6th gears.
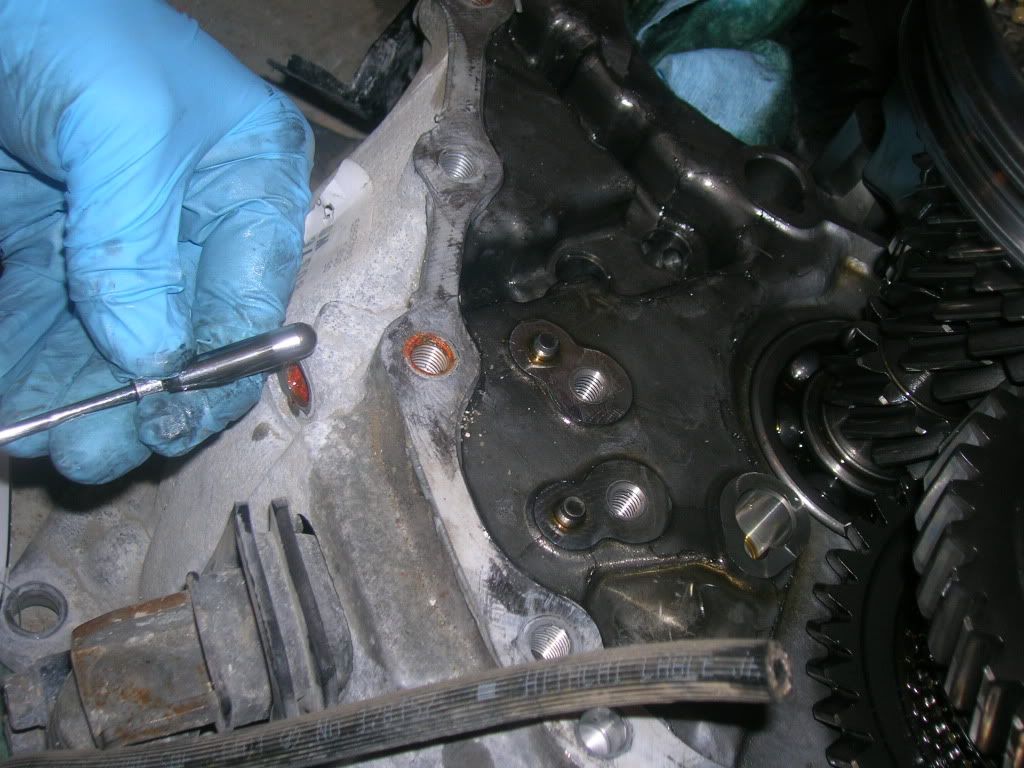
Now use your magnet to get out some check balls.
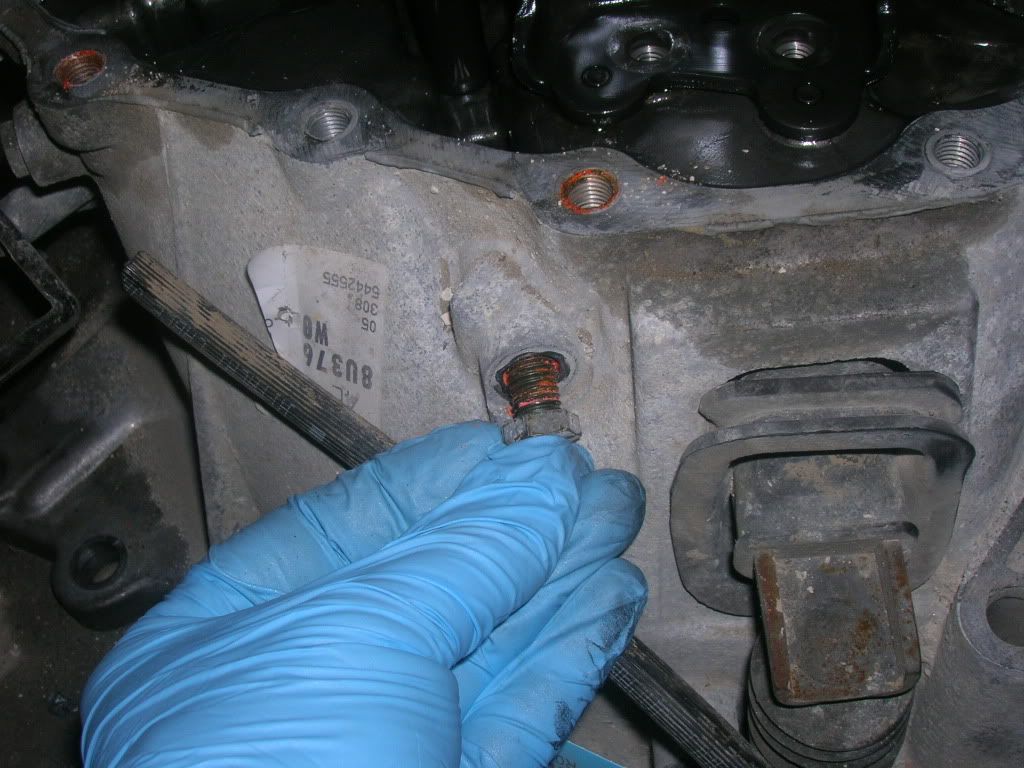
To the left of the first bolt you took off with check balls/springs etc, the six speed has 2 bolts you need to remove. Don't forget springs.
Once that is done you can slide out the 5-6th shift rod.
Then two more check balls from the first hole.
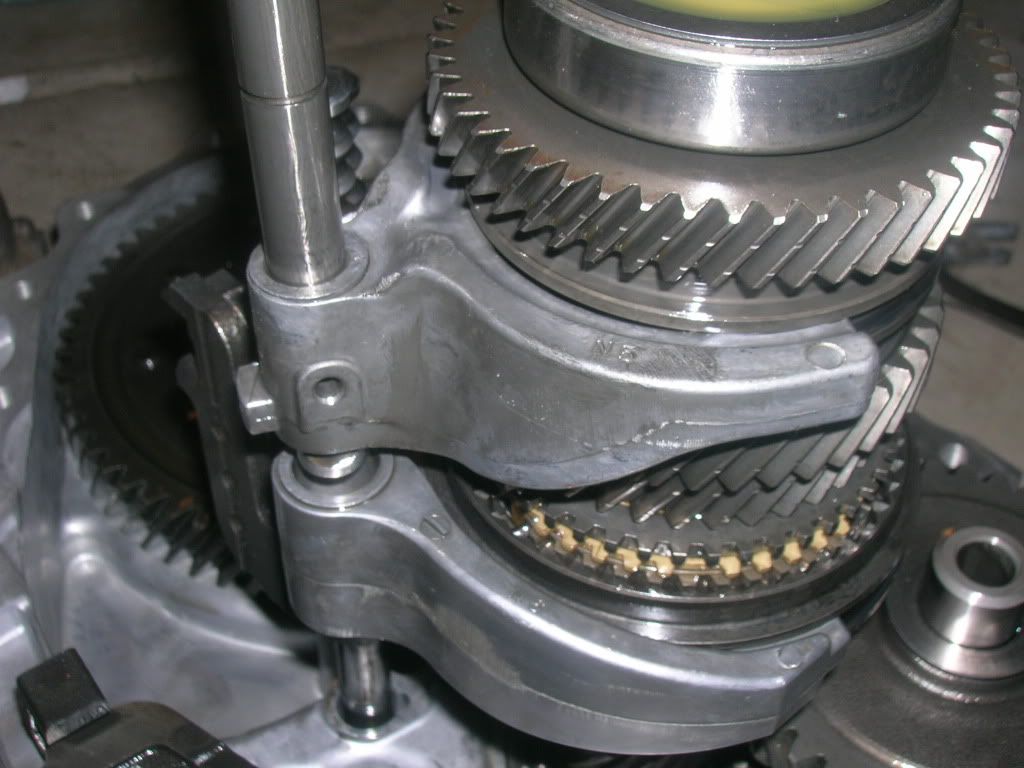
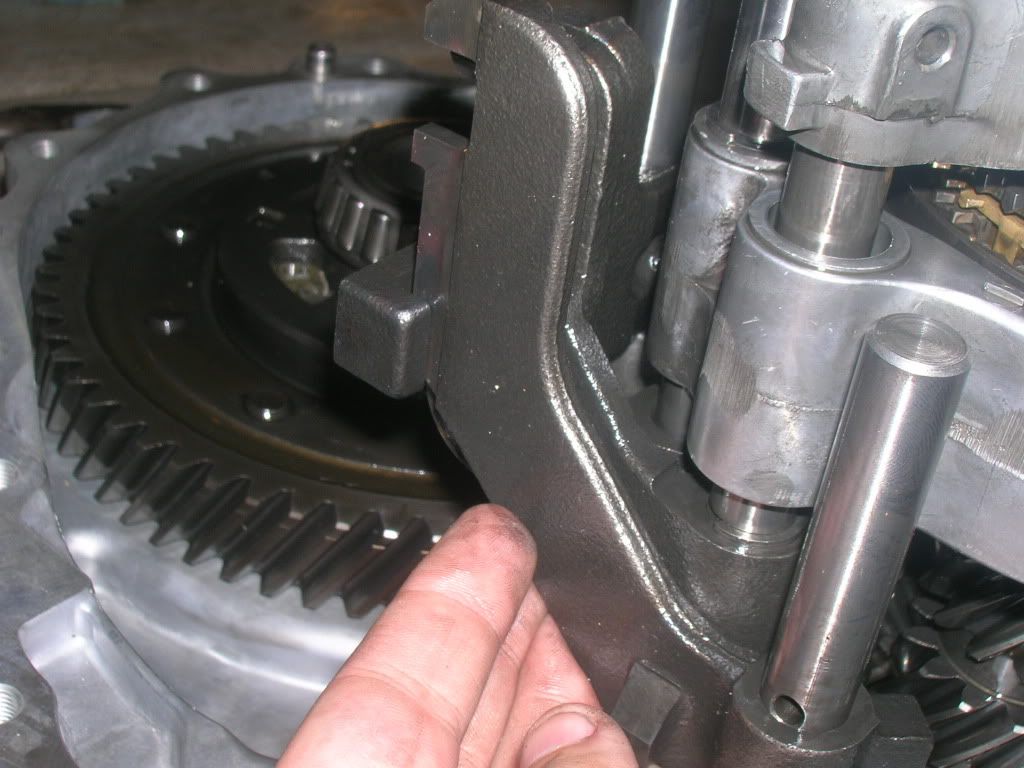
Here you can see the circlip and roll pin on the 3-4th shaft you need to remove.
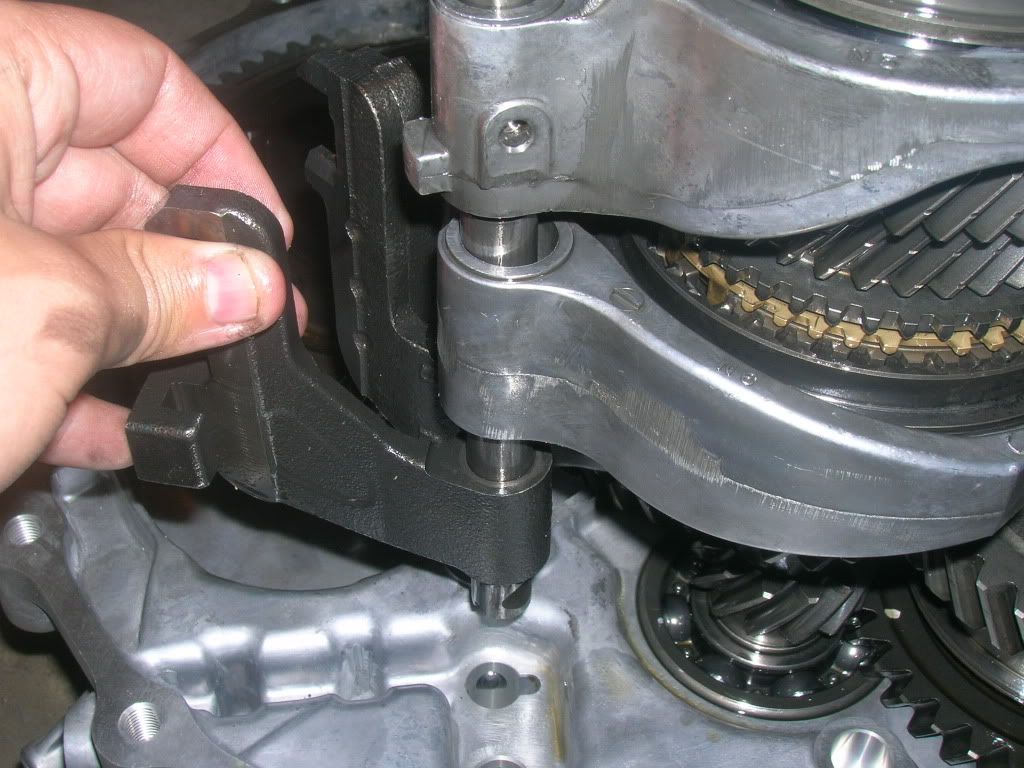
Now you can pull out the shaft for 3-4th, along with the shift fork.
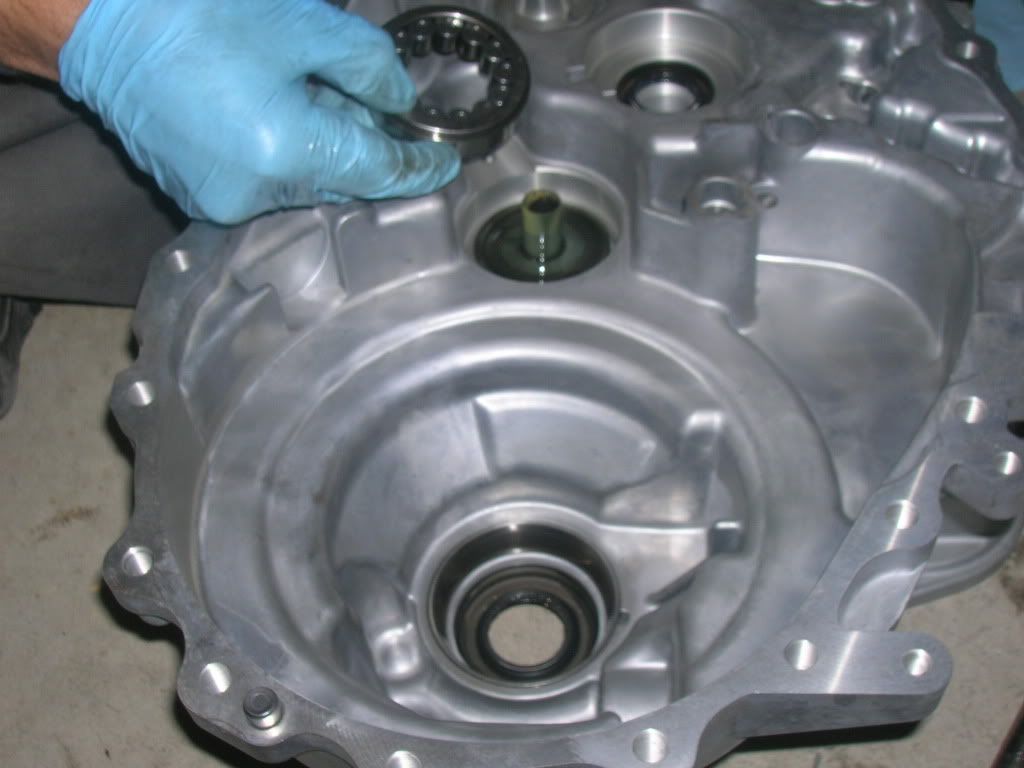
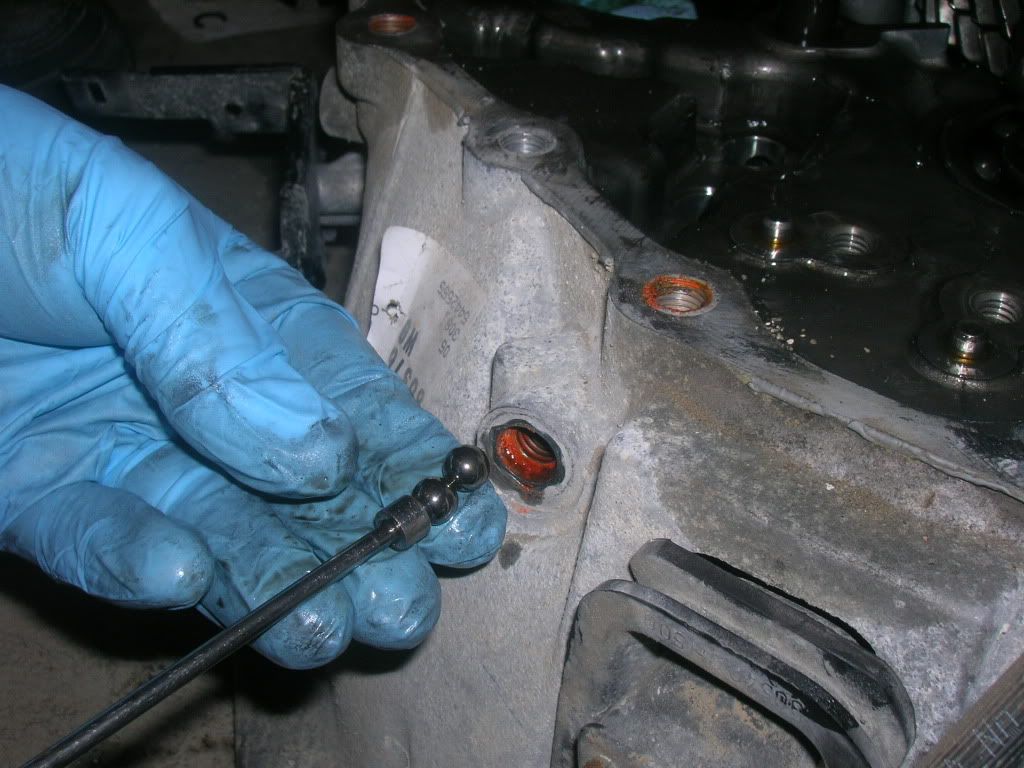
Send the magnet back in to collect this small rod from the 1-2 shaft.
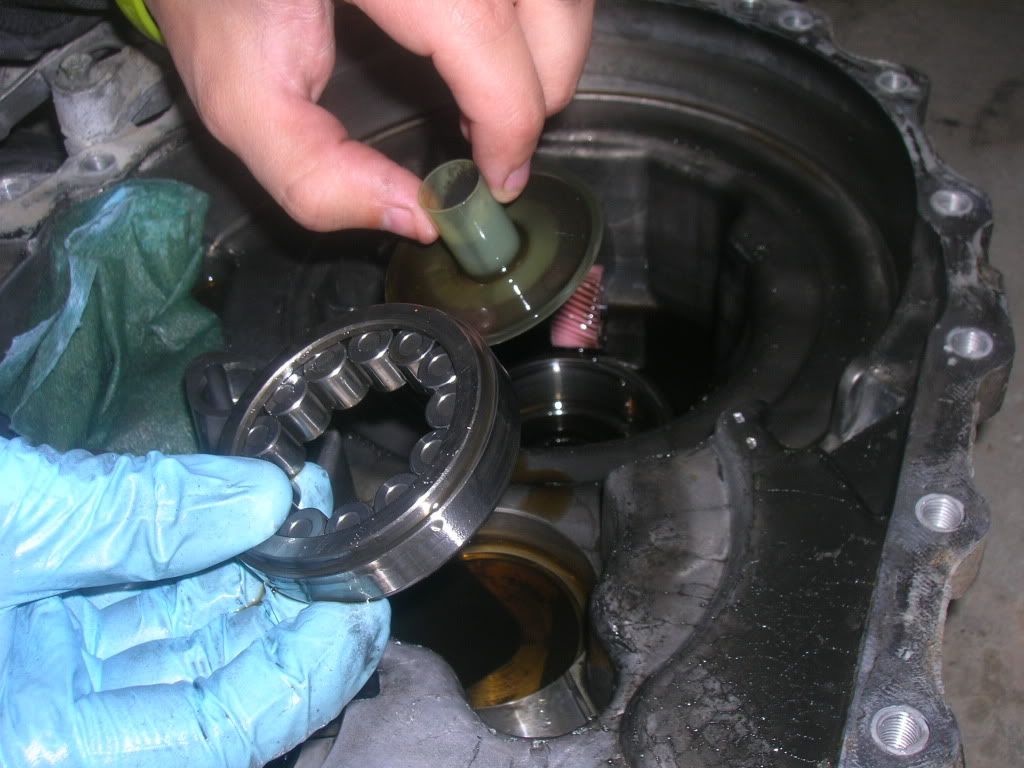
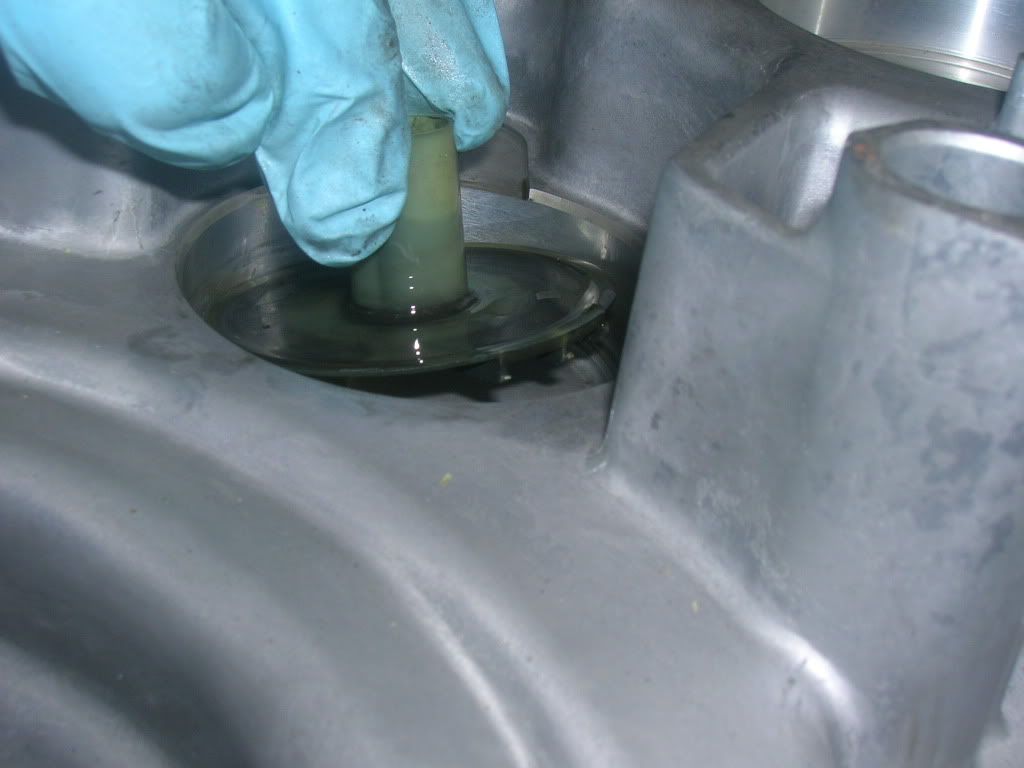
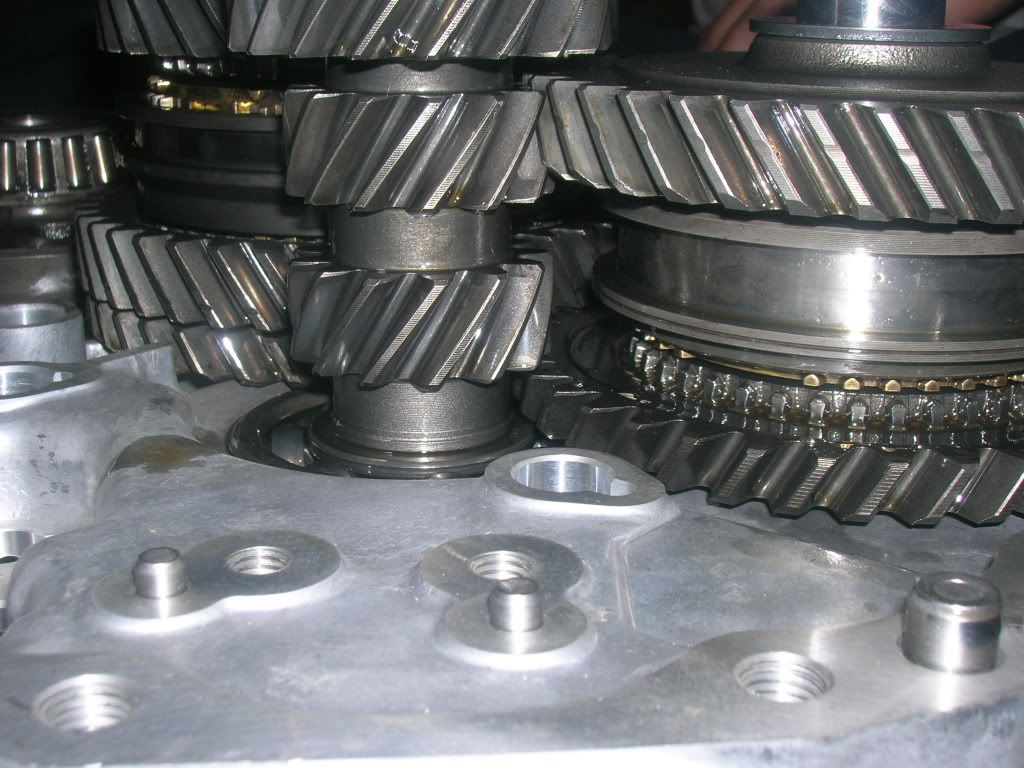
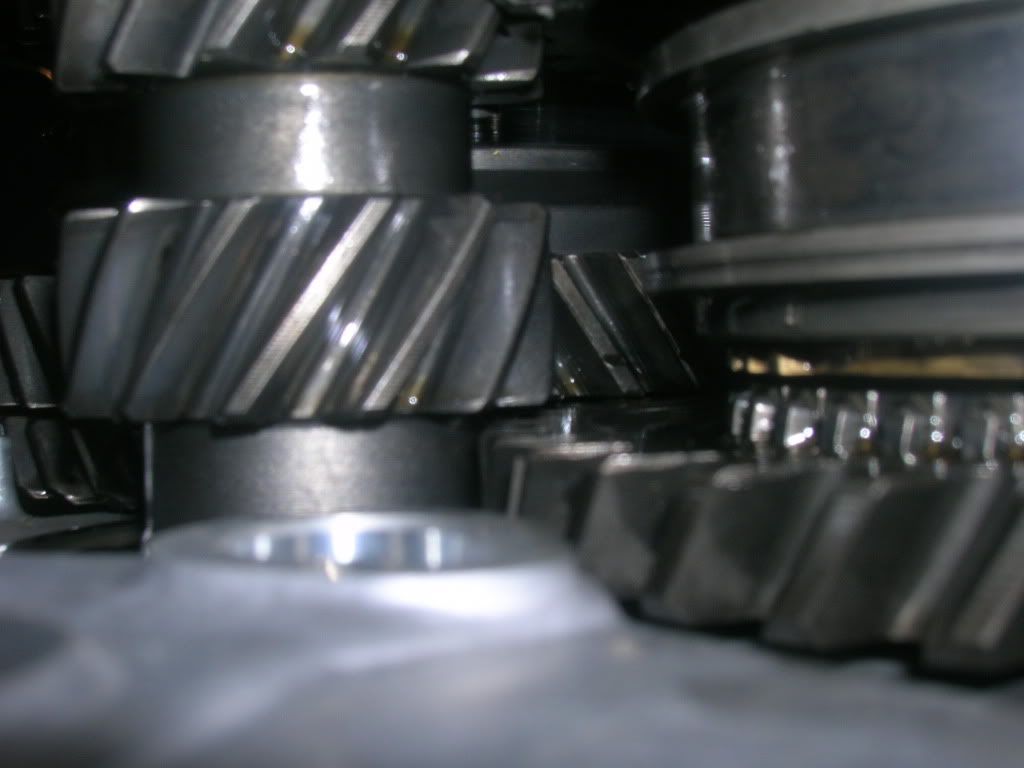
Followed by the Big shaft shown here.
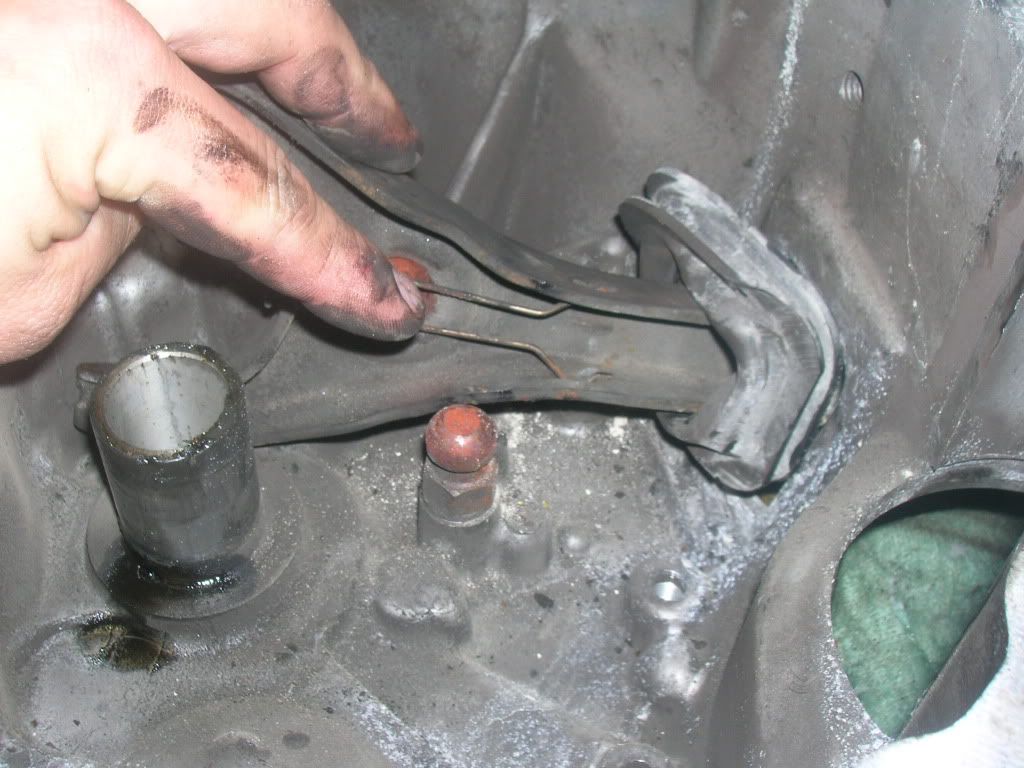
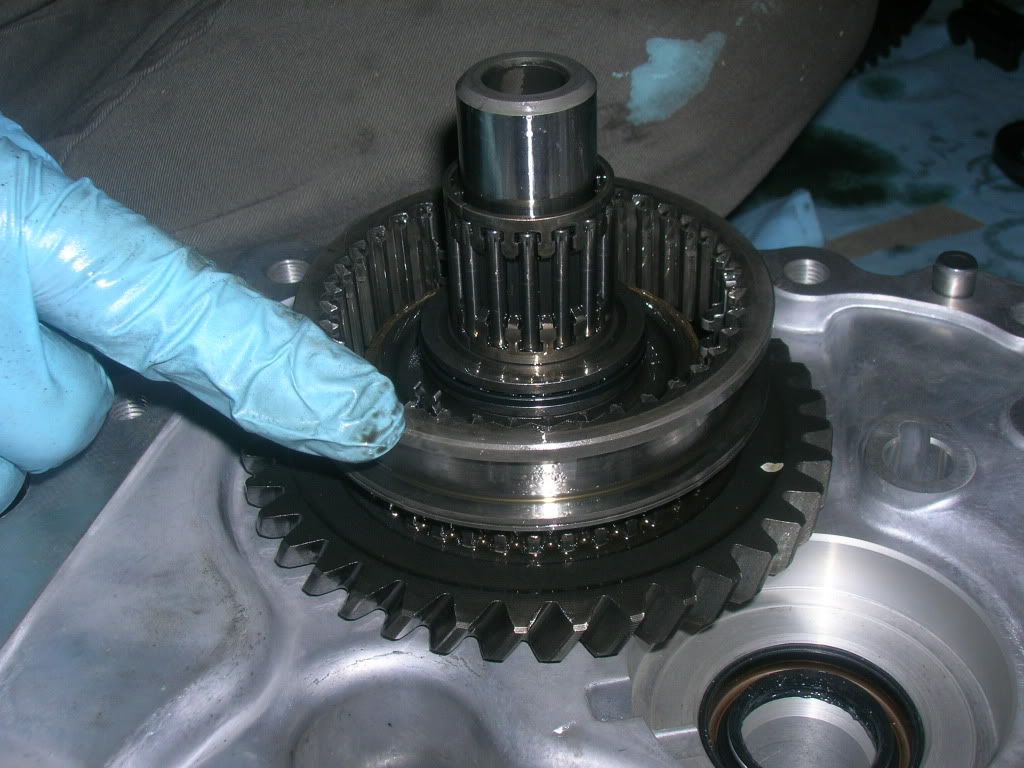
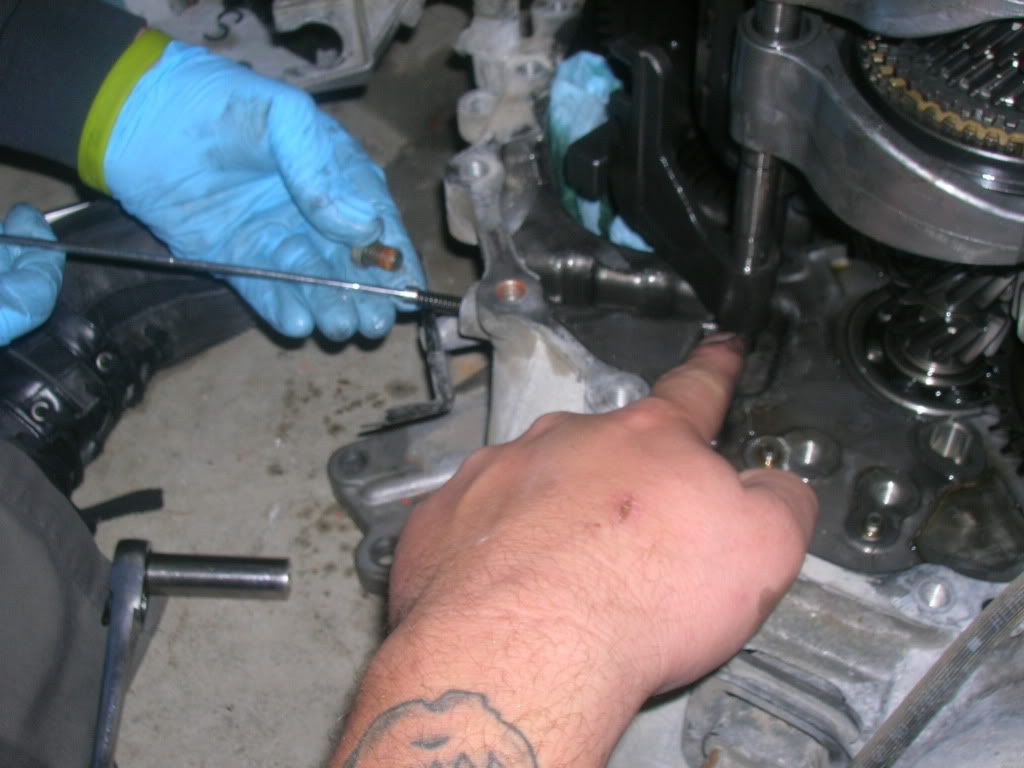
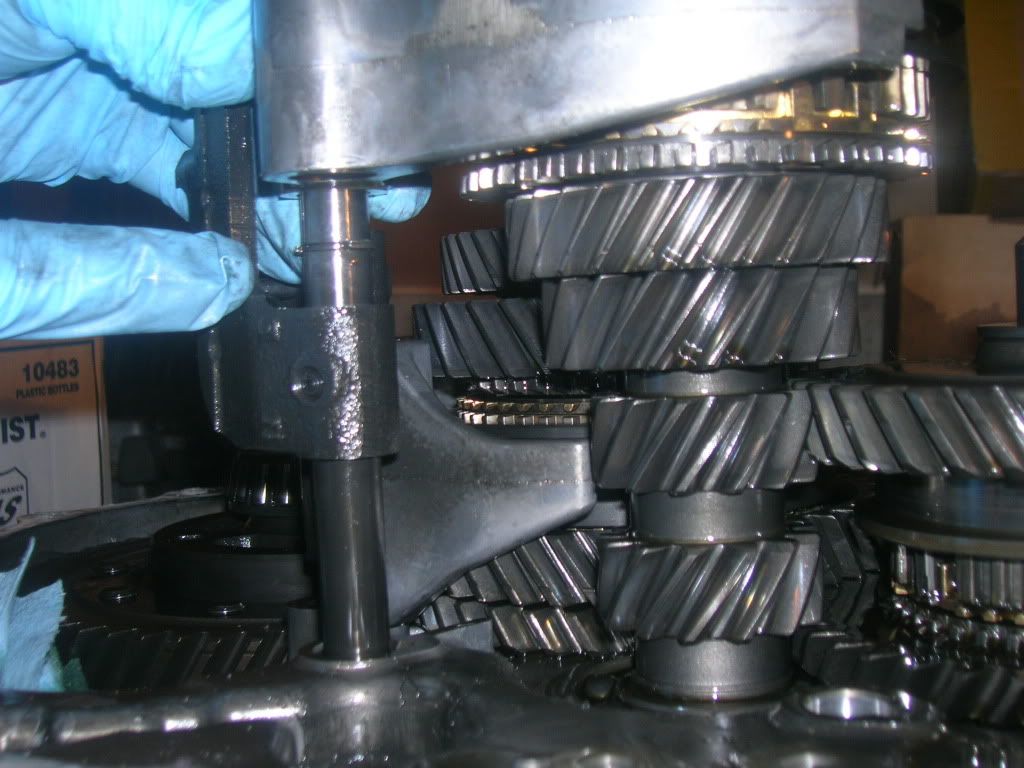
You can see the roll pins on the final shaft for removal. One out by my index, the other I'm point with my pinky finger.
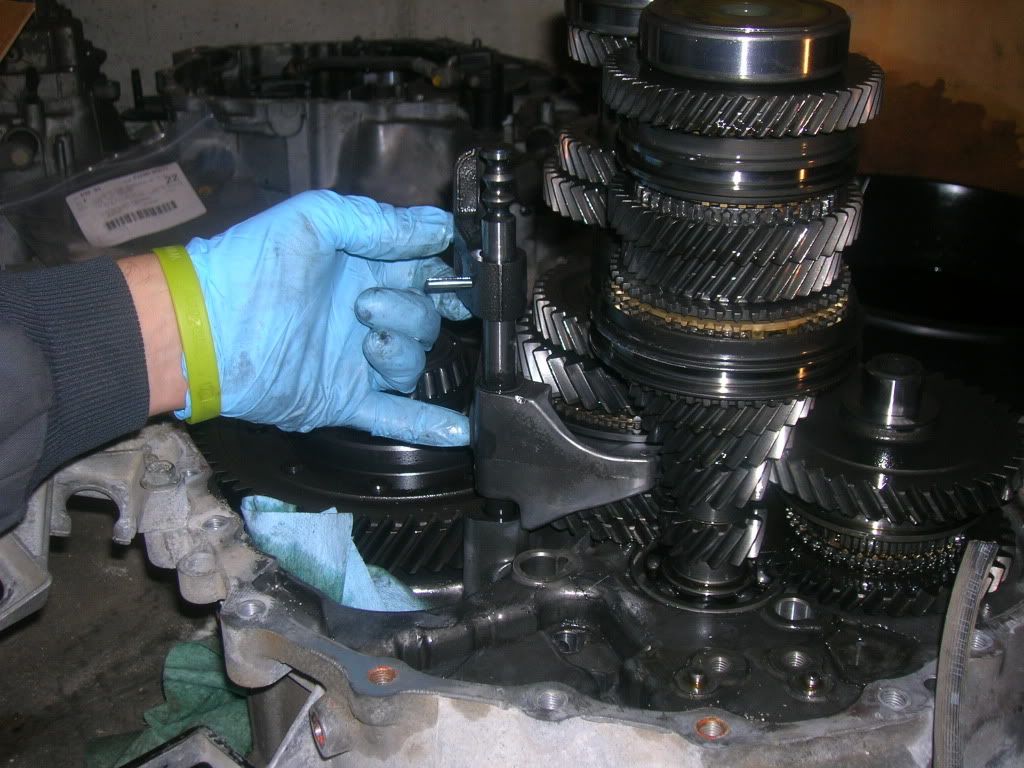
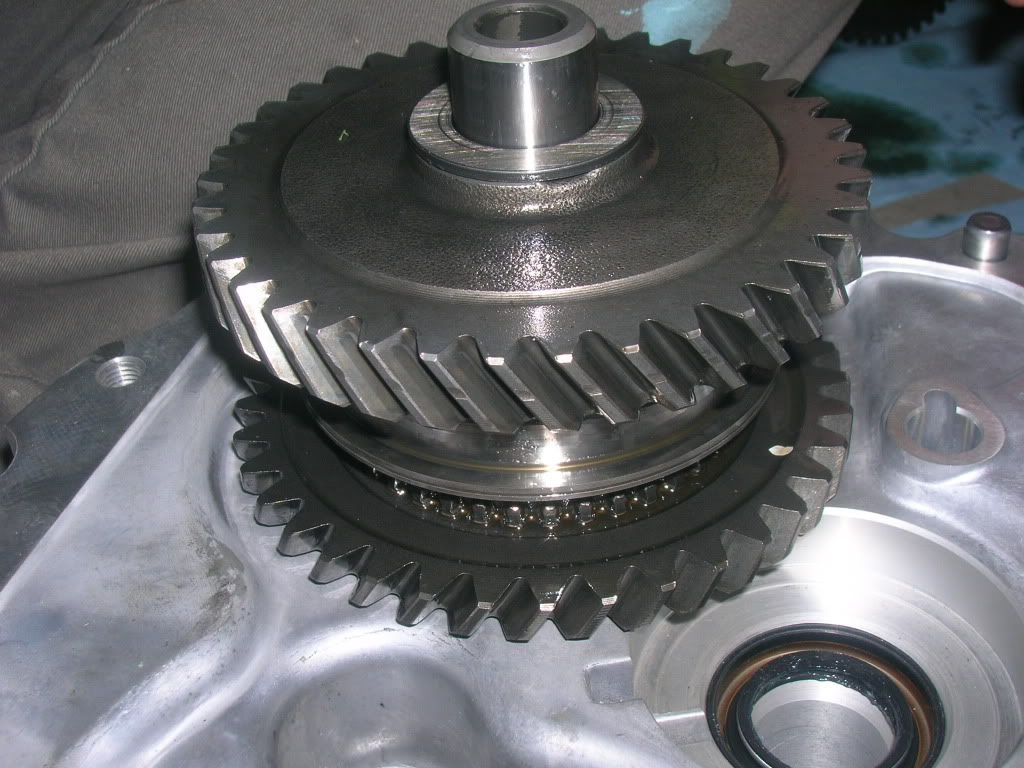
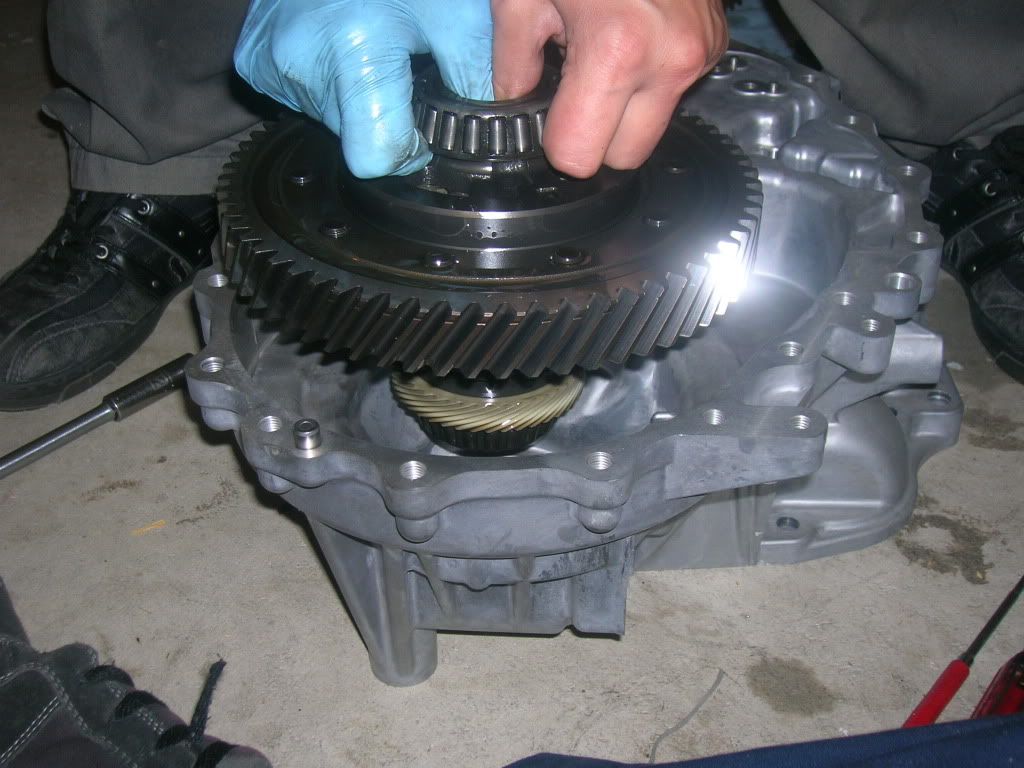
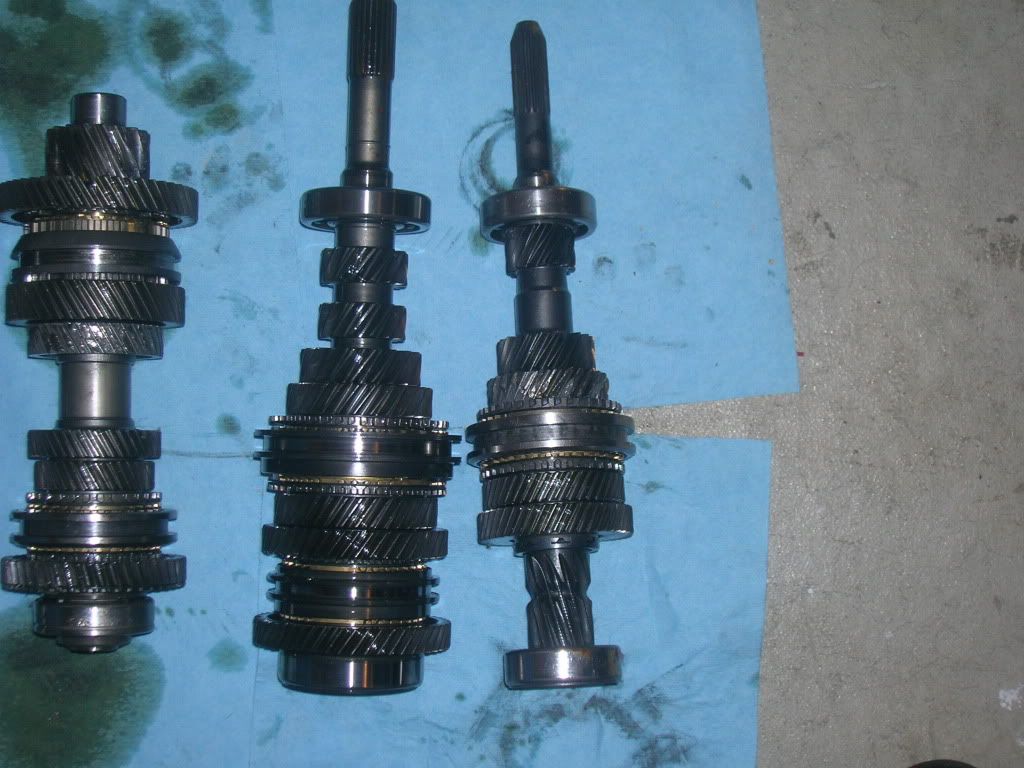
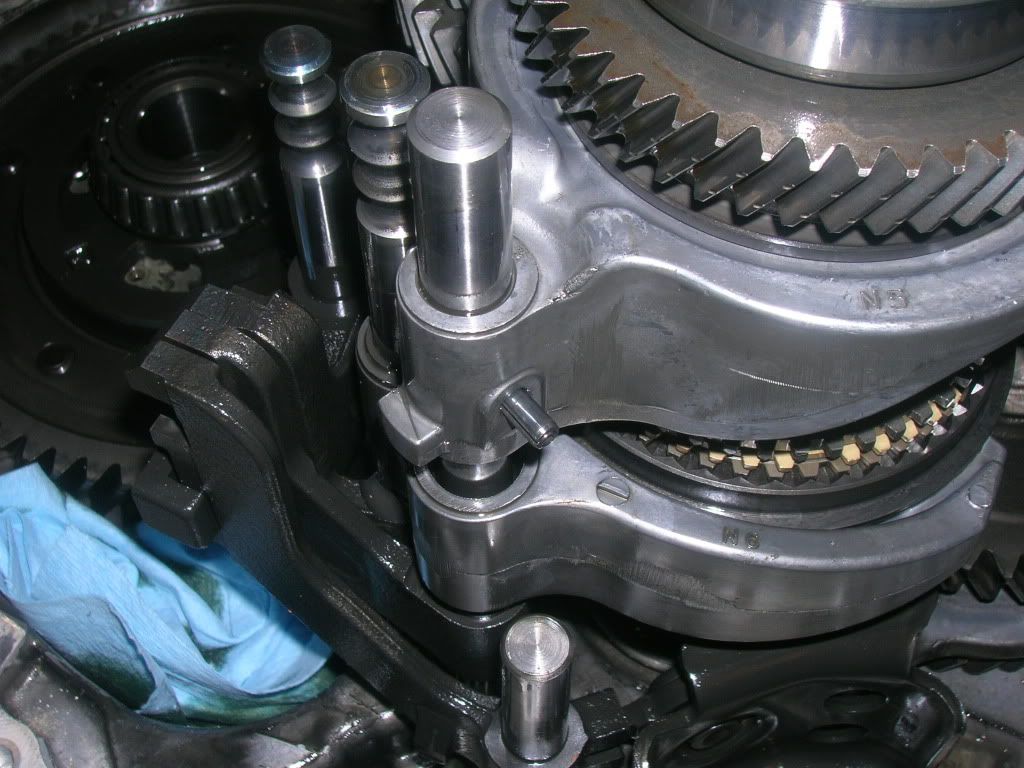
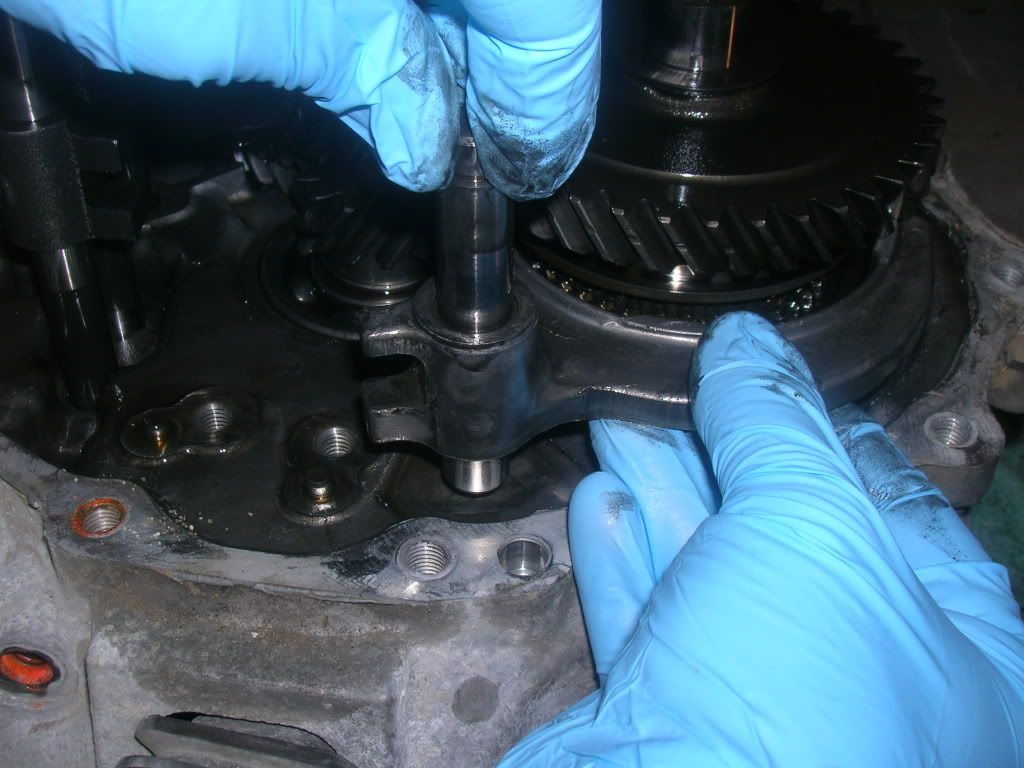
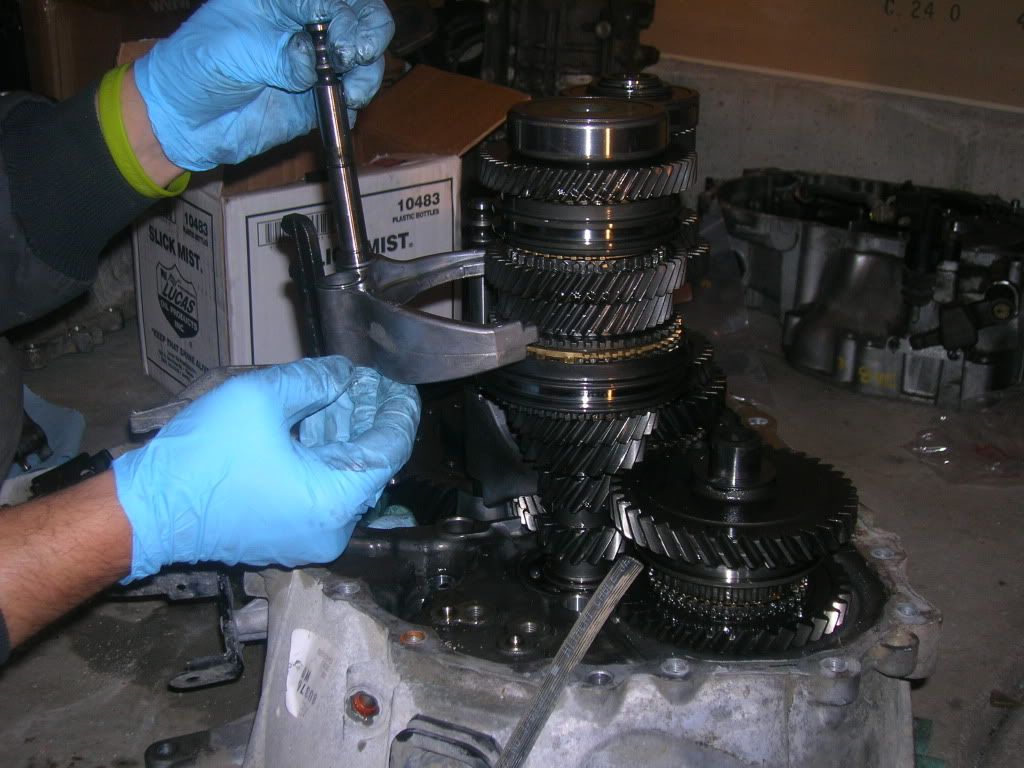
Now you need a buddy to help you out on this part. Removal of the gearstacks. There are 3 stacks here instead of 2 like the SR trans. Mainshaft, input, and your reverse idler shaft. You need to grab the input and mainshafts and pull up slowly while a buddy does the same with the reverse stack. The reverse gears WILL come apart and you have to be ready to not lose any parts. If you somehow lose the order they go, or don't know how the set goes together you will have to consult the FSM. I suggest to prevent this that your buddy pulls the shaft out by the top of the shaft. Don't grab the gears themselves. Pull the shaft up with the other shafts and everything should stay together.
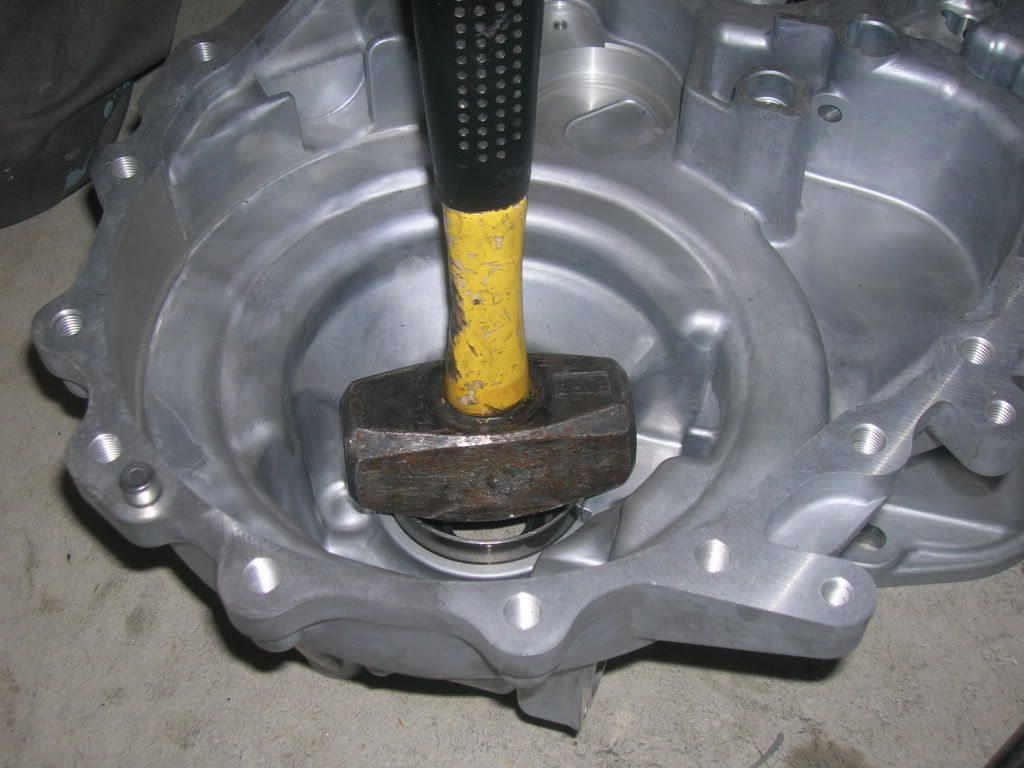
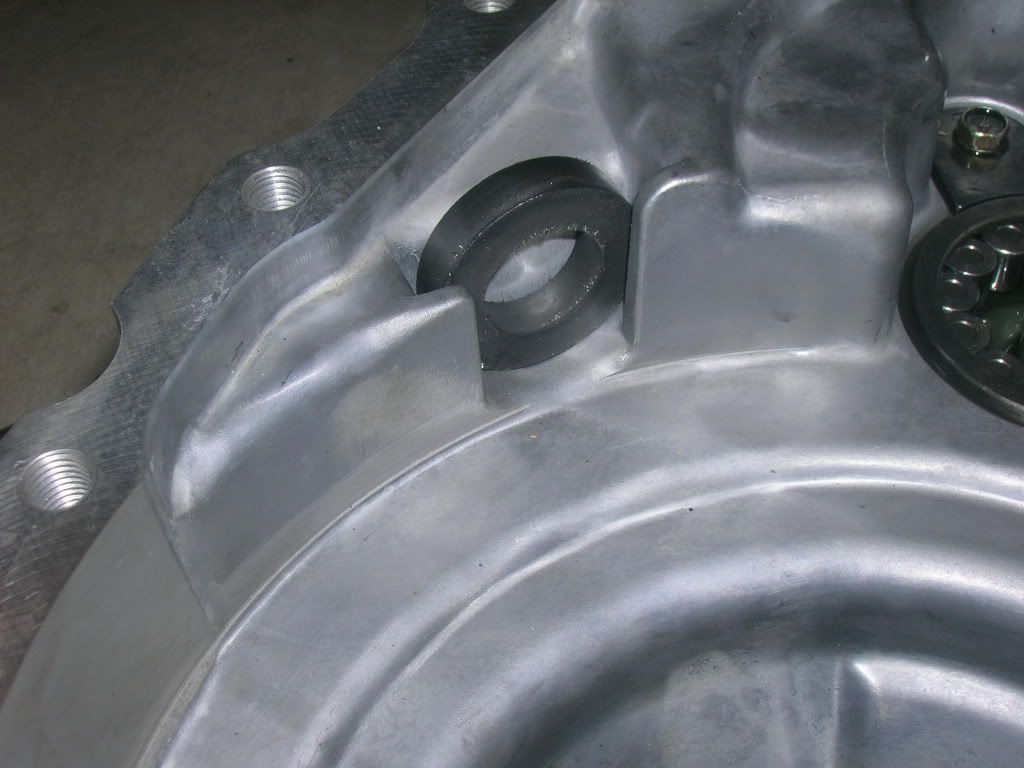
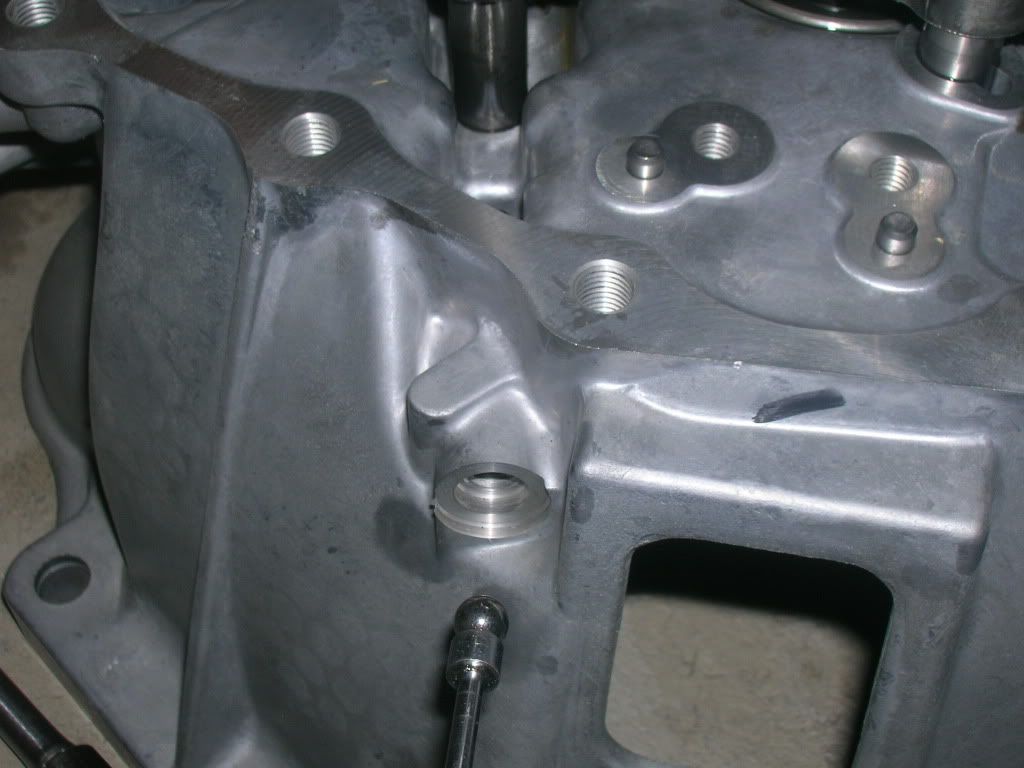
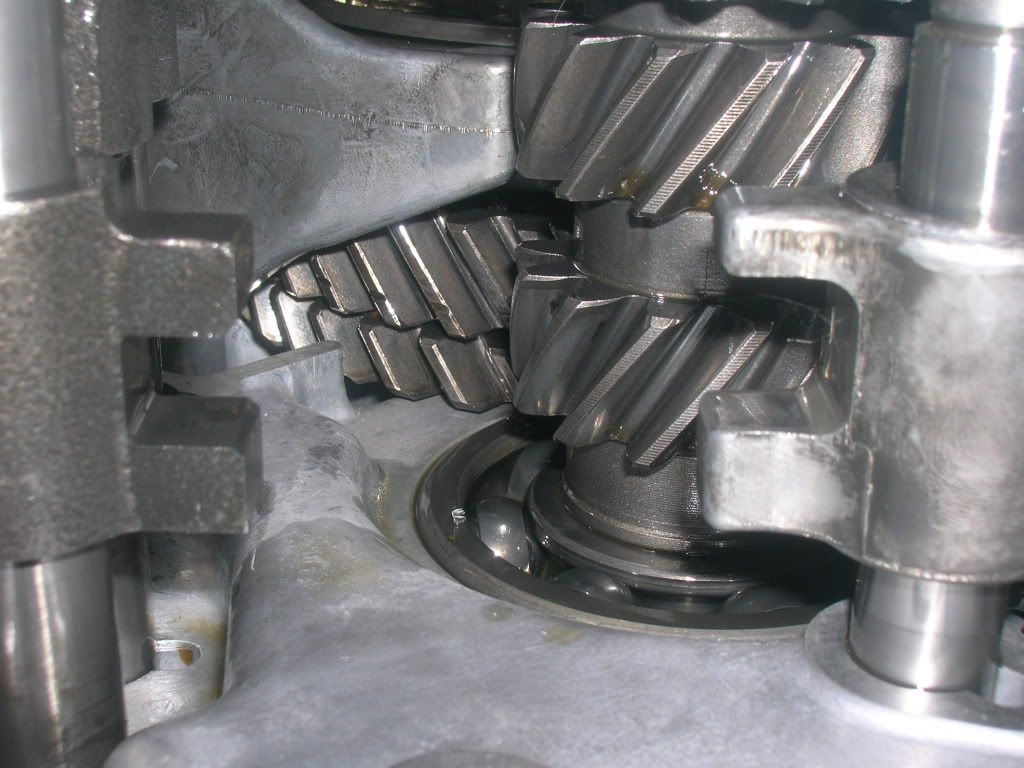
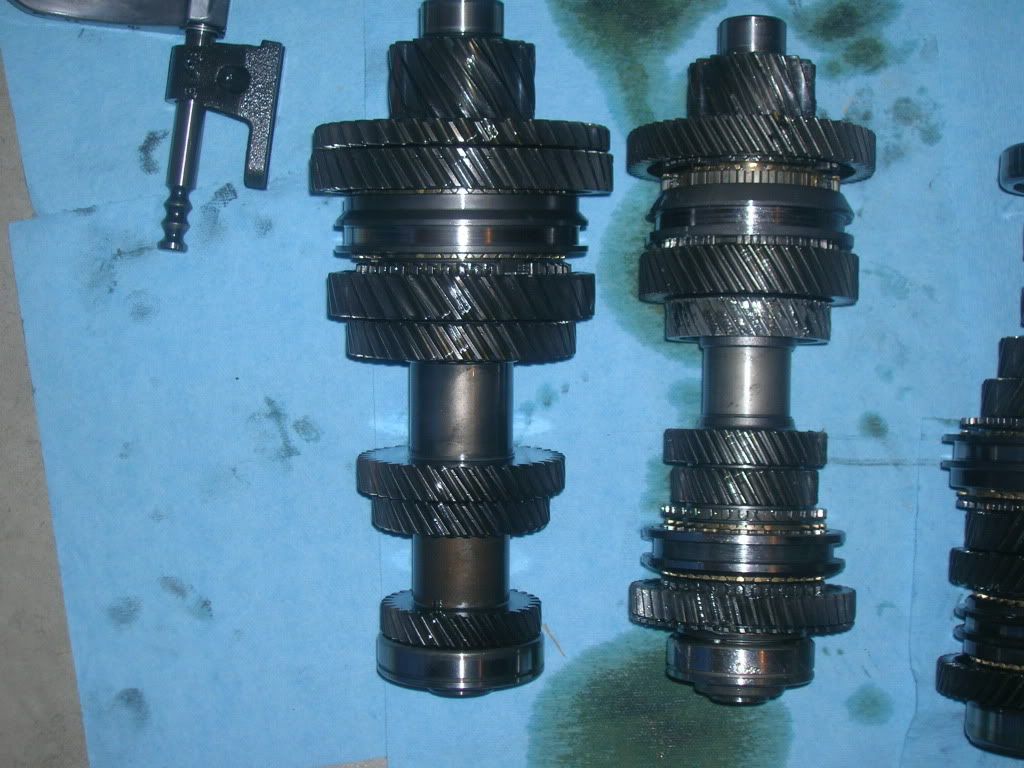
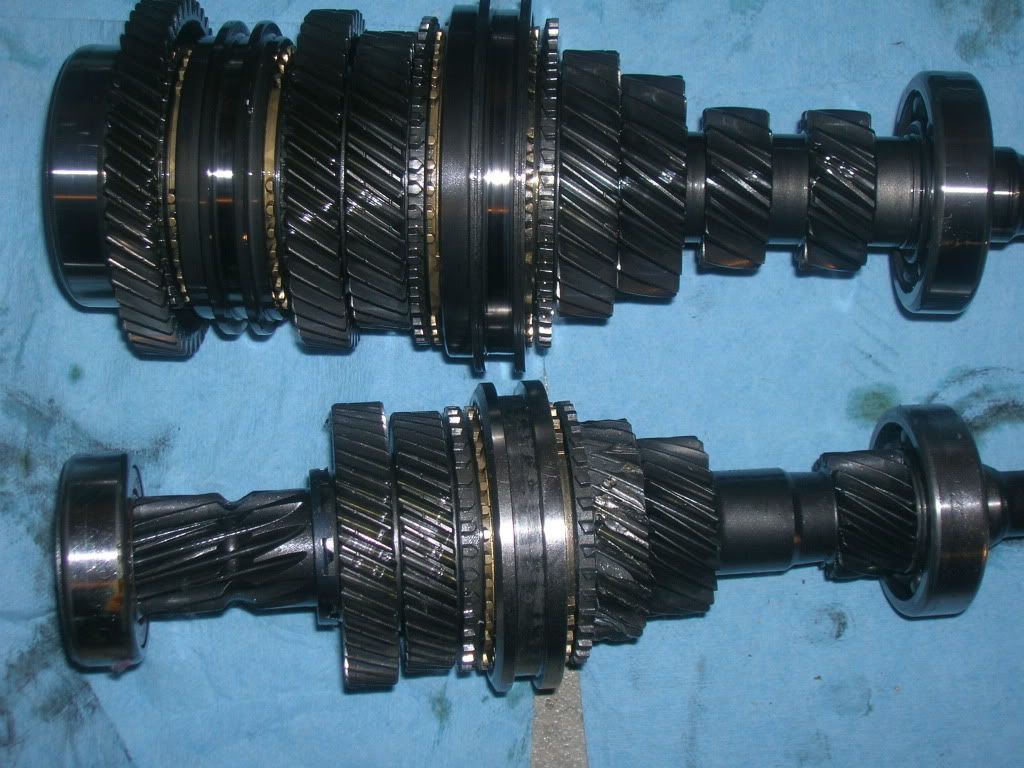
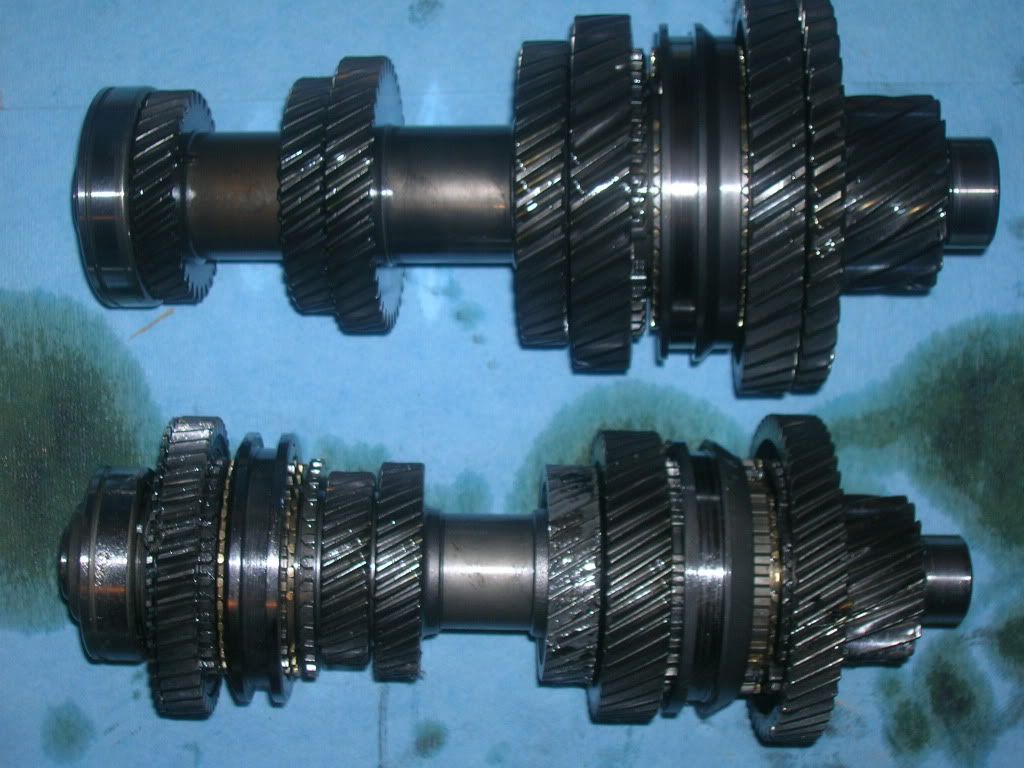
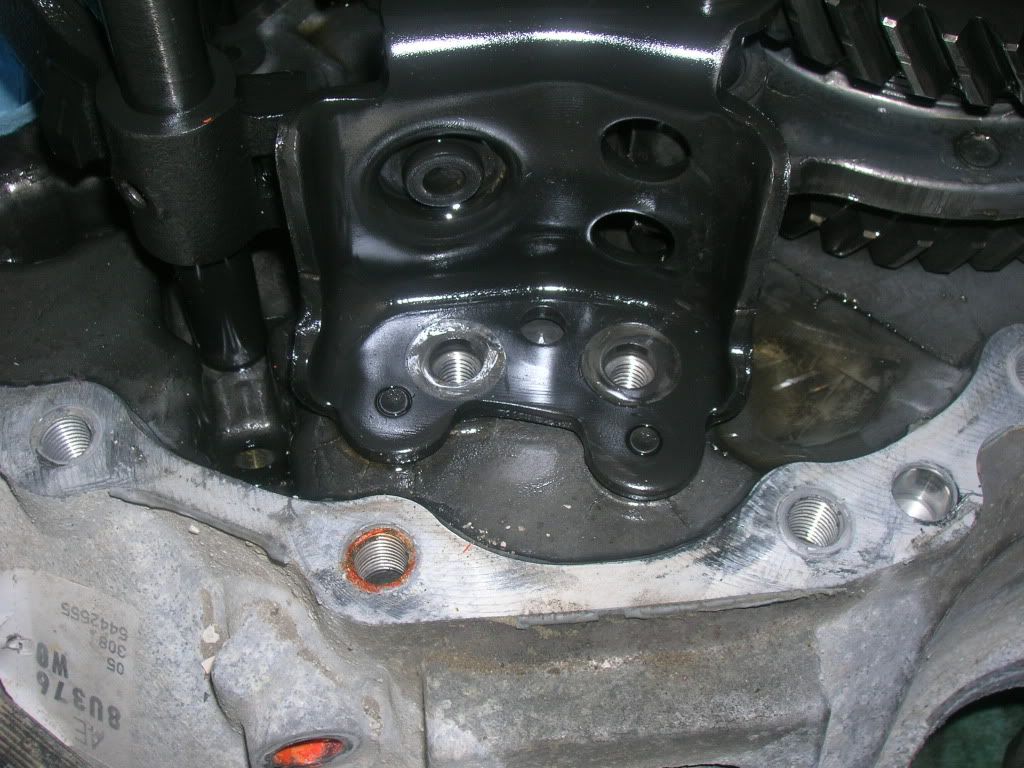
Once you have successfully pulled the stacks out you are left with this.

Once you have the case off as done previously, Then there are two bolts that hold the shift check balls for the shifter rods.
Use a magnet to remove the check balls.
You will pull out a spring, a long rod, and a ball.
Then start to remove the roll pins and circlips. There should be 4 clips and 4 pins iirc.
This is the reverse shift roll pin.
Then the 5-6th roll pin.
There are two pins on the 3-4th shaft that need to be removed. You can see both here, one on the shift collar and one on the linkage.
Take the two bolts off of this reverse shifter. There is an interesting collar-adapter on the back, make sure you don't lose it.
Just up and to the left of my index finger you can see this collar-adapter. It just slides right off.
Now pull the reverse shaft out.
Then remove the first shift rod for 5-6th gears.
Now use your magnet to get out some check balls.
To the left of the first bolt you took off with check balls/springs etc, the six speed has 2 bolts you need to remove. Don't forget springs.
Once that is done you can slide out the 5-6th shift rod.
Then two more check balls from the first hole.
Here you can see the circlip and roll pin on the 3-4th shaft you need to remove.
Now you can pull out the shaft for 3-4th, along with the shift fork.
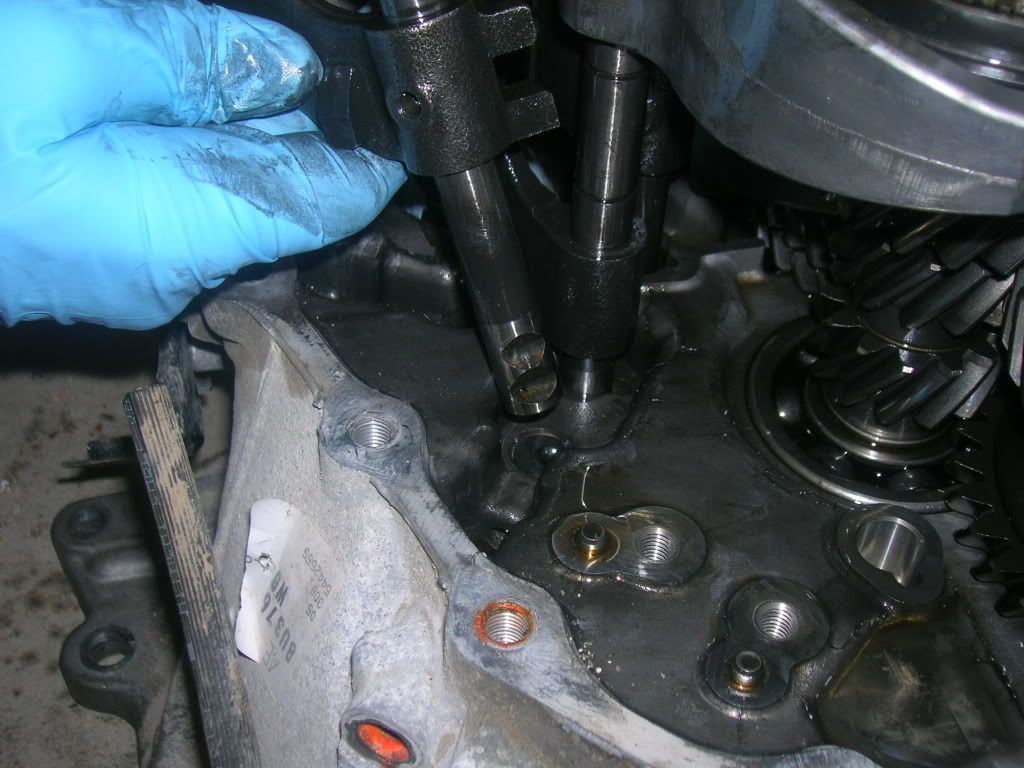
Send the magnet back in to collect this small rod from the 1-2 shaft.
Followed by the Big shaft shown here.
You can see the roll pins on the final shaft for removal. One out by my index, the other I'm point with my pinky finger.
Now you need a buddy to help you out on this part. Removal of the gearstacks. There are 3 stacks here instead of 2 like the SR trans. Mainshaft, input, and your reverse idler shaft. You need to grab the input and mainshafts and pull up slowly while a buddy does the same with the reverse stack. The reverse gears WILL come apart and you have to be ready to not lose any parts. If you somehow lose the order they go, or don't know how the set goes together you will have to consult the FSM. I suggest to prevent this that your buddy pulls the shaft out by the top of the shaft. Don't grab the gears themselves. Pull the shaft up with the other shafts and everything should stay together.
Once you have successfully pulled the stacks out you are left with this.
 Be the first to like this post.