


Driving home. 2nd gear hooks great! Then abnoxious rumbling and growling from the transmission. ****. Car won't go into ANY gear. Wont even try. Car off, still wont go into gear. I check the shift linkage. Fine. Turns out 2nd gear broke. Here's how to fix it!
Ok so here's what you gotta do:
Find a non lsd trans from any RS5F70A transmission. 00-06 sentra 1.8 have these.

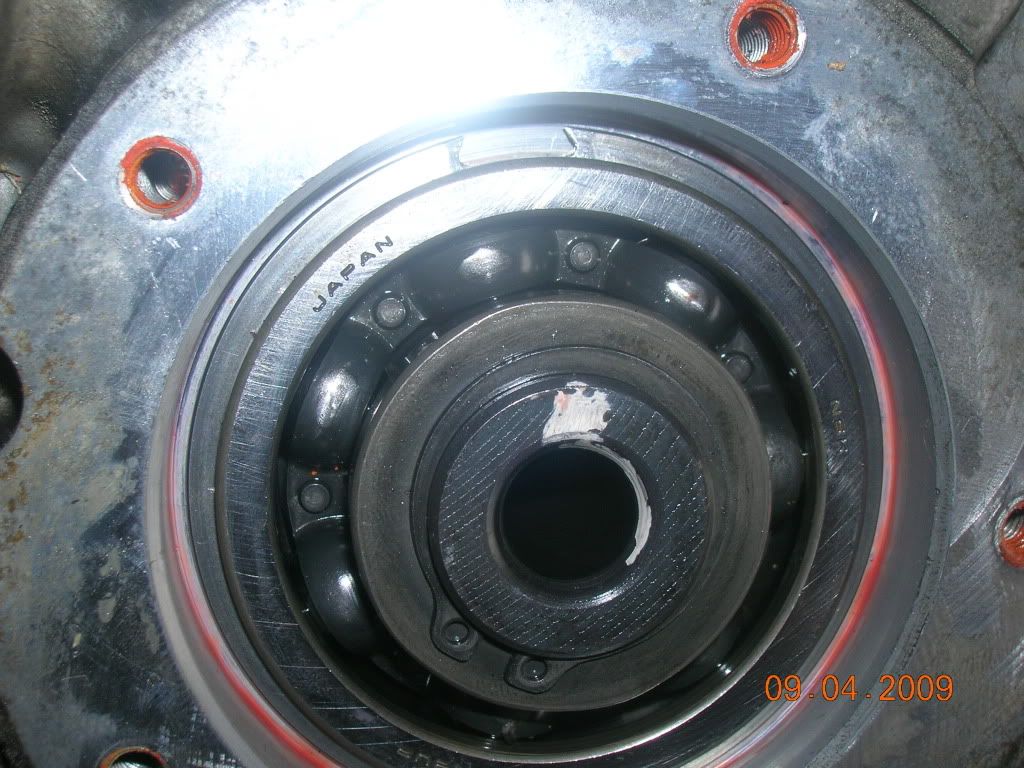
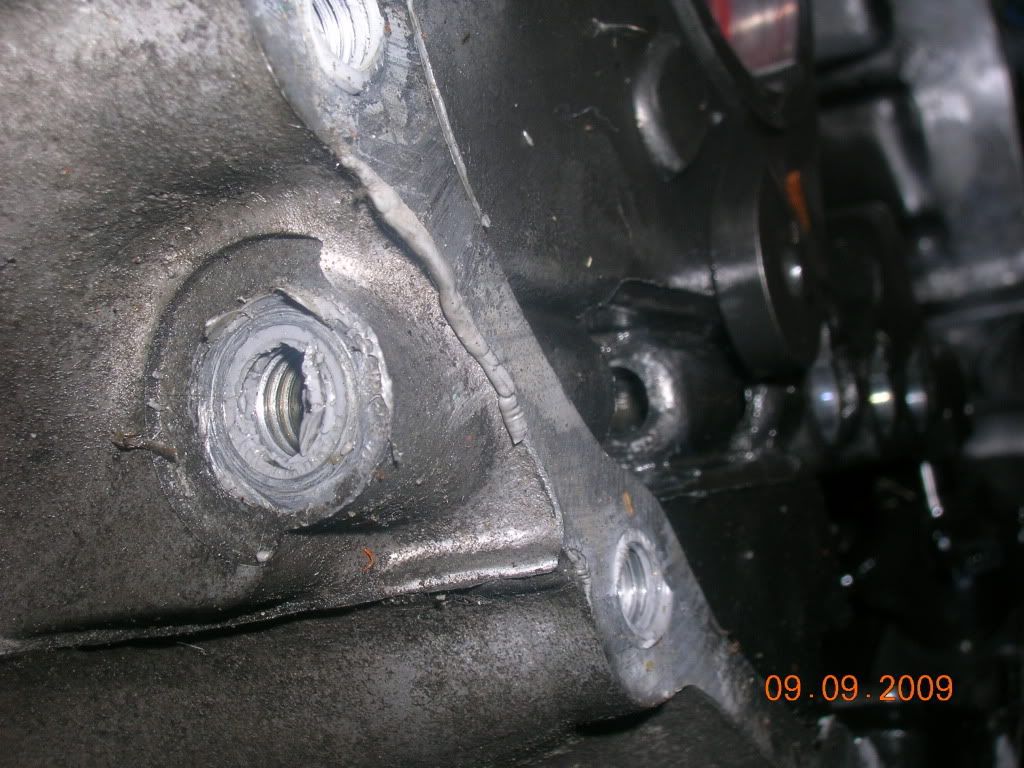
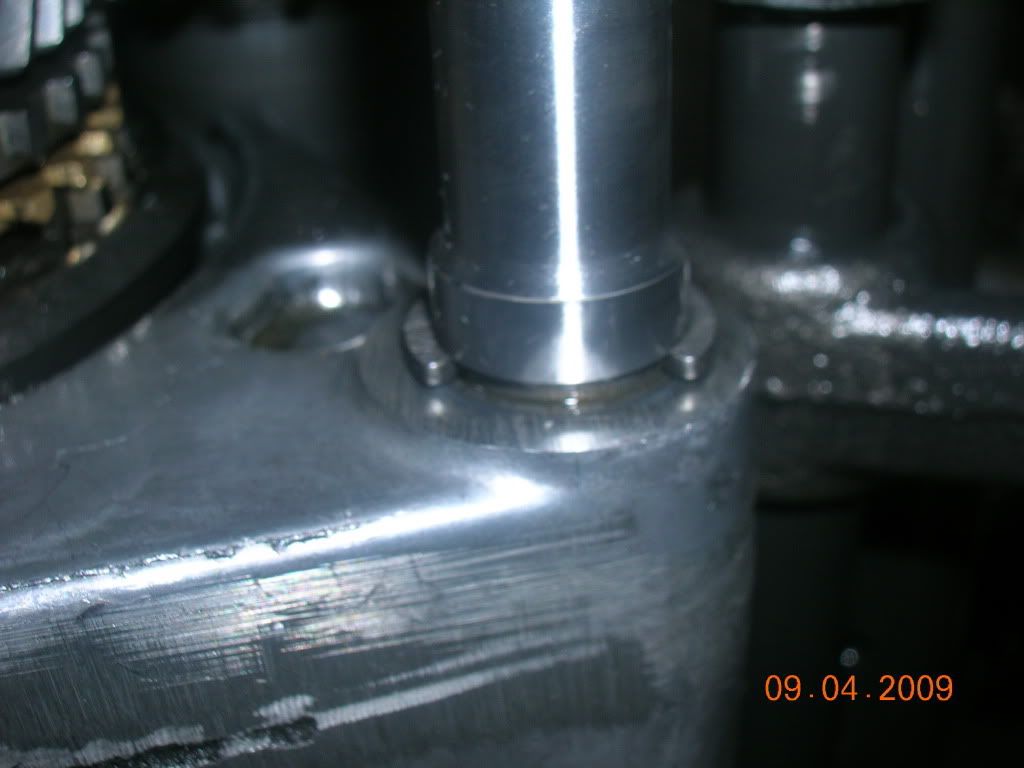
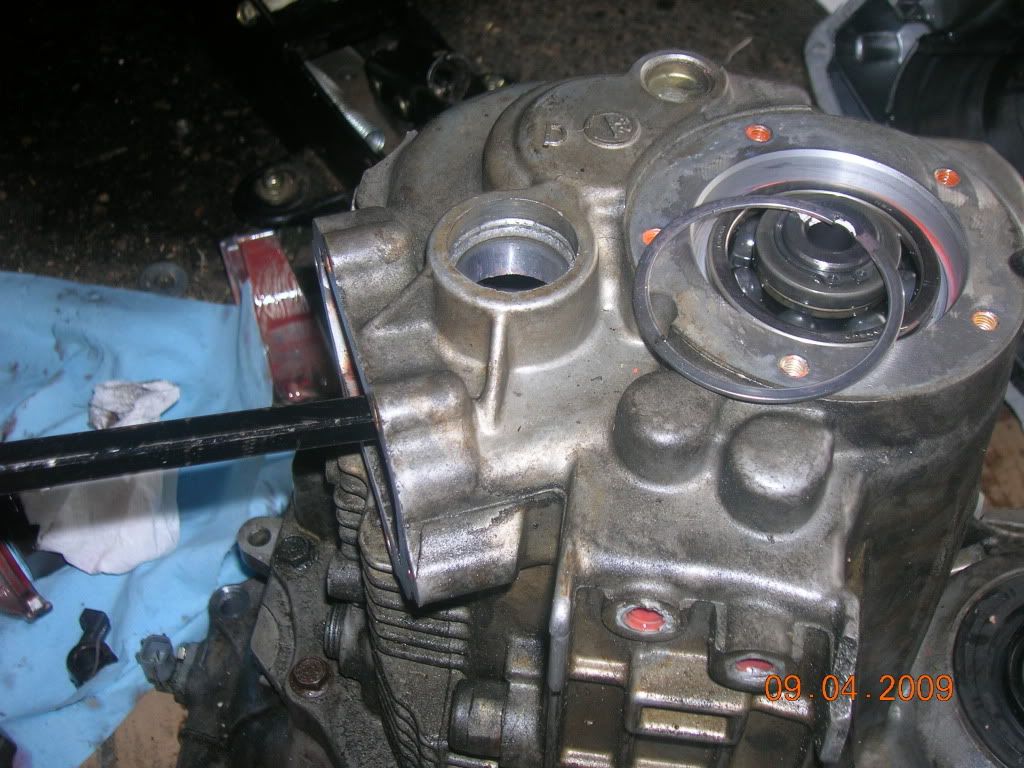
Remove the 5 bolts on the rear main-bearing cover, remove cover, and large snap ring along the outside of the bearing.
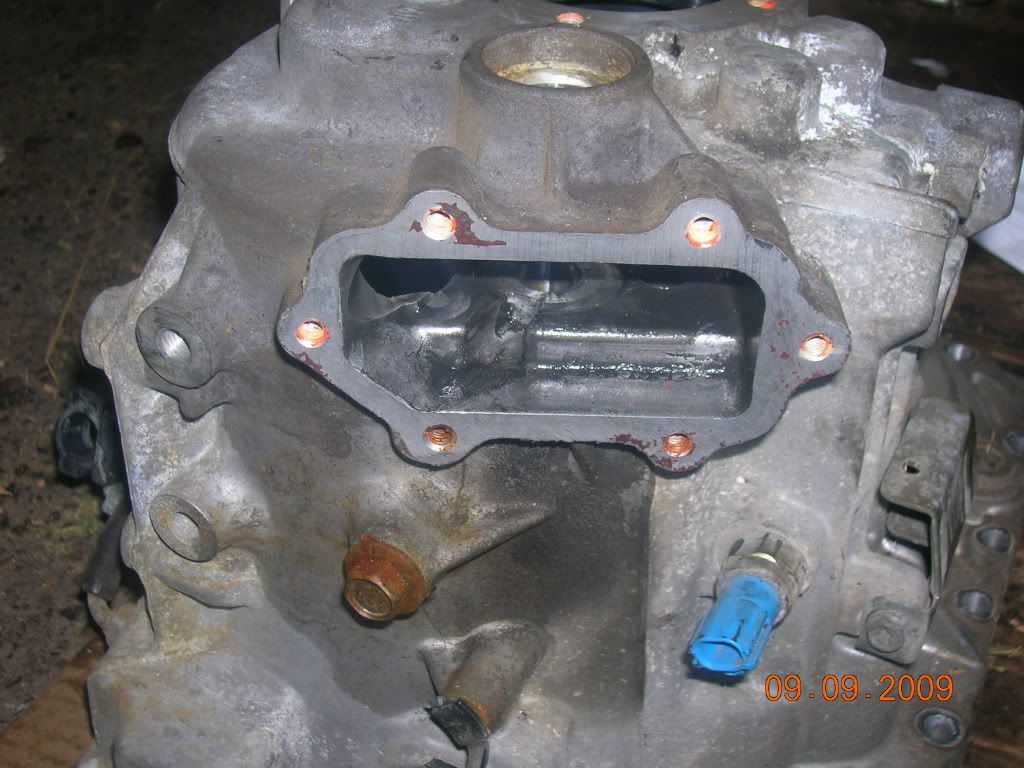
Remove the 6 bolts on the reverse idler cover, set one bolt aside. Take the cover off, and note the placement of the reverse idler gear for proper reinstallation. There is a 3-prong shim on the top, and a shim on the bottom. Use the bolt you put aside to thread into the idler gear retainer, and use some pliers to pull the retainer out. Then the reverse idler will slide right out. Careful here, there is a bearing on the inside of the reverse gear and it can fall out and get dirty unless you are careful removing the gear.
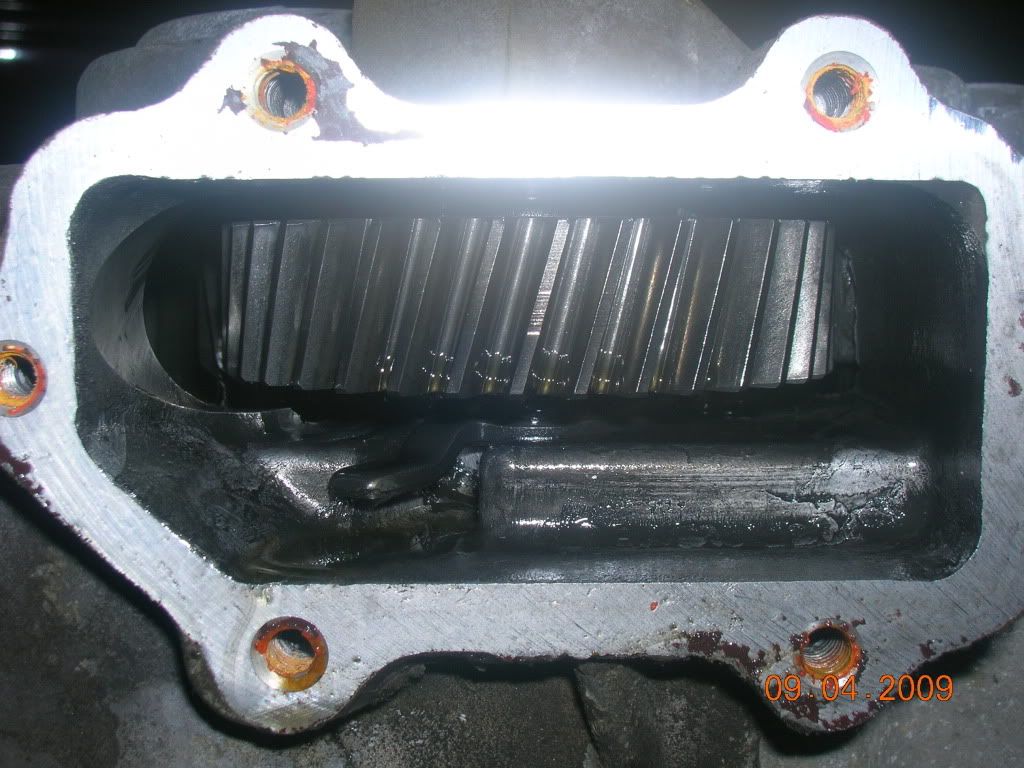
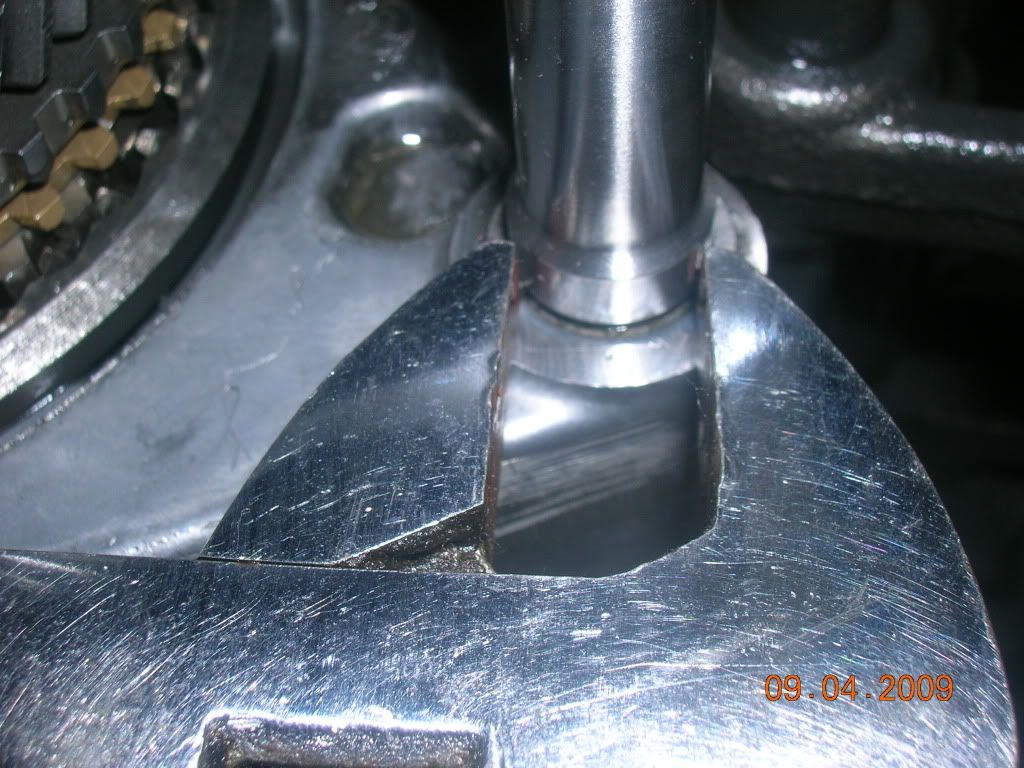
The reverse gear retainer is held in with a snap ring, look at the small hole on the right.
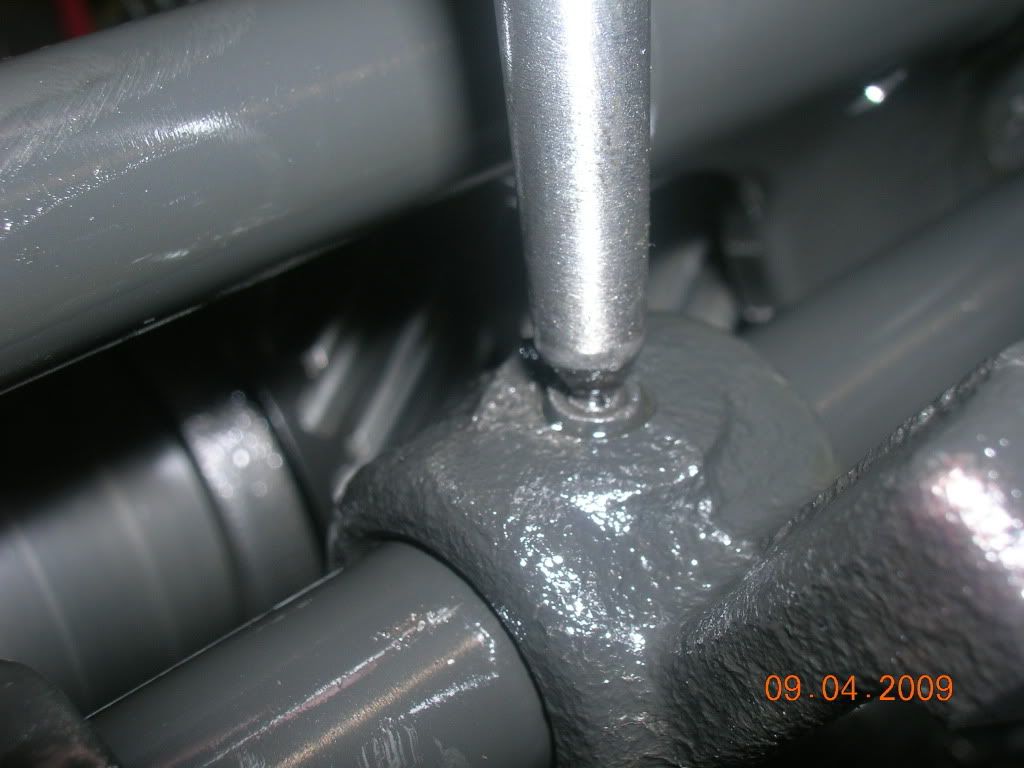
Once the reverse is removed, remove the 2 14mm bolts that hold in your springs and check balls. Store the check balls in a safe place, make sure they don't get dirty.
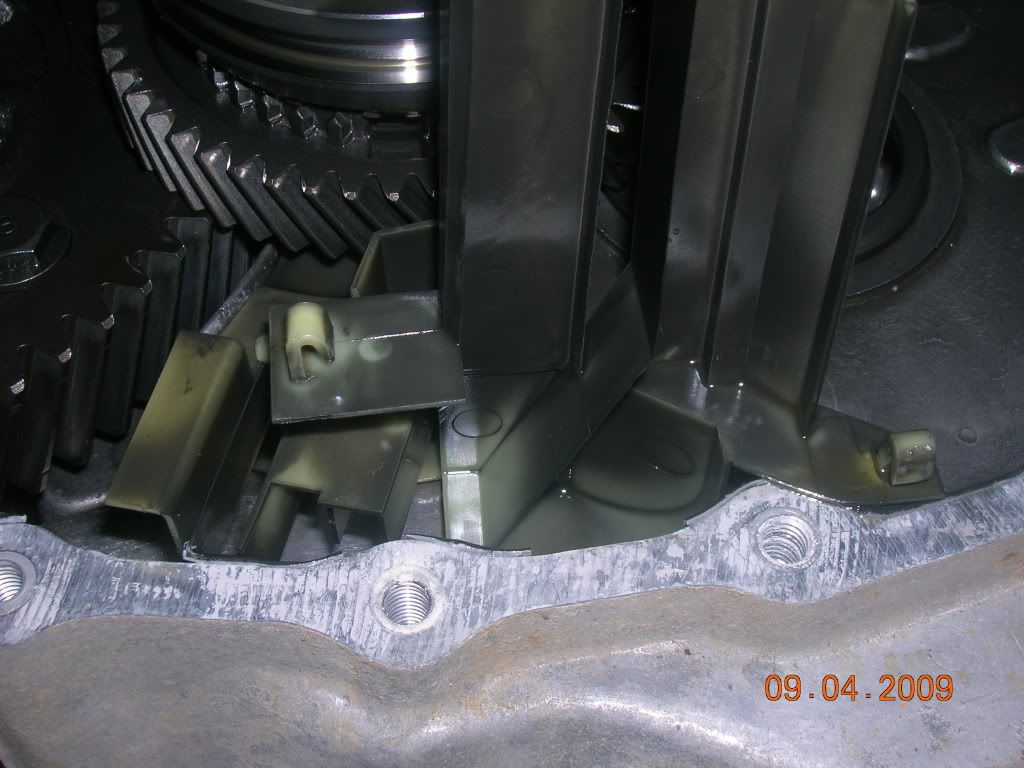
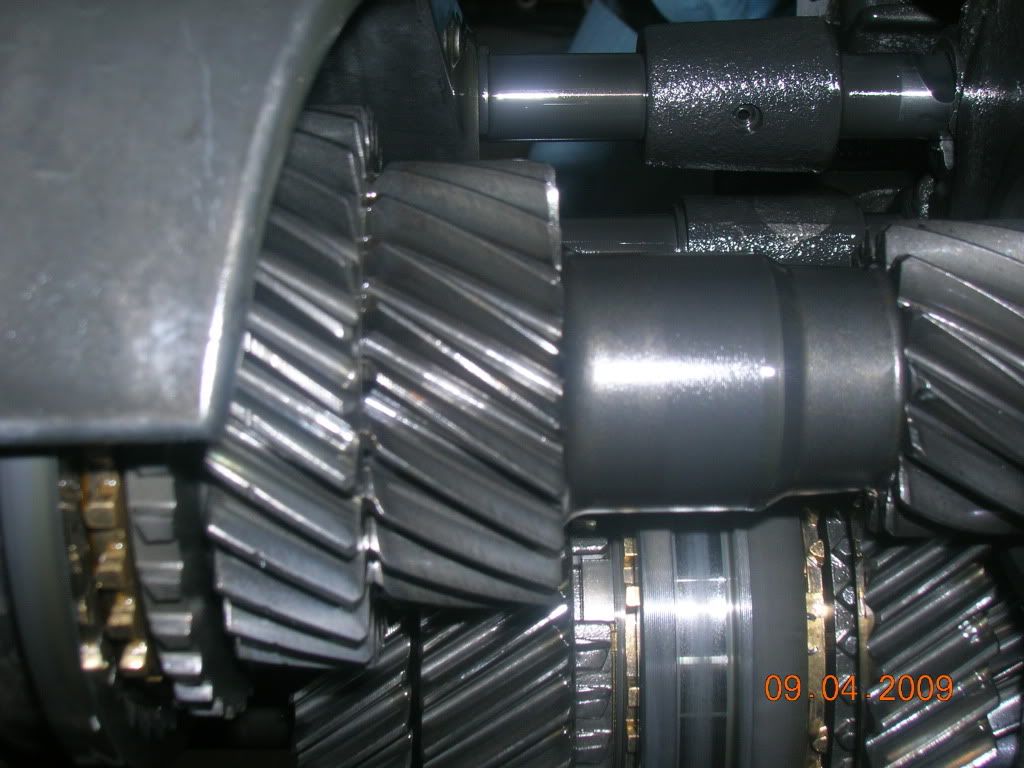
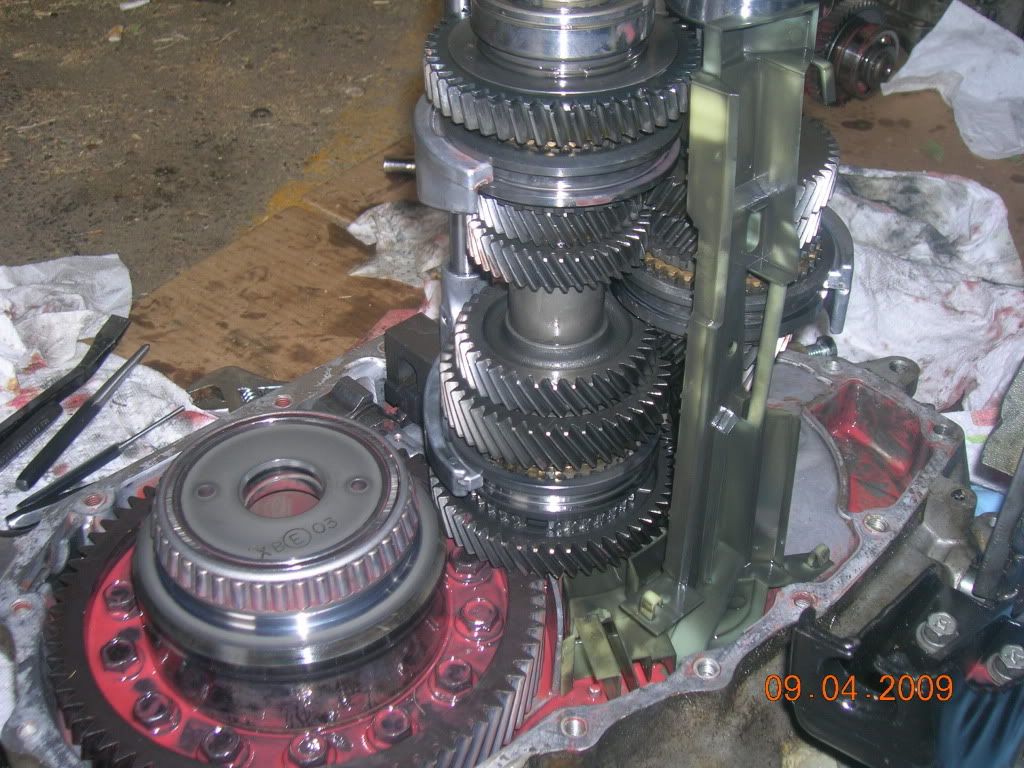
Here's a pic of the shafts removed. This is where all your check balls/springs are:
Once these are removed with a magnet you are ready to take the case off. There are a bunch of 12mm bolts holding the case on at this point. Remove the bolts along the casing and the entire rear case should be able to pry apart rather easily. There is a little bit of sealant holding it on at this point, and you will have to break the bond.
Note the orientation of the oil channels here. They just direct oil to necessary parts, but make sure you don't break one. Refer to this pic if you can't figure out how they go back in.
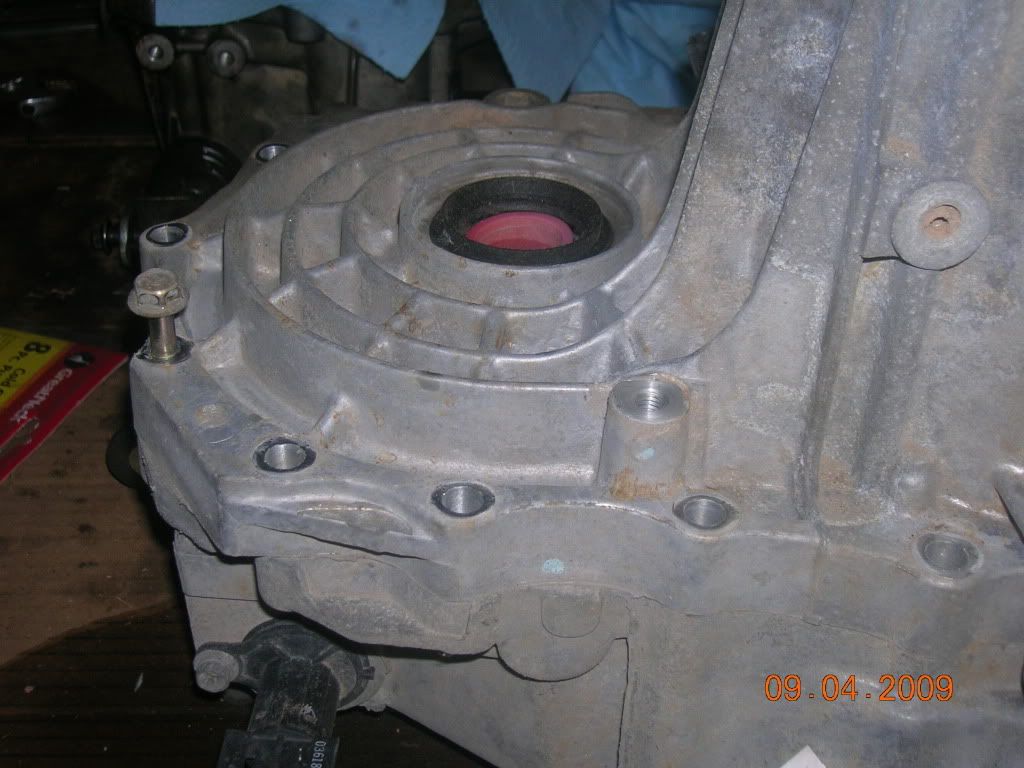
Here you can see the oil feed for your mainshaft bearing. This is what one of those plastic baffles channels oil to. Note the small hole in the bottom left.

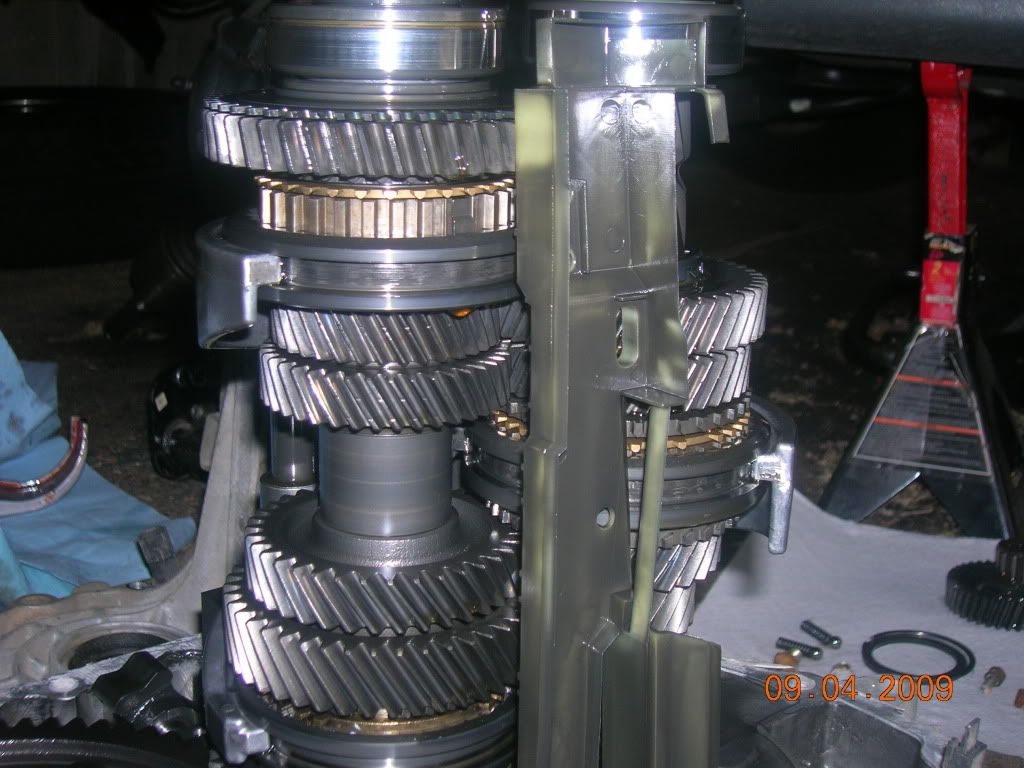
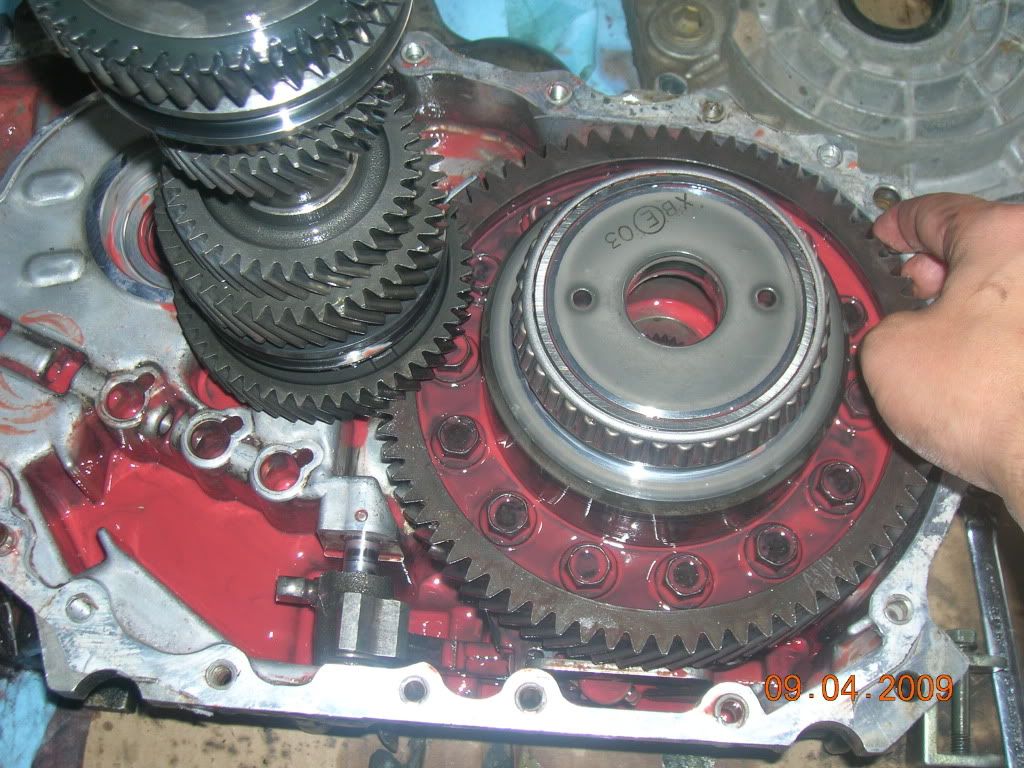
Nice fresh gears!
LSD diff: Final drives are different, you cannot use a non-lsd FD in a LSD trans. But the FSM says that they are the same size and teeth count.
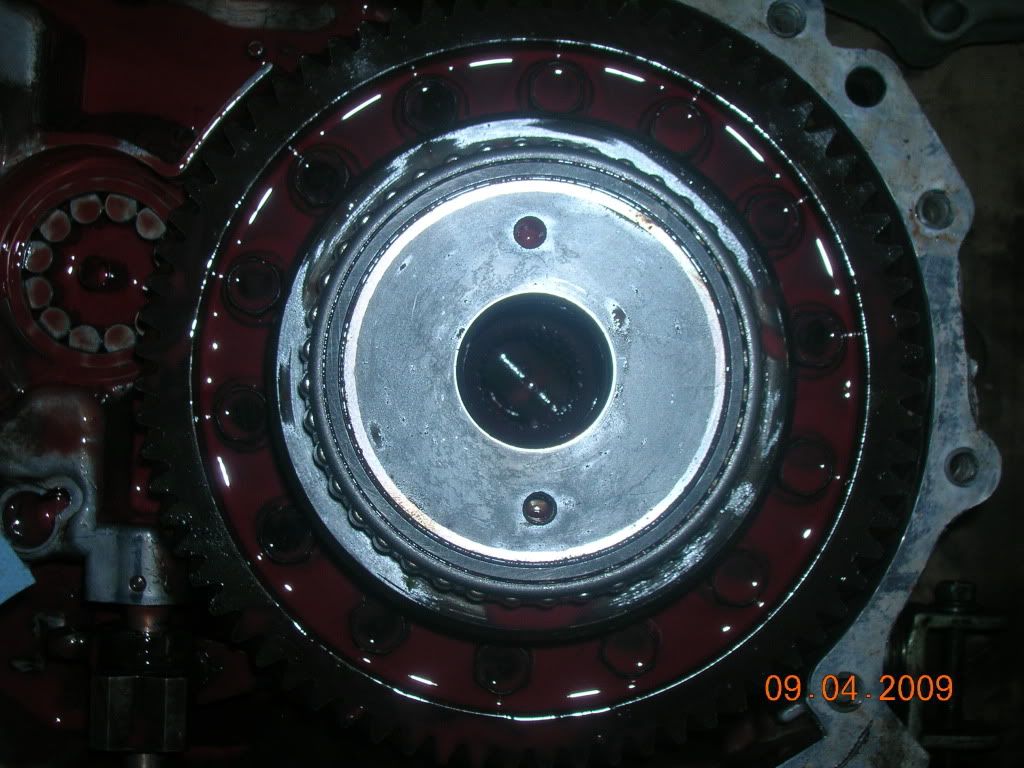
Non LSD diff:
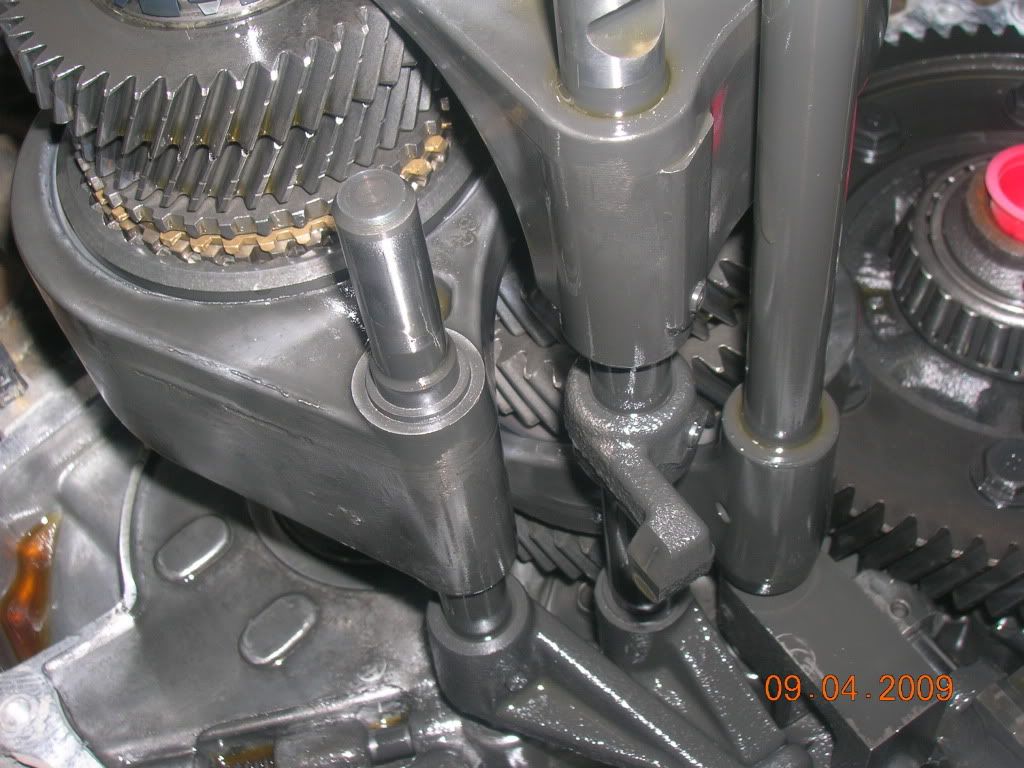
Note how the shift sleeves are located on the shafts, and look how the shift linkage works. This will help you to better understand what is going on inside. This will also help you figure out how everything goes back when you put it together and don't have an FSM handy.
Orient the transmission so that the 14mm check ball plug is on your left like the picture above.
This is said to be the hardest step of the process. Removing these little c-clips has been said to be a pain.
You know how whenever you use a set of adjustable crescent wrenches they always seem to strip out the heads of the bolts you are trying to loosen? It's because the head of the adjustable wrench has flex in it and will get larger when any torque is applied right? Well I used this feature to my advantage. Rotate the c-clips so you can get your wrench on there.
Now you can hit with a hammer or just push with a little oomph and the clip will push right off. The wrench should expand slightly and just enough to clear the shaft and push the clip out. If not, you can get it off half-way, then stick a flathead in the back of the clip and pry it the rest of the way out! Easy.

Shafts one and two (from left to right in the pic) have 2 clips holding parts onto the shaft. Don't forget to remove all of them, don't try cutting corners. It will just waste time. Start with shaft one and remove the roll pins. I used this punch with a sharpened tip to get things started. This helps keep the punch steady while you tap on it to get it started.
Okay, now each shaft you remove once the roll pins are out will have some check balls to collect. use a telescoping magnet to pick up all the pins, balls, and spring. Shaft number 2 will have a small pin in the center of the shaft at the bottom. Don't forget that one too.
As you remove the check balls, you will be able to remove the shafts individually. Start from 1 and work your way to 3. Store the shift sleeves in a clean place and keep the rods with the sleeves they belong to. Once the shafts are out, you can pull straight up and remove the shafts together. I put my new shaft in and checked to make sure that the gears meshed correctly with the final drive gear just to make sure.
")
Rotate the final drive and make sure there is no obvious binding. The 1st gear will rub a bit on the FD gear, because it is not being properly suspended yet. No worries though, because it should clear when it is all back together.
Checked both the shafts next. They must be put in together, so after you check for binding above, take the main shaft out again and put the shafts in together. Note the mainshaft bearing, and plastic oiler. Be careful not to break the oiler, as it is plastic. Here is the oiler:

Next you want to put the shift sleeves in their proper places, and slide the shafts in. Start with shaft 3 and do things in reverse as when you took it apart. Be careful to note the placement of those check balls you took out earlier. From left to right the balls and pins go in this order:
D=pin
O=check ball
(pppp)= pin inside shaft 2
Bolt. [//////////////////]DDDDDDDD O shaft1 DDDDD O (pppp) shaft2 O O shaft3
Here's a pic of the holes for your shift-shafts, and you can see the paths the check balls sit in.

I had to refer to the FSM pics to get it right, but this will make it easier than deciphering their graphs. As you put each shaft in don't forget to work backwards and tap all the roll pins back in as you go. Also, don't forget the c-clips. These are really easy to put back in. I used the wooden-end of my hammer. Just line the clip up, and push it back into place! Easy.
Here is the finished gear stack set.
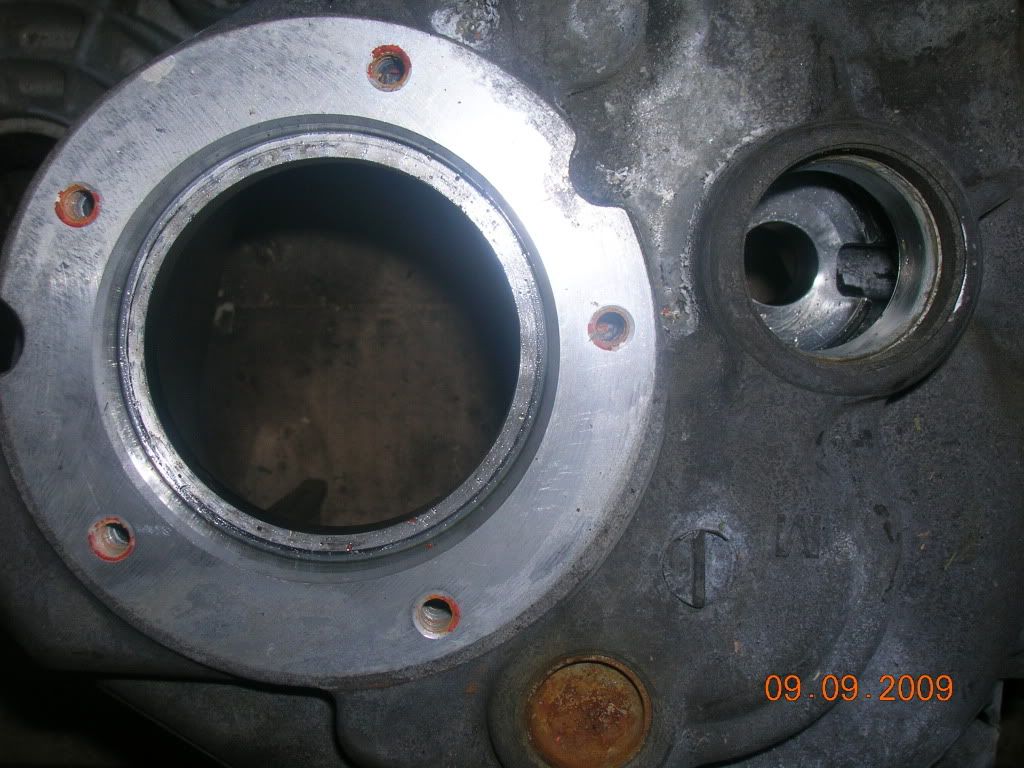
After the oil channels are put back on you can put the rear case on. The case should slide right on, but take one note here as well: There is a bearing shim that goes on the top of the input shaft, it may have stuck on the case. Make sure you put the shim back on the top of the input shaft before you put the case on. One of my transmissions the shim stayed in the case and I had to take it out and put it on the shaft.
The case slides on, and work it on nice and easy after applying a VERY light coat of silicon sealer around the case to seal it up. The mainshaft bearing will be a tight squeeze in the case, so line up your roll pins and lightly thread in some case-bolts. The guide dowel pins will help you line things up. Nice and slowly tighten each bolt. Don't crank on them at this point, you don't want to cause binding and crack your case! Otherwise, you're going to have a bad time.
Once you get the case in, you must suspend your main shaft with the snap ring you took out. I used a pry bar to pry on a mainshaft gear, lifting the mainshaft so the snap ring could get into the groove.
Now your snap ring is in place!!!
Put your bottom reverse shim in, then the reverse gear back in, put in the gear retainer (the shaft with the bolt in it you had to take out earlier) in to lock it in place. You may have to rotate it to get the pin in all the way, because the lower shim is keyed! Then tap it in all the way until your snap ring can be put back in. Clean the cover, use a very small amount of silicon on that as well, and use the 6 bolts to put it back together. Then reinstall your check balls and springs for your shifter rods! Use silicon on the bolts for all your shifter spring/ball setups to keep them sealed.
Refer to these threads for more info and pics to make the job easier. Thank Coalition SEL for these!
B15/P11 tranny- why it's better than B13/B14 - SR20 Forum
Disassembly of B15/P11 tranny/install of friction type LSD - SR20 Forum
I'm not 100% on whether or not this works, because I just put the trans together today and didn't have time to put the trans in the car. So this is just preliminary info. I will keep you all updated on whether or not it works.


") BARELY! lol
BARELY! lol


