Welcome to the SR20 Community Forum - The Dash.
Register
SR20 forum logo

Thread: How to: RS6 6 speed swap guide

+ Reply To Thread
Posts: 1-10 of 285
2011-05-08 06:31:16
#1
How to: RS6 6 speed swap guide
Okay, I finally decided to make a guide for the 6 speed swap. This is just a guide, and not a full step-by-step. There are some things that you will have to do that I am not going to cover, but this swap can be quite the undertaking. Ask lots of questions and I will cover them the best that I can. This will be a consolidation of my blogger.

This is not a cheap swap. If you want to do this swap, plan on investing at least $2500 into parts. We're talking trans, flywheel, clutch, and all the related components. Not cheap. I put about $4000 into the swap, but I changed wheels/tires/brakes/hubs/rear beam etc. You may not have to do so much, especially if you have a P11

Things you are going to need to do:
Convert to hydro clutch. You will need all parts listed here and will need to complete the swap. I do suggest keeping the spacers on the pedal assembly, but you may want to remove them. Here is a how-to...
http://www.sr20-forum.com/general-maintenance/39512-how-b14-hydraulic-clutch-conversion.html
I would keep the clutch line a little longer. Around 30-32" should be good for you to route it out of the way, you could go shorter just leave some room for flexibility.

You will need the Cable shift mechanism with cables, it installs in the factory location almost perfectly. You will have to drill out the studs that the B14 has on the front 2 holes to make holes for bolts to go through. There is an area under the carpet just below where the computer is mounted for the automatic cables to go through. You will need to cut a hole out there so the shift cables can go through the hole.

Once you have the cables ready to finish mounting, and the clutch pedal stuff is situated, you can start getting the transmission ready.

Here is what you are going to need.
Transmission from any 6 speed Spec V. 02-06 are verified to work perfectly, but 04-06 is best for turbo and the synchro issues were kinda fixed on the later years.
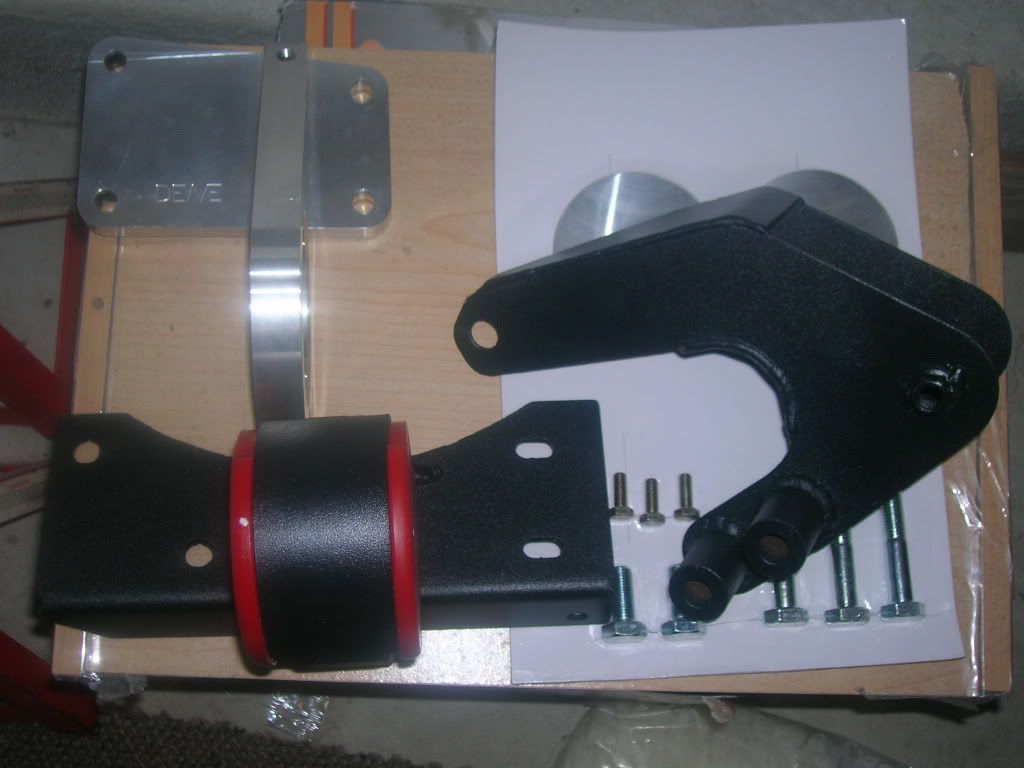
Mazworx transmission swap kit. This comes with this stuff FWD 6spd Conversion Parts - Mazworx
On the Mazworx axle bracket, make sure you remove the set screws holding the two pieces together and use red loctite on them. Mine came loose after a few thousand miles and could have caused a lot of damage if I wouldn't have caught it early!
I bought a flywheel from Greg V, but it did require some machining to work right. You will need approx 10mm machined from the lip, and 2mm machined from the total diameter, unless it has been fixed already.

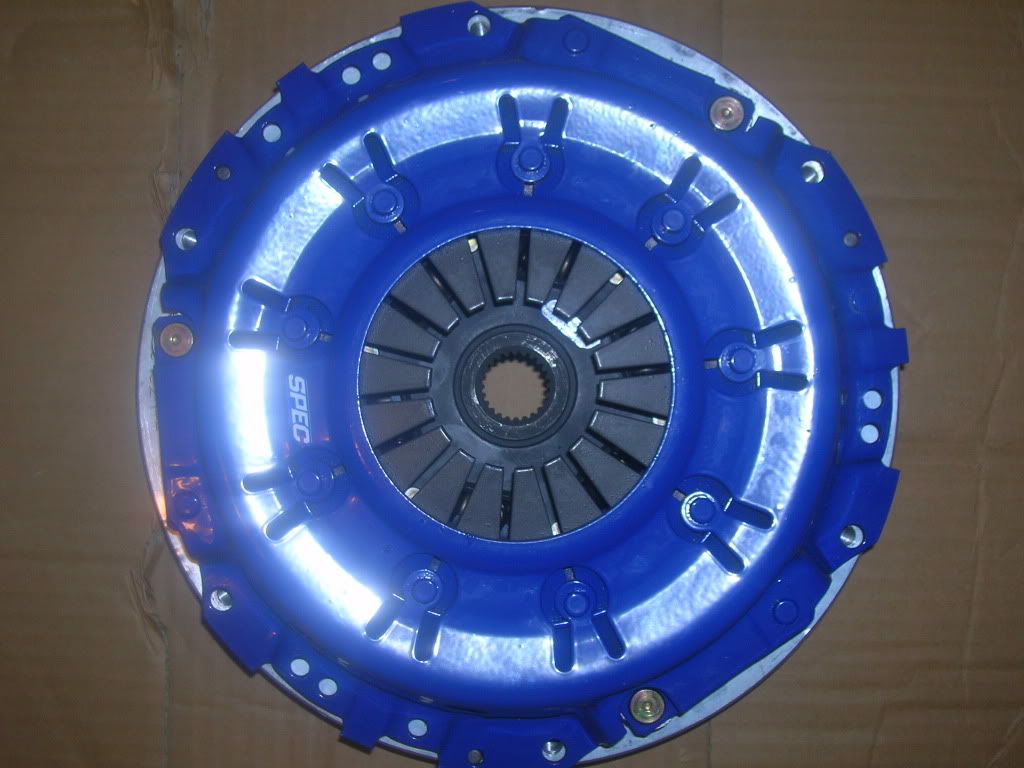
You will need the clutch from a 240sx. KA24DE. This clutch bolts onto the flywheel perfectly, and it is a bit bigger than your standard SR clutch. You will need a Spec V throwout Bearing though.

You are going to need axles from a spec V, and convert hubs to the same model. Or if you are lucky, you can make custom CV axles using 02 SER shafts with your stock B13 or B14 outers. The shafts have to measure 1.080" to work correctly, and finding the correct "Red" shafts can be difficult. If you have a B15, P10, or P11, then you are in luck because the axles go right in.

One of the hardest parts to find for the swap is the slave cylinder. The p12 slave is the same as the GTiR slave cylinder. You can find them on Ebay sometimes, or you can order one online. Greg V has some on backorder though, and a solution could be had with some simple CNC machine work.

Make sure your transmission comes with a motor mount bracket. It mounts on the transmission with 4 bolts and you can get a new one at the dealer for $40.

You are going to need gear oil and other supplies so keep that in mind. You are also going to need the clips that hold the cables to the transmission. They are 2 different sizes. And you will need some replacement bolts for your new pressure plate, and transmission bolts. The starter bolts are also different.

You need 3 90mm bolts (end to end) 1 80mm bolt. And reuse some stock bolts. The starter bolts are 75mm and 80mm. Def put some bolts in your budget.
Last edited by Coheed on 2012-04-08 at 20-11-32.
2011-05-12 06:52:41
#2
Now to the good stuff! I finally got the pics on my computer and uploaded so you all can see my findings and get a little how-to on the disassembly of this transmission.

First step is to loosen all the bolts holding the casing on. I like to start here because some of these bolts are really tight, and it just makes good practice to break them loose to start out with.

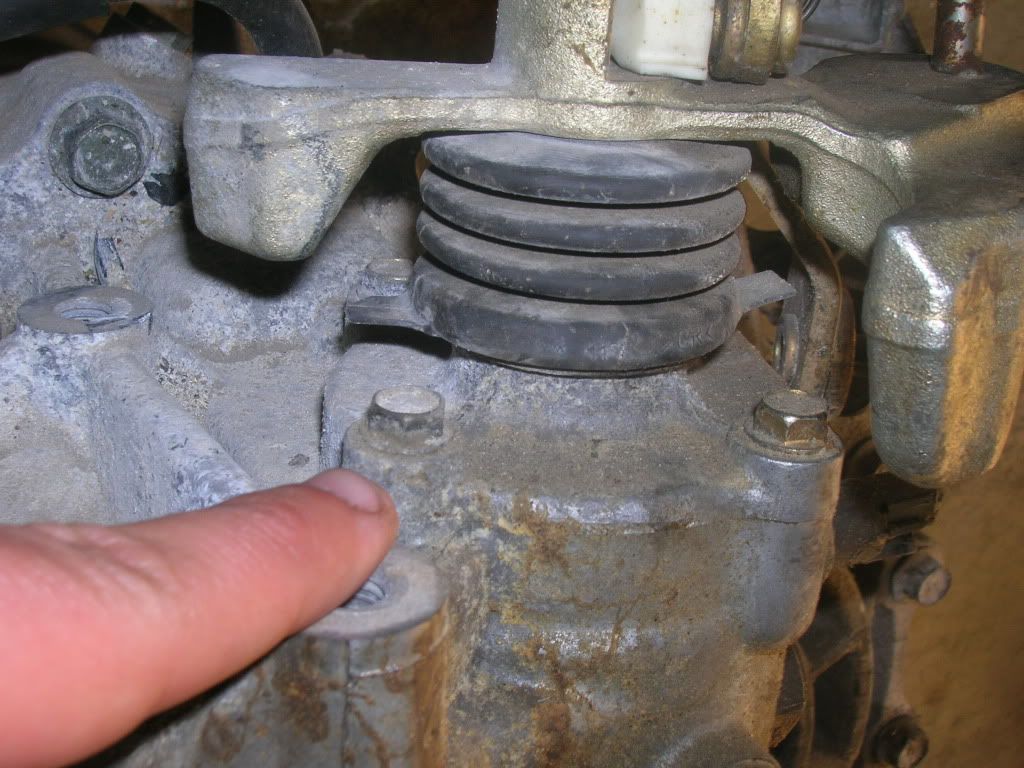
Remove the 4 10mm bolts holding the shifter control assembly. Set them aside.


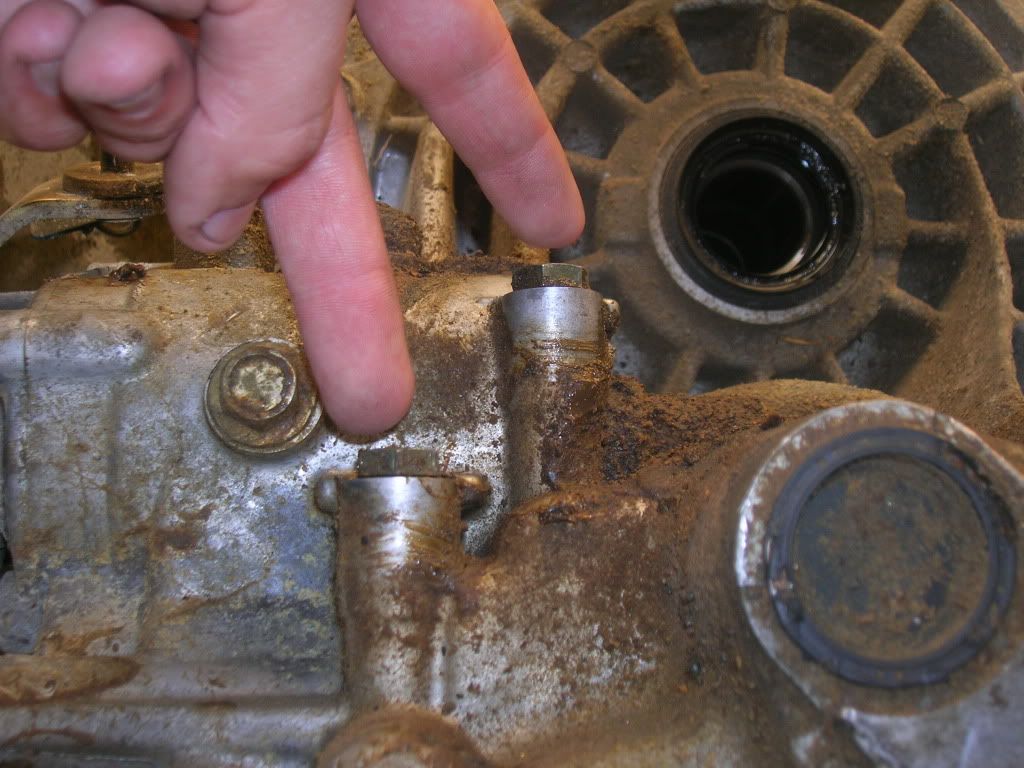
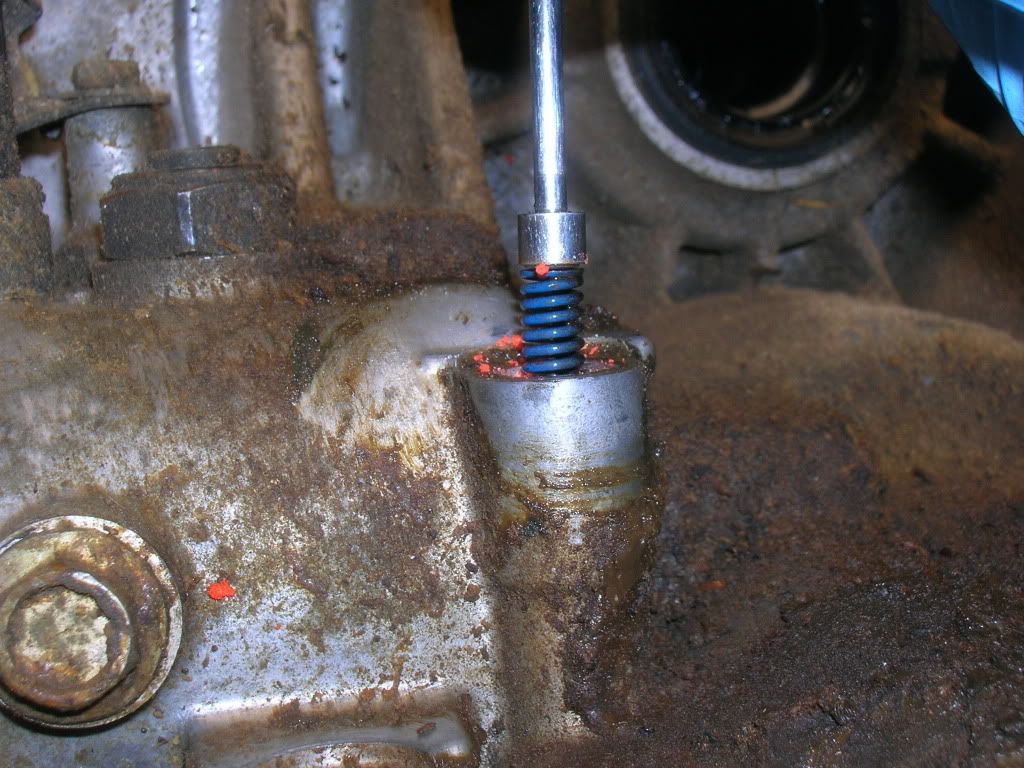
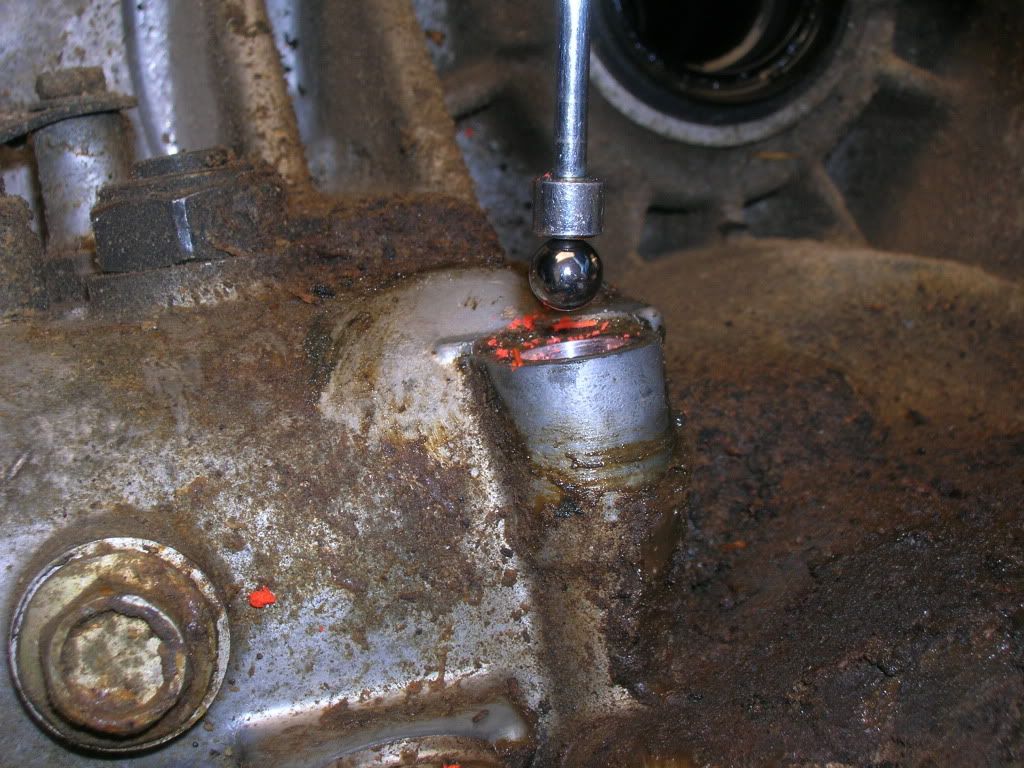
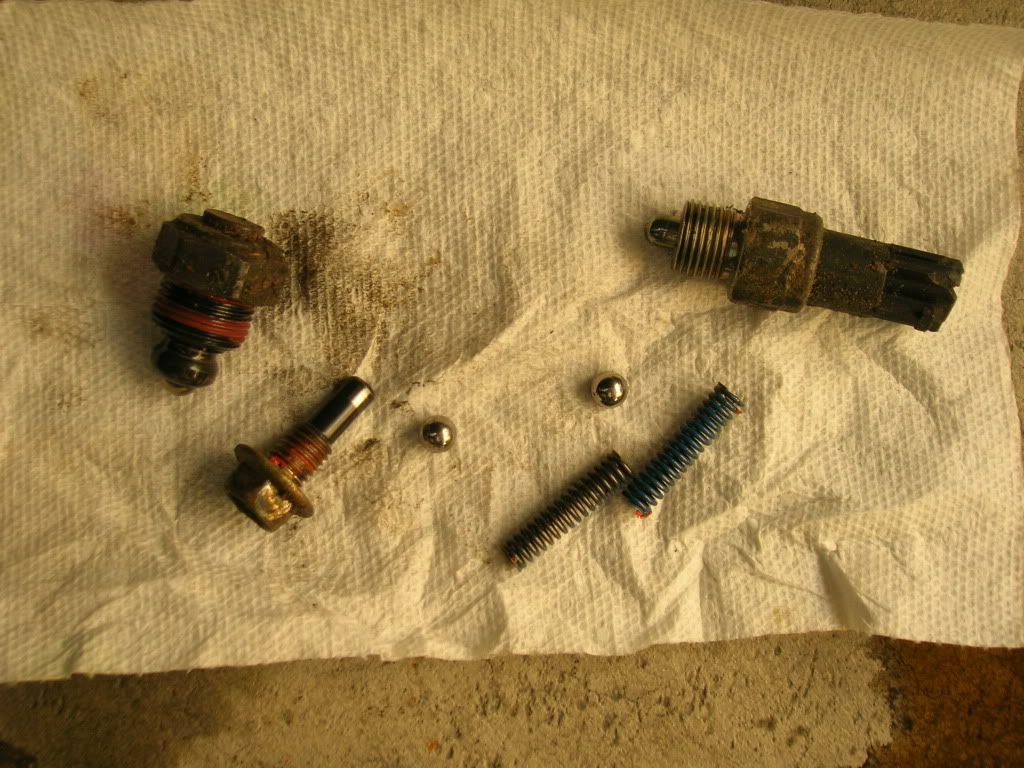
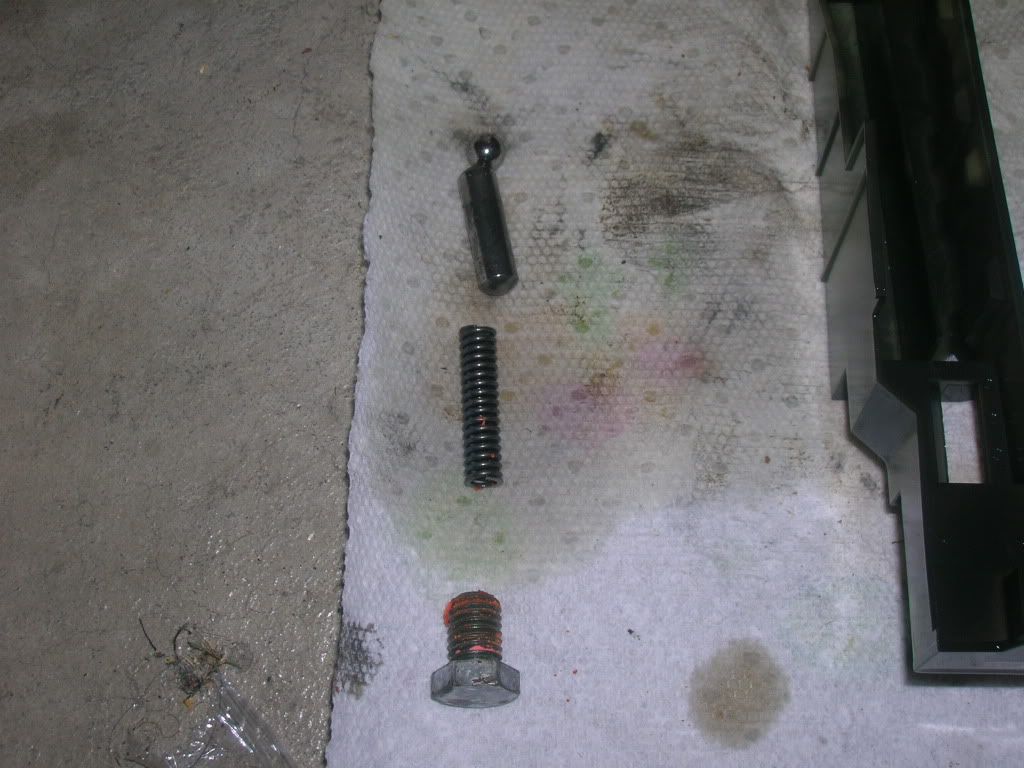
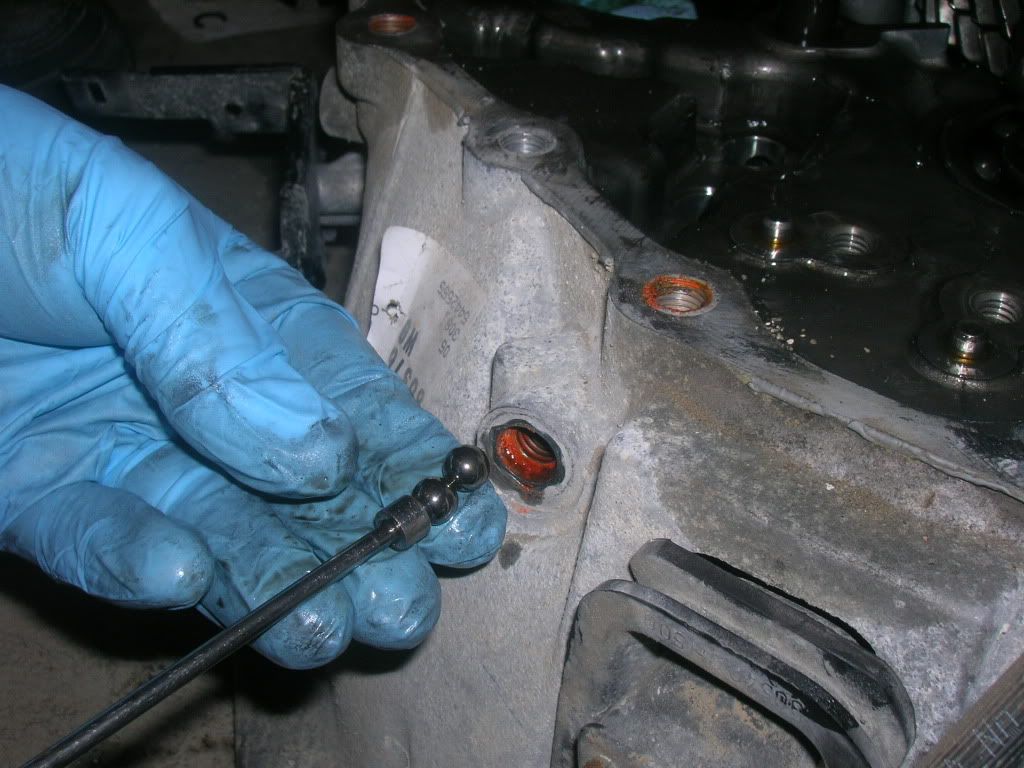
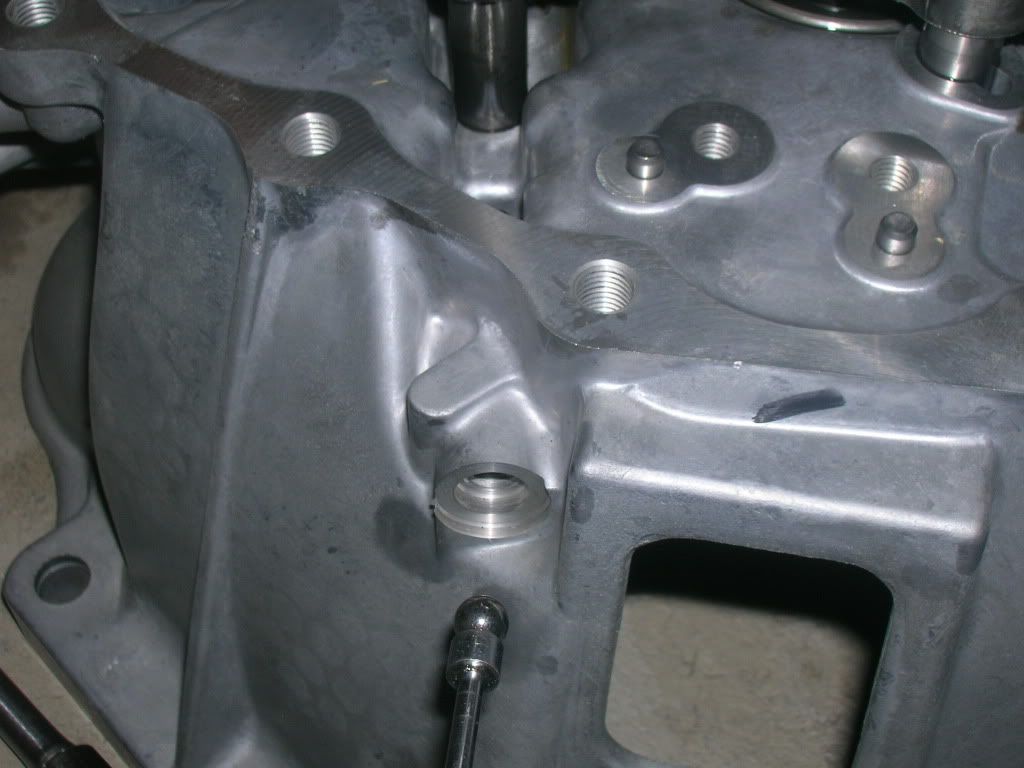
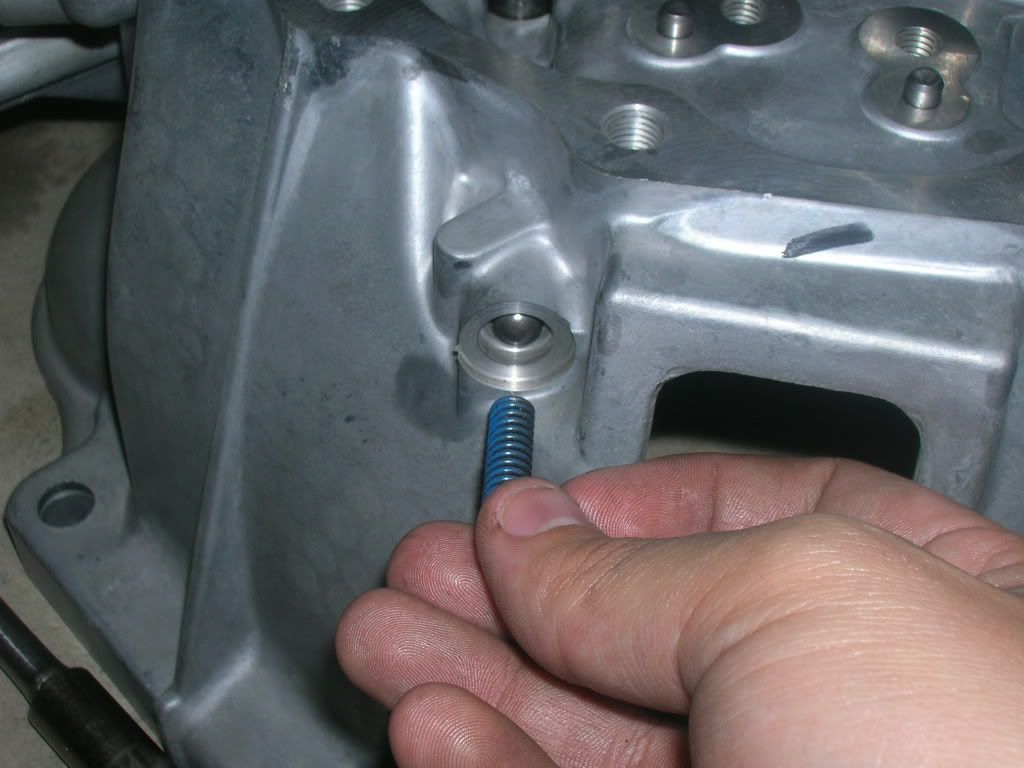
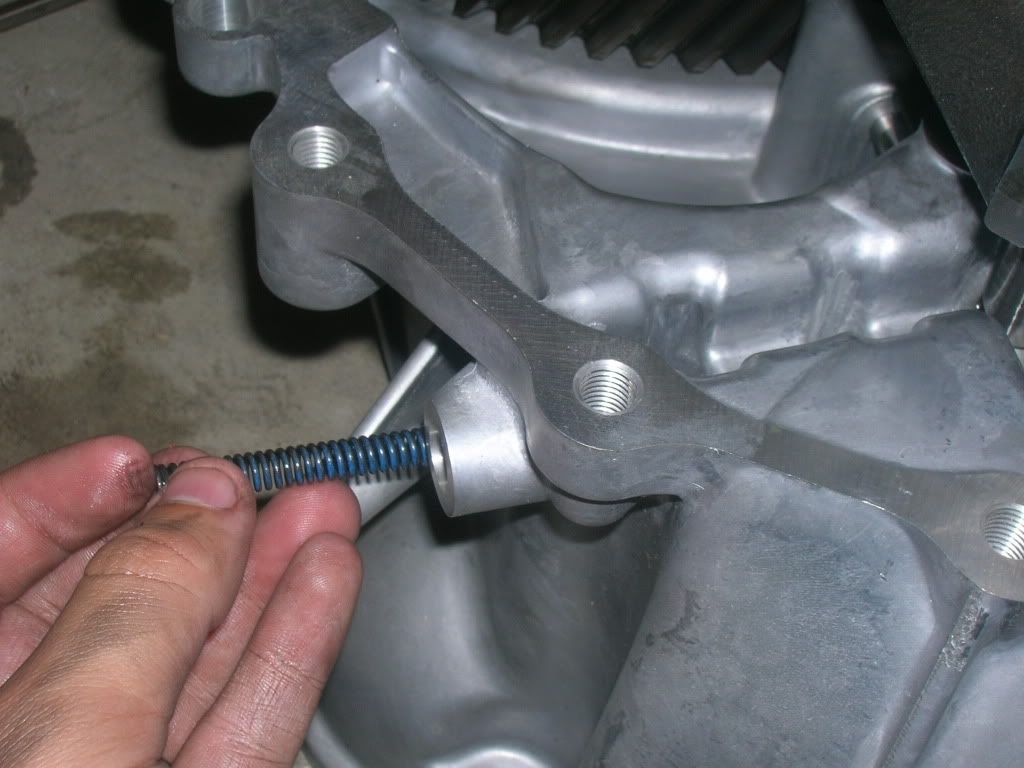
Remove the two 14mm shift check ball bolts. Then remove the springs and check balls with a magnet.


Remove the reverse switch sensor and the Park/Neutral sensor from the case. 21mm 6 point should do the trick.


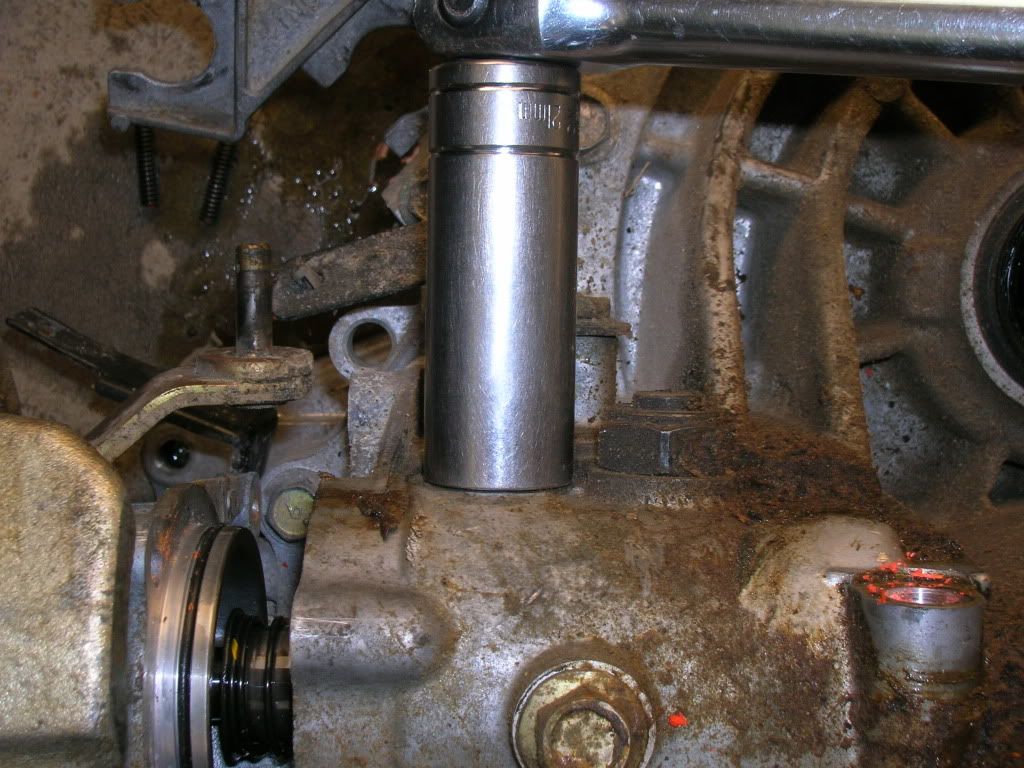
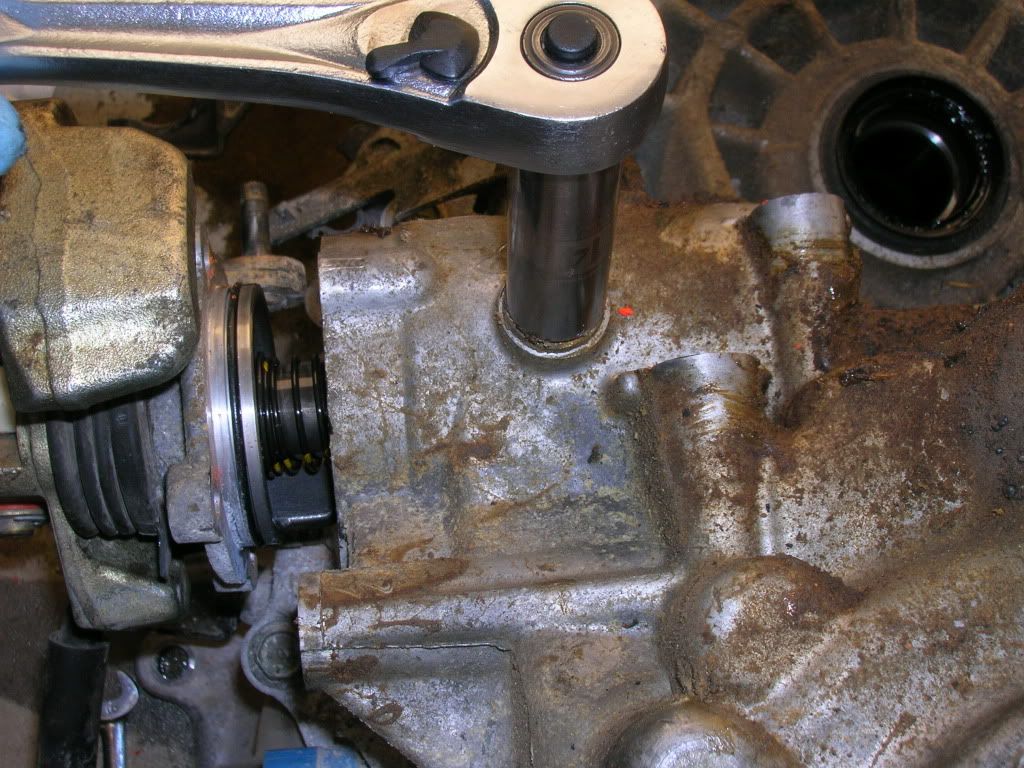
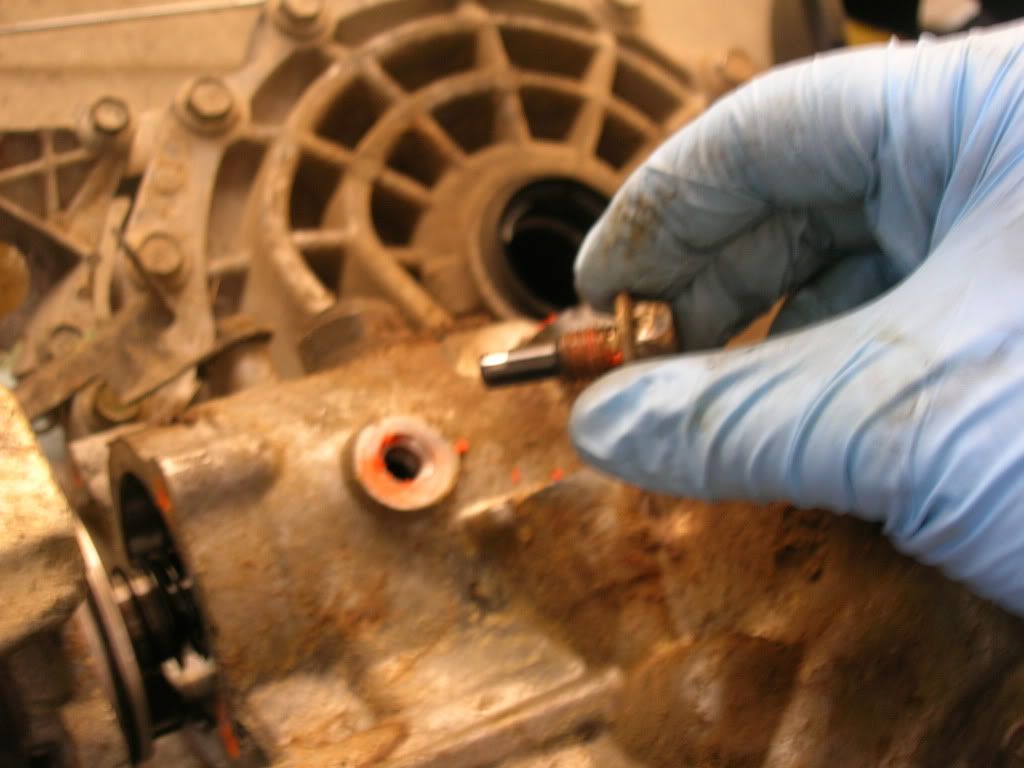
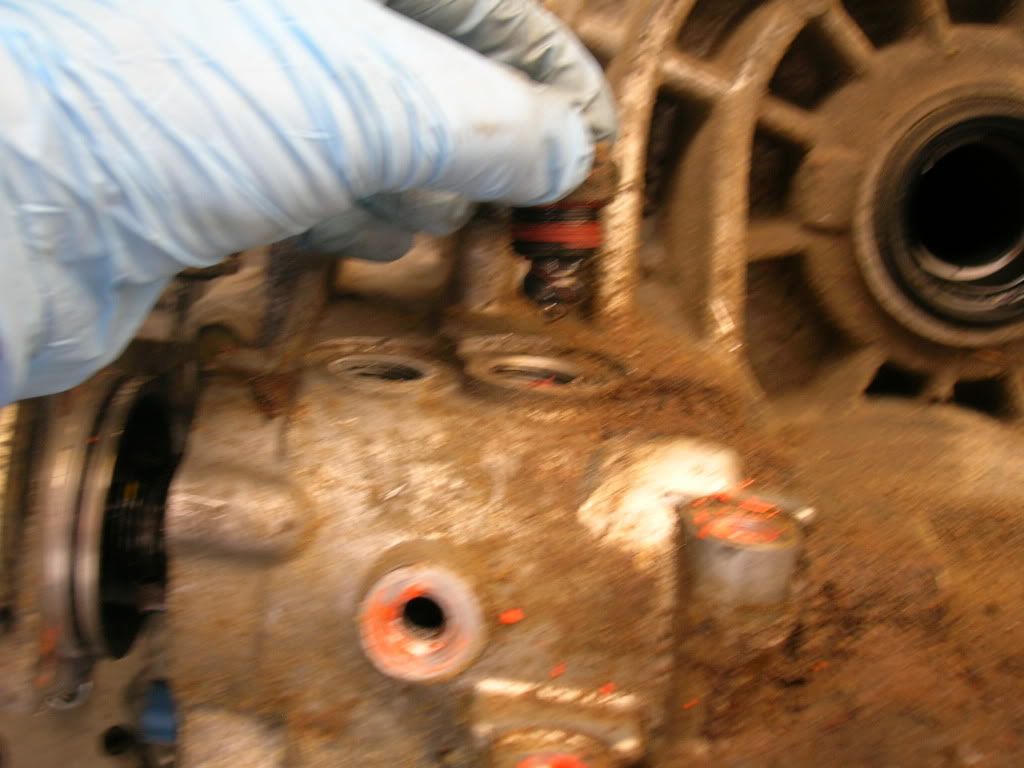
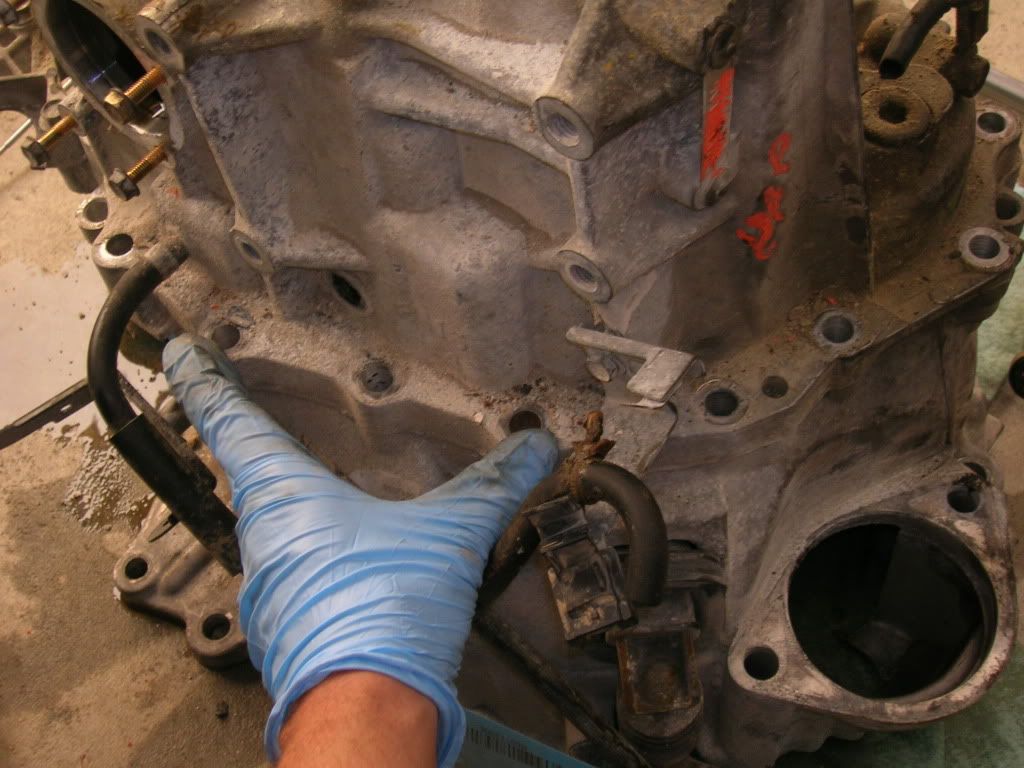
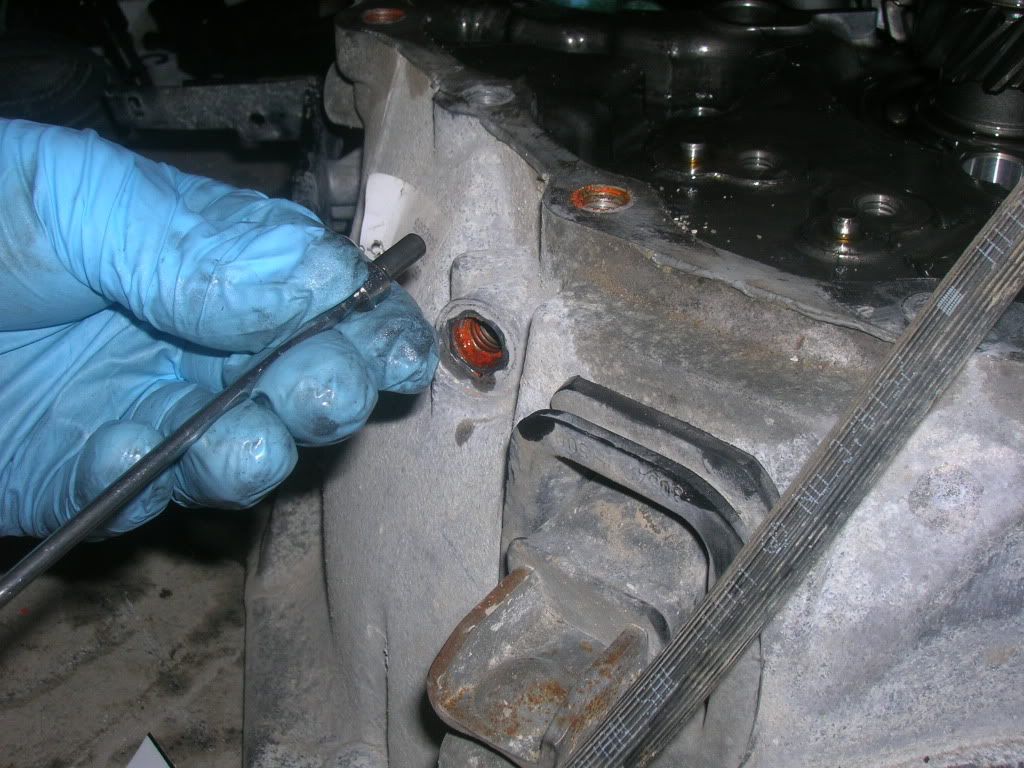
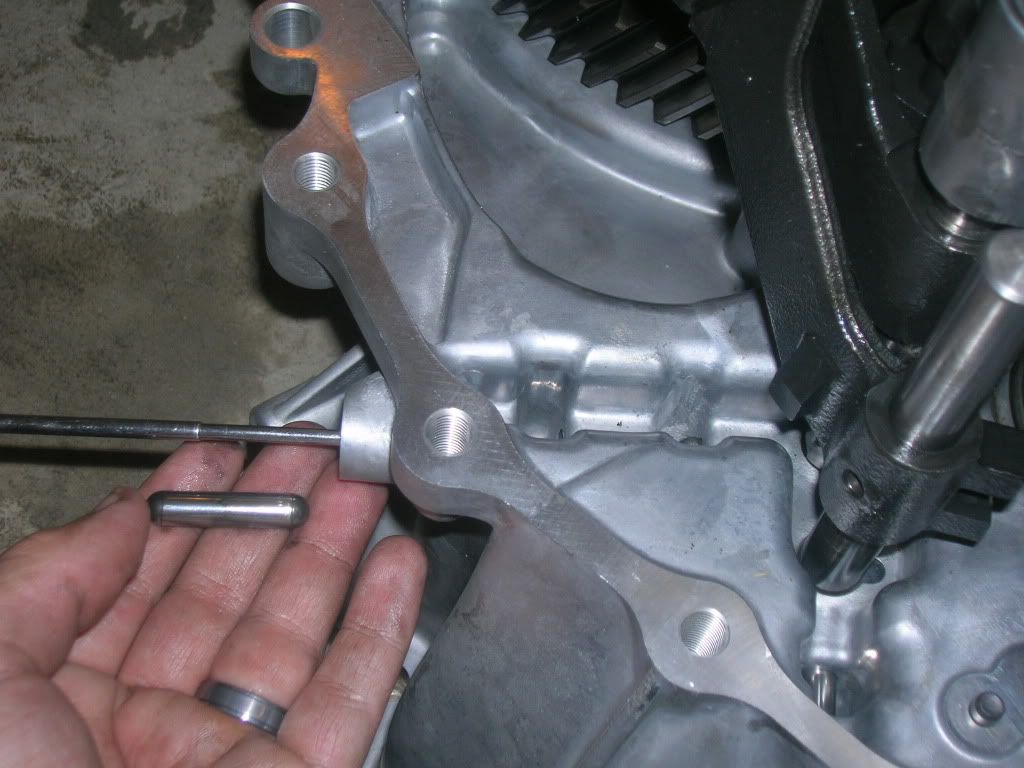
Remove this stopper bolt from the case.


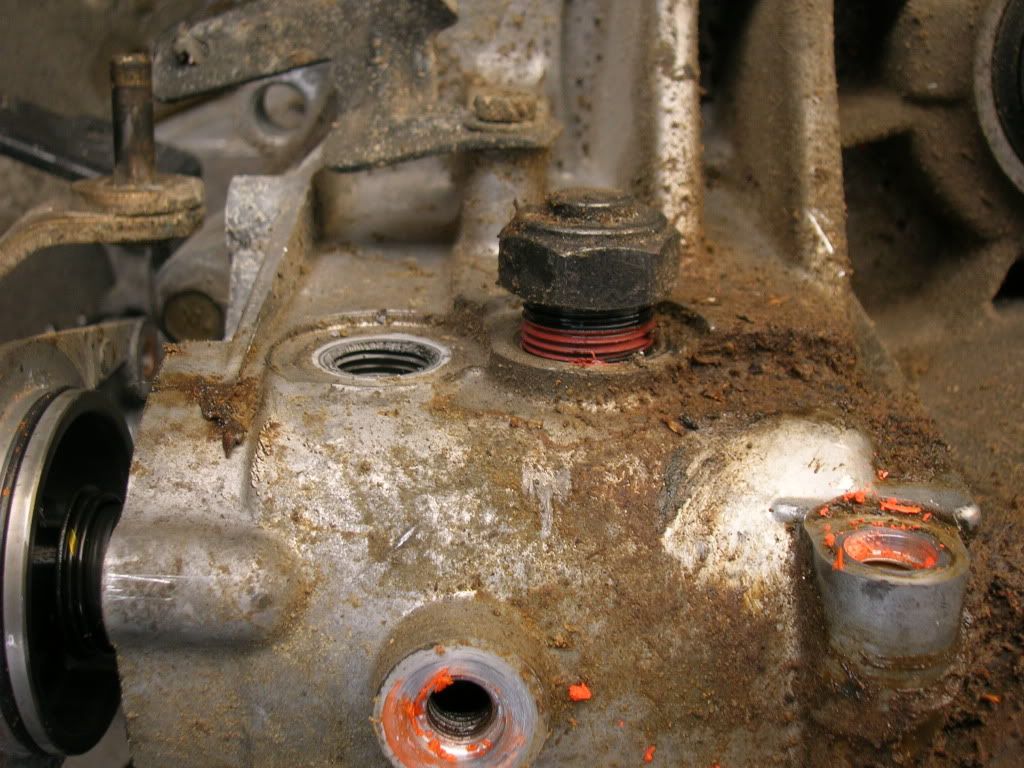
Now remove the shift-check bolt, it is a big one around 24mm. I just used an adjustable wrench, just be careful not to damage it.


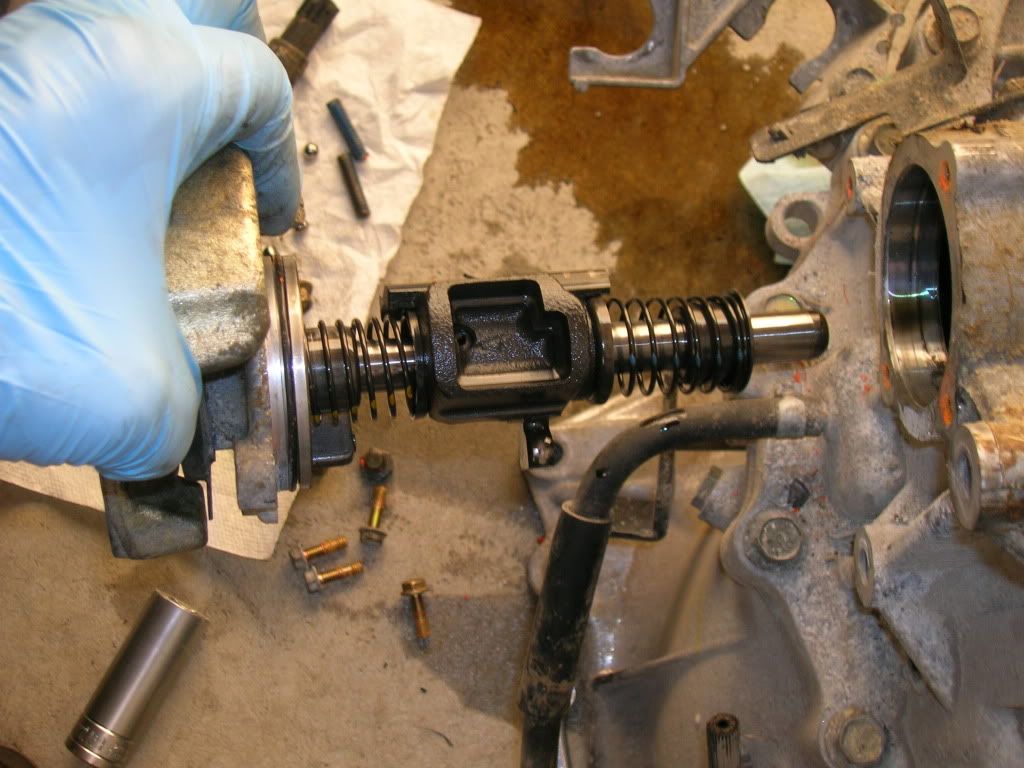
After the shift-check and the stopper are removed, you can pull out the shift control assembly.


Now you have it all removed. Keep it clean and organized. I like to take any bolts removed, and lightly screw them back into their rightful place in the casing so as not to lose any.


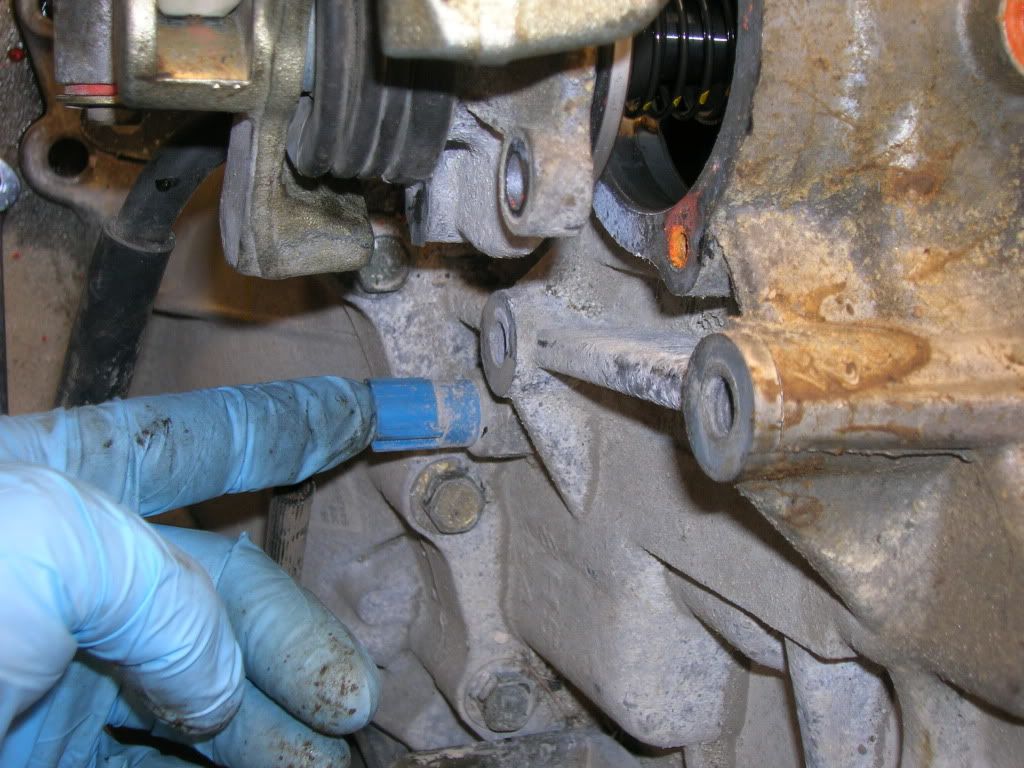
This is the neutral/park switch. Make sure you pull this one out too but dont get it confused with the top reverse switch lol.


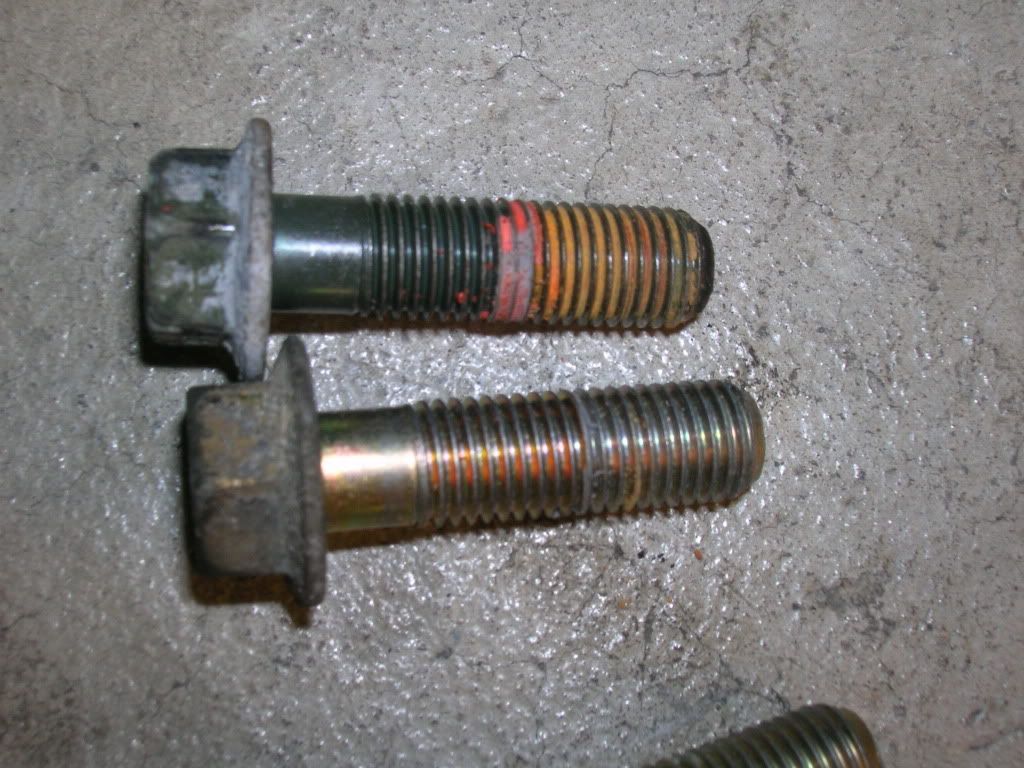
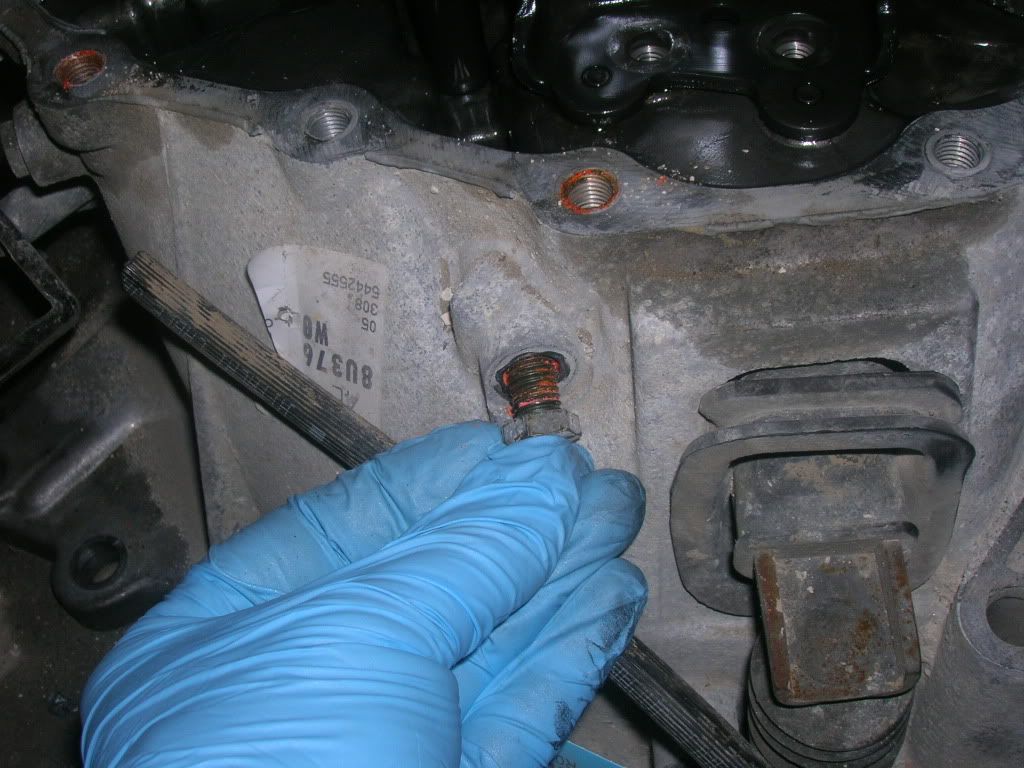
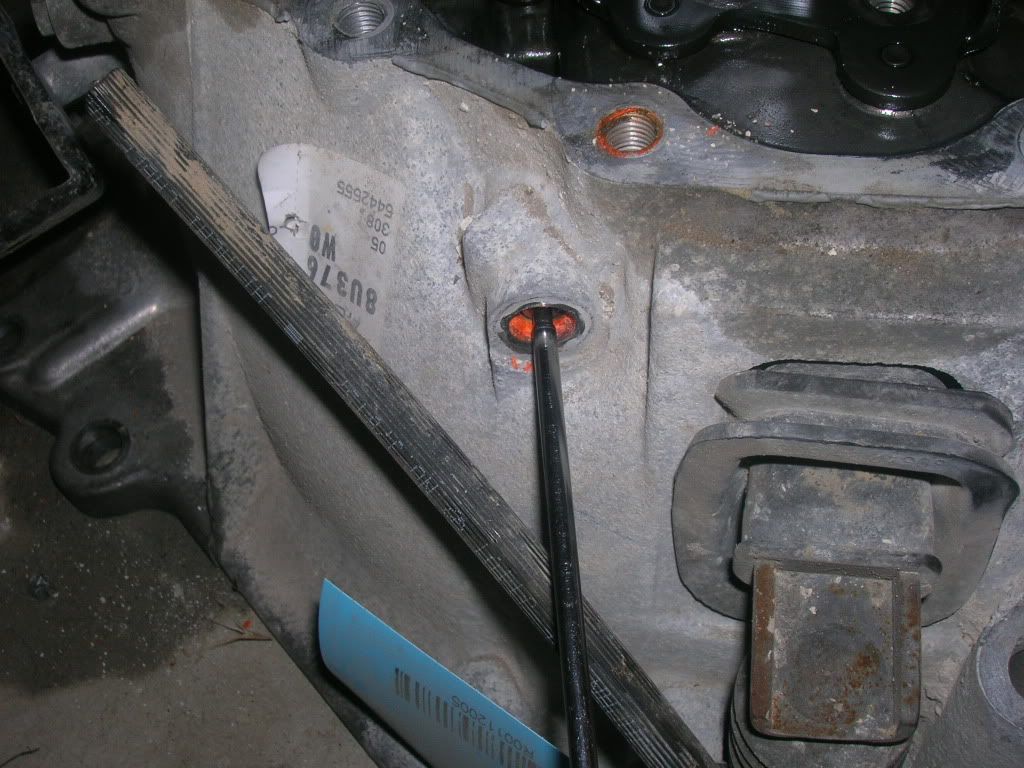
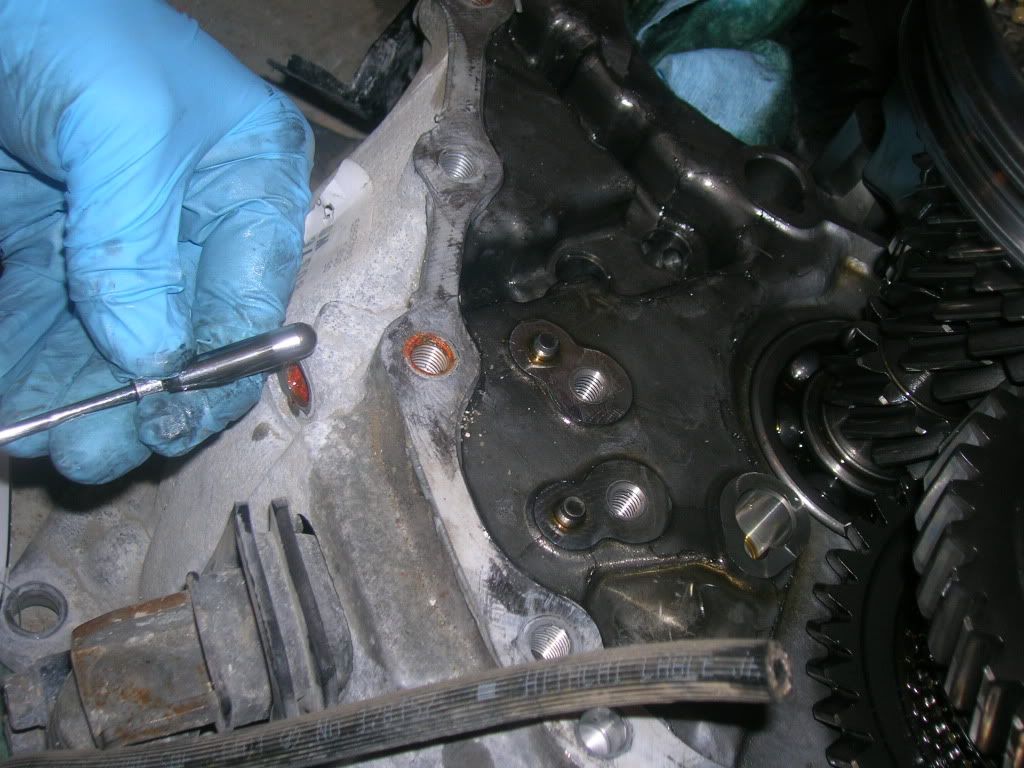
Unbolt the rest of the casing bolts going along the entire outer edge of the transmission. There are two bolts towards the bottom that are a little different. They are not zinc coated and are loc-tite'd into place. Here they are.


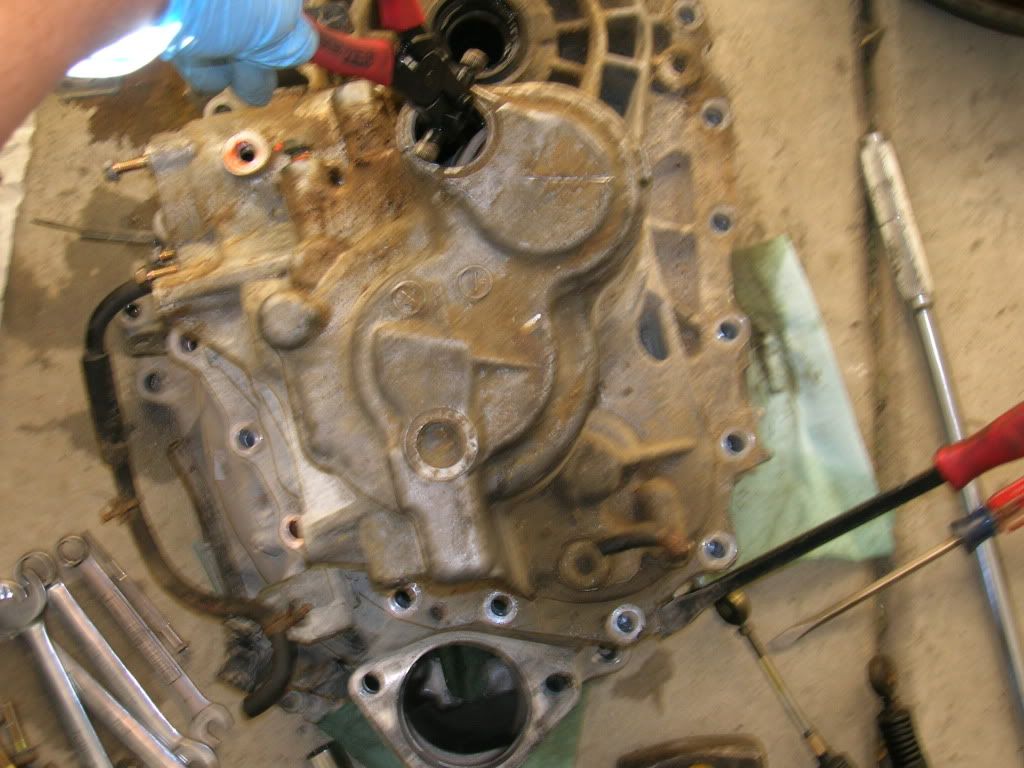
You are going to want to pry on the case a little bit to break the gasket seal.
2011-05-12 06:53:07
#3
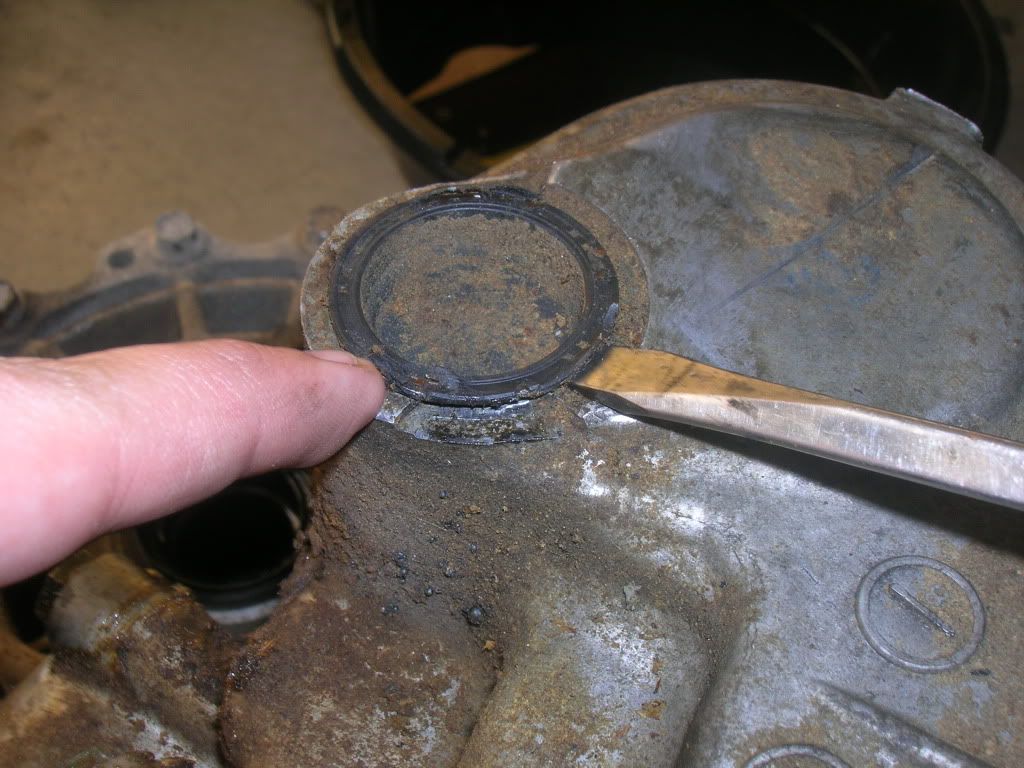
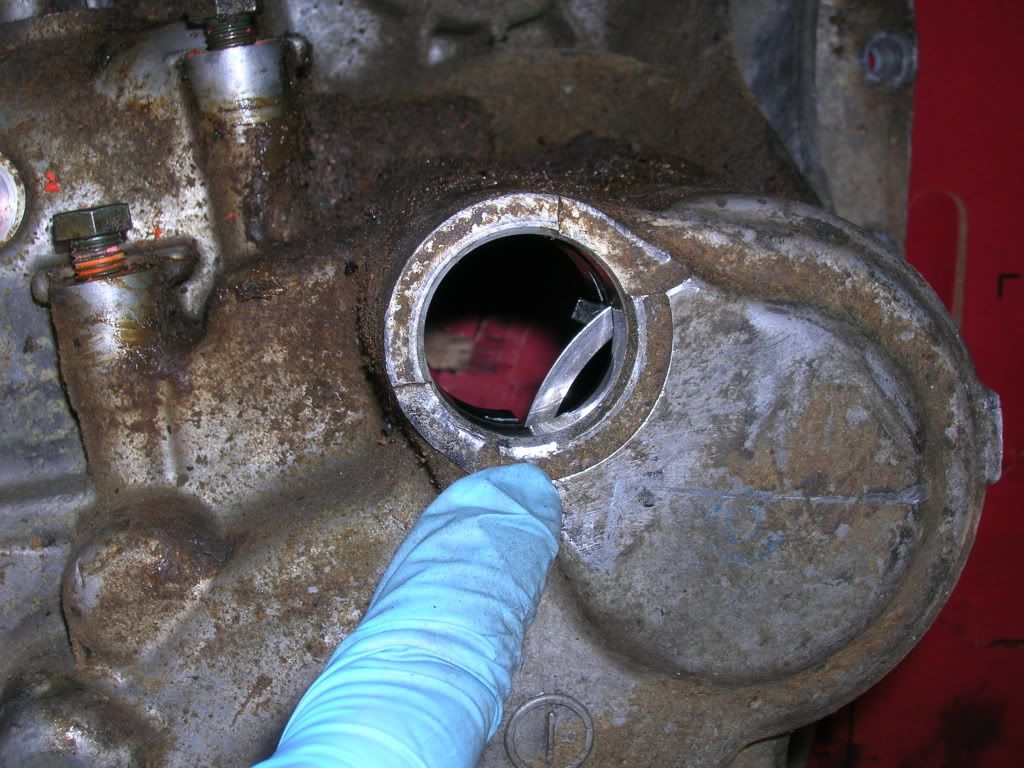
When you are done breaking the seal on the trans (being careful, don't pry too hard you just want to get the silicon to break free), then remove this fancy plug cover on the top of the casing.


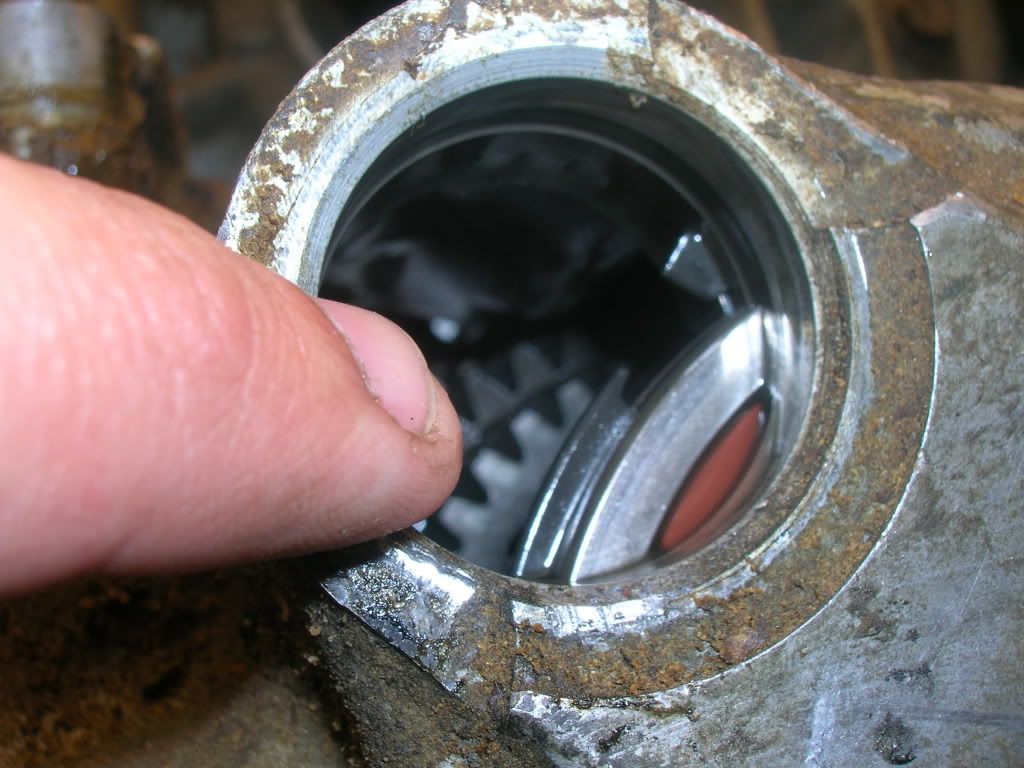
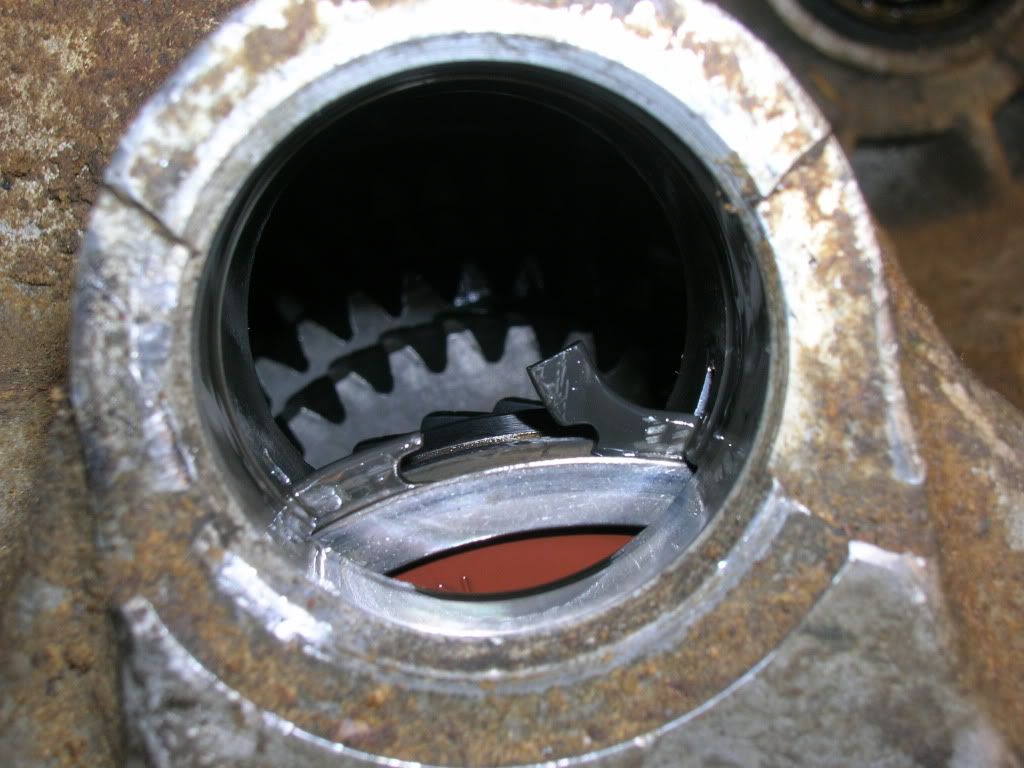
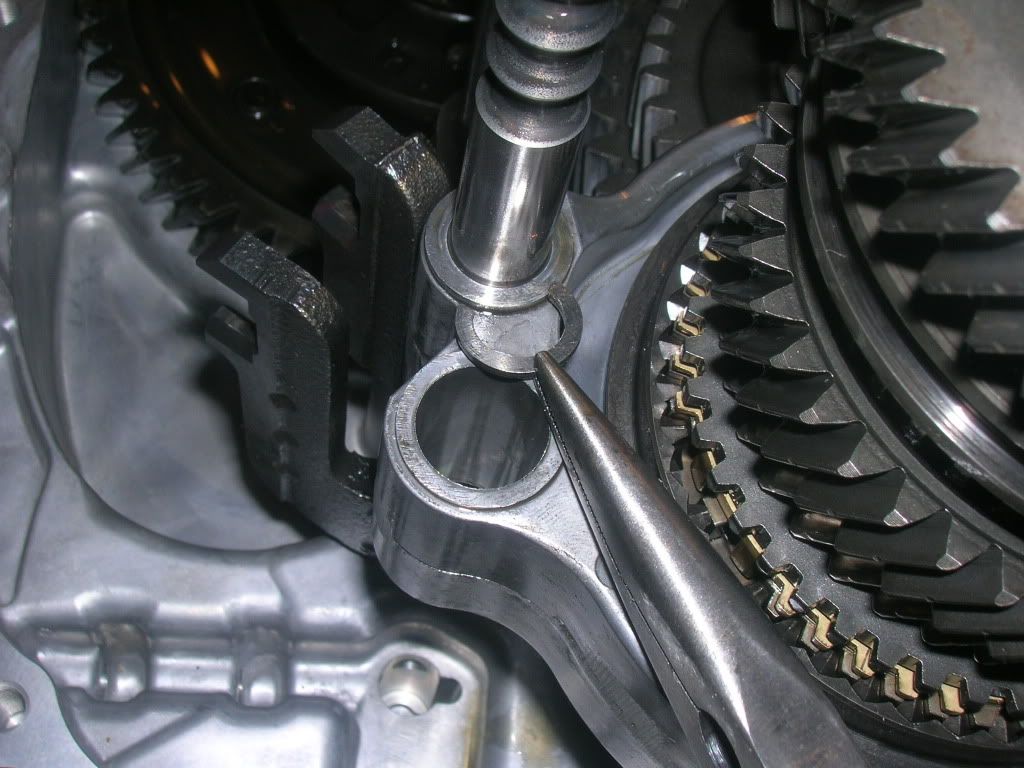
Once done you can see the inside of the trans, there is a snap ring on the top of the main shaft you can see slightly in this pic. You must spread the snap ring carefully and if the trans case is lifted 1/4" off the bell housing the main shaft will disengage from the casing when you spread this snap ring. It will pleasantly drop away from the casing so you can pull it off.


Here is the snap ring once the main shaft drops away from the casing.


Keep this main shaft shim in place with the snap ring so you don't lose them.


Now you can pull the case off! YAY! Take a look at a thing of beauty.
2011-05-12 06:53:59
#4
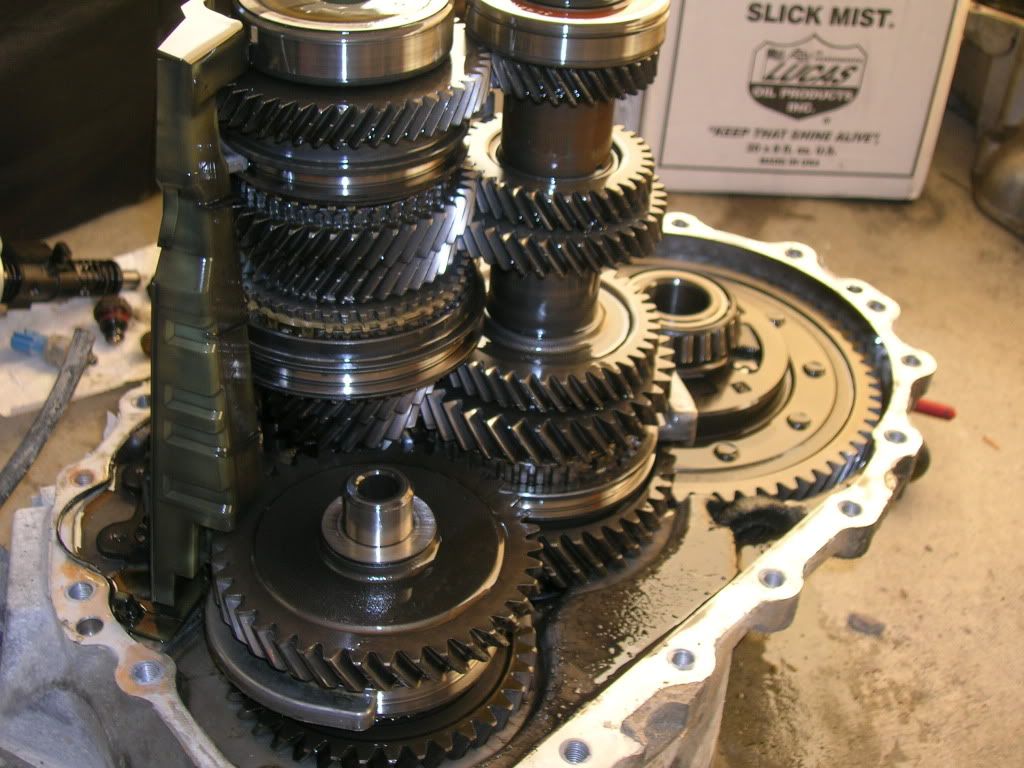
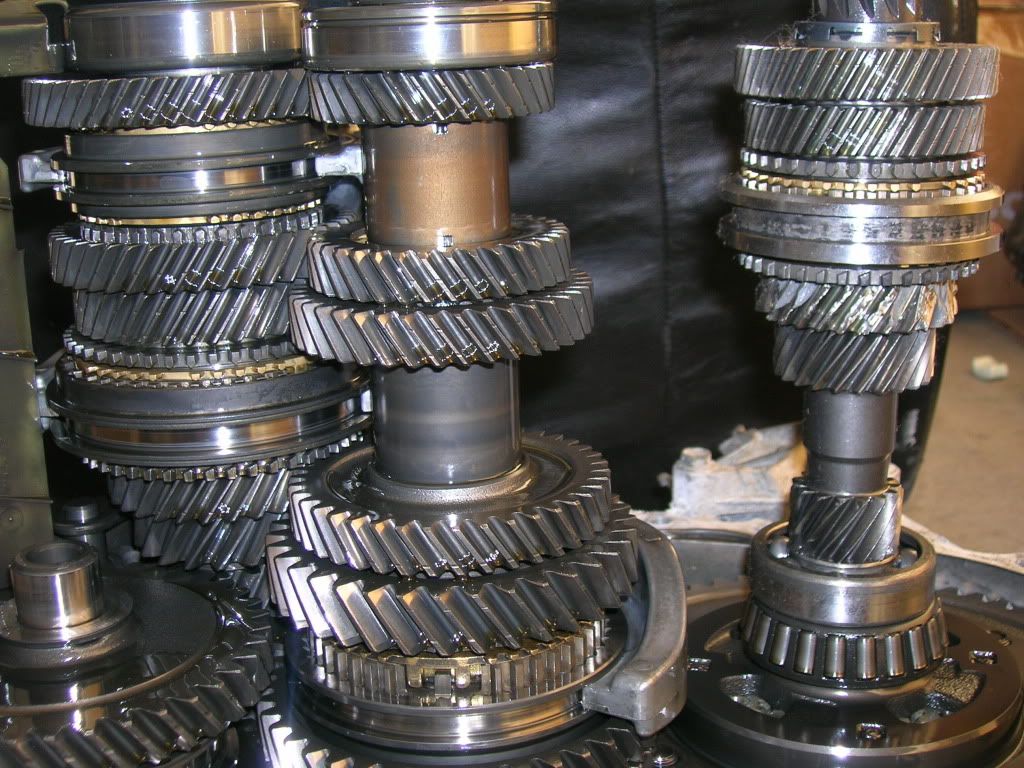
Now here's the goods. The measurements and predictions on what this transmission can handle. Here are some pics of the transmission with the case off.


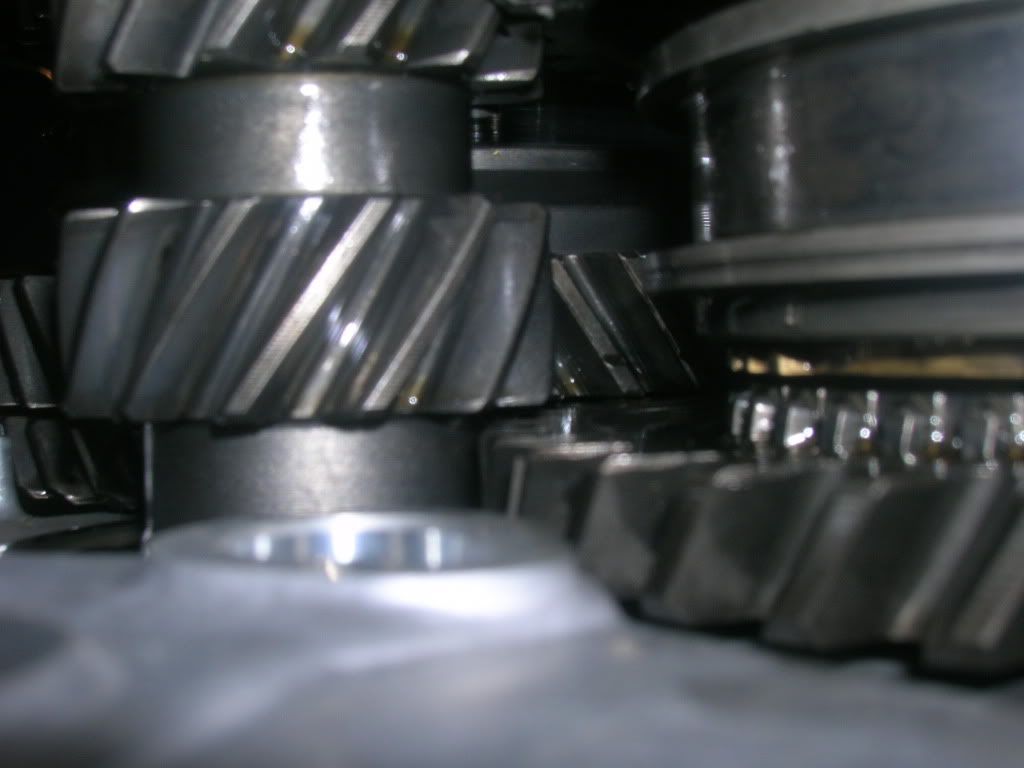
Oil baffle and gear stacks.


You can see in this pic the P11 input shaft vs the RS6 gear stacks. Notice 3rd gear on the p11 is gone?


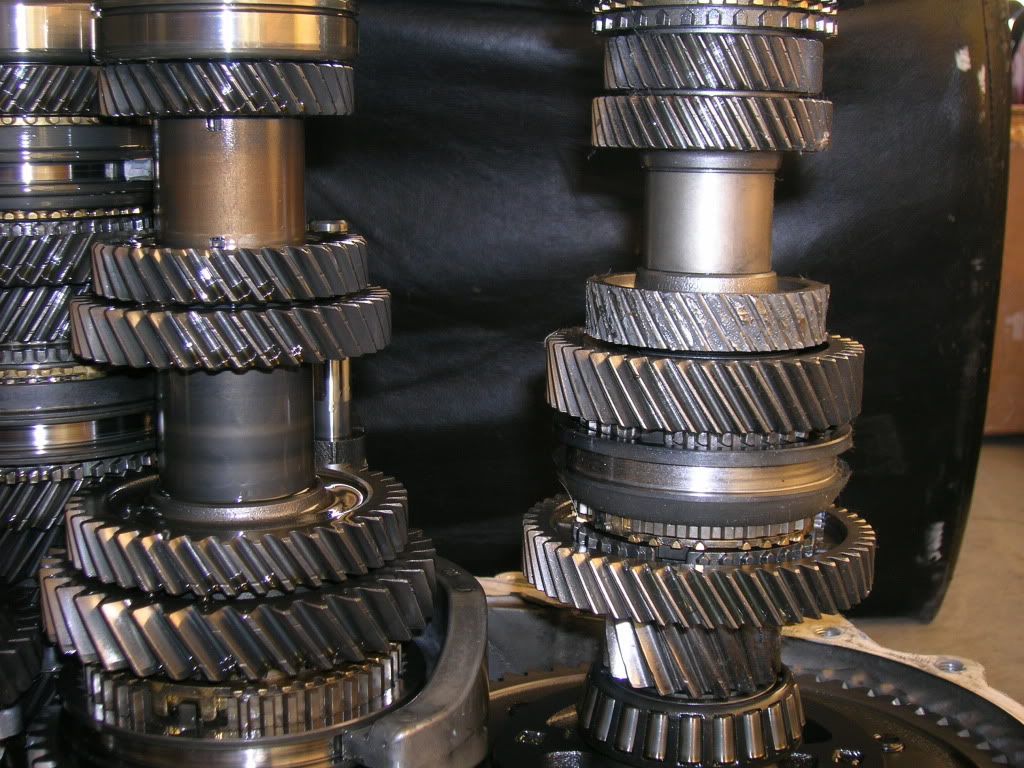
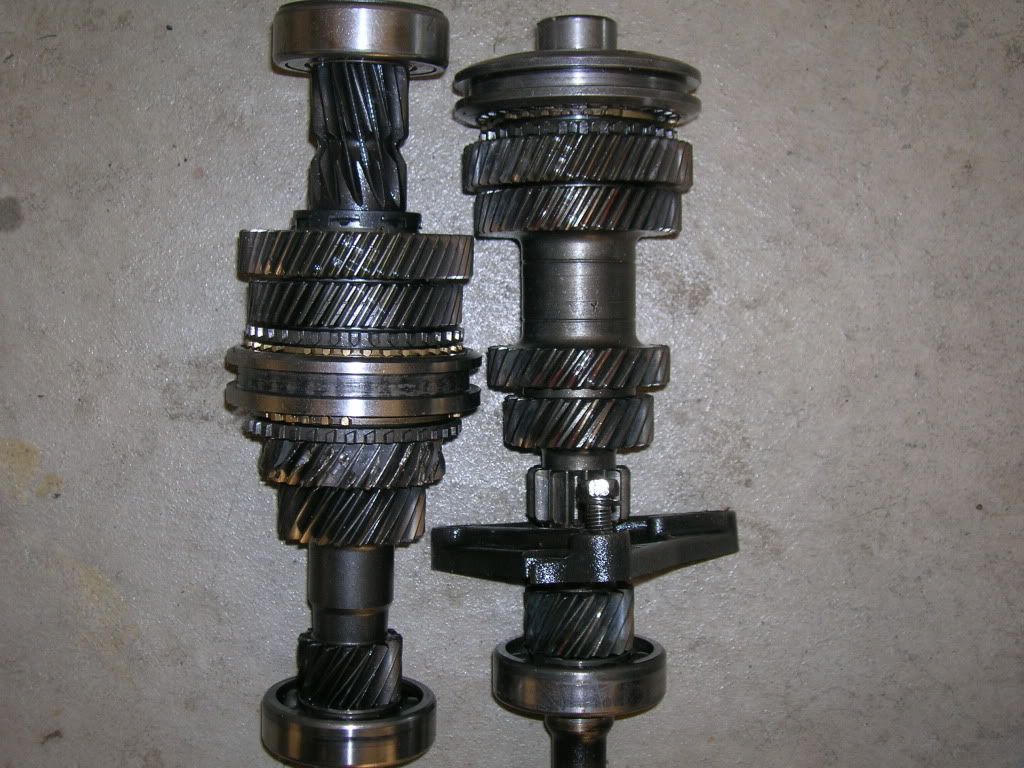
Here is a main shaft vs main shaft pic. I kept all the pics their original size because I hate people with dial-up. Seriously though, this gives a better representation of the two gear stacks against each other.


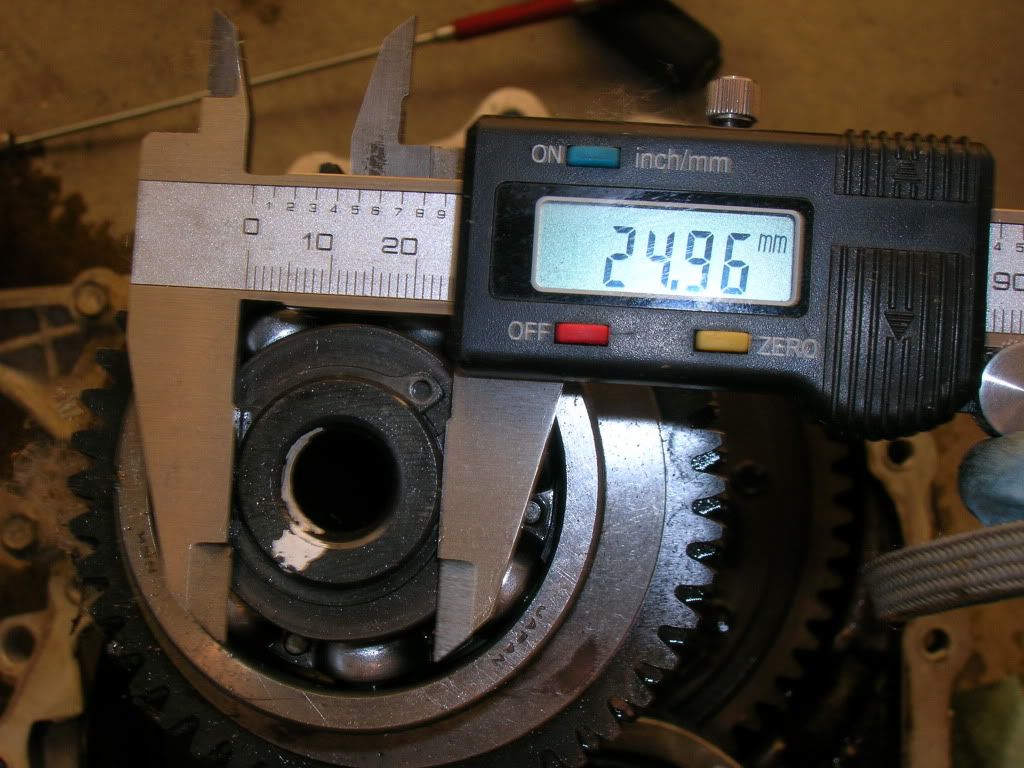
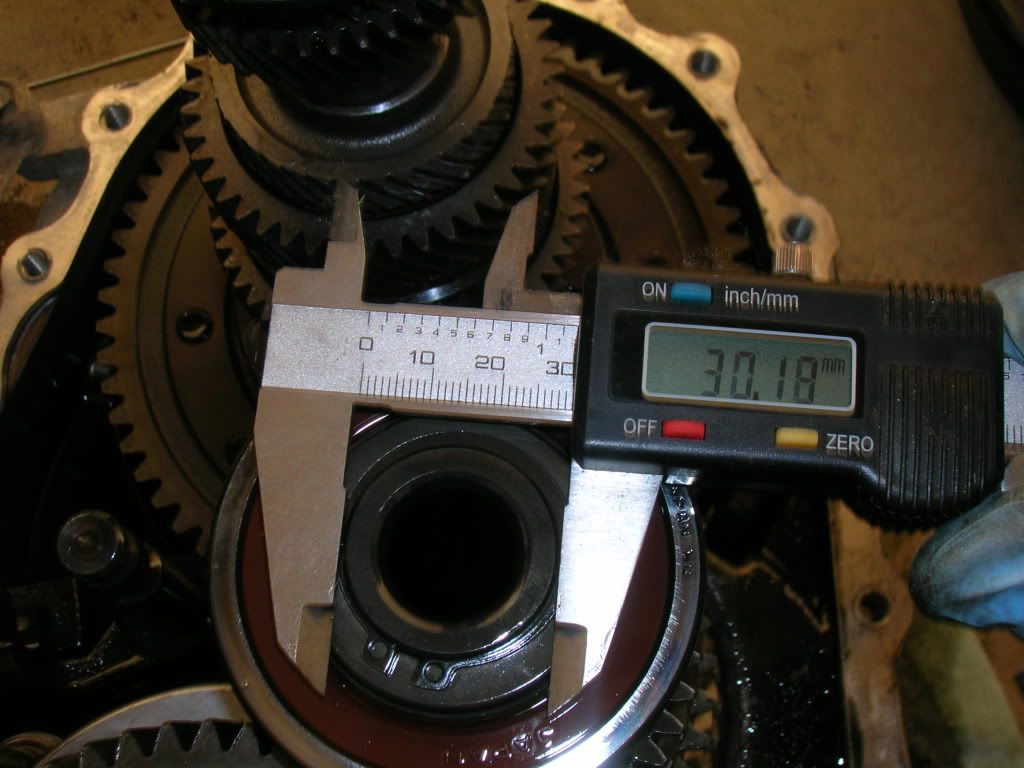
Here is the measurement of the main shaft on the p11 transmission. about 25mm or so.


Now here is the RS6. A full 5mm larger main shaft! 30mm!


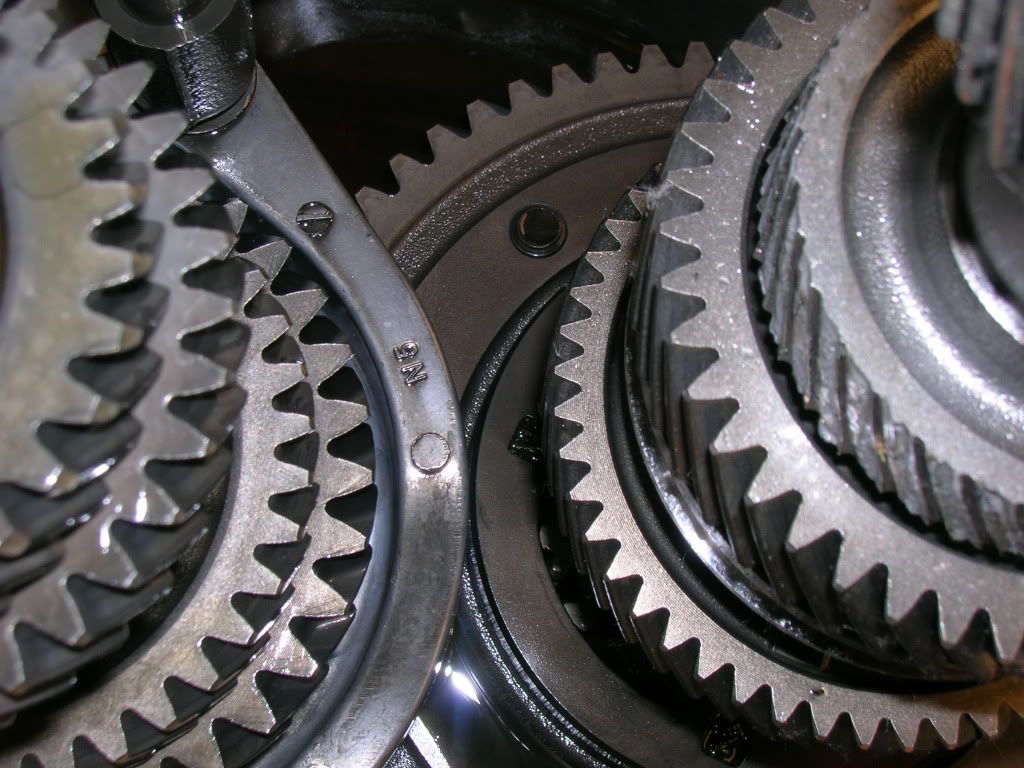
P11 on the right, RS6 on the left. You can see the extra girth given to the 6 speed transmission. The gear teeth are thicker, even though the gears aren't that much wider. But 1-3rd are much thicker gears on the RS6 transmission. 4-6th are much smaller in comparison so I wouldn't say they are a massive improvement. But the teeth are larger and the larger shafts should prevent flexing in the shafts that causes gear-spread.


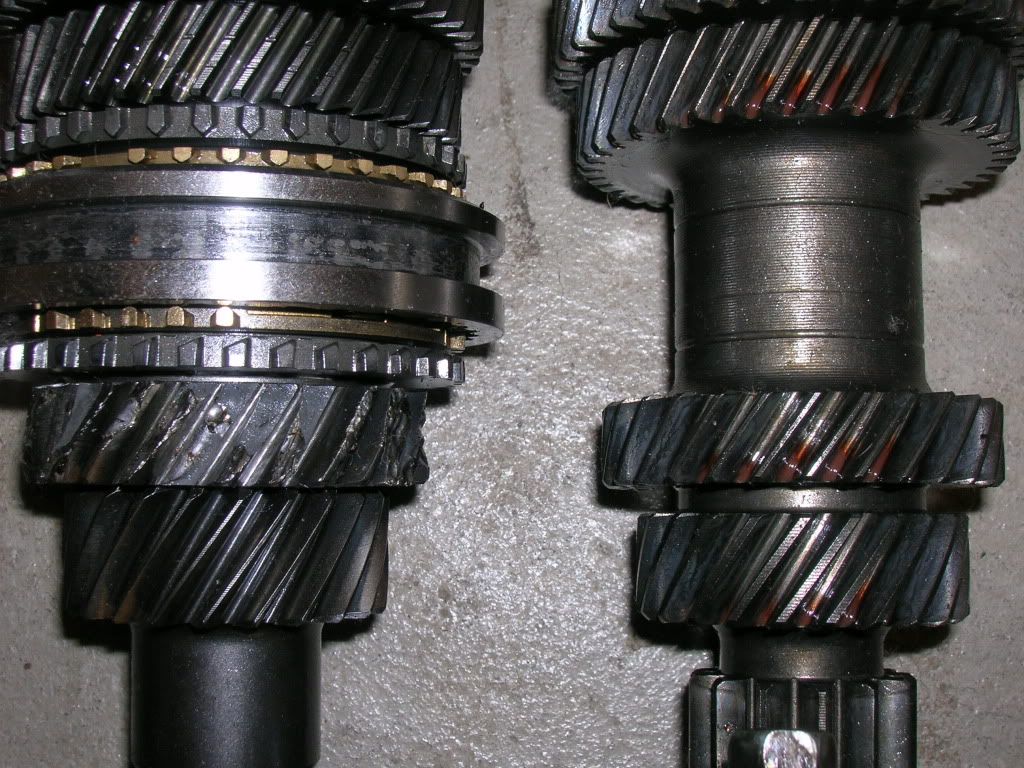
Here you can see a P11 input shaft on the left vs an B13 shaft on the right.


I thought the p11 gears were the same size but I was wrong. Here you can visually see how much larger the P11 3rd gear is compared to the B13. I'd say that is pretty significant.


So bottom line, the P11 gearstack up to 3rd looks to hold safely 350whp all day with the right clutch and heavy shockproof. A big improvement to the 250-300whp from the B13 trans that people break, even at that power level. A P11 if treated right will handle 400wtq as long as wheel hop is completely avoided, but it won't do it for a long time. But then again, I don't expect the RS6 trans to keep 4th gear in it at that torque level forever. It will do better though. Probably a step over the P11, just like the P11 was a step over the B13.

So I'd say if you were building a car it looks like this:
<300wtq B13/B14
<350wtq P11/B15
<400wtq RS6

Of course the vehicle weight has a lot to do with the longevity of the transmission. Heavy cars will shorten transmission life. So an RS6 in a B13 weighing 2500lbs or less would likely last for years and years of abuse. In a P11 though at the same power levels, it may not last as long. My research has shown that very few have broken the RS6 transmission, and those guys were making over 400lb torque with a Maxima's fat ass. So obviously it didn't last. I'm sure I will be the first to break one though, since that's how we do things here lol. So You guys will be the first to know when, or if, I do!
2011-05-12 06:56:57
#5
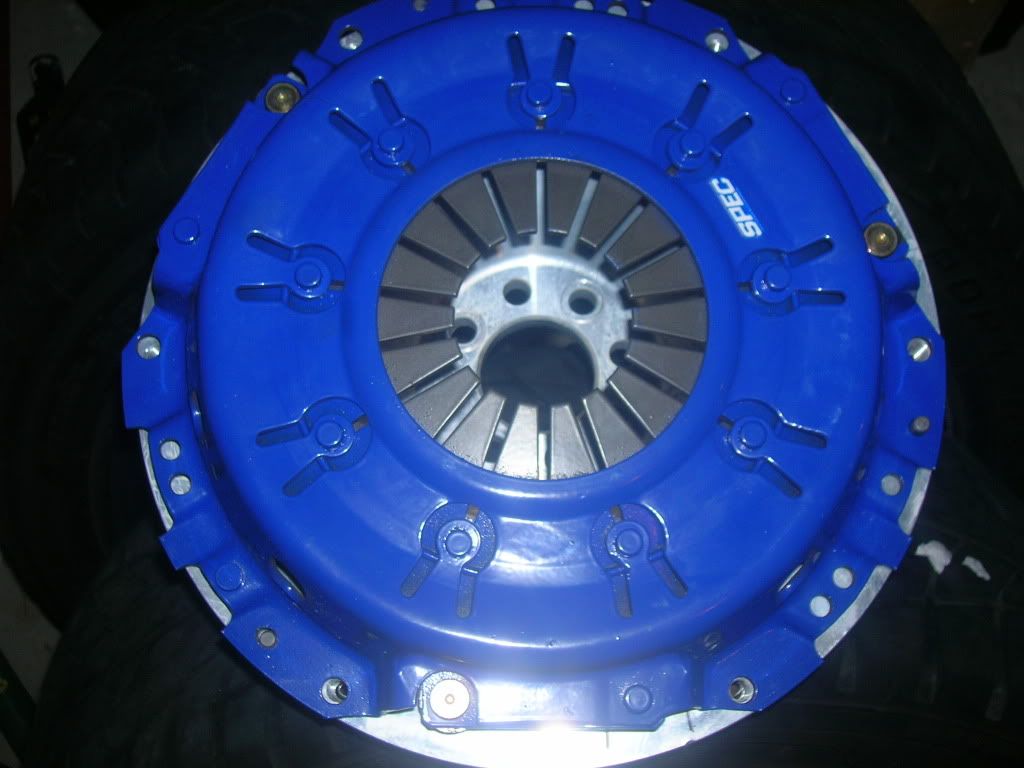
You need any KA24DE clutch kit. Get one to suit your needs. I got this one from Greg V. It wasn't cheap, but the thing feels amazing.

Mazworx mount kit.
2011-05-12 06:58:10
#6
This is what I did today. I'm going to just put my write-up here for now until I get a full sticky thread for just that. But you guys can at least see what is involved. This is a rather simple job, but there are a lot of pieces involved, and some experience would def be preferable since you can mess things up if you don't get it right.

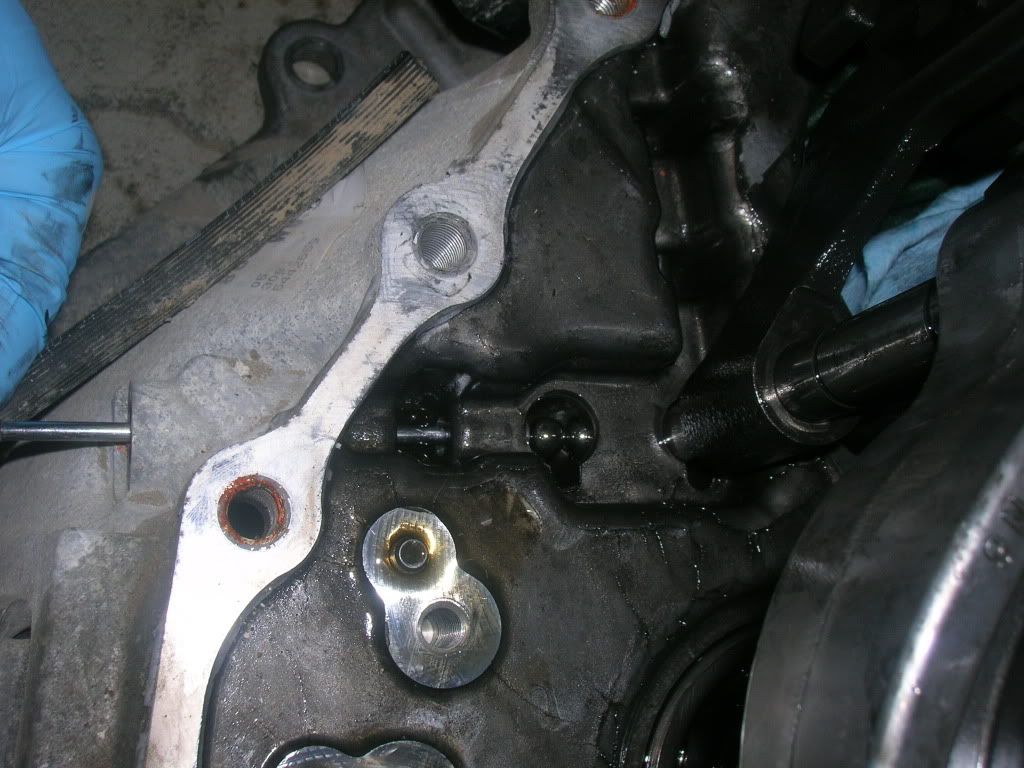
Once you have the case off as done previously, Then there are two bolts that hold the shift check balls for the shifter rods.


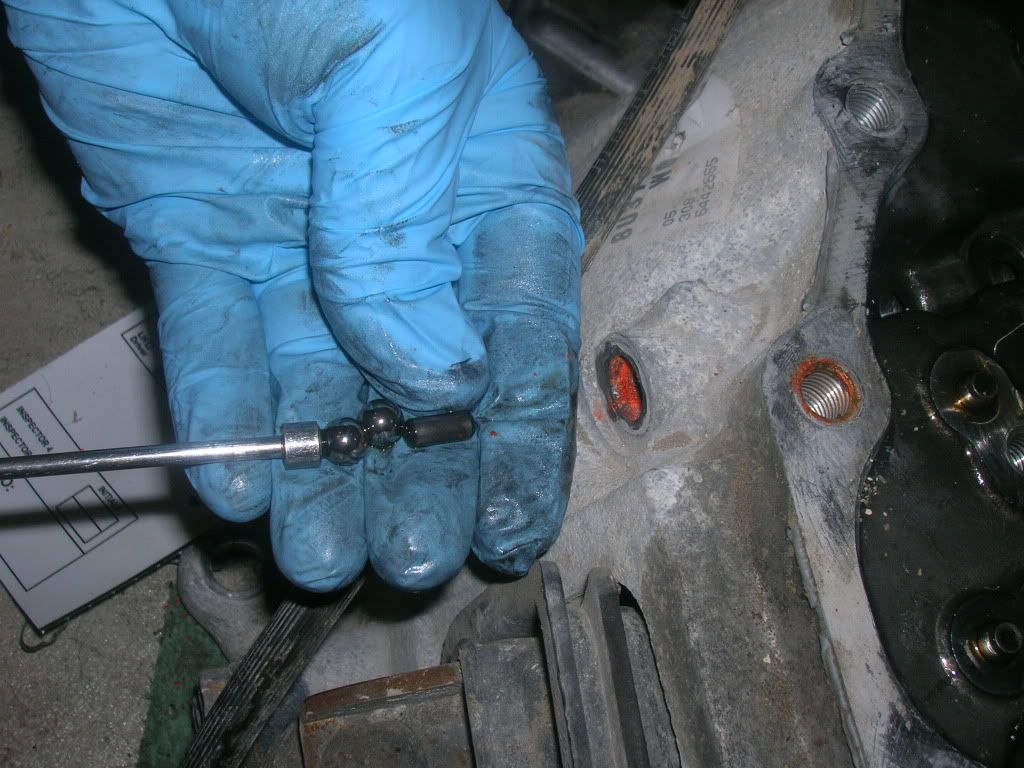
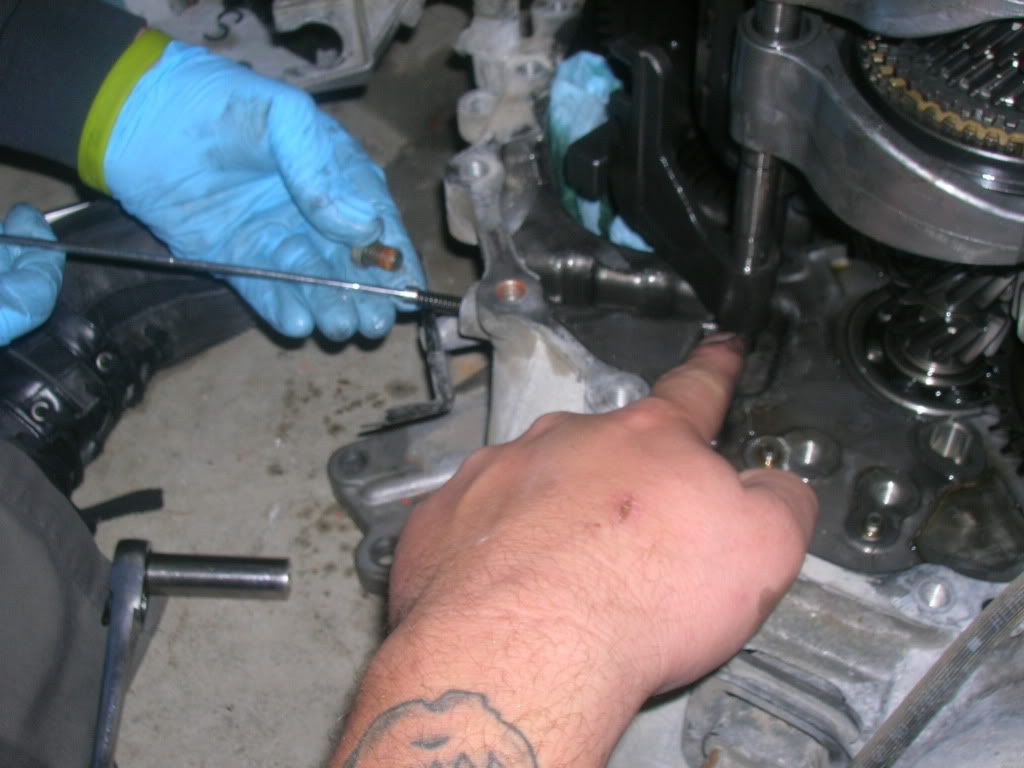
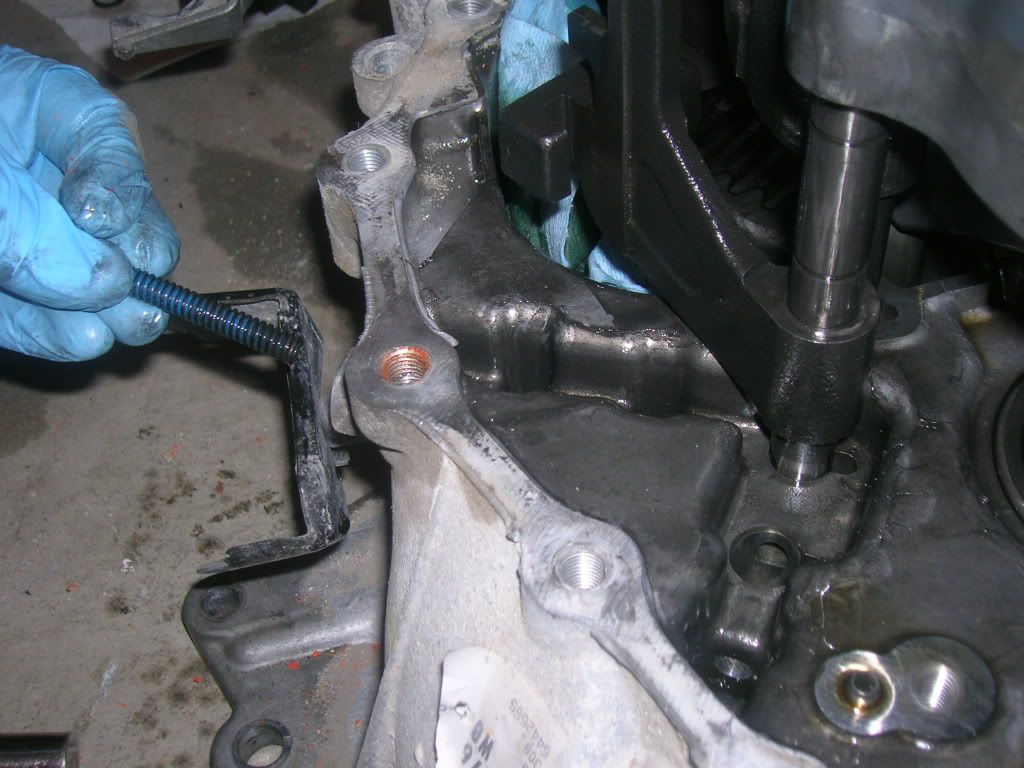
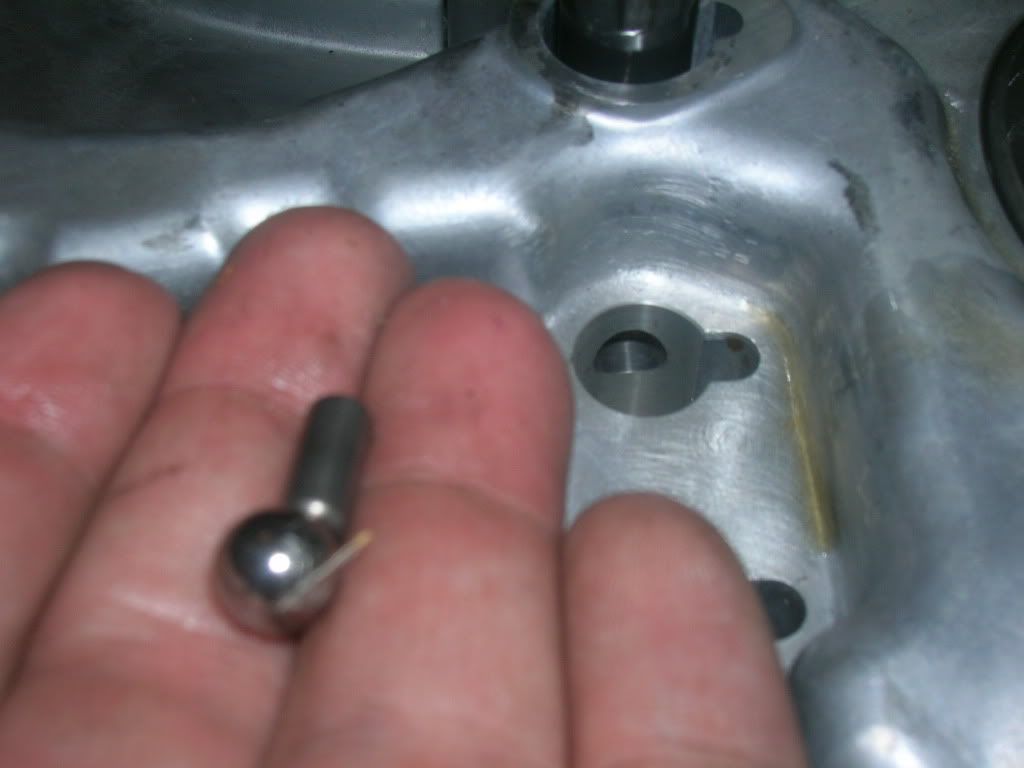
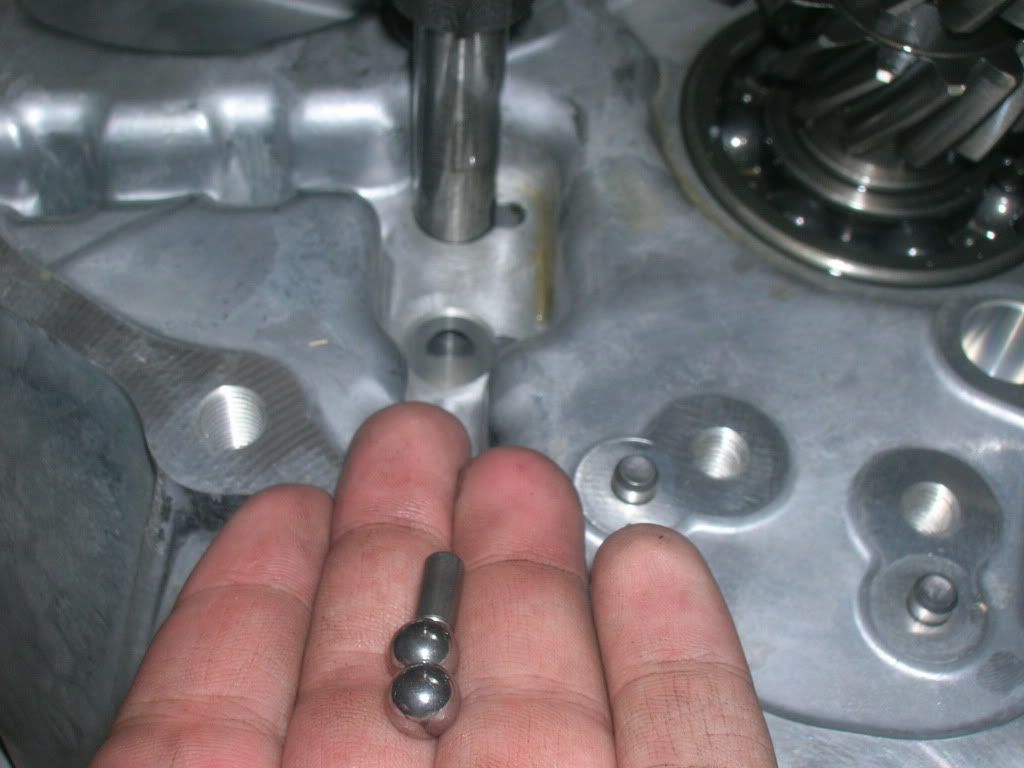
Use a magnet to remove the check balls.


You will pull out a spring, a long rod, and a ball.


Then start to remove the roll pins and circlips. There should be 4 clips and 4 pins iirc.
This is the reverse shift roll pin.


Then the 5-6th roll pin.


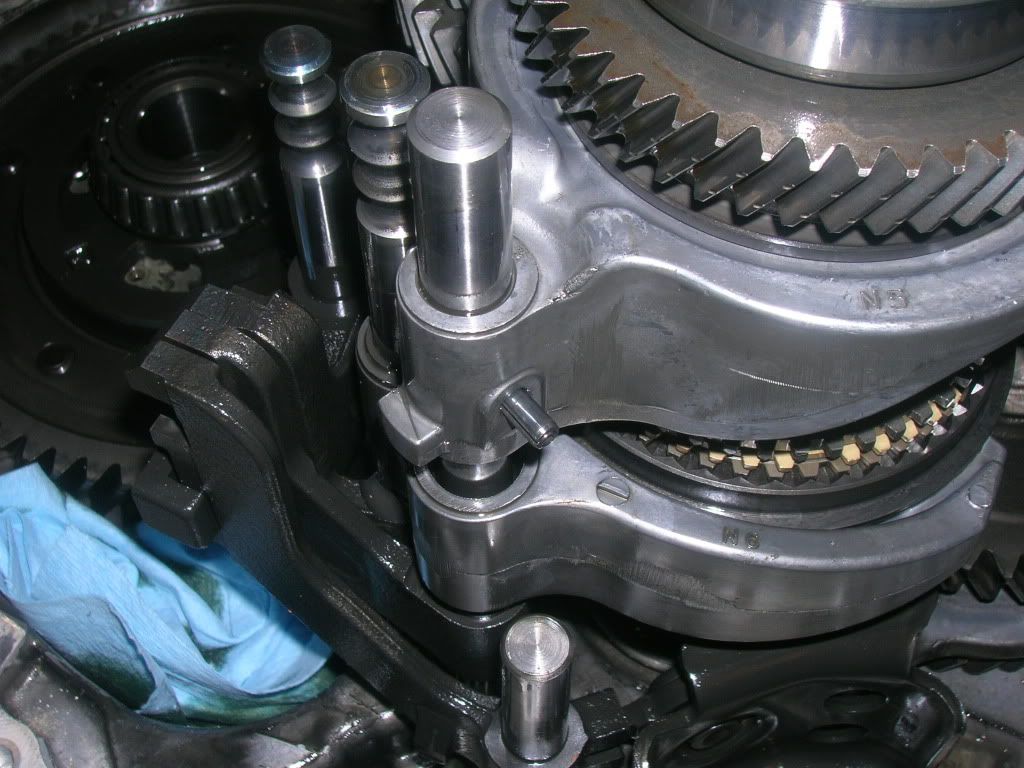
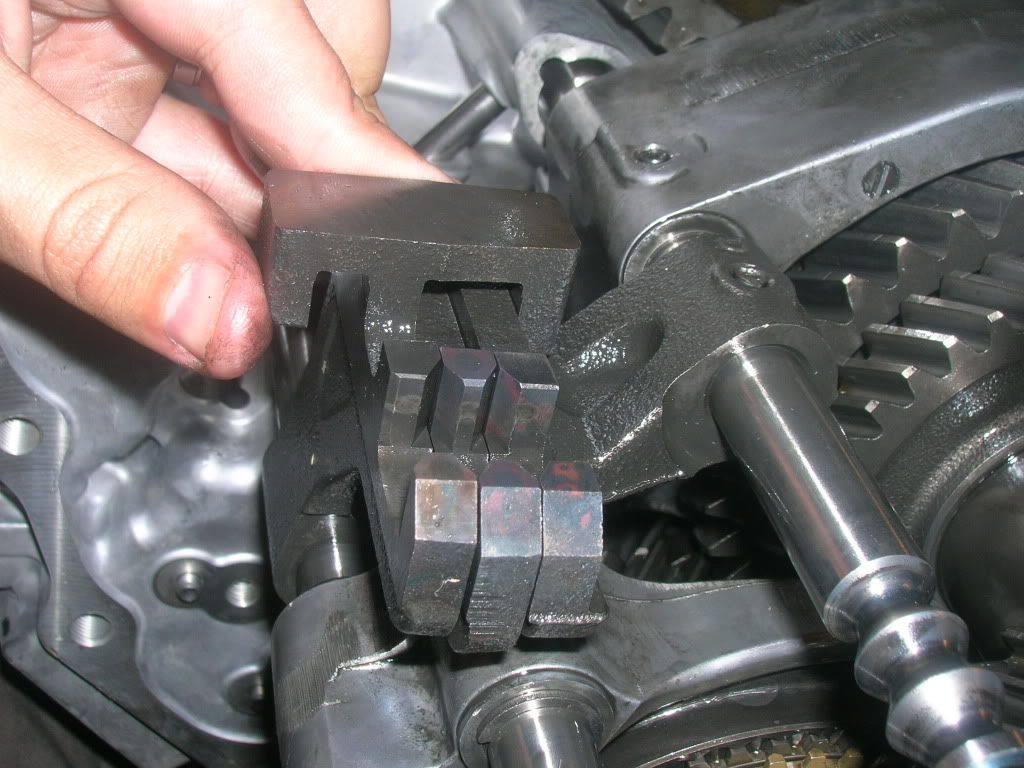
There are two pins on the 3-4th shaft that need to be removed. You can see both here, one on the shift collar and one on the linkage.


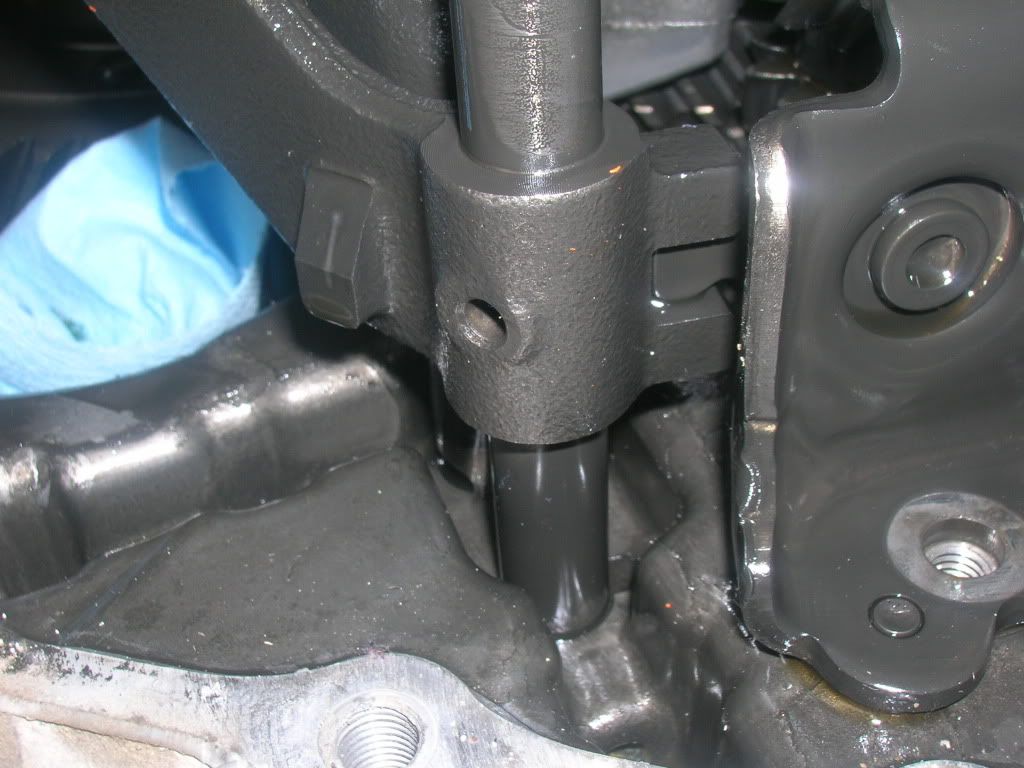
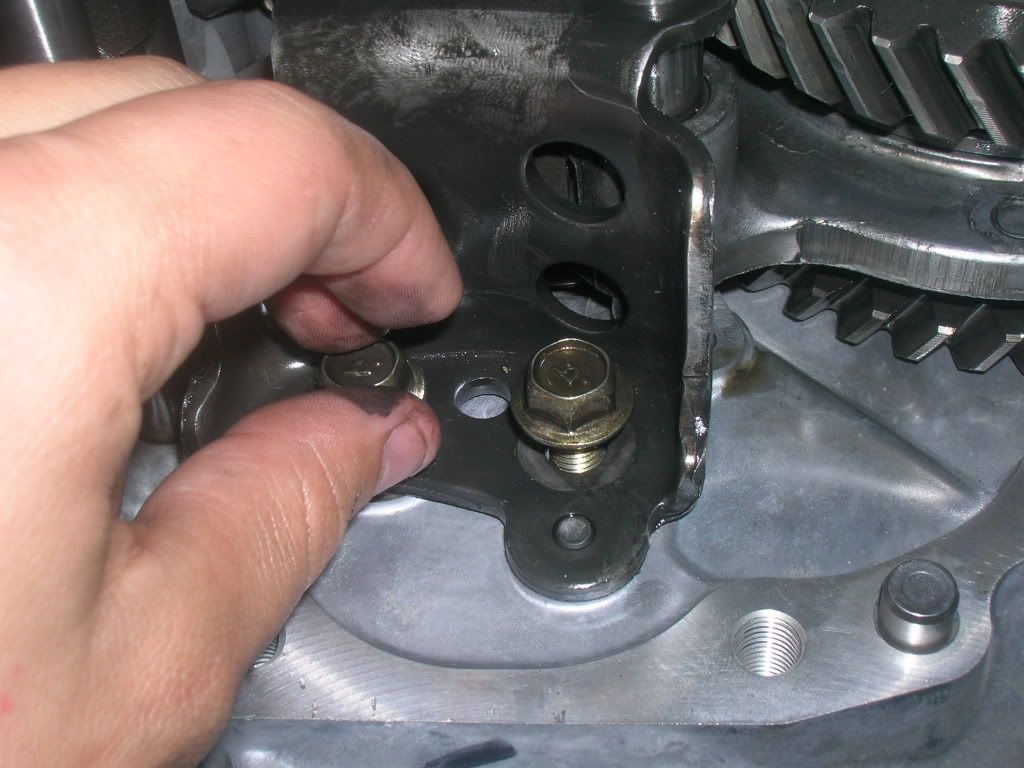
Take the two bolts off of this reverse shifter. There is an interesting collar-adapter on the back, make sure you don't lose it.


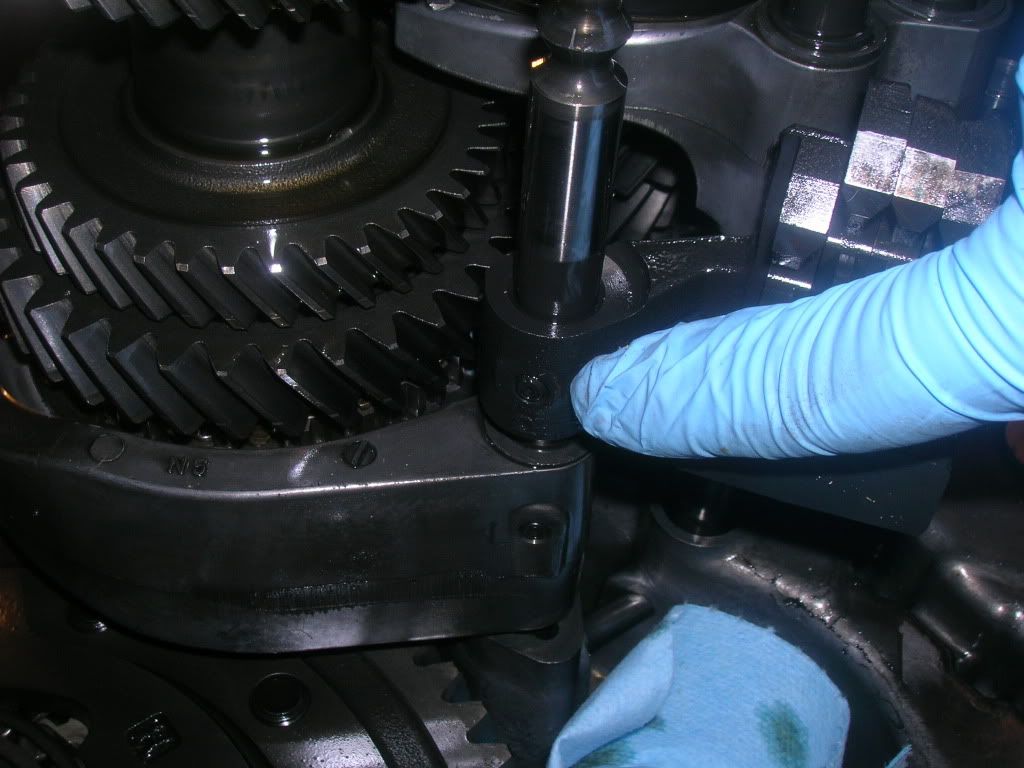
Just up and to the left of my index finger you can see this collar-adapter. It just slides right off.


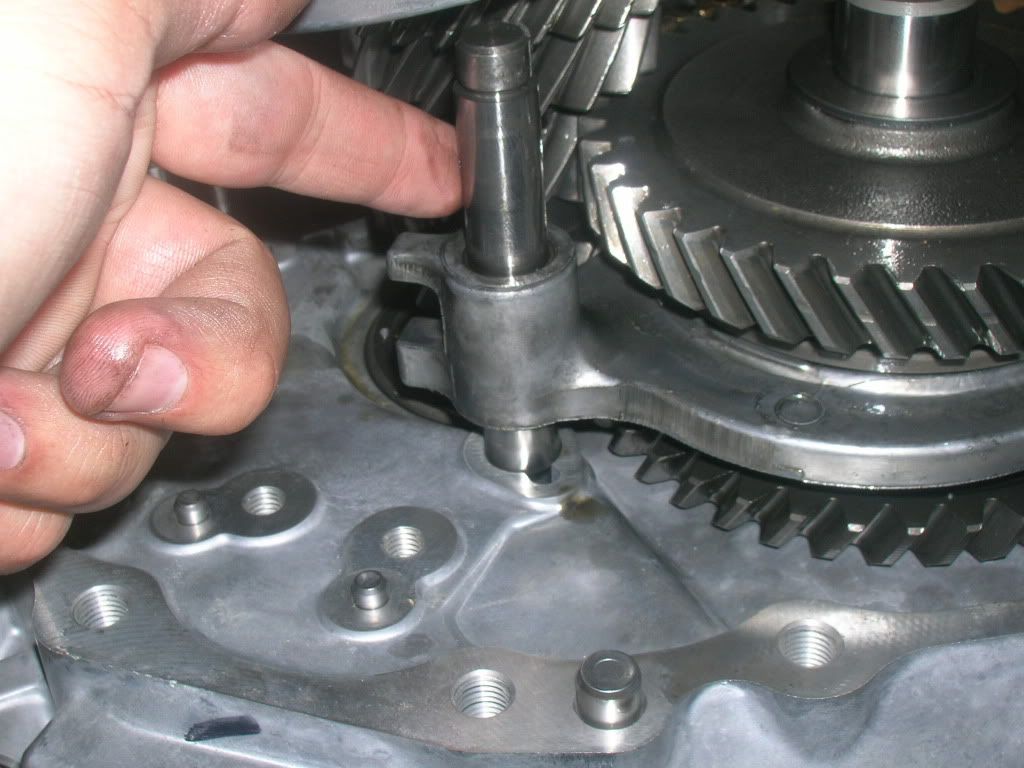
Now pull the reverse shaft out.


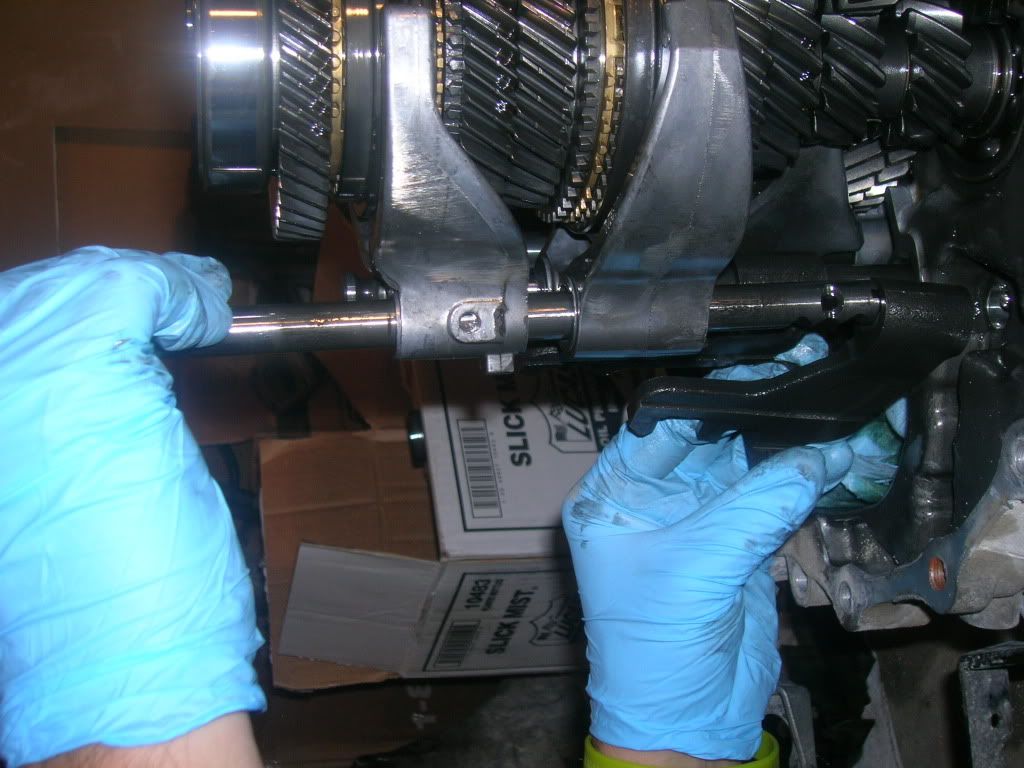
Then remove the first shift rod for 5-6th gears.


Now use your magnet to get out some check balls.


To the left of the first bolt you took off with check balls/springs etc, the six speed has 2 bolts you need to remove. Don't forget springs.


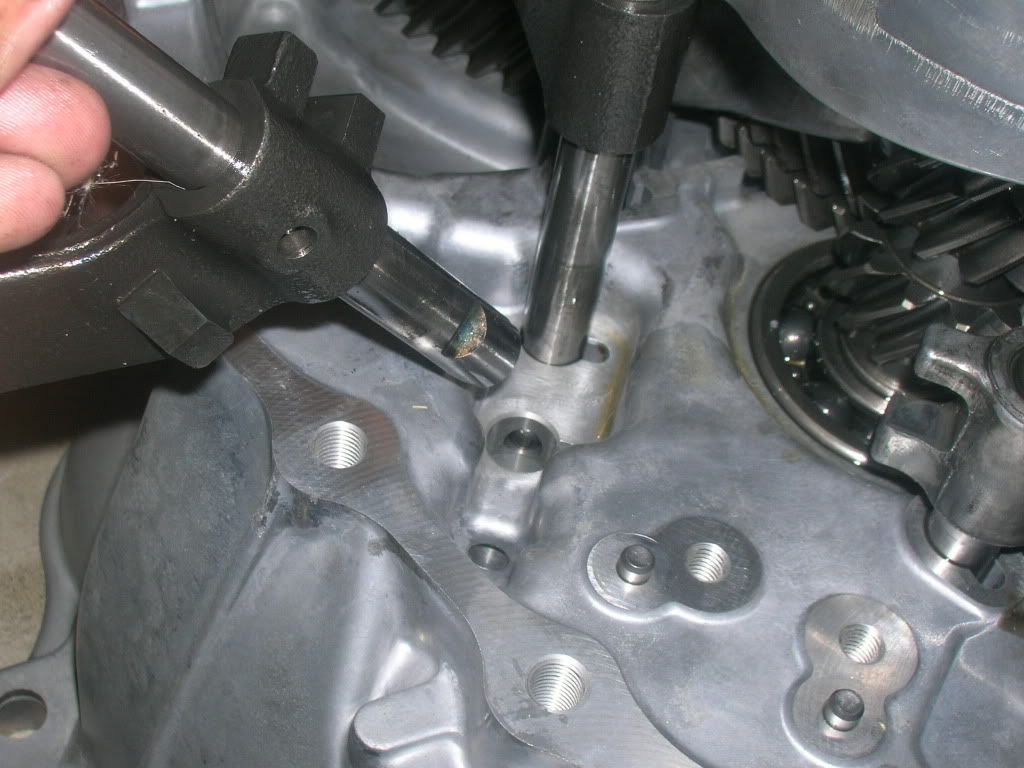
Once that is done you can slide out the 5-6th shift rod.


Then two more check balls from the first hole.


Here you can see the circlip and roll pin on the 3-4th shaft you need to remove.


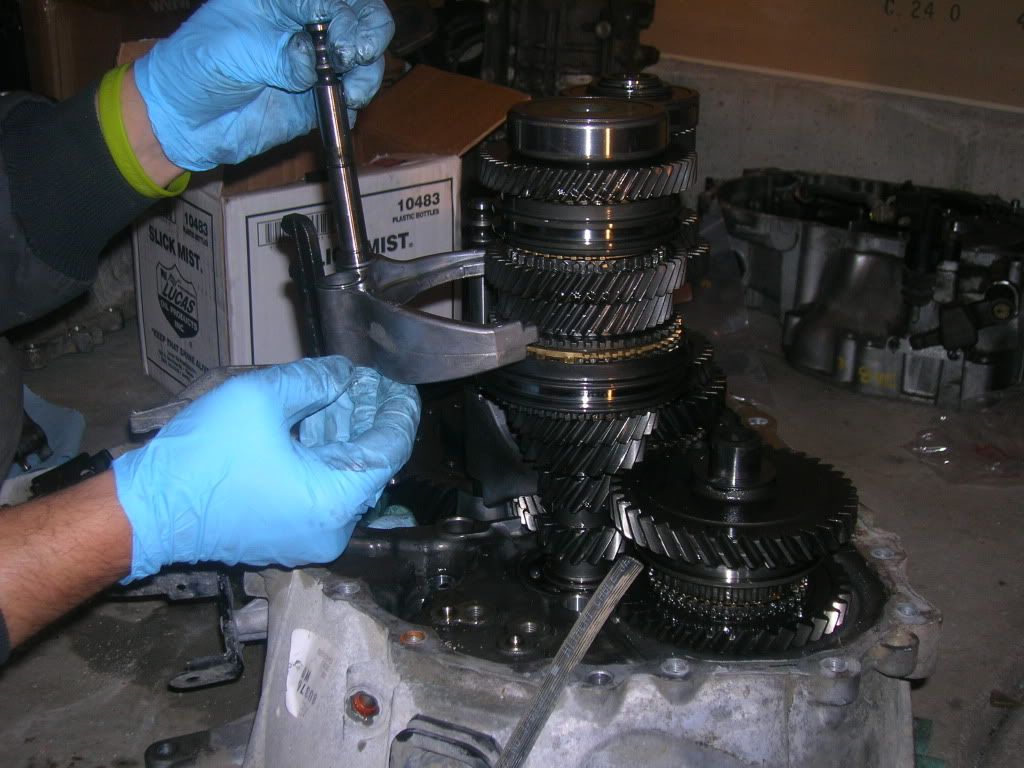
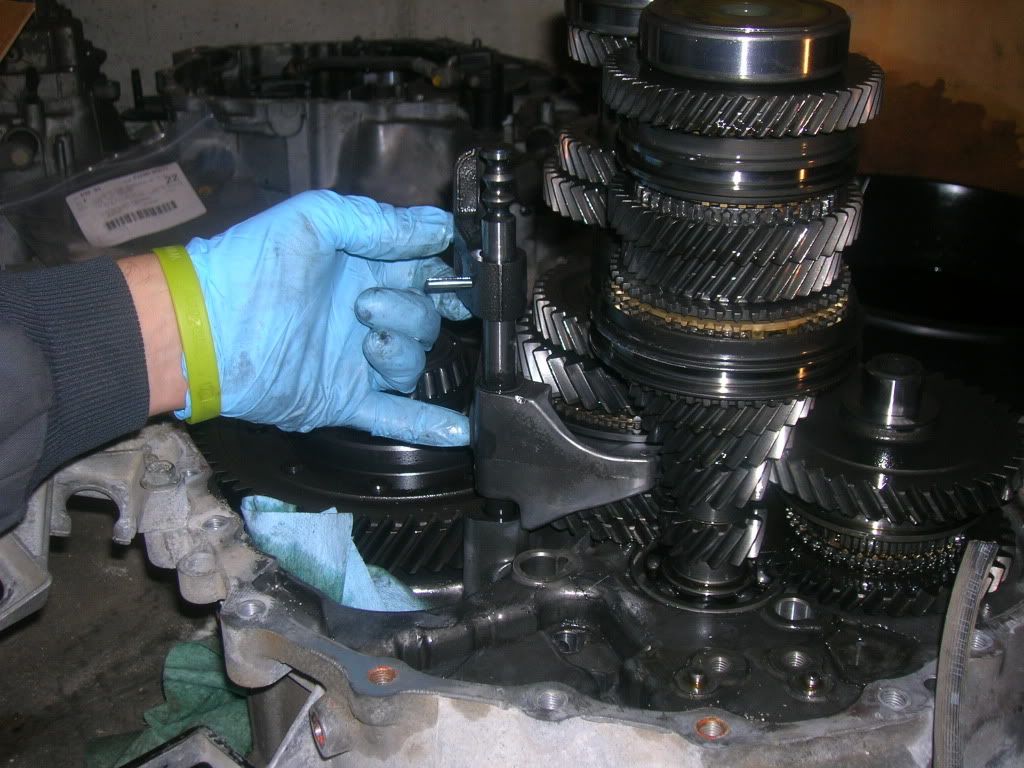
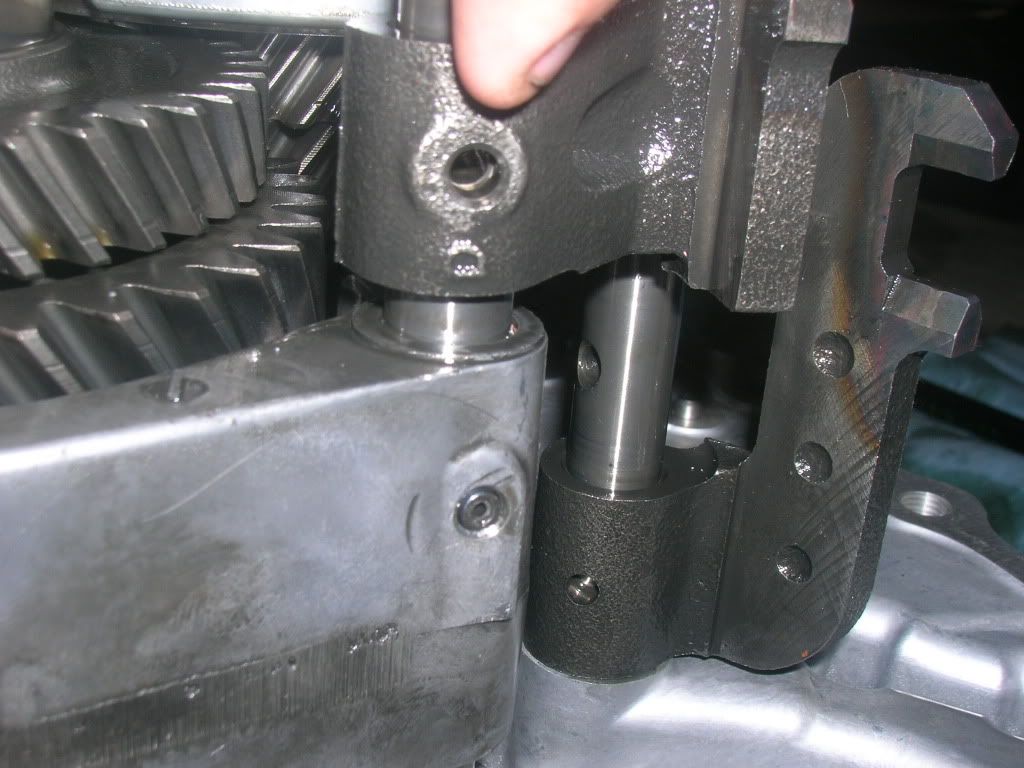
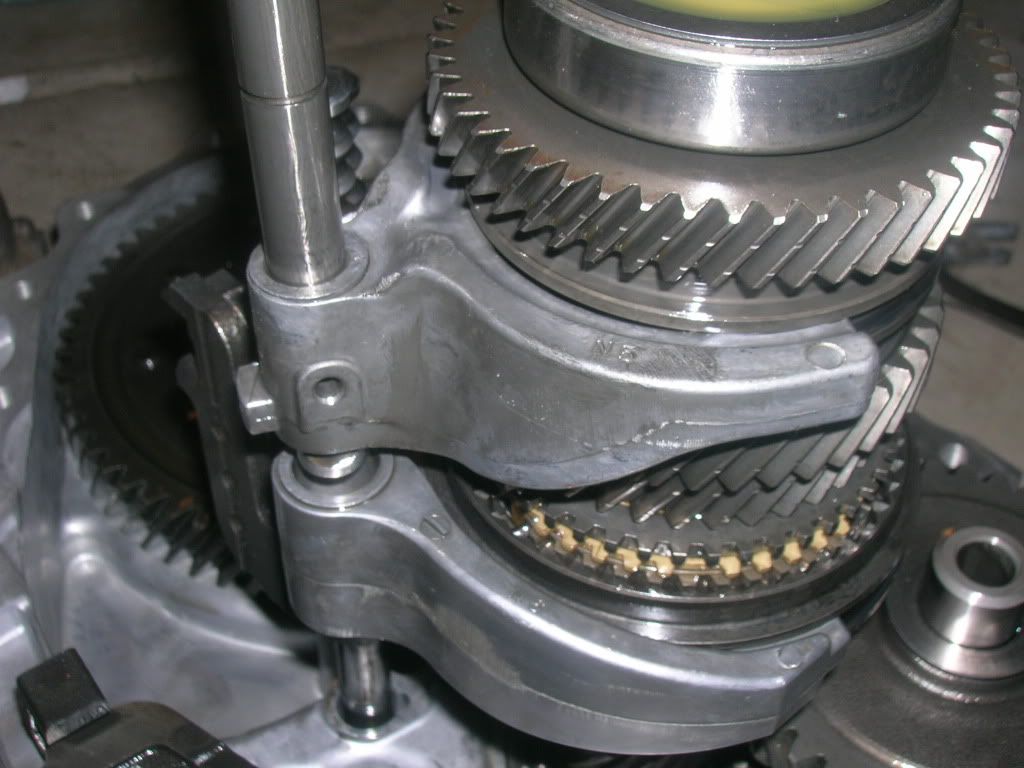
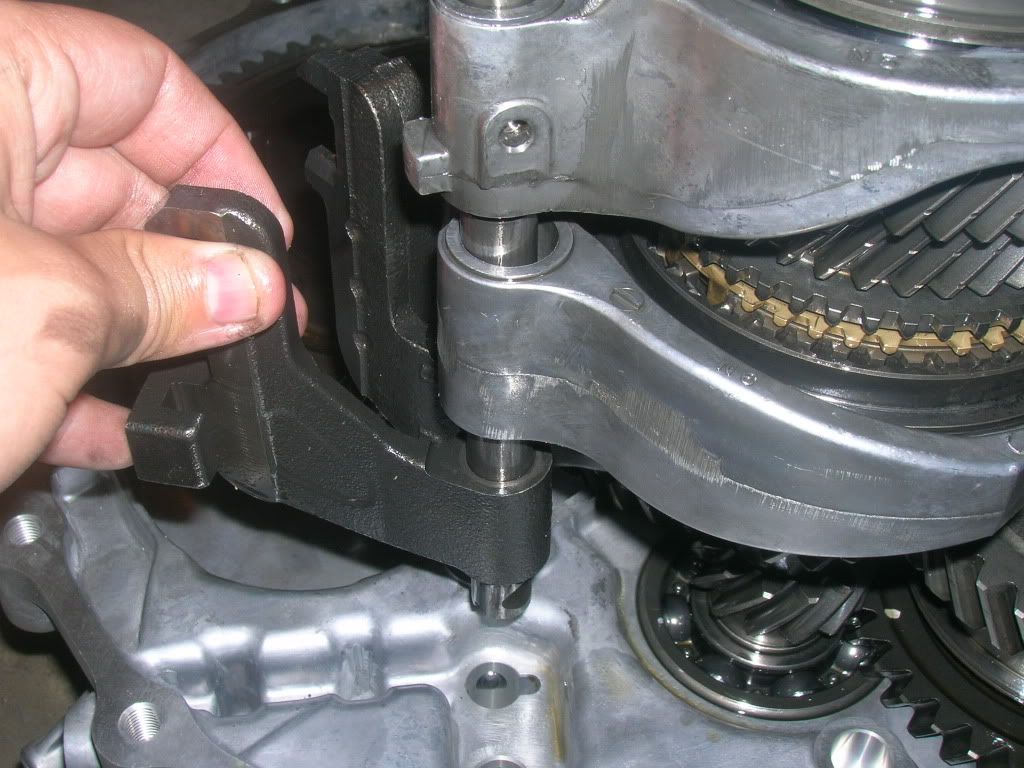
Now you can pull out the shaft for 3-4th, along with the shift fork.


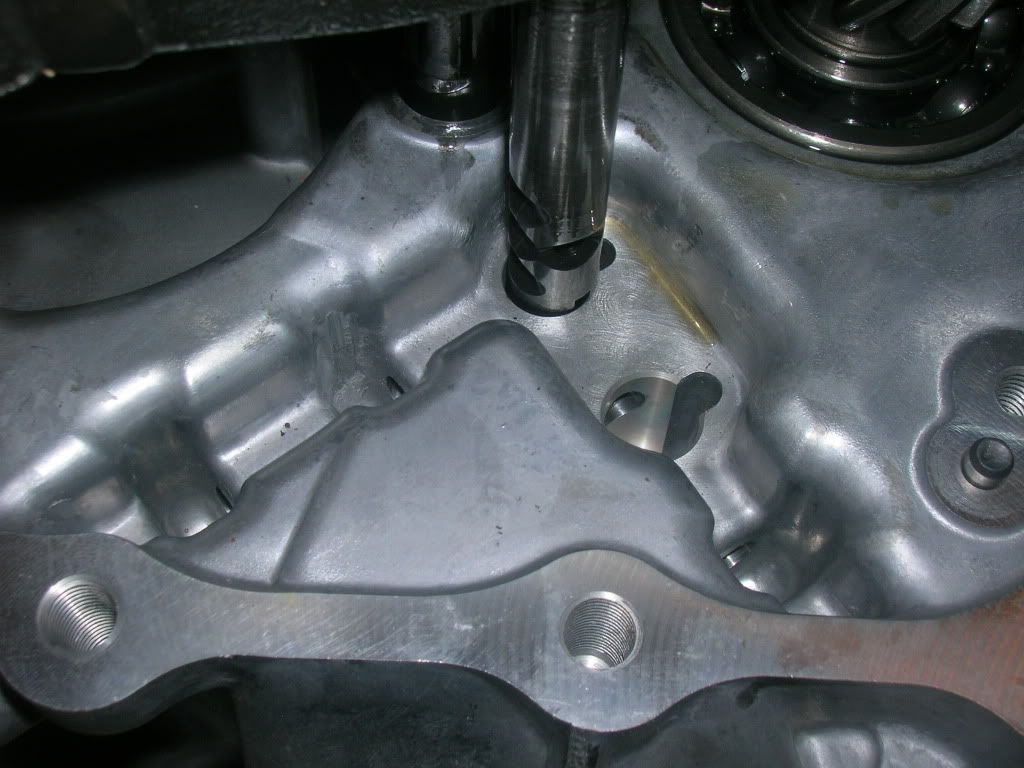
Send the magnet back in to collect this small rod from the 1-2 shaft.


Followed by the Big shaft shown here.


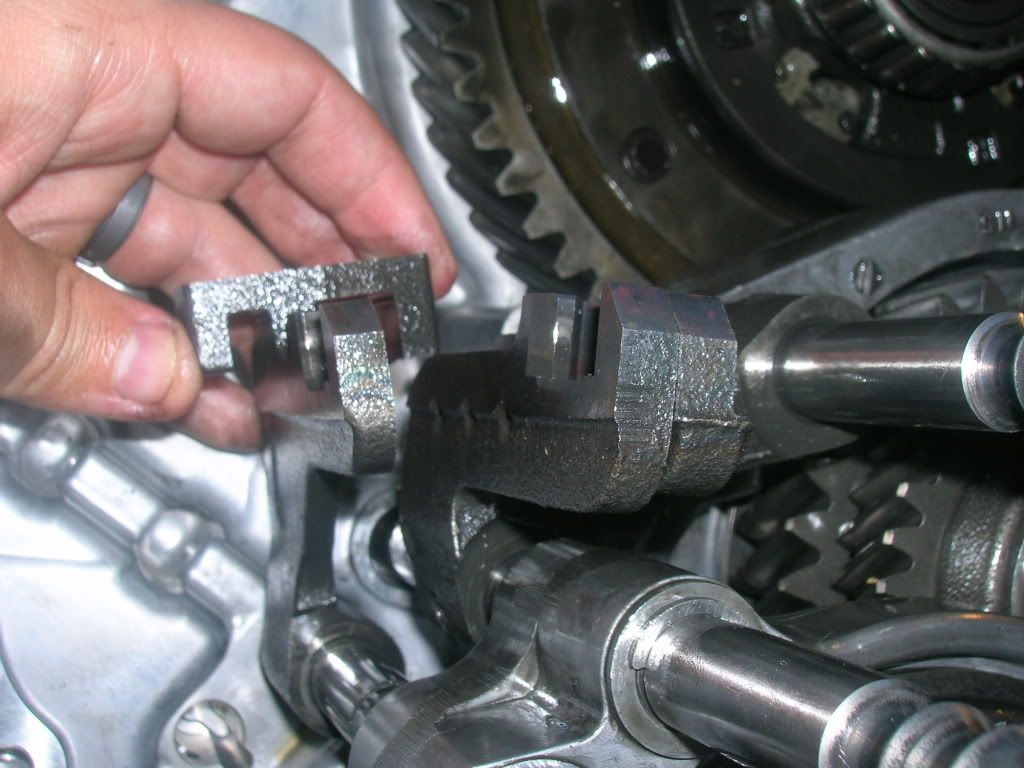
You can see the roll pins on the final shaft for removal. One out by my index, the other I'm point with my pinky finger.


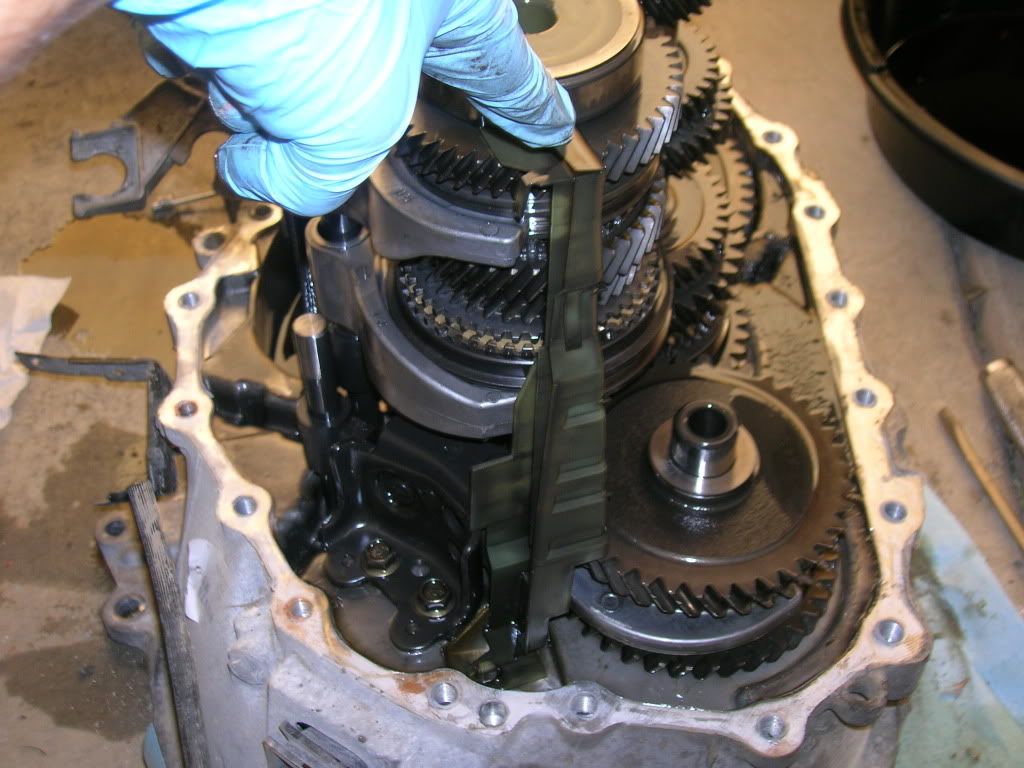
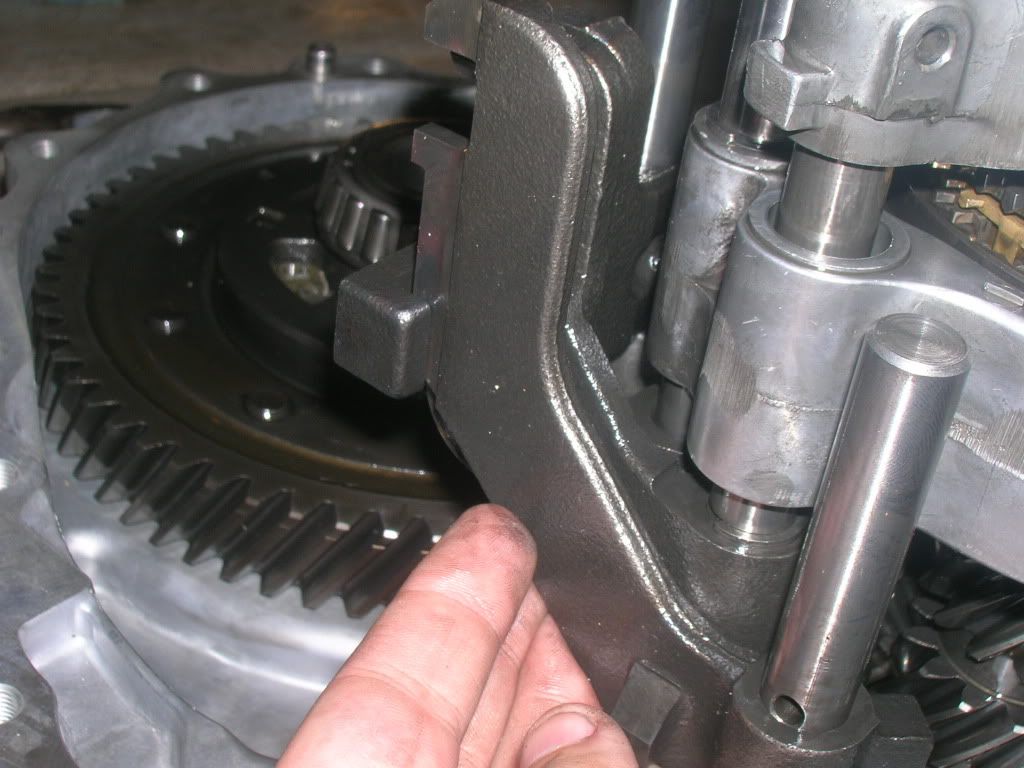
Now you need a buddy to help you out on this part. Removal of the gearstacks. There are 3 stacks here instead of 2 like the SR trans. Mainshaft, input, and your reverse idler shaft. You need to grab the input and mainshafts and pull up slowly while a buddy does the same with the reverse stack. The reverse gears WILL come apart and you have to be ready to not lose any parts. If you somehow lose the order they go, or don't know how the set goes together you will have to consult the FSM. I suggest to prevent this that your buddy pulls the shaft out by the top of the shaft. Don't grab the gears themselves. Pull the shaft up with the other shafts and everything should stay together.

Once you have successfully pulled the stacks out you are left with this.
2011-05-12 06:58:53
#7
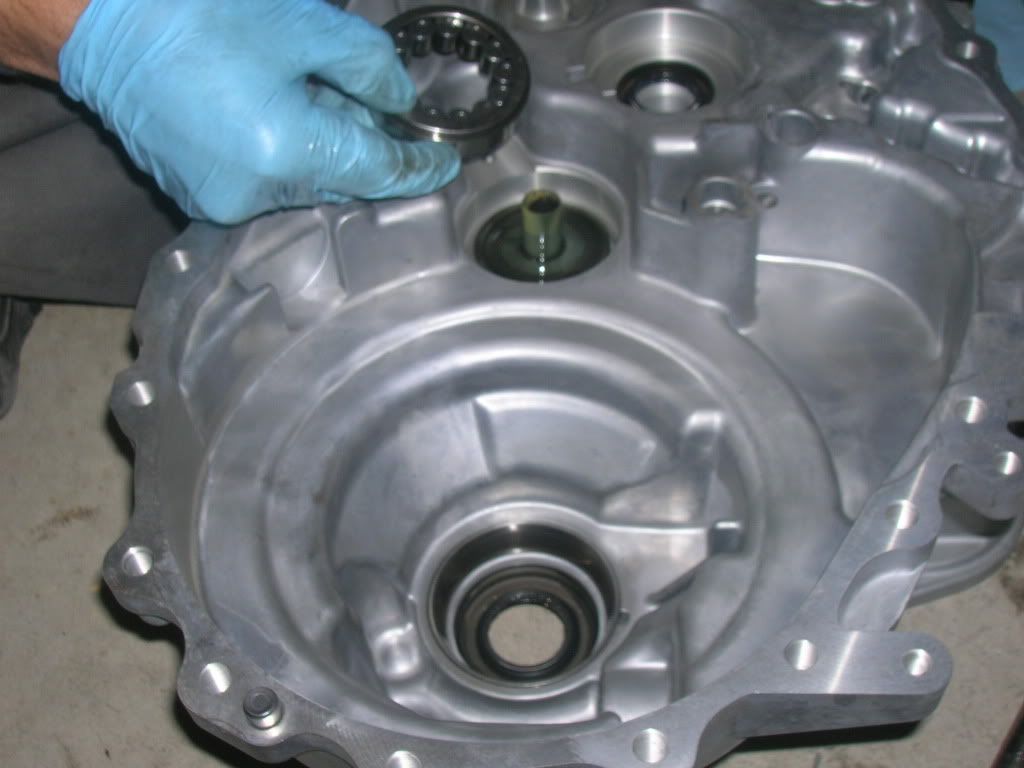
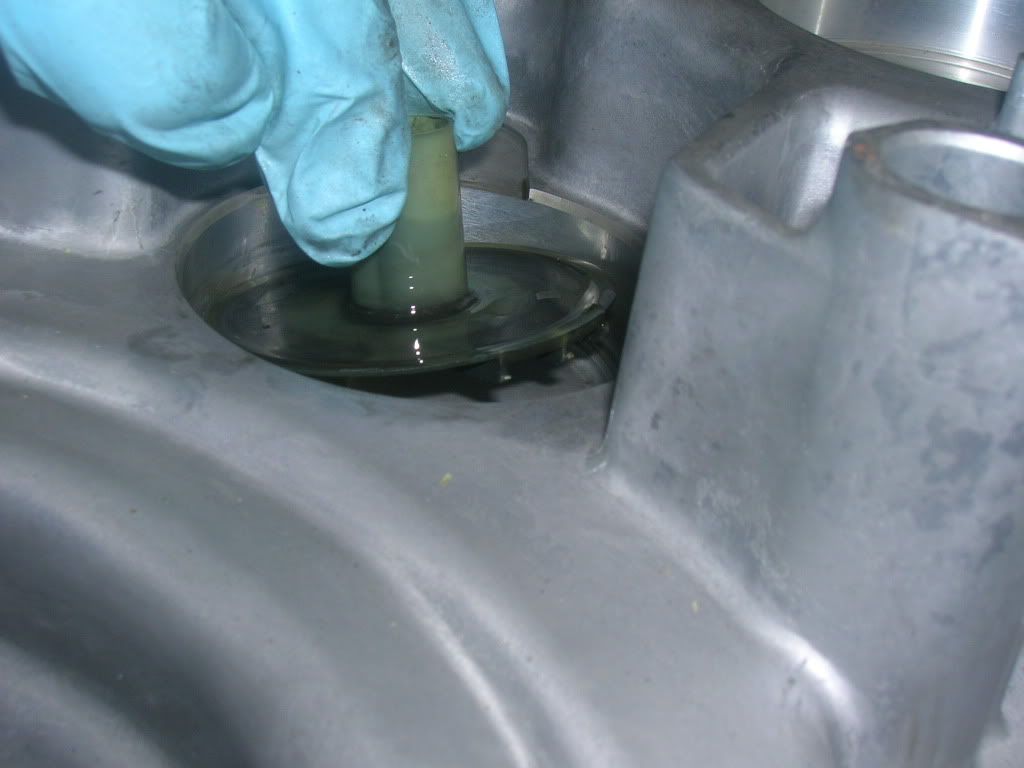
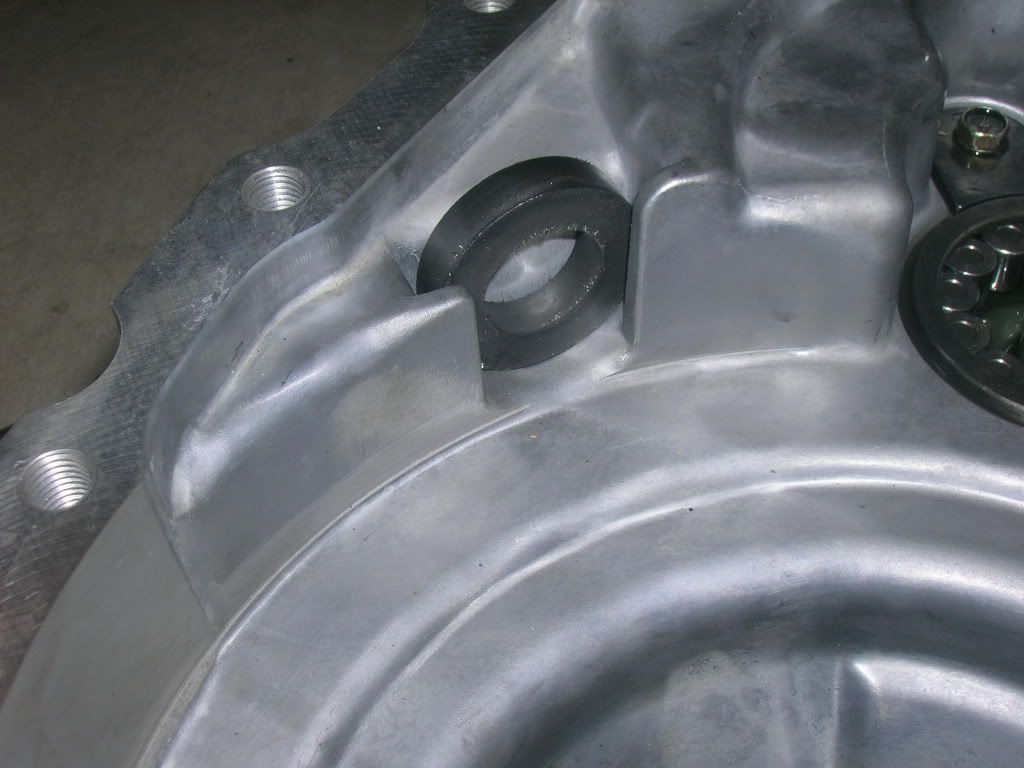
Now you have to transfer all the old bearings over to the new trans bell housing. The bell housing is sold without an parts really. It has new seals installed, but that is about it.

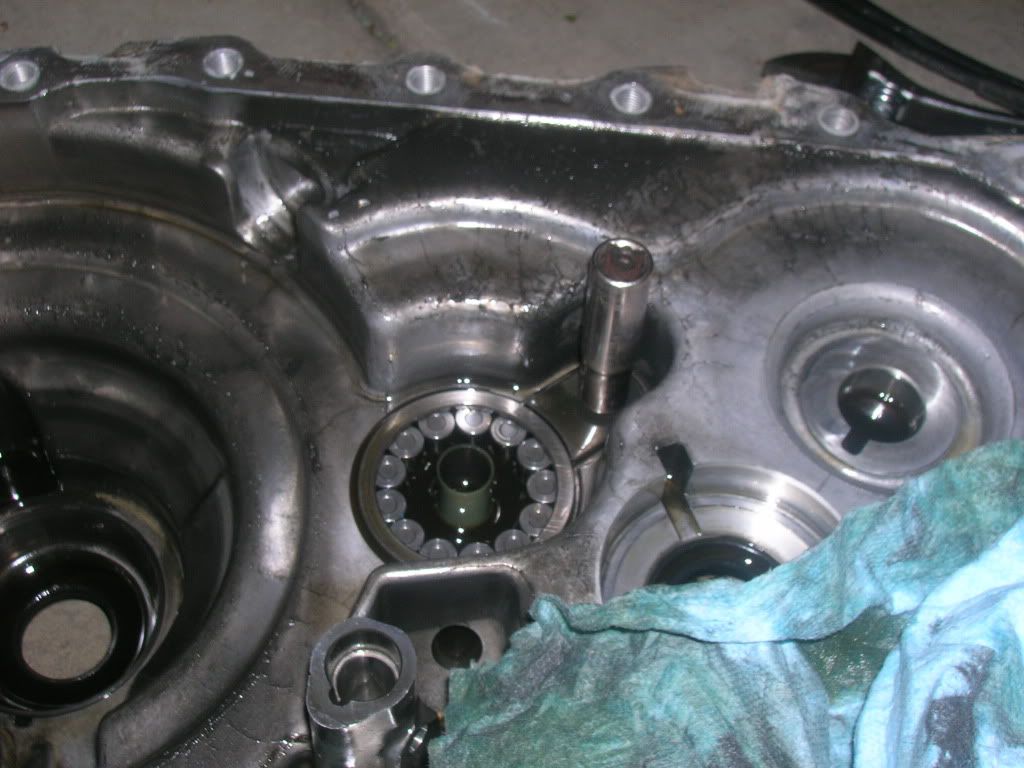
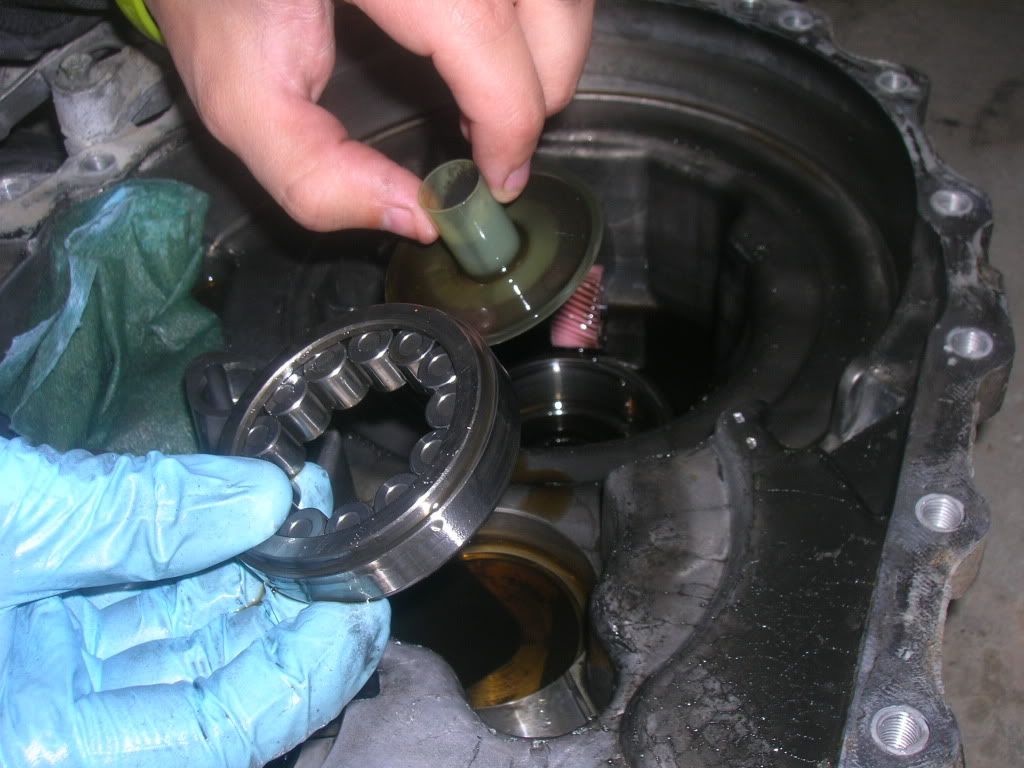
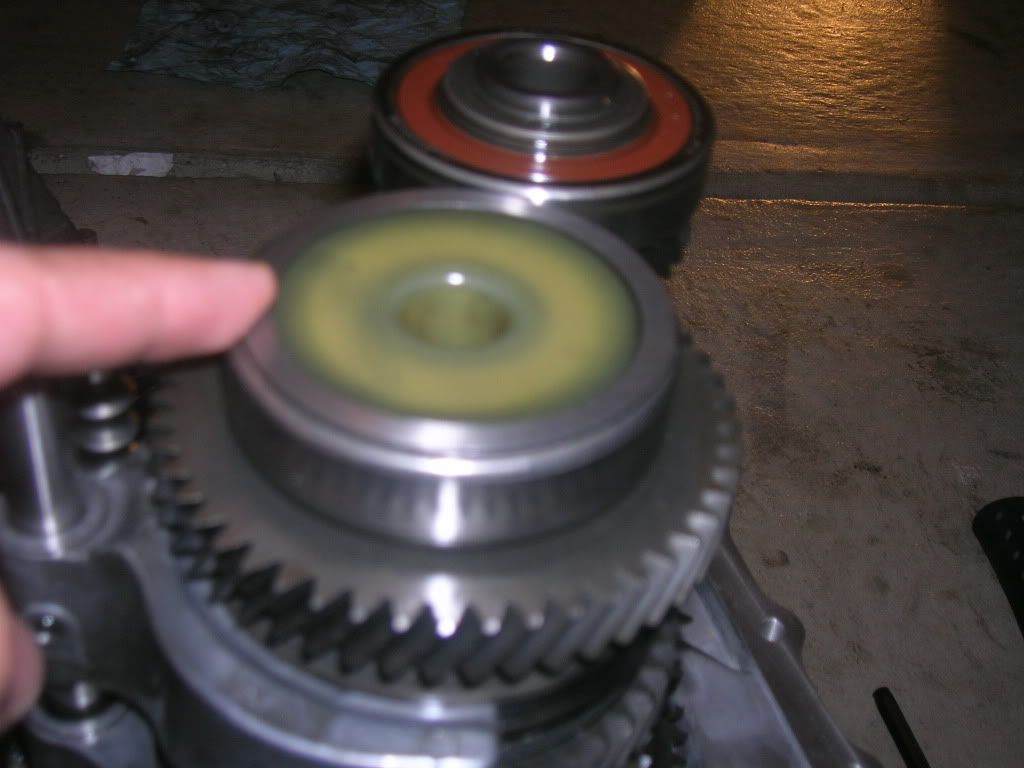
Mainshaft bearing with oiler. The oiler only goes in one way to channel oil properly, and the bearing can be a bit tough to get out. Best thing is to soak up all the gear oil, then use two needle nose pliers to pull it out evenly without damaging it. Don't forget the bearing retainer that is held with a 10mm bolt.


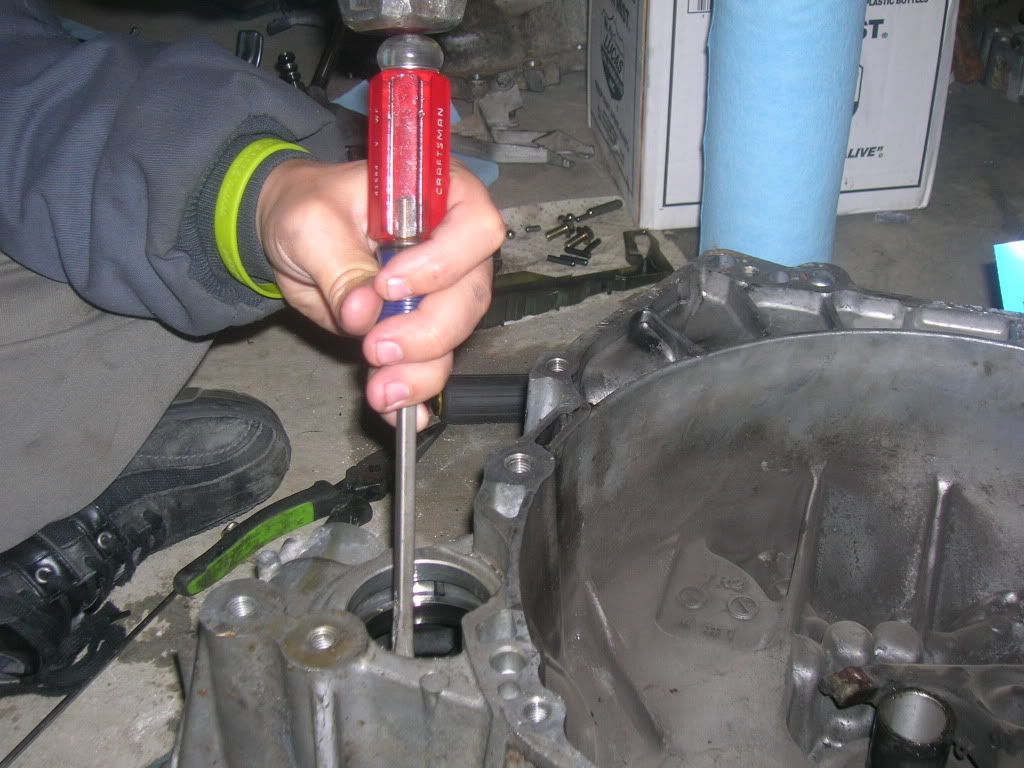
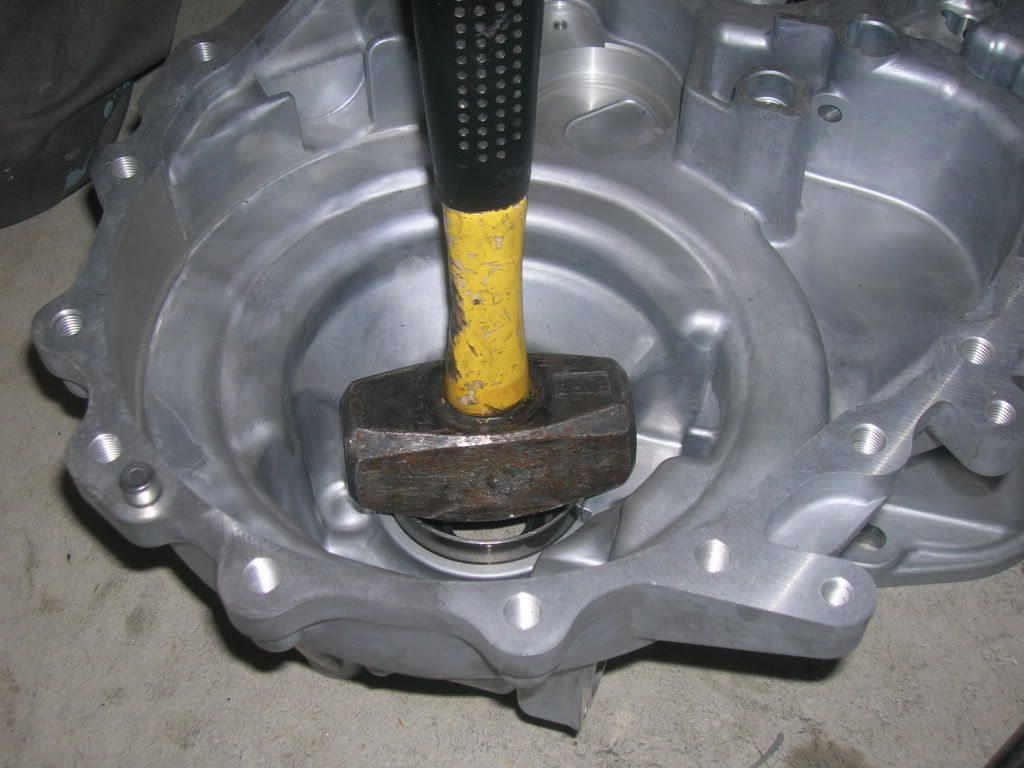
I didn't have another inner race to put in my new bell housing, so I decided to just try and reuse the old one. I pounded the seal out, then flipped the housing around and lightly tapped the race down from the back side. It came out remarkably good.


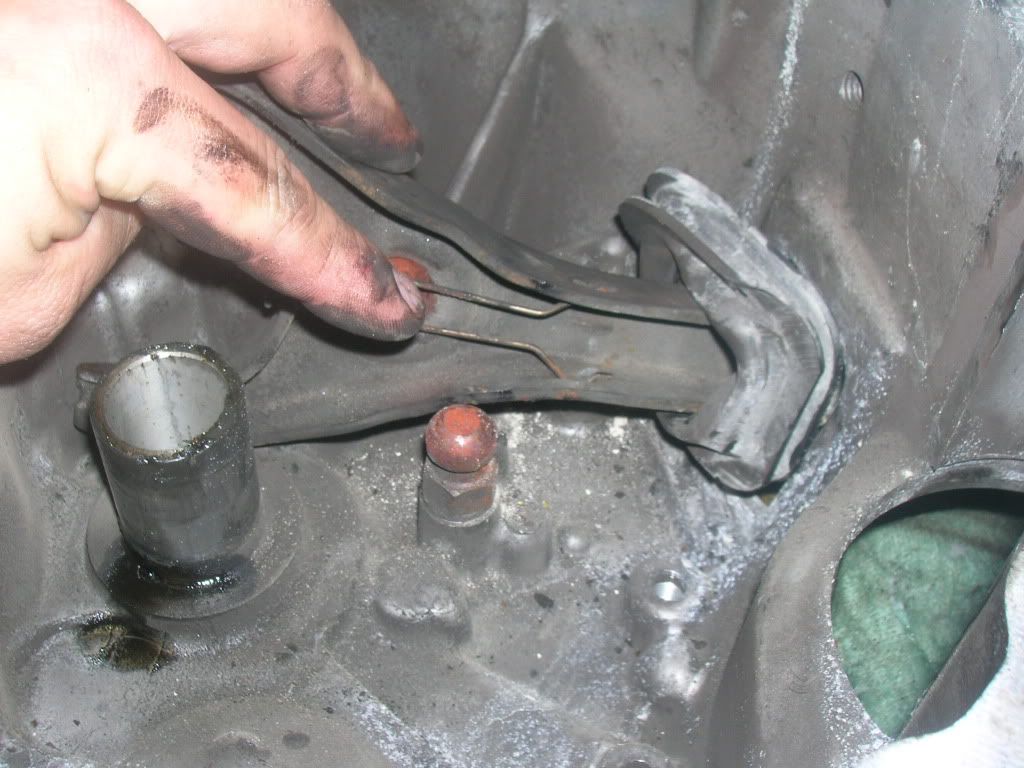
A pic of the TOB lever. It has a retainer that keeps in on this pivot ball.


Put the race in nice and easy. Make sure that it goes in evenly and flush. Take your time on this.


Installed, and now on to the mainshaft bearing.


You can see the oiling channel has a recessed portion for this oiler to sit in correctly. Don't break your oiler.


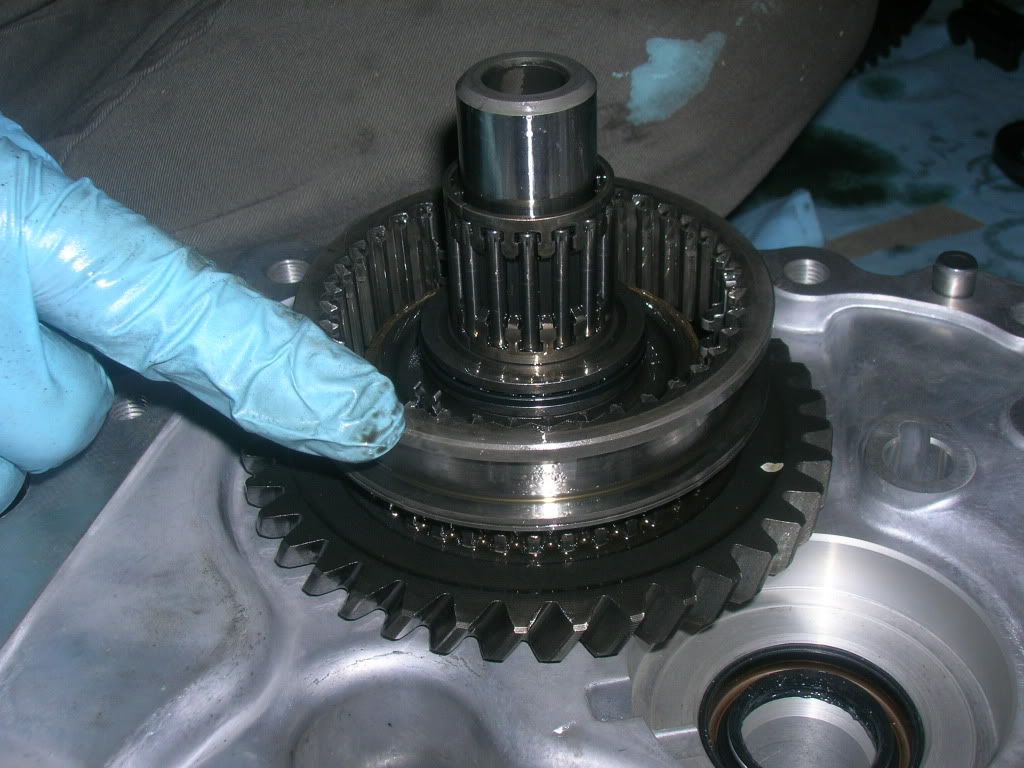
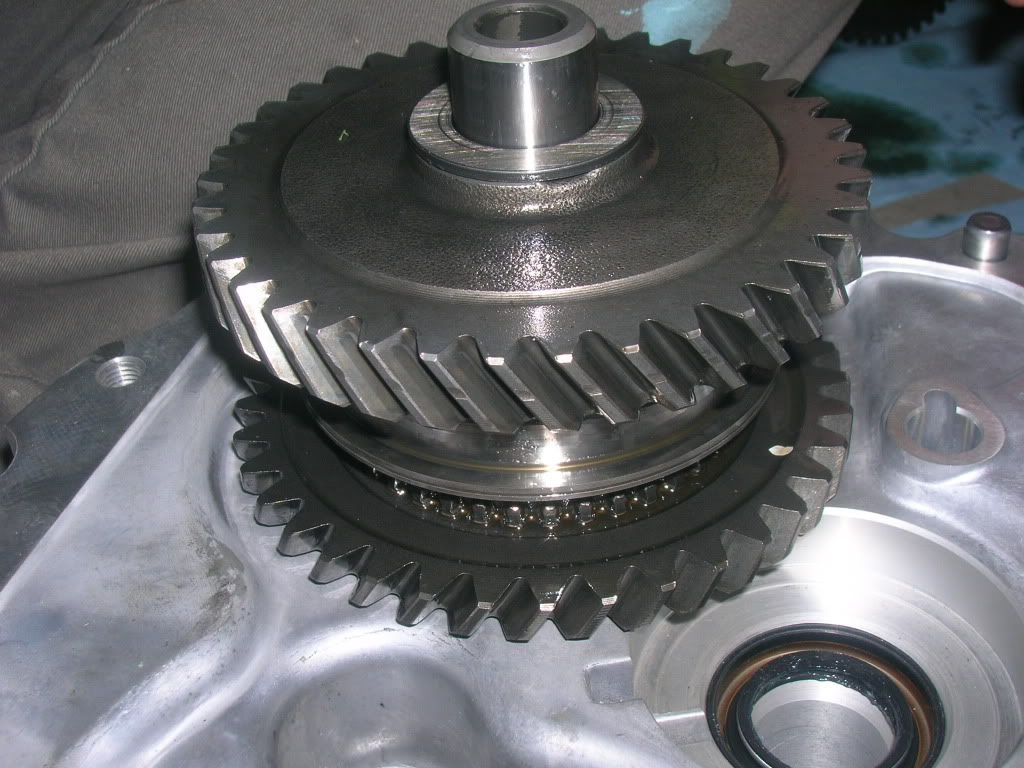
I took a pic of how the reverse gear setup should NOT look when it is put together. The open mouth of the retainer spring should face DOWN, not upward like they are in the pic. The 3 springs will have the open mouth toward the front of the trans. This pic is what not to do.


Don't forget your magnet gentlemen.


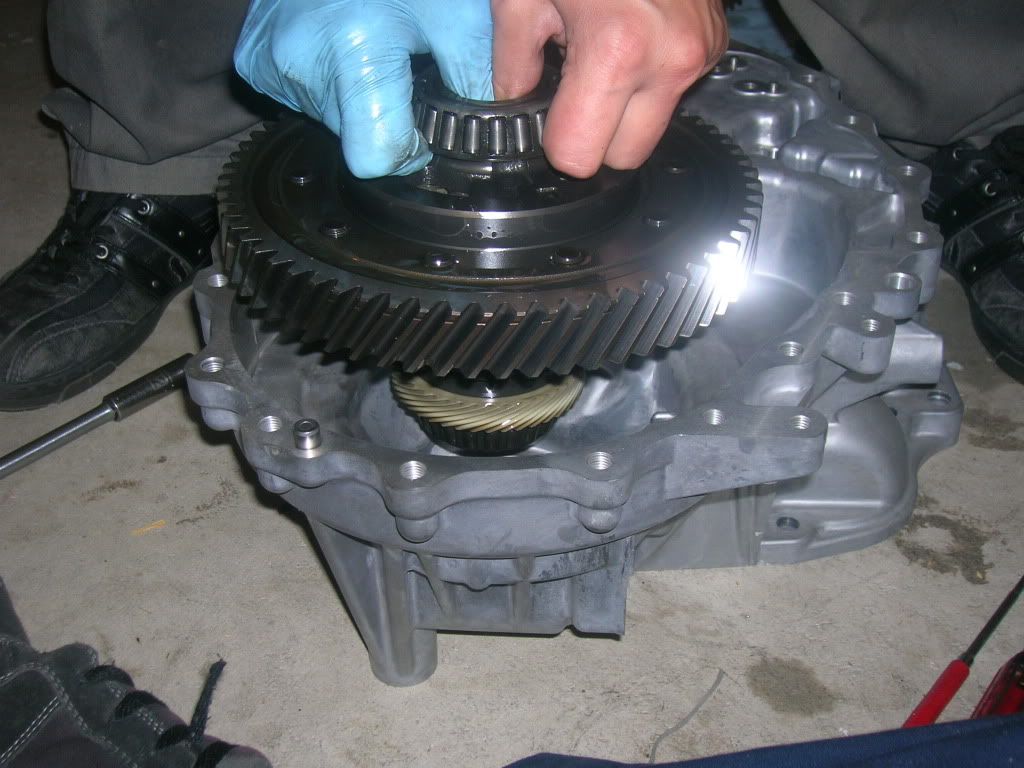
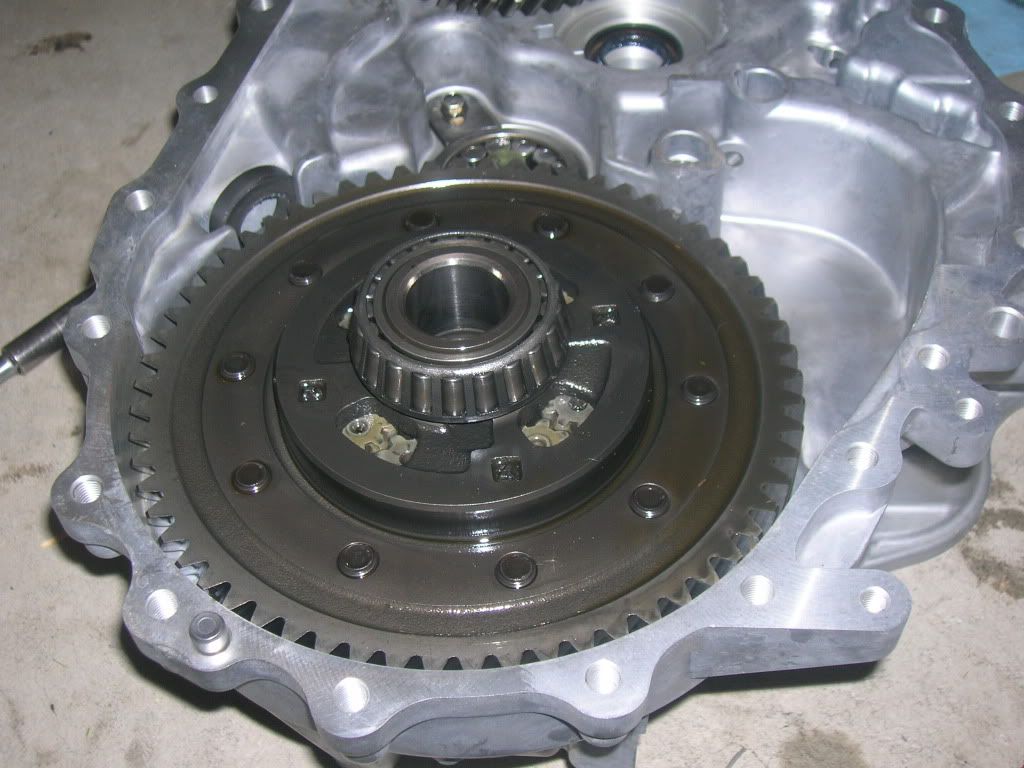
This is the most effective way to avoid pinching your fingers when putting in your HLSD assembly.


All done with that.


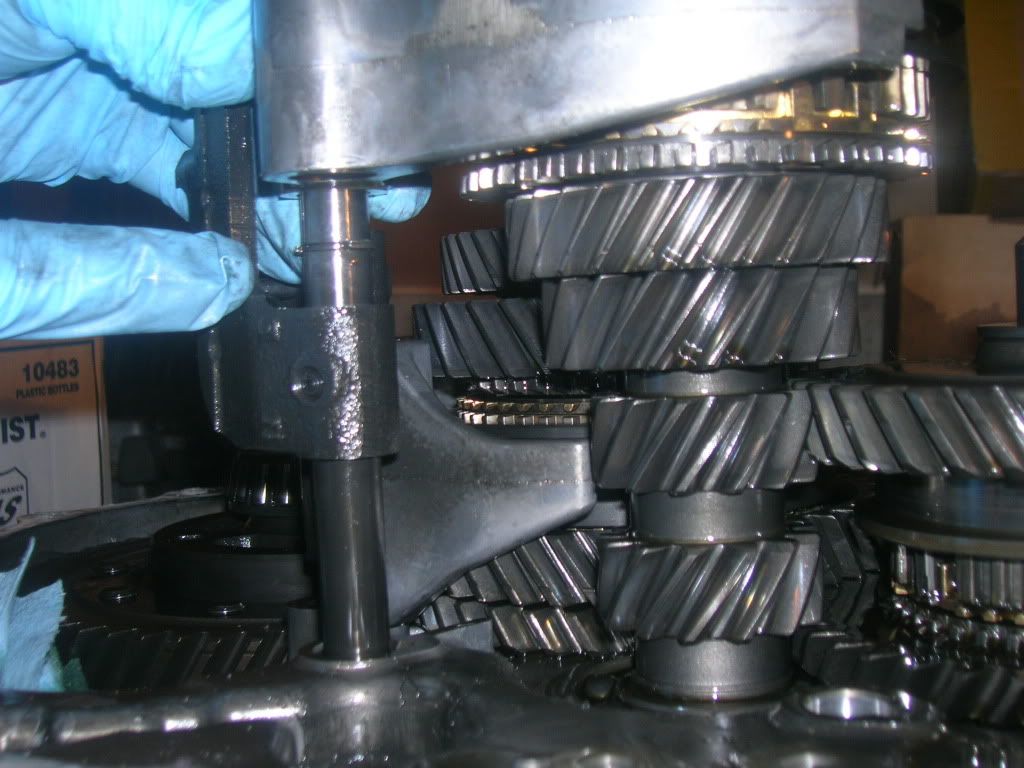
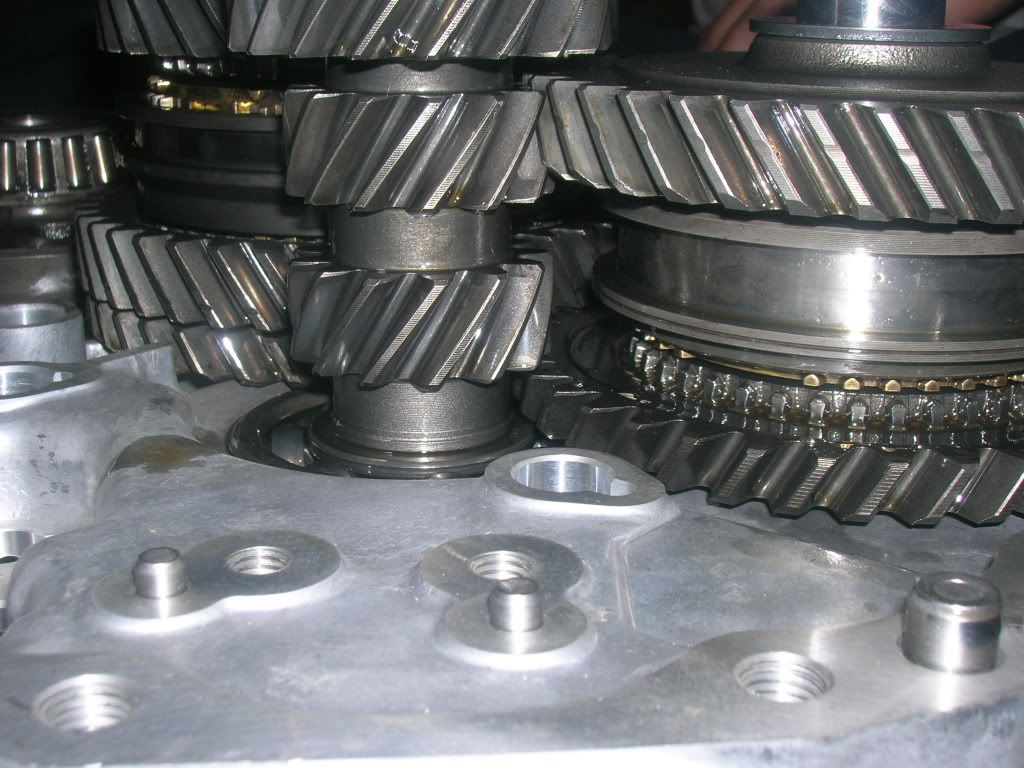
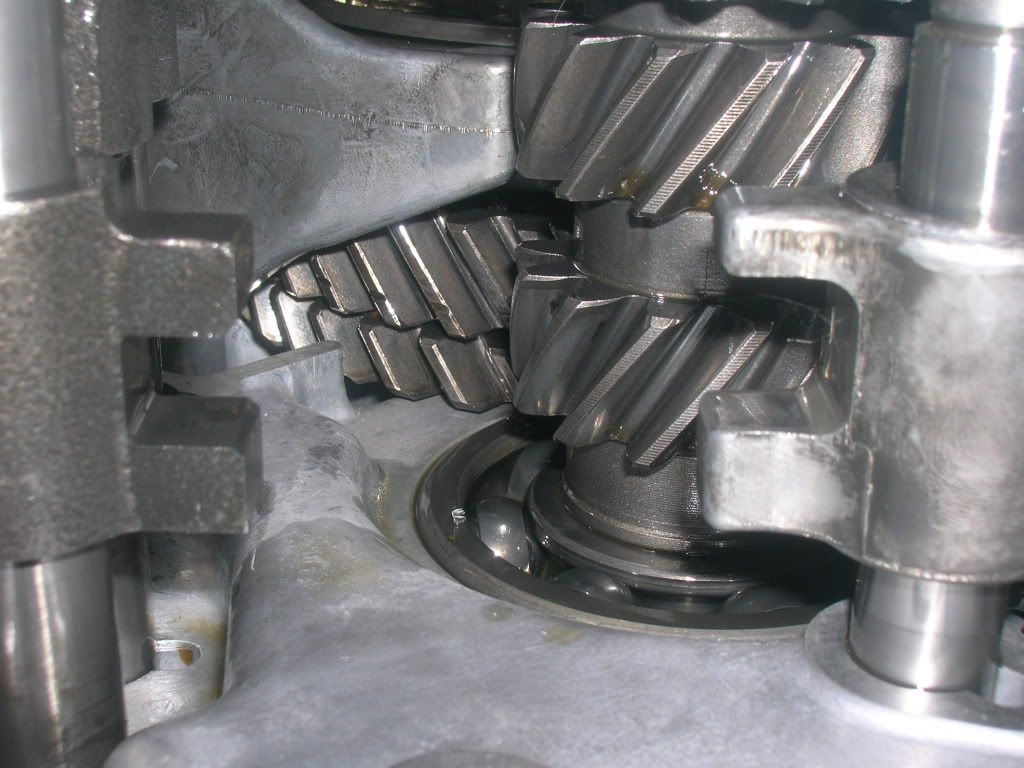
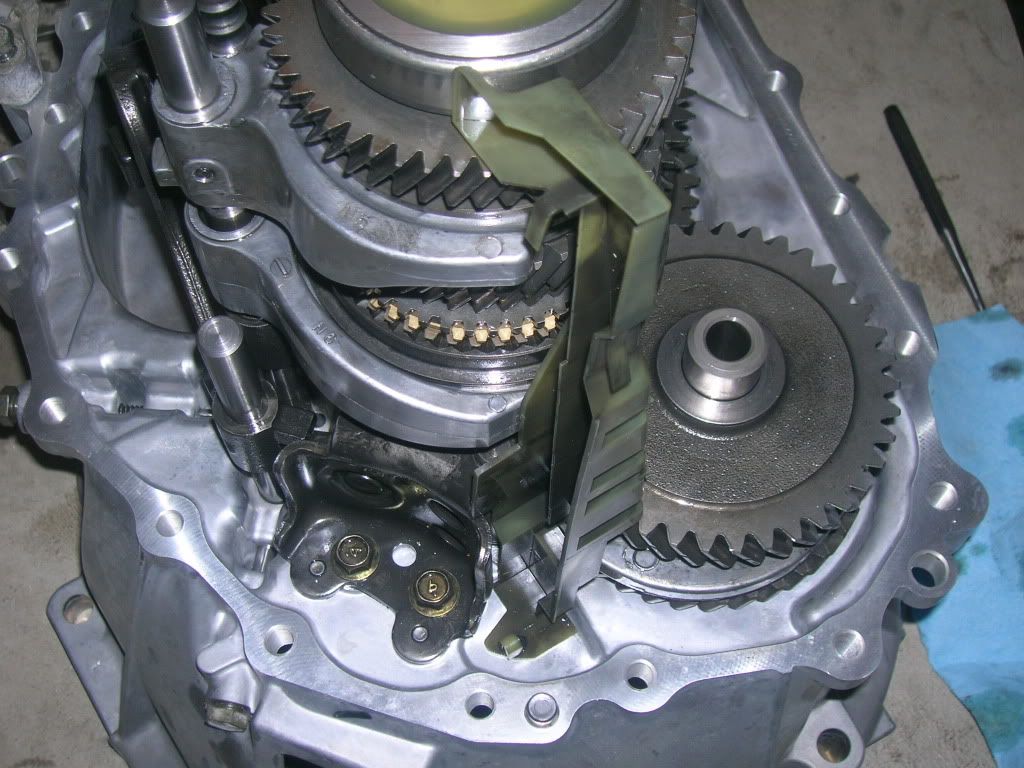
Slide all your shafts back in all at once. Make sure you don't crush your mainshaft oiler. Nice and easy guys and when it is all in place it should all rotate together freely as long as no gears are selected. Once done, make sure you check all clearances for binding etc. The reverse gears shouldn't interfere with anything.

See the gap here.


Start putting your shift shafts back in and all the circlips and roll pins back in place. You may have to wiggle the shafts up and down to get the check balls to recess to get the shift shafts in all the way. Let it all slide together, do NOT force the shift shafts down. If you have to use anything more than hand force, something is not right. Wiggle the shafts, rotate them etc to get the balls to recess enough so you can put the next shaft in.

These pics are taken in order.


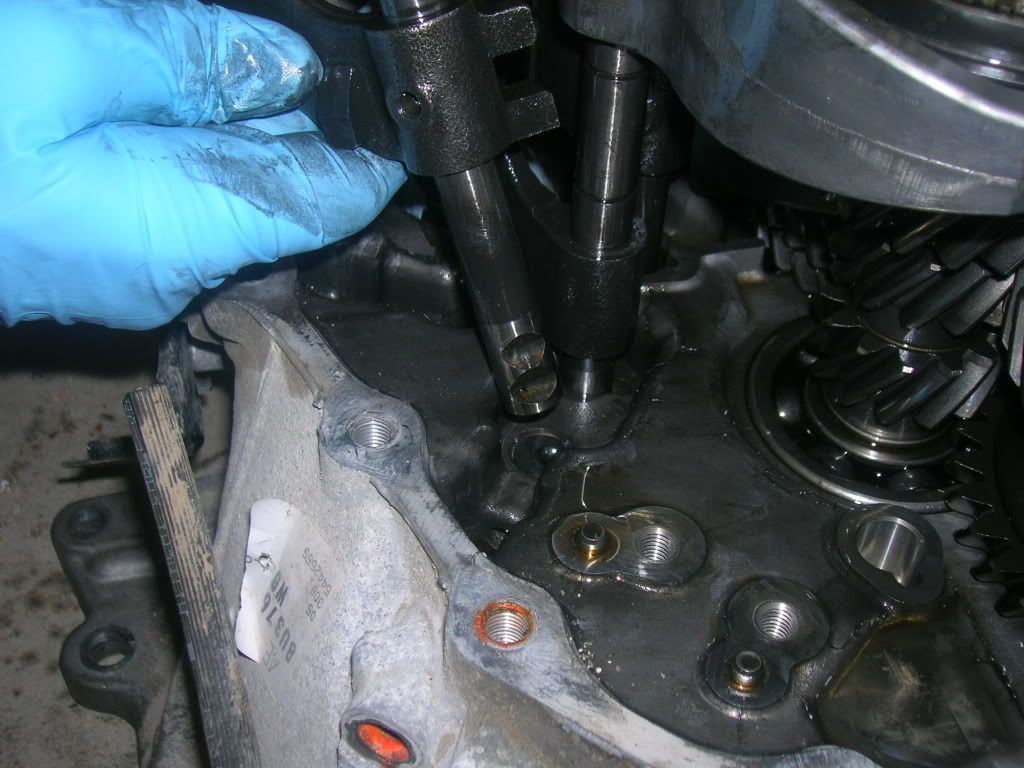
Here you can see the two passages for the check balls.


Everything just slides back together.


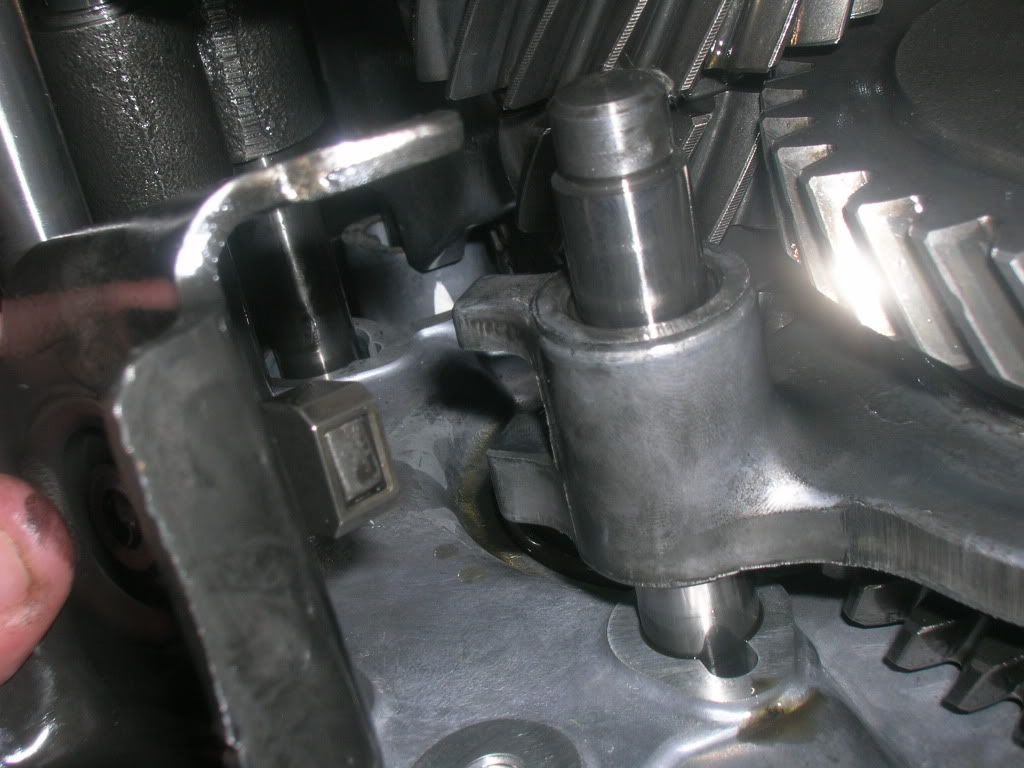
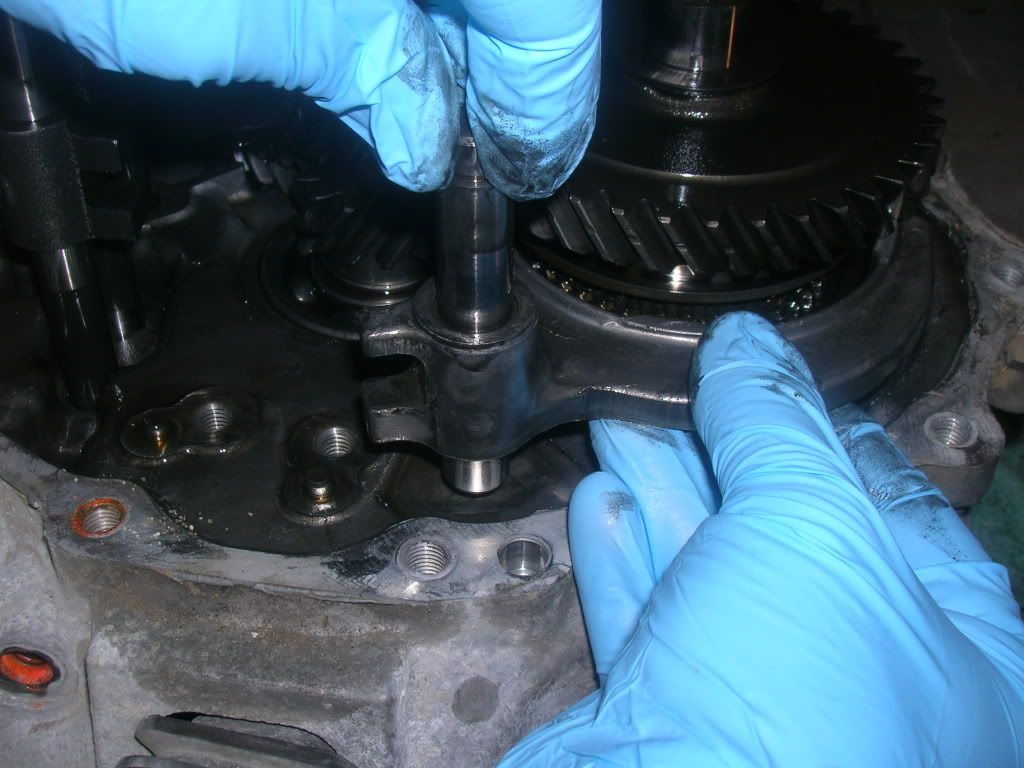
Put your reverse shaft back in.


Another shaft goes in.


On both ends here you can see the reverse shift linkage. Look at the two square cutouts on each side of the pic.


Slide this piece back in and bolt it down.


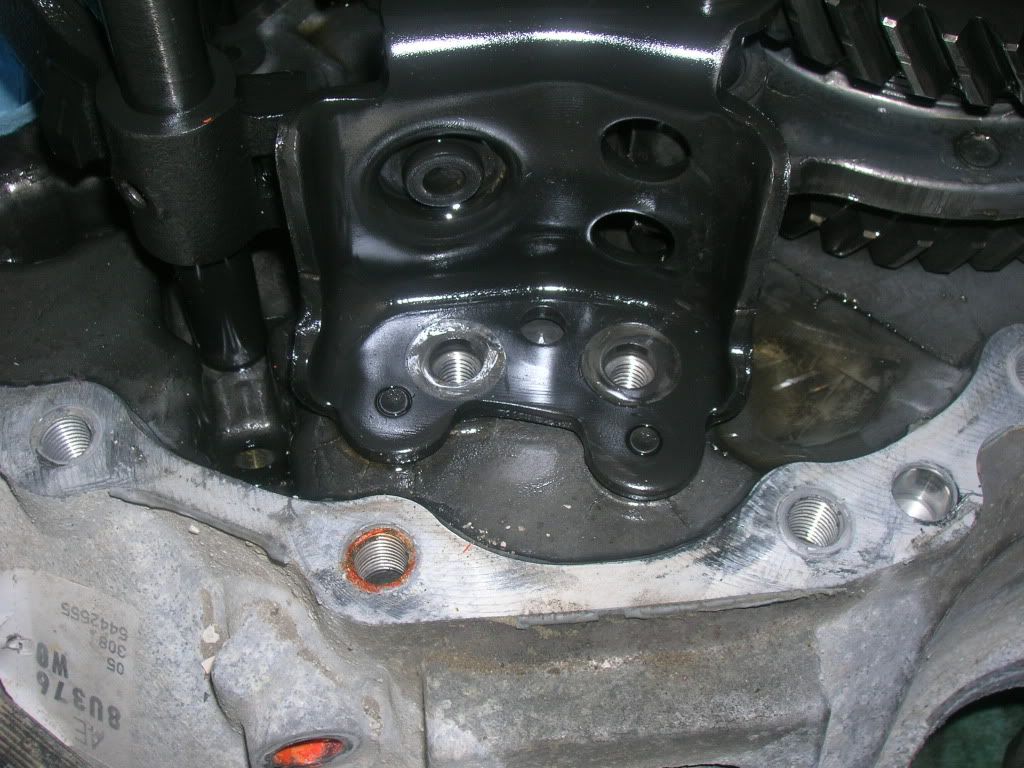
Don't lose this shim through the process.


Put your oiler back in and you are good to go.


Originally Posted by Kevinw
this may also help with reassembly

2011-05-12 07:11:07
#8
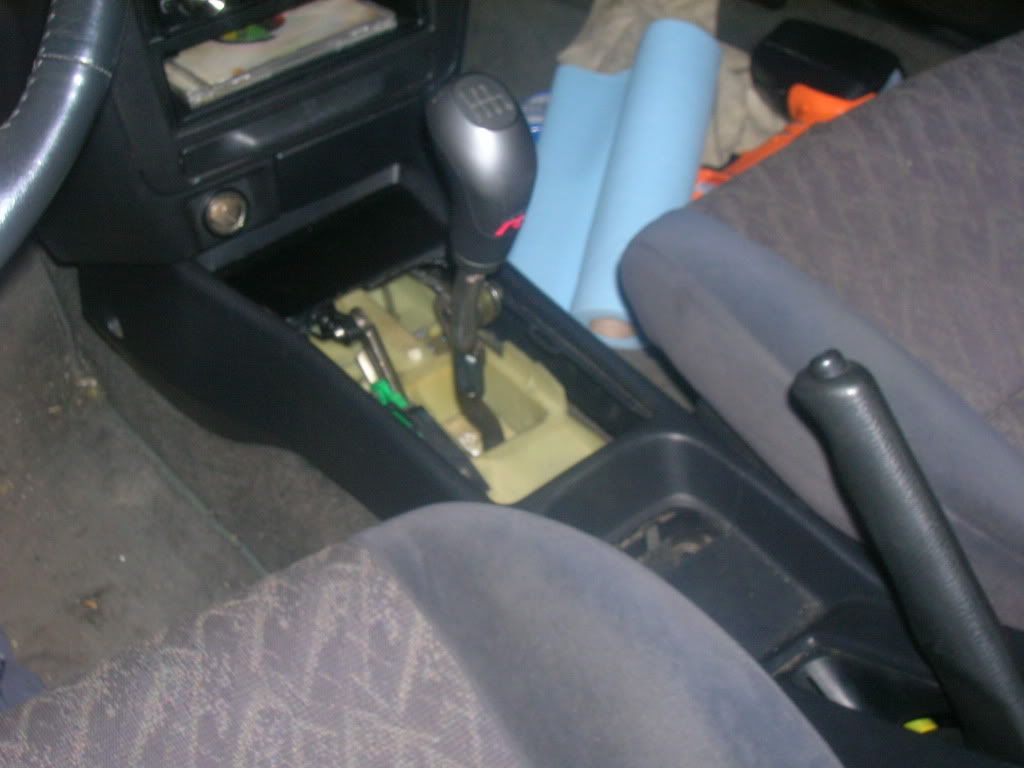
Here's some progress I made with mounting the shifter, and having the flywheel machined. You may or may not have to have machining done.


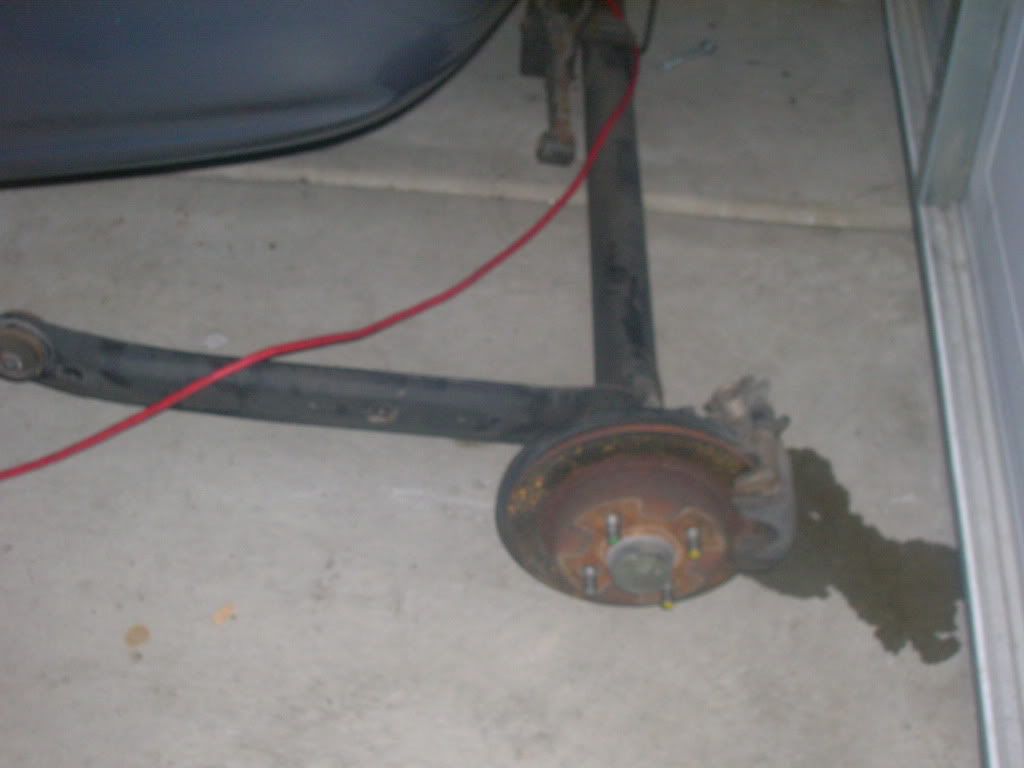
old rear beam


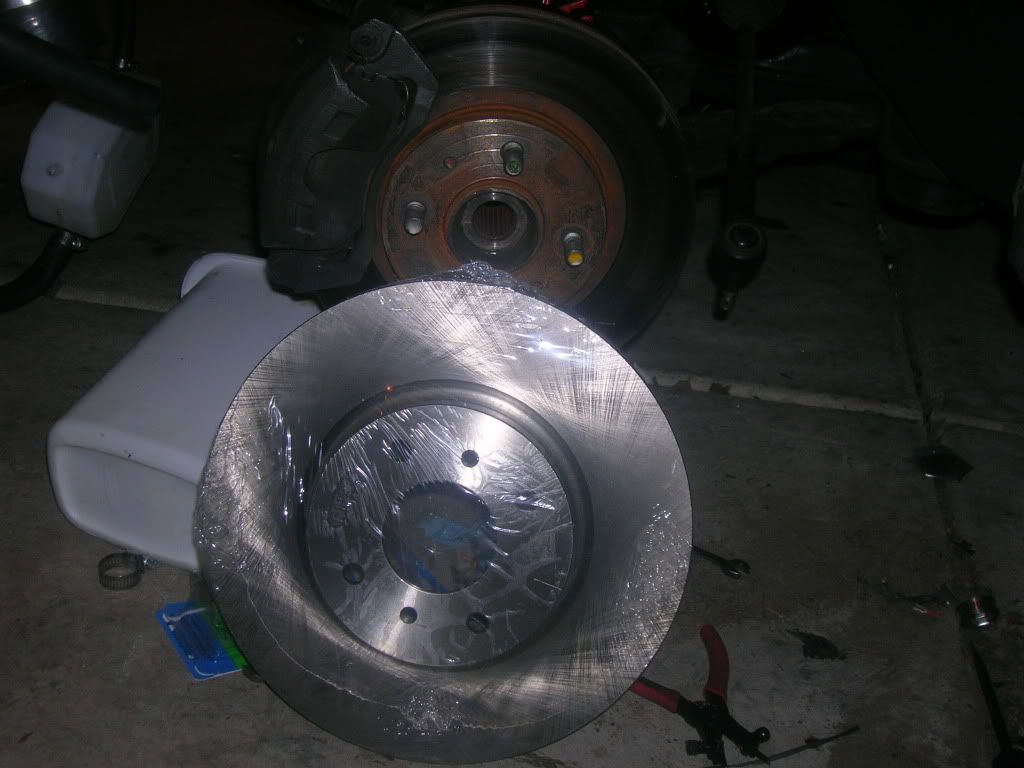
B15 installed, bolts right in. 11" rear rotors.


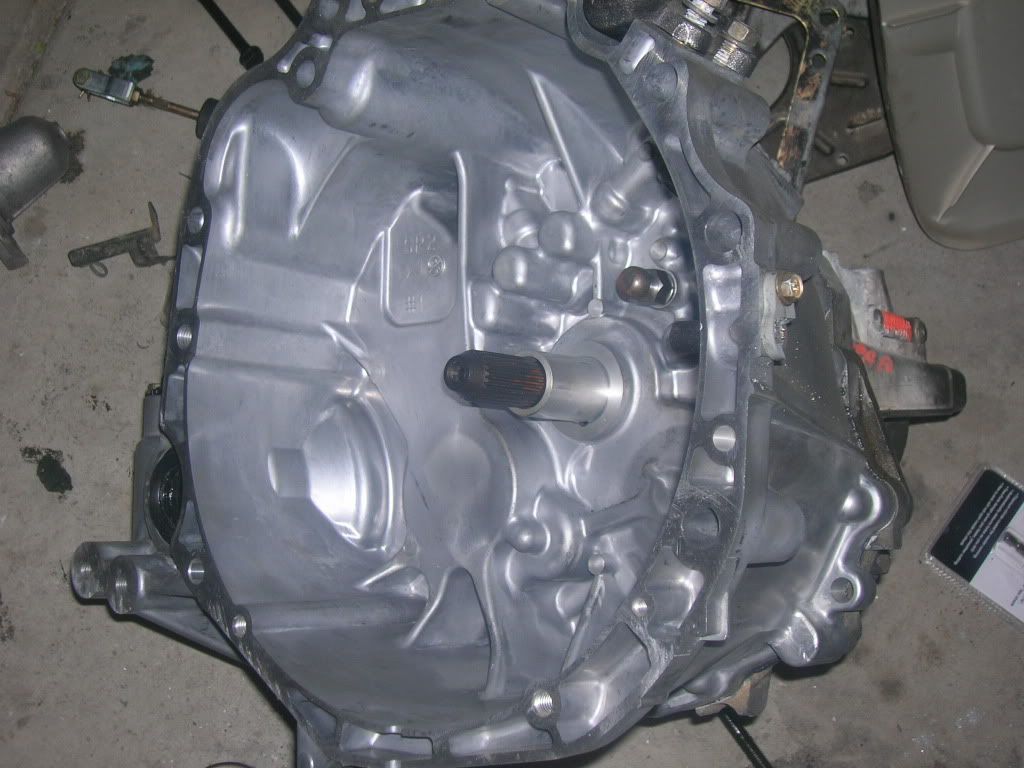
trans is ready to go in.


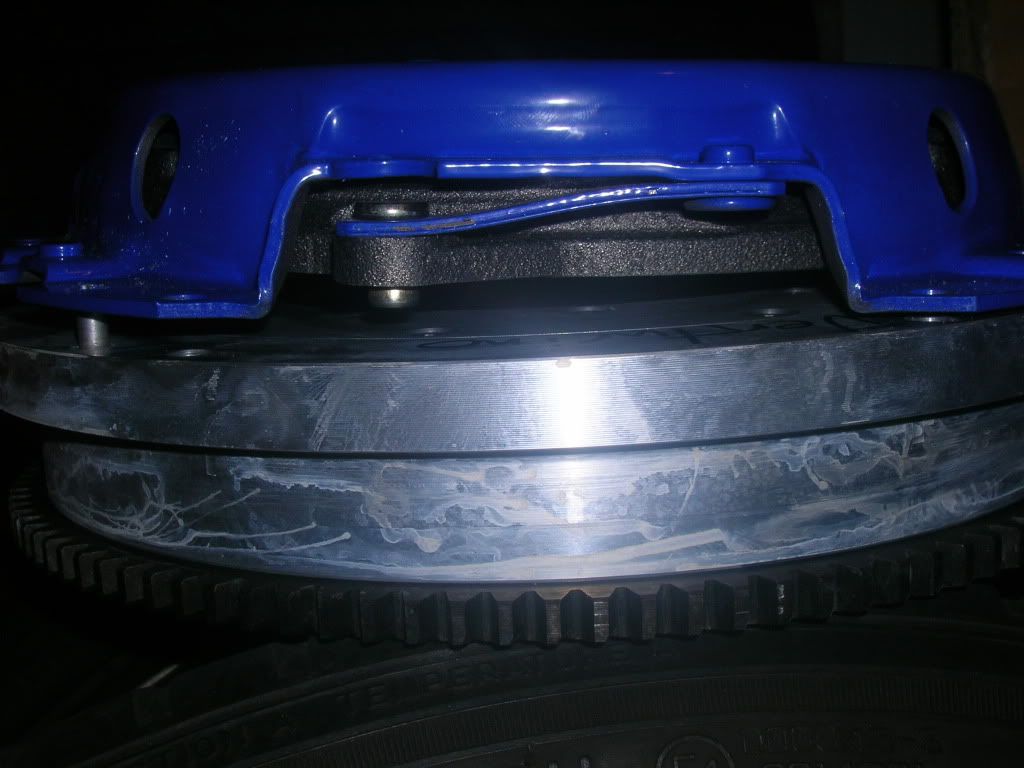
flywheel machined and ready to go in. Hopefully.


2011-05-12 07:12:55
#9
Enjoy the swap.

[/QUOTE]


And then go surprise people
Six speed swap II video by Skywank3r - Photobucket
2011-05-12 13:39:23
#10
Awesome write-up man. Really glad I found this post as I'm in the middle of doing a case swap on a 2005 6 sPeed evolution vIII MR.

Never realized, but these to trannies are 98% identical. I had heard Nissan made the 6 speed for the MR's, but had never seen any concrete evidence untile now.

My question is this, I have my tranny 95% back together. My problem is I can't get the c-clip to lock back into place. It needs about 1/16th" to go. I've wrestled around with it for hrs. Flipped it on its end trying to get the main gearset to slid down on it too no avail. All thrust washer, shims, etc.. are in place and have been checked and re-checked. No binding on the shift rods or anything and all the check balls/pins are in correct sequence.

It shifts through all six gears as it should, just cant get that clip to go that last little bit.

Any suggestions would be greatly appreciated.

Thanks,
Jason
240-299-3944
+ Reply To Thread
  • [Type to search users.]
  • Quick Reply
    Thread Information
    There are currently ? users browsing this thread. (? members & ? guests)
    StubUserName

    Back to top