ok i got to my buddies shop today so I could start this
WEAR SAFETY GOGGLES
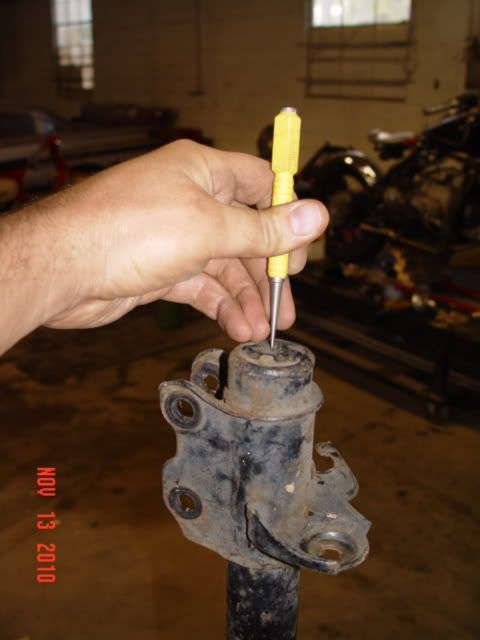
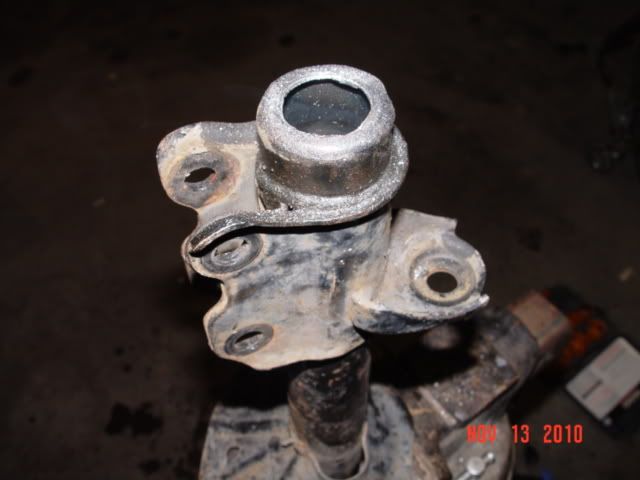
1) mount strut housing firmly in vice
2) tap starter hole to drain fluid from rear
 WEAR SAFETY GOGGLES
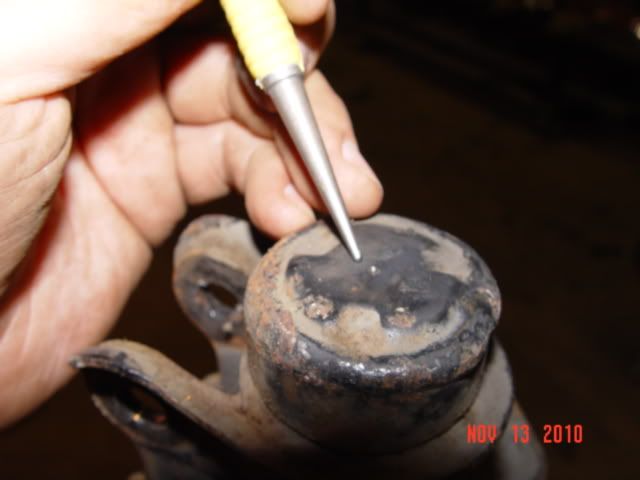
you may have to hit your tap (with hammer) 5 times to ensure it makes a dent in this relatively thick metal
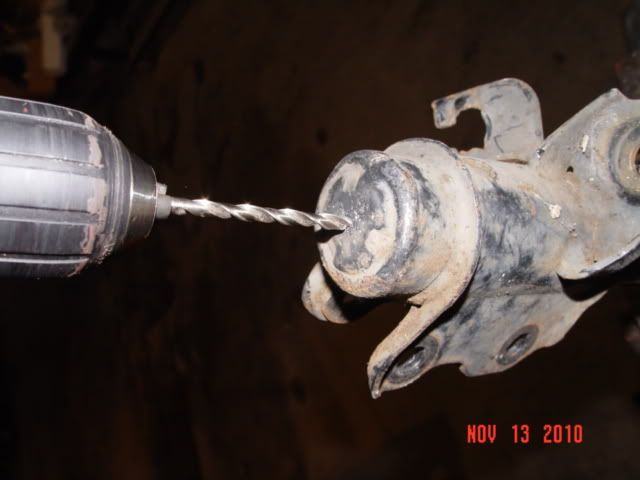
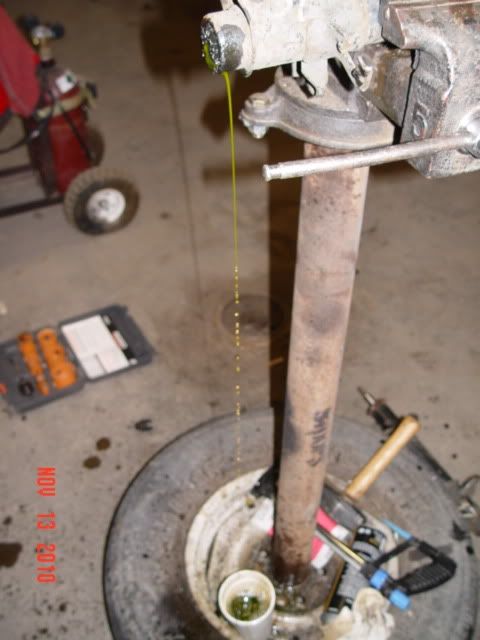
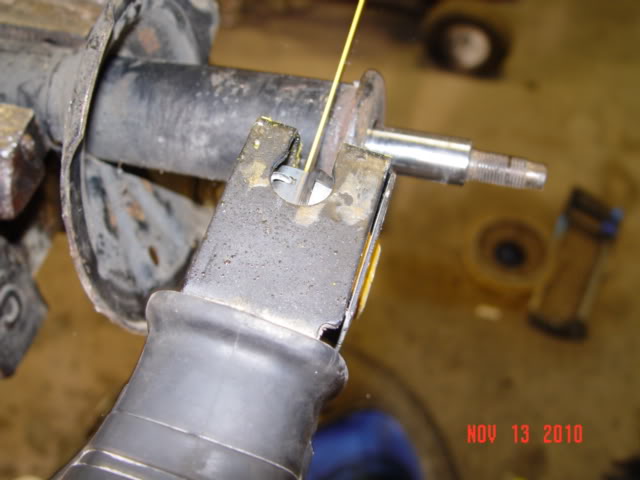
3) drill hole with 3mm metal drill bit
ON THIS STEP; TWO OF THE FOUR STRUTS I DID TONIGHT RELEASED A GREAT DEAL OF PRESSURIZED OIL THAT SPRAYED LIKE RON JEREMY AFTER 6 MONTHS OF ABSTINENCE - SAFETY GOGGLES ARE NOT OPTIONAL!!
from Wes's thread on motoIQ - a tip to keep this from spraying all over you

Originally Posted by
GCMBob
Tuesday, June 22, 2010 12:01 PM
a little trick i did when depressurizing the shocks i did, was to drill through a Gatorade cap and leave it on the bit, then drill through the shock. This way you can see what you are doing and it doesn't spray oil all over you when you break through.
source:
http://www.motoiq.com/magazine_articles/articletype/articleview/articleid/1563/project-200sx-overhauling-the-suspension.aspx
ON THIS STEP; TWO OF THE FOUR STRUTS I DID TONIGHT RELEASED A GREAT DEAL OF PRESSURIZED OIL THAT SPRAYED LIKE RON JEREMY AFTER 6 MONTHS OF ABSTINENCE - SAFETY GOGGLES ARE NOT OPTIONAL!!
20 year old strut oil smells GREAT!
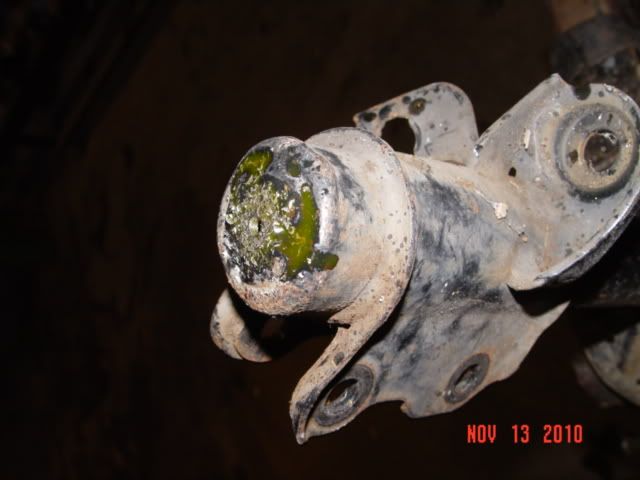
drain as much as you can:
4) use hack saw to start a straight line
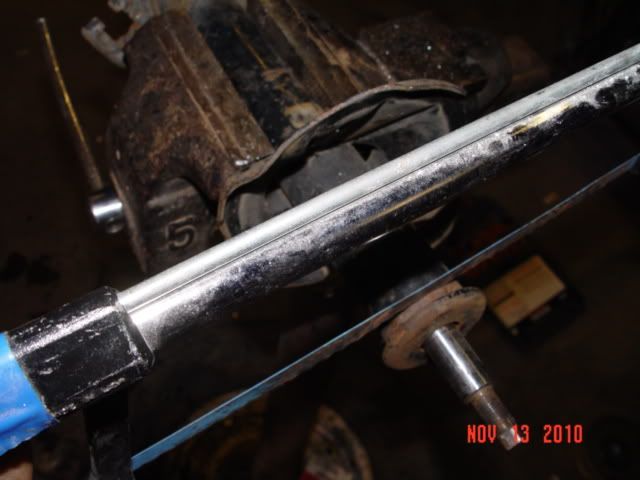
^don't take much off of
rear strut^
WEAR SAFETY GOGGLES
take of about an inch of the
front struts:
5) if you are confident you can cut straight with a reciprocating saw, have at it.. that's what I used, but I've used them a lot in the past, and only recommend this if you know how to use one well.
for step 5 i've heard people say to use a large pipe cutter, here's a pic I found of on nasioc.com doing it that way:

it seems much safer and much easier to get a clean cut. but i did an all right job with the dewalt reciprocating saw.
after you go all the way around, cutting about 1/8" into the housing on all sides it should be ready to come out
6) pull out OE strut guts:
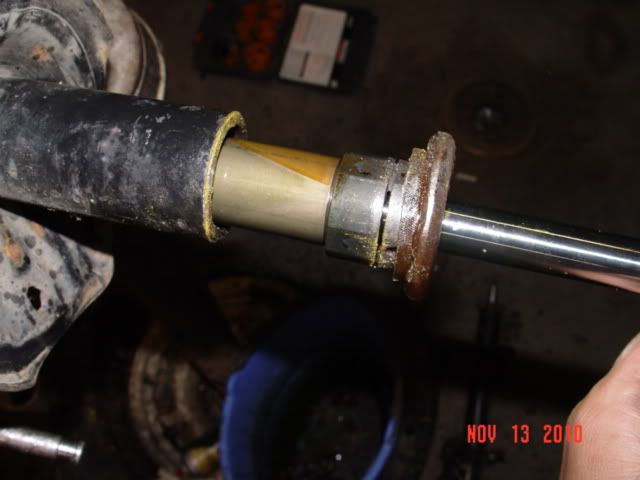
7) dispose of oil and guts properly in accordance with your local standards
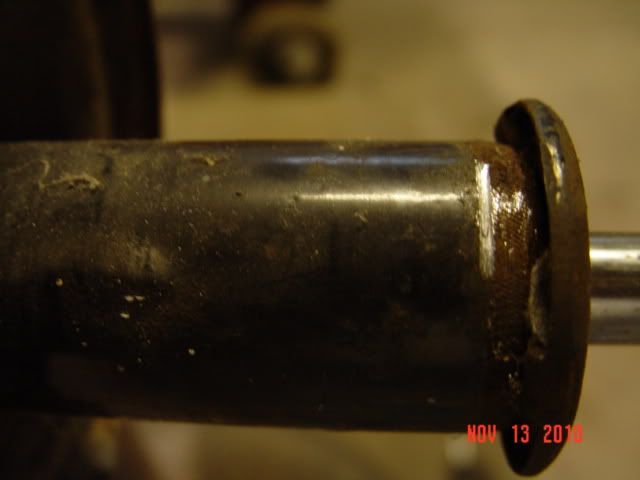
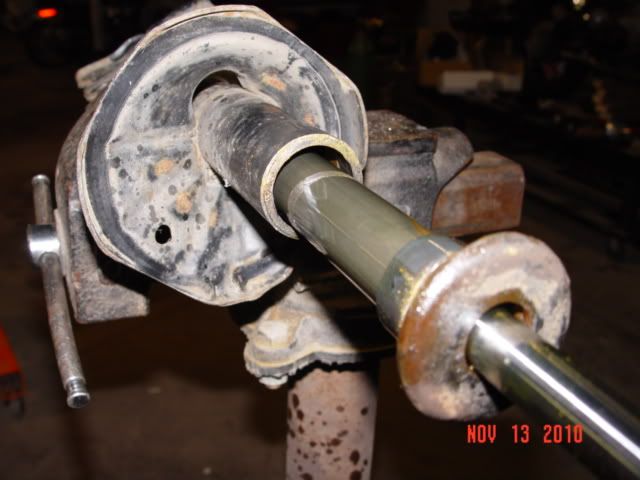
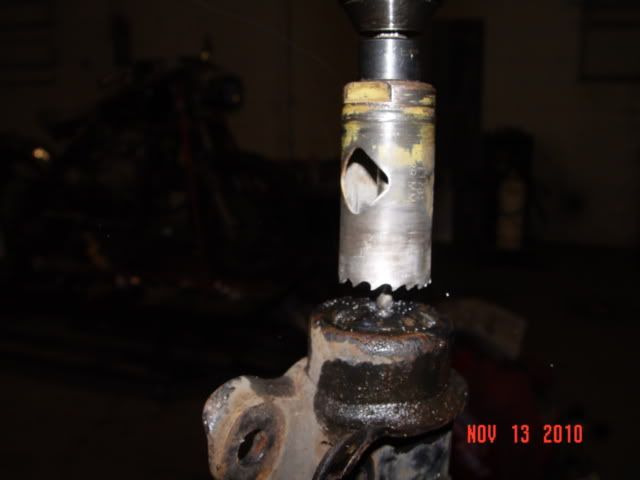
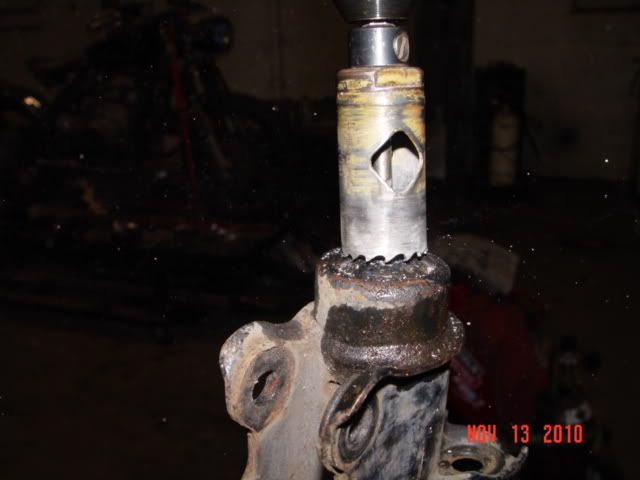
8) using a 7/8" metal hole saw, cut out hole in bottom of strut housing for koni nub to attach to the bolt provided by koni (FYI, i used a 1 1/8" hole saw which is WAY to big - as you can see) If I were to do this over again, I'd use a 7/8" bit if i were to do it over again and then use a die grinder as needed to get a "perfect" fit.
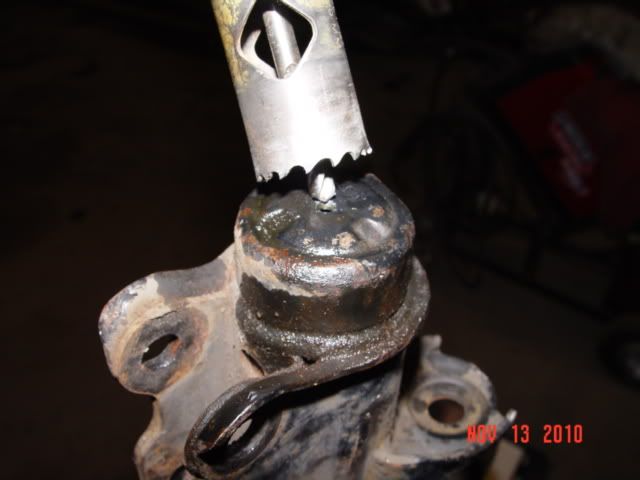
(FYI, i used a 1 1/8" hole saw which is WAY to big - as you can see) If I were to do this over again, I'd use a 7/8" bit if i were to do it over again and then use a die grinder as needed to get a "perfect" fit.
WEAR SAFETY GOGGLES
(FYI, i used a 1 1/8" hole saw which is WAY to big - as you can see) If I were to do this over again, I'd use a 7/8" bit if i were to do it over again and then use a die grinder as needed to get a "perfect" fit.
 WEAR SAFETY GOGGLES
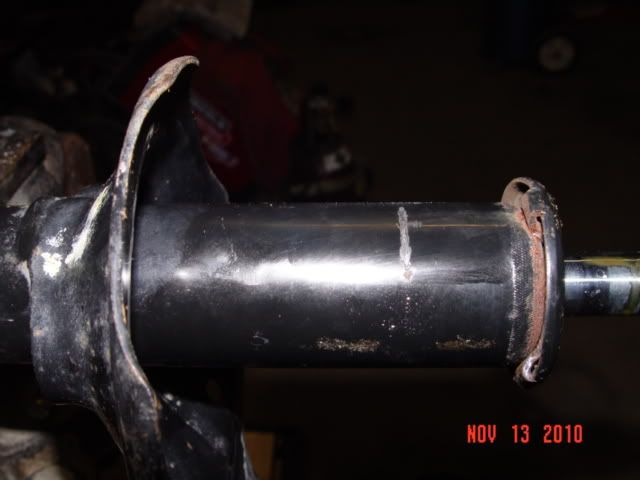
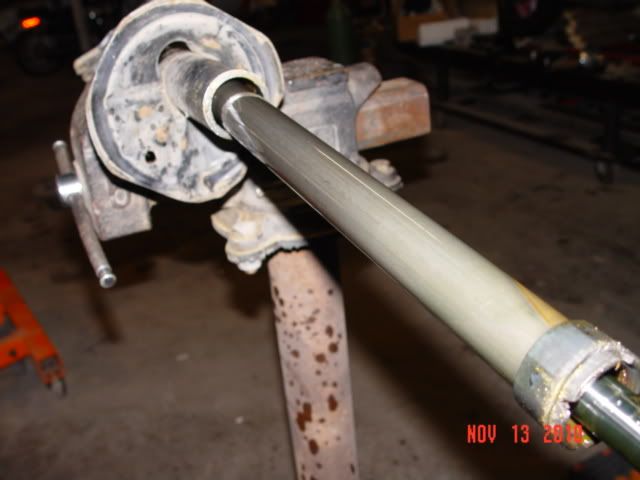
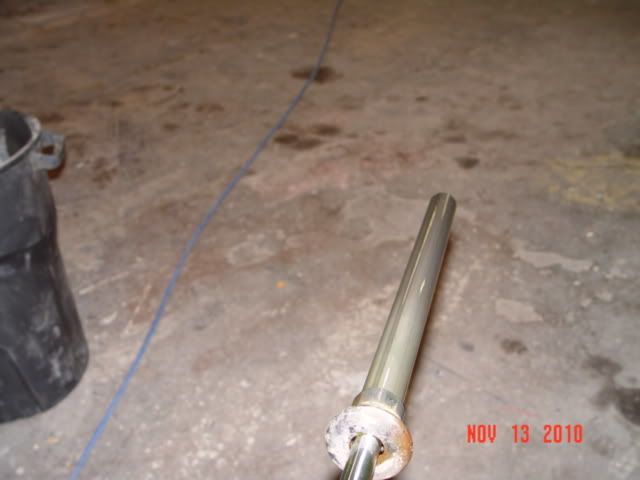
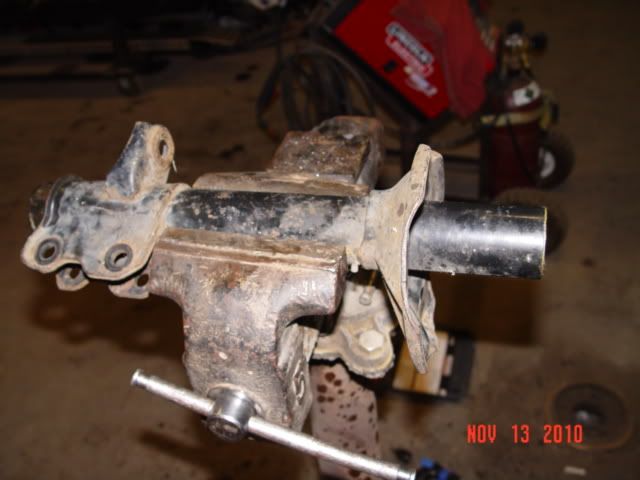
that's it.. it's ready to be sand blasted, primed and painted... (rear housing in this pic)


 Be the first to like this post.

")

")

