Welcome to the SR20 Community Forum - The Dash.
Register
SR20 forum logo

Thread: B13 CSK Research Thread - OE diameter springs

+ Reply To Thread
Posts: 31-40 of 126
2010-11-12 22:02:49
#31
You would probably still end up with a shock that is too short, as the front strut is shorter than the rear. The car would probably hang waay to low at the back.
2010-11-12 22:03:32
#32
i just replied to your pm, I just remembered the NX i did had some Monroe struts back there.
2010-11-12 22:05:48
#33
Originally Posted by Keo
i just replied to your pm, I just remembered the NX i did had some Monroe struts back there.


ah, you had Monroe strut housings, and used them for the Koni strut inserts then? did you use Koni yellow or Koni red inserts?
2010-11-12 22:07:22
#34
Yes yellow.
2010-11-12 22:25:50
#35
Once i figure out the whole deal with what housing to use, i think I have the rundown on the steps I need to do


1 drill a small hole (3mm) in bottom of housing to release pressure
2 tape over small hole
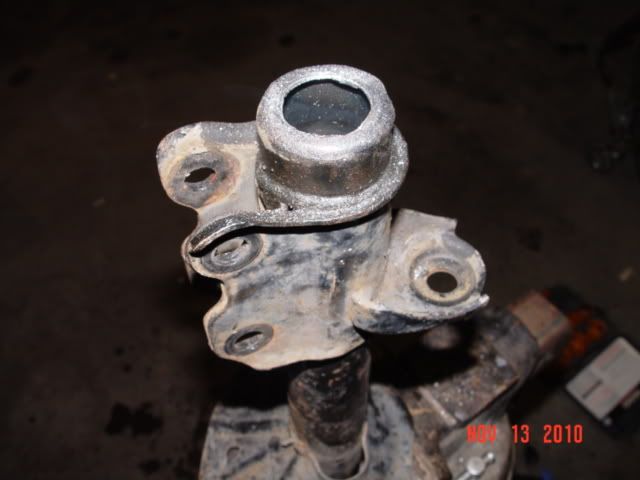
3 measure then cut the top of stock strut housing
4 empty contents
5 drill 1" hole in bottom of strut housing
6 sand blast and repaint housing
7 cut nipple off the end of koni insert & bolt at same time to keep it from hitting cv boot (only needed on front)
8 dry fit insert into housing
9 shim as needed
10 take dry fit koni and stock housing apart
11 slather real nice with jb weld
12 insert the insert
13 put screw and washer on bottom
14 drink beer

is this right?? also, check that link and make sure my thoughts are correct.. chime in too if needed..
2010-11-13 03:39:54
#36
Dating back to 2004 when I first decided to go with a CSK setup on my 1993 SE-R (RIP) i have read a ton of Steve Foltz's posts on this subject.


here's a post where I remember him saying you can't put Koni Yellows into a B13 rear strut housing:

SR20 Forum - View Single Post - DIY Koni yellow coilovers

Originally Posted by 98sr20ve
Originally Posted by racersd2


so let me get this right we can use a spec-v koni yellow strut for the front which is 1 to 1.5" shorter than my agx w/o modification, or do we need to have them shortened?Now do we use the spec-v rear for our (b13) rear.

I have the gc/agx combo now BUT as we all know we need more susp. travel and i am always thinking and developing ideas to improve the car.

I will be happy to do it for you but I will not go into detail any more then I have. I posted how to do the shortening on this forum before. Search and find it. IT IS NOT A DROP IN. It requires a lot of work and experiance to not screw it up. Clearly doable but I am not going to be able to explain how to do it safely. It requires grinding and other things depending on the housing that it goes into. Not trying to be a a$$ but I am not comfortable with it. B13 rears have to the the B13 rears. No spec v stuff for the back.
2010-11-13 18:35:26
#37
FYI, in those pics that you put the red cross through, the dustboot had the OEM bumpstop removed, so there was only the one Koni bumpstop on the strut. The Koni bumpstop wouldn't fit inside the dustboot I was using, so I put it on the outside. 5 years later it is still working great.

Also my understanding was that you couldn't put Yellows in the rear of a B13 with an OEM B13 housing, regardless whether or not it was a B13 front or B13 rear housing, when using hyperco or RM springs. But you should look a little more closely into that.
2010-11-13 21:03:09
#38
Thanks for the clarification... That's not as bad as doubling up on bump stops, but while it's working fine I imagine you're not getting your $75 worth out of the special foam material in the koni bump stop, because the strut would be hitting the rubber of the dust boot first... right?

It's "fine" but could be better with the B13 front dust boots (which as you can see by my pics) accept the koni bump stops without a problem

I would garner your pic as a solution to the wrong bump stops or dust boot, and my pic as the "proper" way to do it, the way koni intended the bump stop to be used...

I'm just saying, everytime there is a suspension question, people treat Shawn's suspension thread like a bible and tell people to read that thread. but there are a couple of misleading or not as correct a they could be examples in there...

I'm about to head to a friends shop take apart some B13 struts (front and rear) and see of the yellows fit...
2010-11-14 02:28:35
#39
ok i got to my buddies shop today so I could start this

WEAR SAFETY GOGGLES

1) mount strut housing firmly in vice

2) tap starter hole to drain fluid from rear
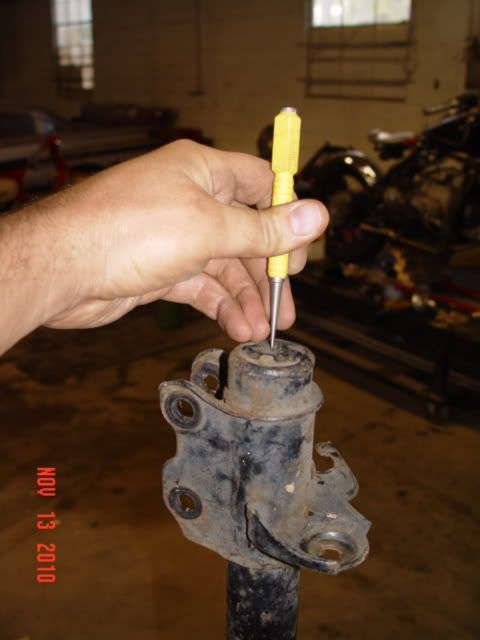
WEAR SAFETY GOGGLES
you may have to hit your tap (with hammer) 5 times to ensure it makes a dent in this relatively thick metal
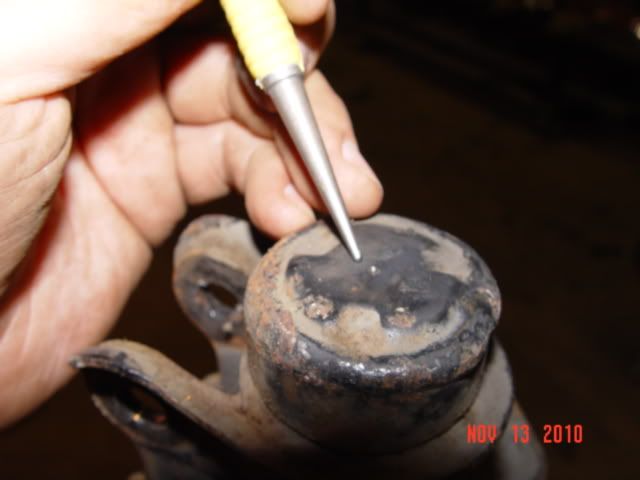


3) drill hole with 3mm metal drill bit
ON THIS STEP; TWO OF THE FOUR STRUTS I DID TONIGHT RELEASED A GREAT DEAL OF PRESSURIZED OIL THAT SPRAYED LIKE RON JEREMY AFTER 6 MONTHS OF ABSTINENCE - SAFETY GOGGLES ARE NOT OPTIONAL!!
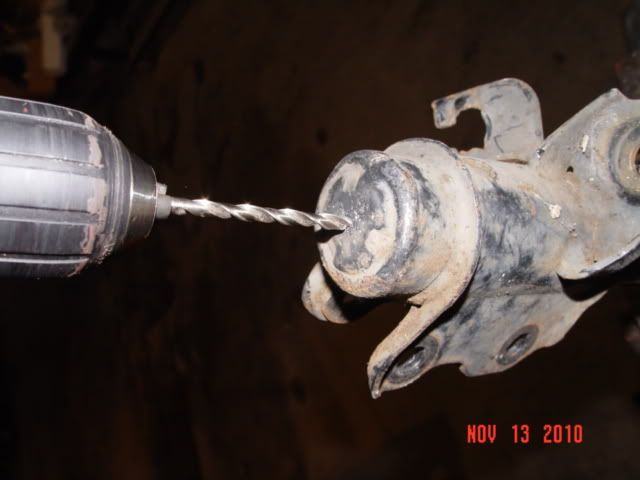

from Wes's thread on motoIQ - a tip to keep this from spraying all over you

Originally Posted by GCMBob

Tuesday, June 22, 2010 12:01 PM
a little trick i did when depressurizing the shocks i did, was to drill through a Gatorade cap and leave it on the bit, then drill through the shock. This way you can see what you are doing and it doesn't spray oil all over you when you break through.

source: http://www.motoiq.com/magazine_articles/articletype/articleview/articleid/1563/project-200sx-overhauling-the-suspension.aspx


ON THIS STEP; TWO OF THE FOUR STRUTS I DID TONIGHT RELEASED A GREAT DEAL OF PRESSURIZED OIL THAT SPRAYED LIKE RON JEREMY AFTER 6 MONTHS OF ABSTINENCE - SAFETY GOGGLES ARE NOT OPTIONAL!!

20 year old strut oil smells GREAT!
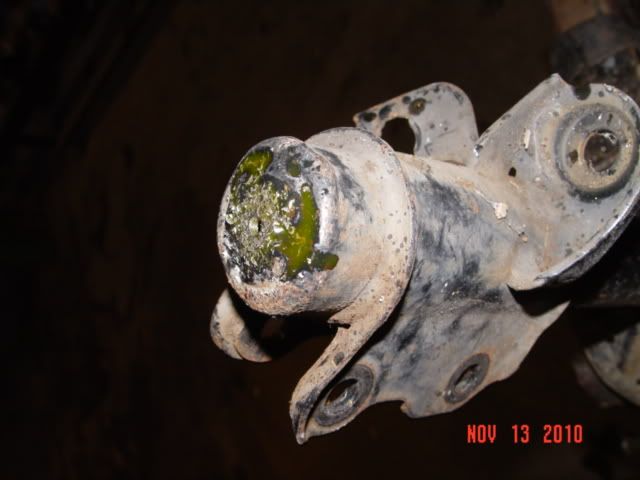

drain as much as you can:
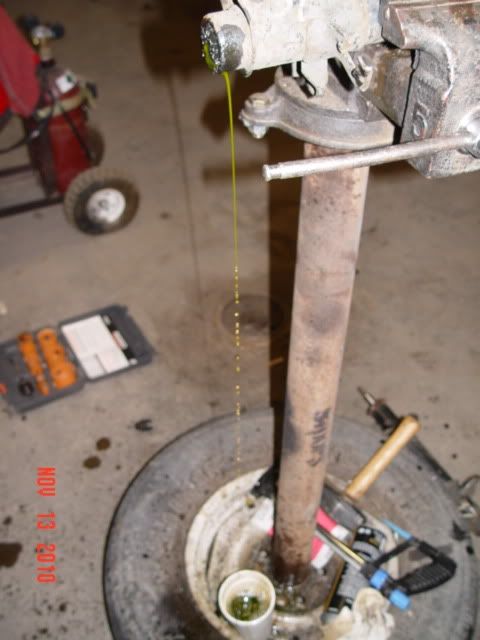

4) use hack saw to start a straight line
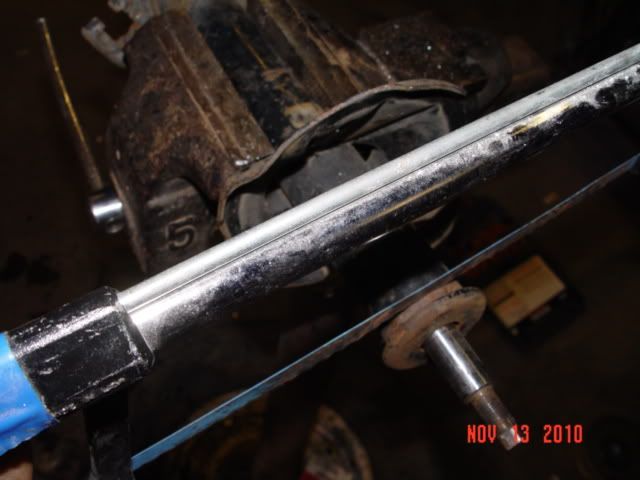


^don't take much off of rear strut^
WEAR SAFETY GOGGLES
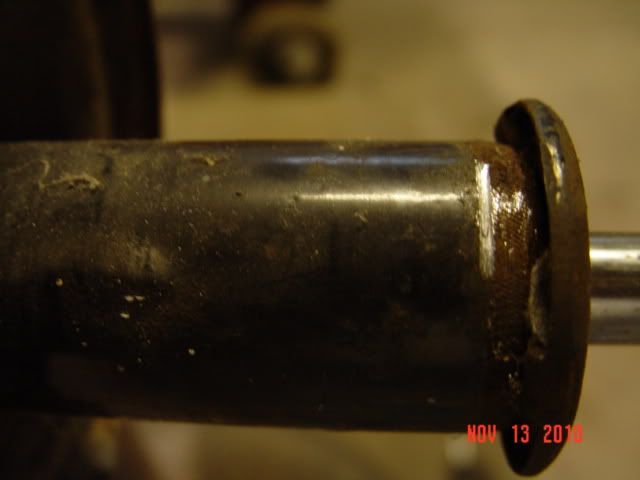
take of about an inch of the front struts:
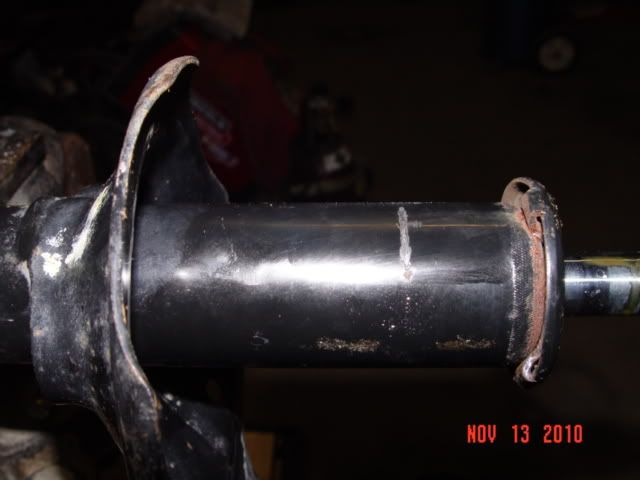

5) if you are confident you can cut straight with a reciprocating saw, have at it.. that's what I used, but I've used them a lot in the past, and only recommend this if you know how to use one well.
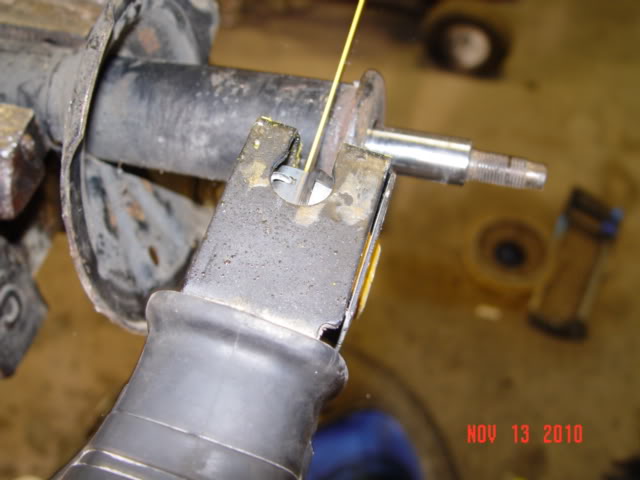

for step 5 i've heard people say to use a large pipe cutter, here's a pic I found of on nasioc.com doing it that way:

it seems much safer and much easier to get a clean cut. but i did an all right job with the dewalt reciprocating saw.

after you go all the way around, cutting about 1/8" into the housing on all sides it should be ready to come out

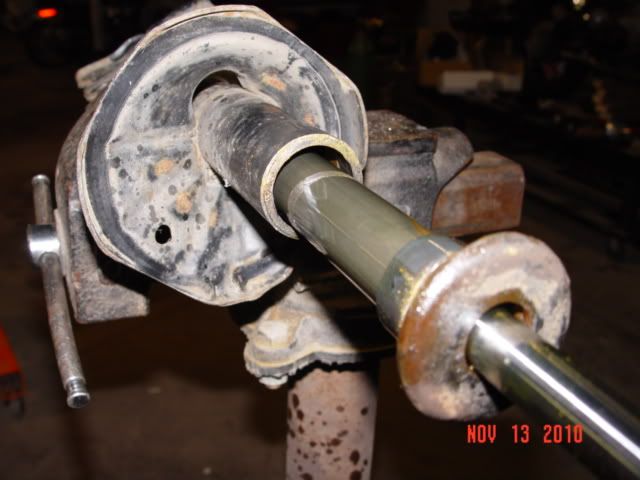
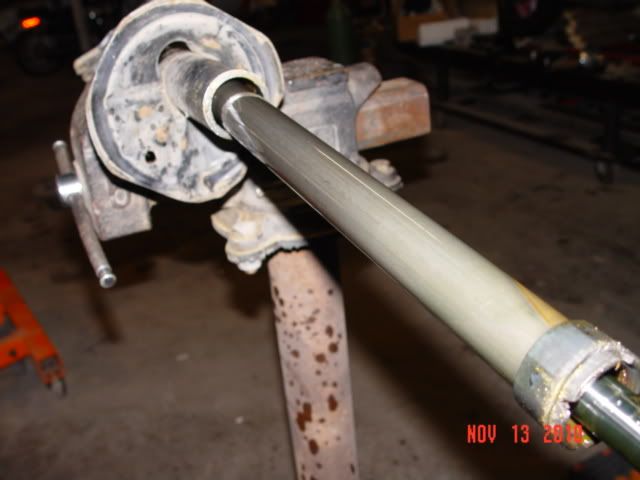
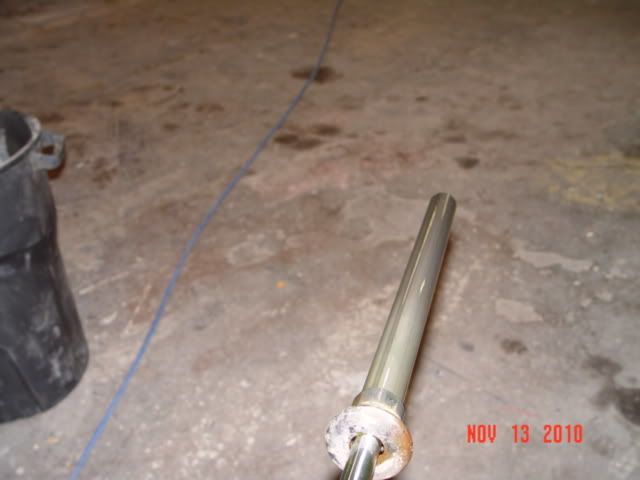
6) pull out OE strut guts:
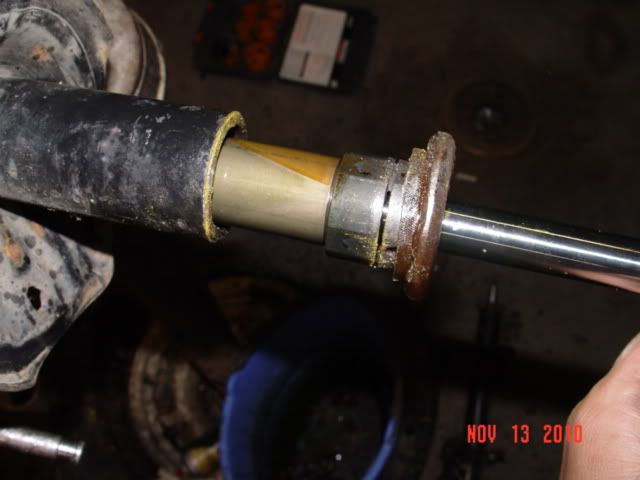


7) dispose of oil and guts properly in accordance with your local standards

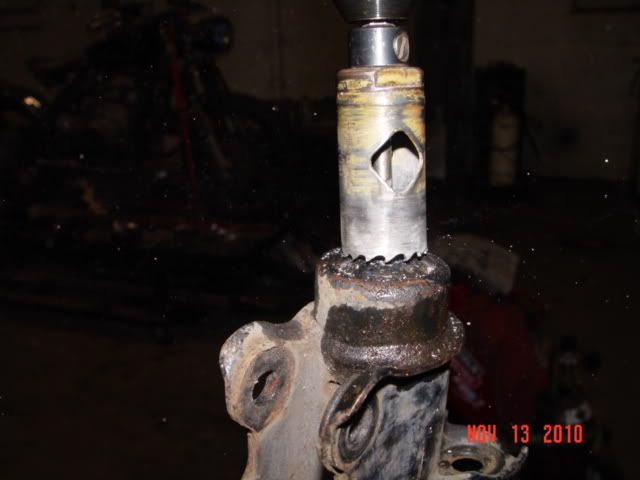
8) using a 7/8" metal hole saw, cut out hole in bottom of strut housing for koni nub to attach to the bolt provided by koni (FYI, i used a 1 1/8" hole saw which is WAY to big - as you can see) If I were to do this over again, I'd use a 7/8" bit if i were to do it over again and then use a die grinder as needed to get a "perfect" fit.
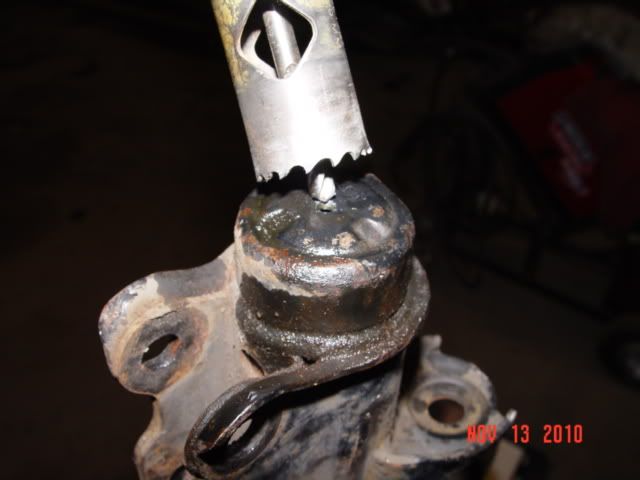

(FYI, i used a 1 1/8" hole saw which is WAY to big - as you can see) If I were to do this over again, I'd use a 7/8" bit if i were to do it over again and then use a die grinder as needed to get a "perfect" fit.

WEAR SAFETY GOGGLES
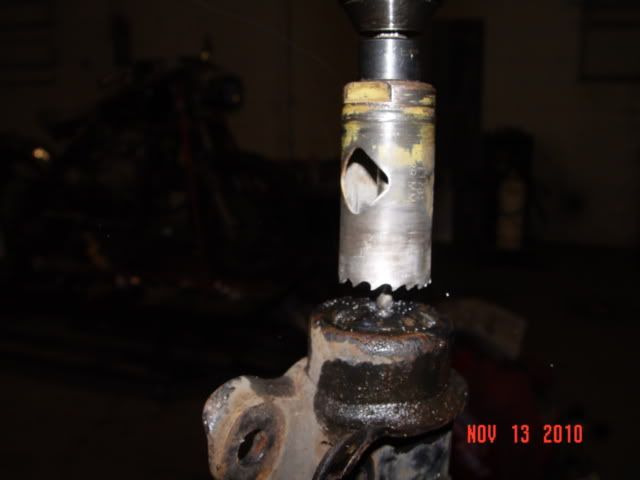
(FYI, i used a 1 1/8" hole saw which is WAY to big - as you can see) If I were to do this over again, I'd use a 7/8" bit if i were to do it over again and then use a die grinder as needed to get a "perfect" fit.

WEAR SAFETY GOGGLES


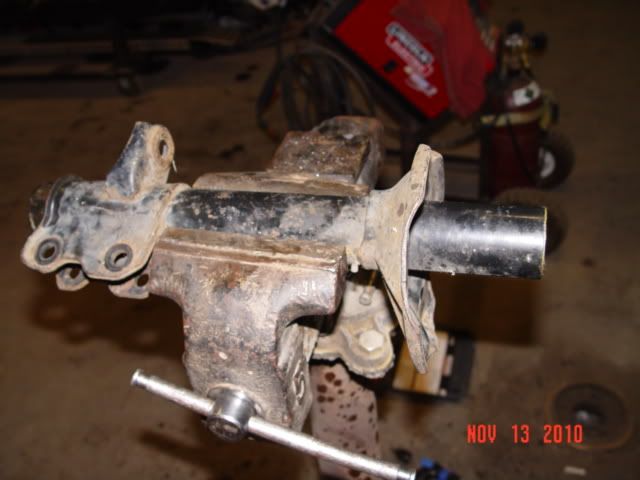
that's it.. it's ready to be sand blasted, primed and painted... (rear housing in this pic)
2010-11-14 02:45:36
#40
dang... bad news.. all that work and like I originally thought, the B15 yellow spec V Koni Inserts will NOT fit into the B13 Rear Strut housings..

at least I prepped two front housings as well..
+ Reply To Thread
  • [Type to search users.]
  • Quick Reply
    Thread Information
    There are currently ? users browsing this thread. (? members & ? guests)
    StubUserName

    Back to top