Welcome to the SR20 Community Forum - The Dash.
Register
SR20 forum logo

Thread: DE head package - on a budget - infotainement

+ Reply To Thread
Posts: 91-100 of 111
2015-02-28 01:15:03
#91
Very nice work
2015-02-28 18:42:21
#92
To visualize things better, I made an Excel sheet.
As OST did a stunning job with my idea on the exhaust side - we have to brainstorm about the intake side...
I am very busy at the moment but I hope that I have some ideas and updates on this next week...


@Dan: I'll come back to you by email - I am busy with a few side projects right now (and it is really cold here!)
You work at 10ish HG right?
Last edited by MartinS on 2015-02-28 at 18-43-49.
2015-03-01 01:54:14
#93
Originally Posted by MartinS
To visualize things better, I made an Excel sheet.
As OST did a stunning job with my idea on the exhaust side - we have to brainstorm about the intake side...
I am very busy at the moment but I hope that I have some ideas and updates on this next week...


@Dan: I'll come back to you by email - I am busy with a few side projects right now (and it is really cold here!)
You work at 10ish HG right?

not sure what you mean about 10ish HG...??


Not saying the .050" and .100" numbers are wrong... not in the least... BUT to try and keep one variable from being different, I MAY have introduced a possible flaw ( a few tenths one way or the other) in low lift flow numbers.

Remember this is a junkyard head that had water sitting in it when I got it. Because of this many of the valves(and seats) had some damage, so I used one set of intake valves and one set of exhaust valves on all 3 cylinders. This may have introduced some variance at low lift because of different valve to seat contact. the damaged seats alone could account for some of this difference.

In addition, as already mentioned these are stock valves without a valvejob, swirl polished valves, or adding a back cut to these will improve flow further.
Last edited by oldeskewltoy on 2015-03-01 at 01-56-48.
2015-03-02 16:44:37
#94
Originally Posted by MartinS

You work at 10ish HG right?


DOH...... I don't think in atmospheres... think in inches since that is how my bench reports it's flow #s.

The bench was set @ 28"
2015-03-12 00:40:17
#95
Originally Posted by MartinS
we have to brainstorm about the intake side...


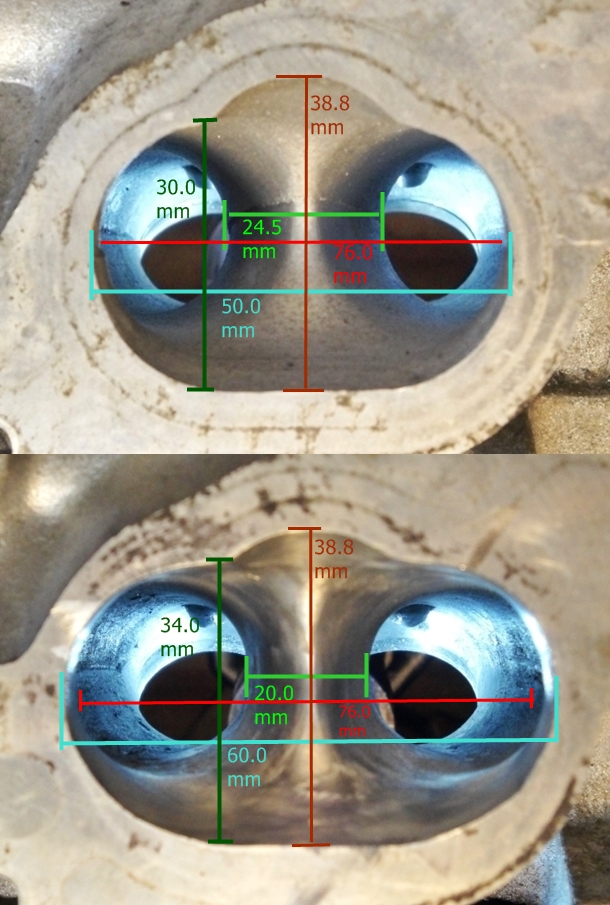
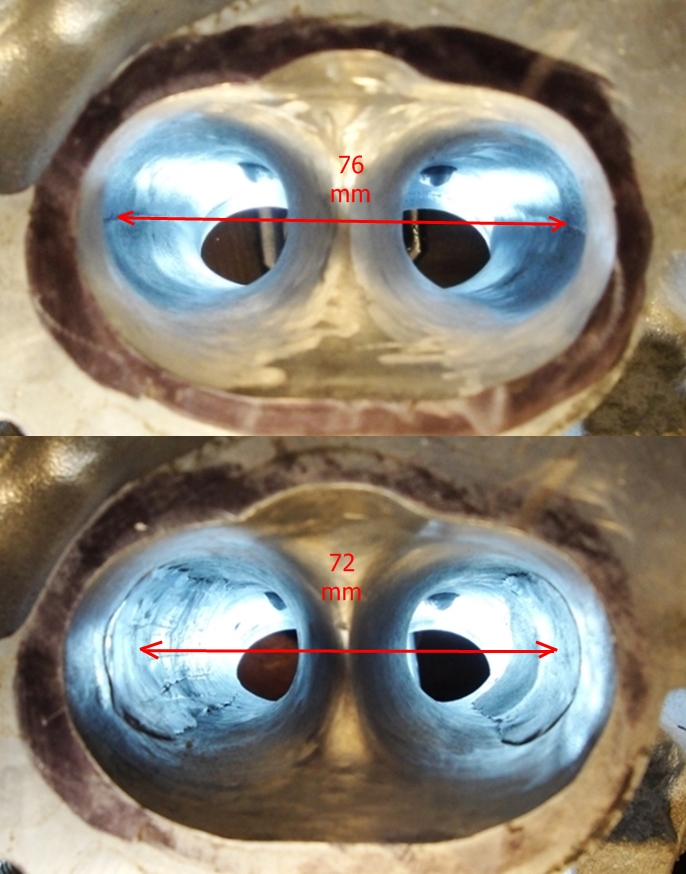
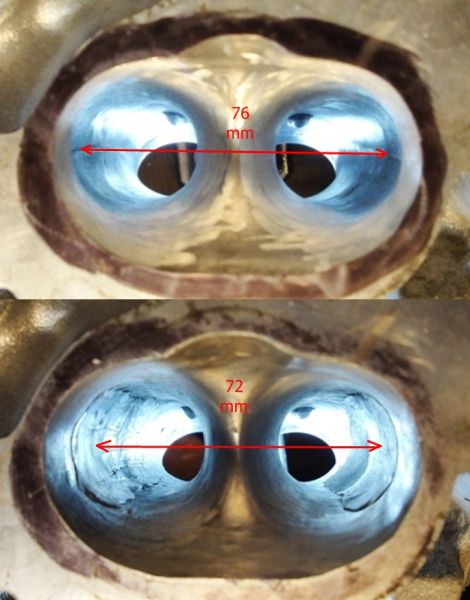
Not yet on the bench.... but I spent a few hours today.... I opened up #3 - "outside the lines" a bit more, and got the splitter a bit narrower, raised the "roof" 4mm over each port to allow a less restricted draw......


Tried to get a good overlay... it isn't quite as clear as I hoped


and once I do get it back on the bench, I have some clay I plan to experiment with too.....


I'll get it on the bench soon....


more to come.....
Last edited by oldeskewltoy on 2015-03-12 at 00-42-01.
2015-03-16 11:03:30
#96
My lord, forum resources are just astounding nowadays. This is fantastic!
2015-03-17 18:51:54
#97
Originally Posted by HJBarker
My lord, forum resources are just astounding nowadays. This is fantastic!


hope this isn't sarcastic... so thank you?? :???:


So why have I not as of yet gotten back with new numbers?? Further development


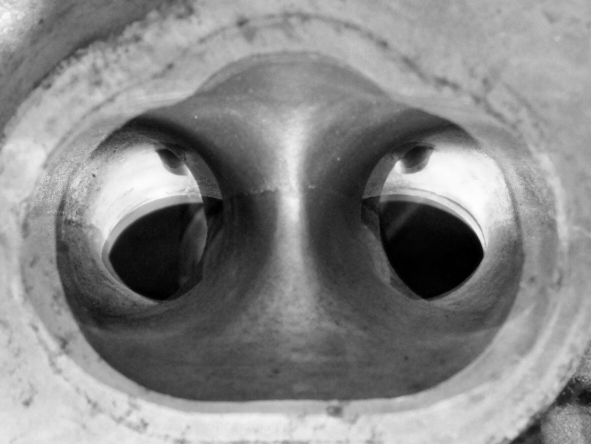
Sometimes perspective helps a lot...... so lets rotate the view we have been looking @ by 90 degrees...
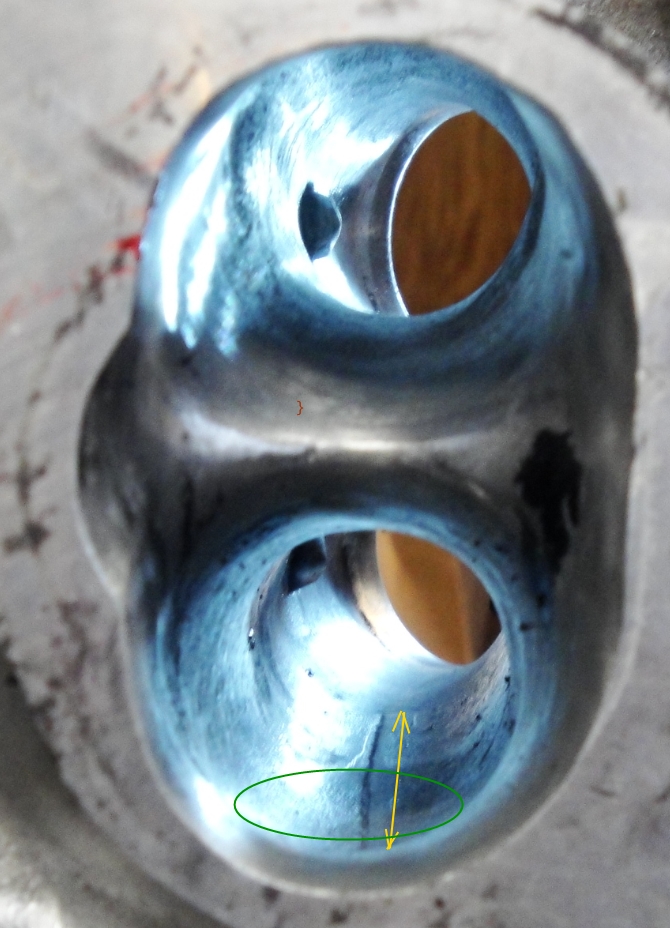


so now with a change of perspective we can better see the problem....


Remember how this thread began????

Originally Posted by MartinS
Hi,


The guy working on my head - and helping me developing a 'reasonable' package is Dan. Dan is a very knowledgable guy! He did quite heads, mainly 4a-ge. In fact, he did a few years ago on for me.


As Dan and I had no clue about the SR20DE, he aimed for a used and abused head to start doing some research.

And this is where the story starts!

Cheers!
Martin

(edited slightly for affect)


Well the SR20 head is coming back to where this thread began....
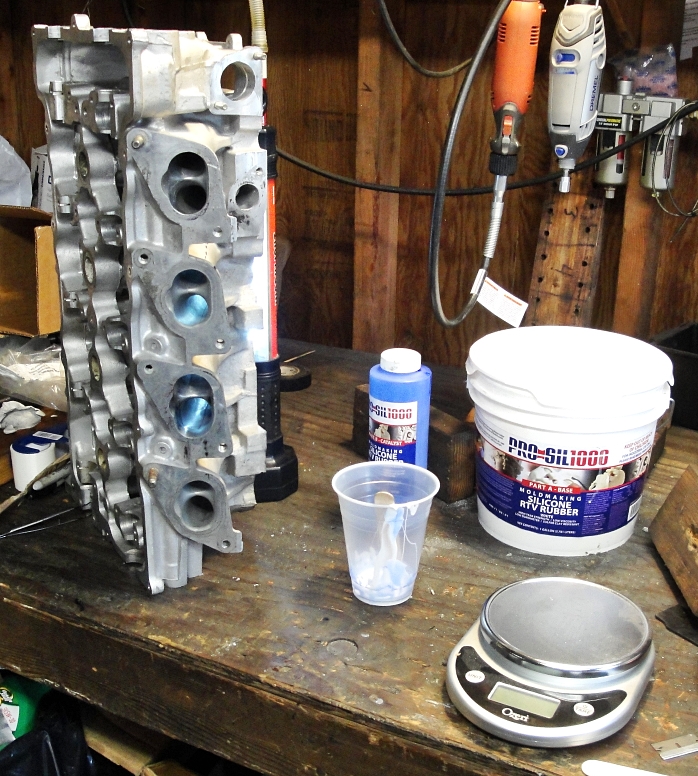


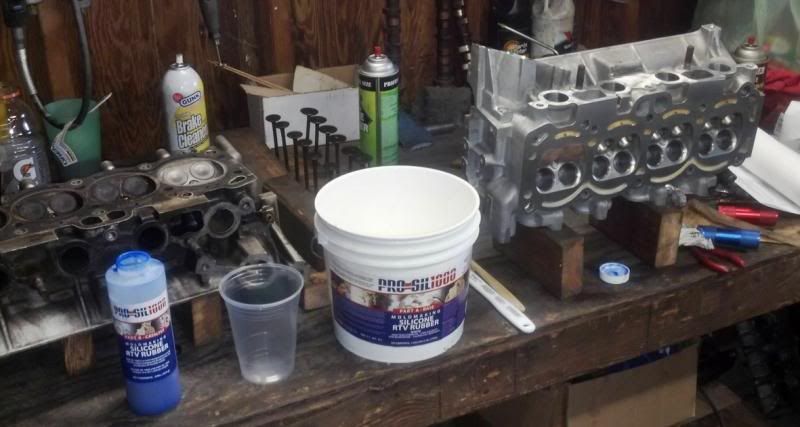
I've decided a more reliable mold, of the width of the port, can be done with the mold making compound, then the clay I used above....


So I mix up some RTV for making molds... and fill #3's outer wall. I'm using a section of rubber to help with making the inner shape.
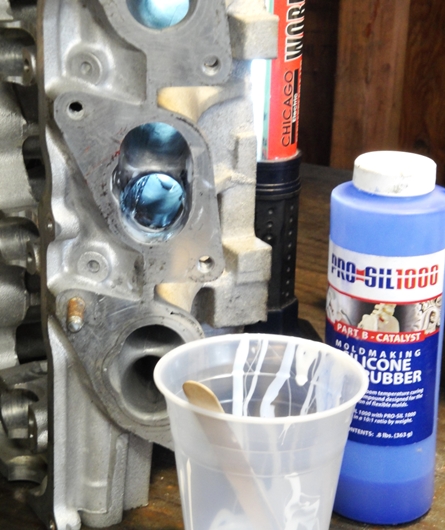


and the finished piece....
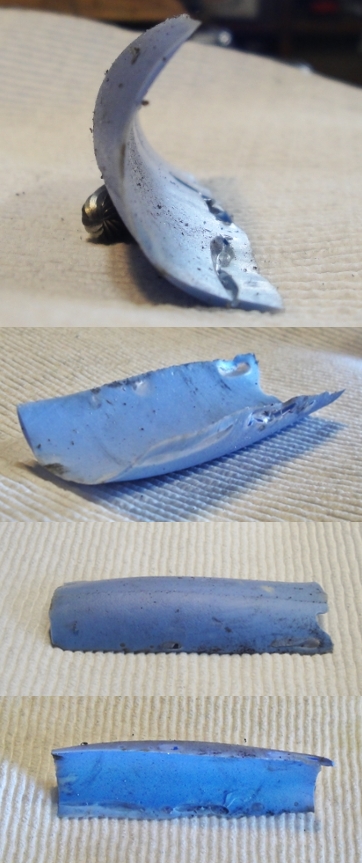


and how it looks installed....
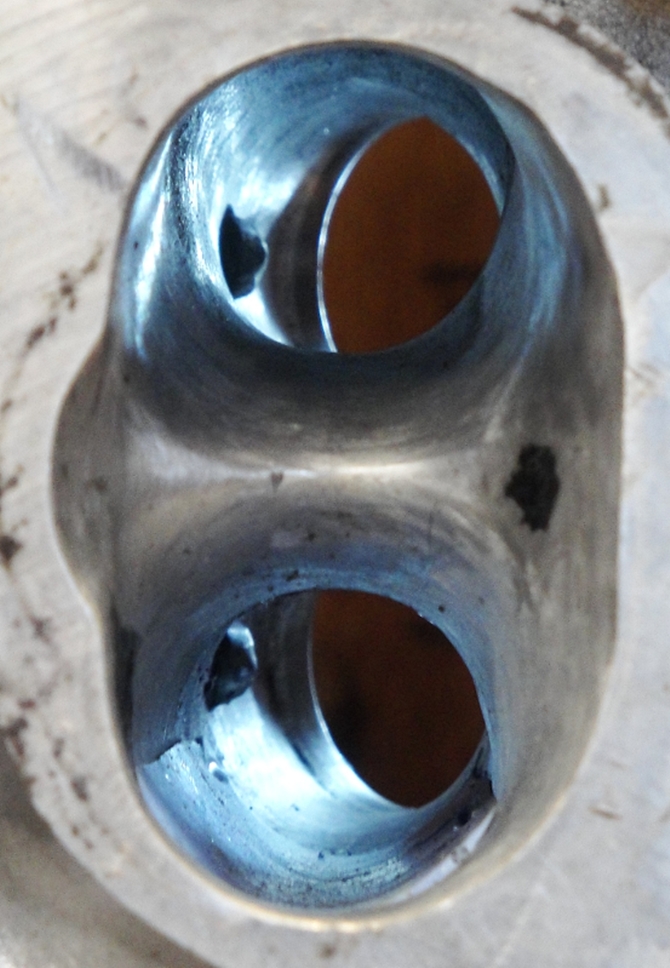


Now that I have the trailing port wall formed, I have to make one for the leading port........


More to come....
2015-04-26 00:51:37
#98
Feening for more head!!!
2015-04-26 00:55:42
#99
Bump for head!
2015-07-21 15:09:09
#100
Will work for head!
+ Reply To Thread
  • [Type to search users.]
  • Quick Reply
    Thread Information
    There are currently ? users browsing this thread. (? members & ? guests)
    StubUserName

    Back to top