


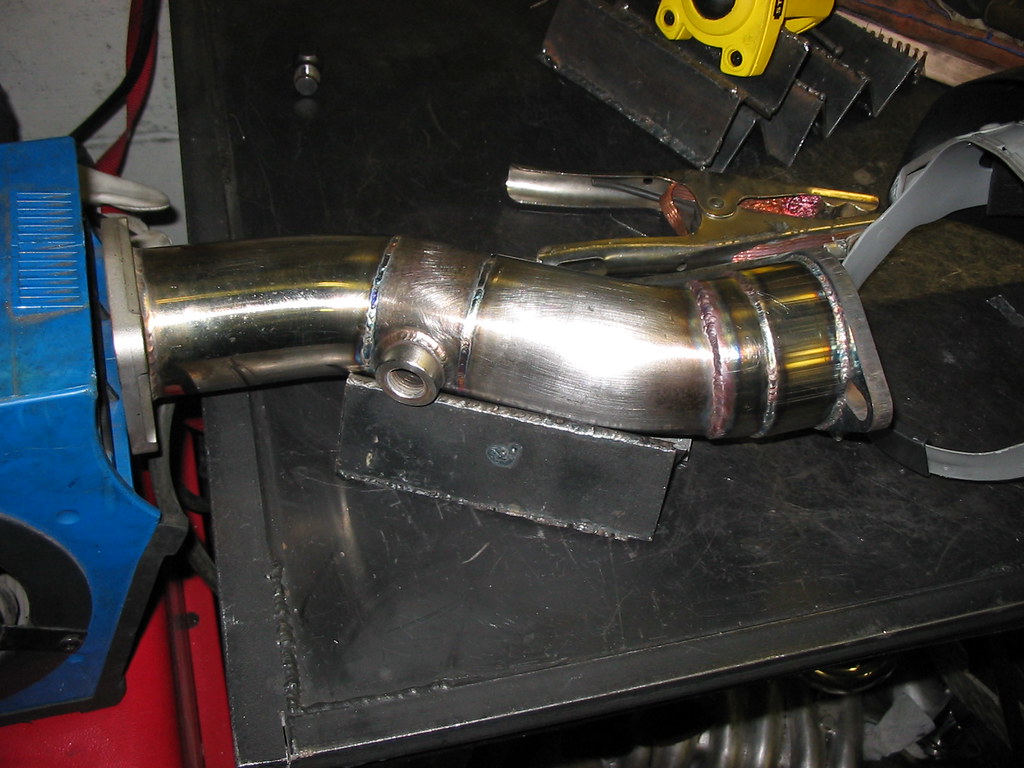
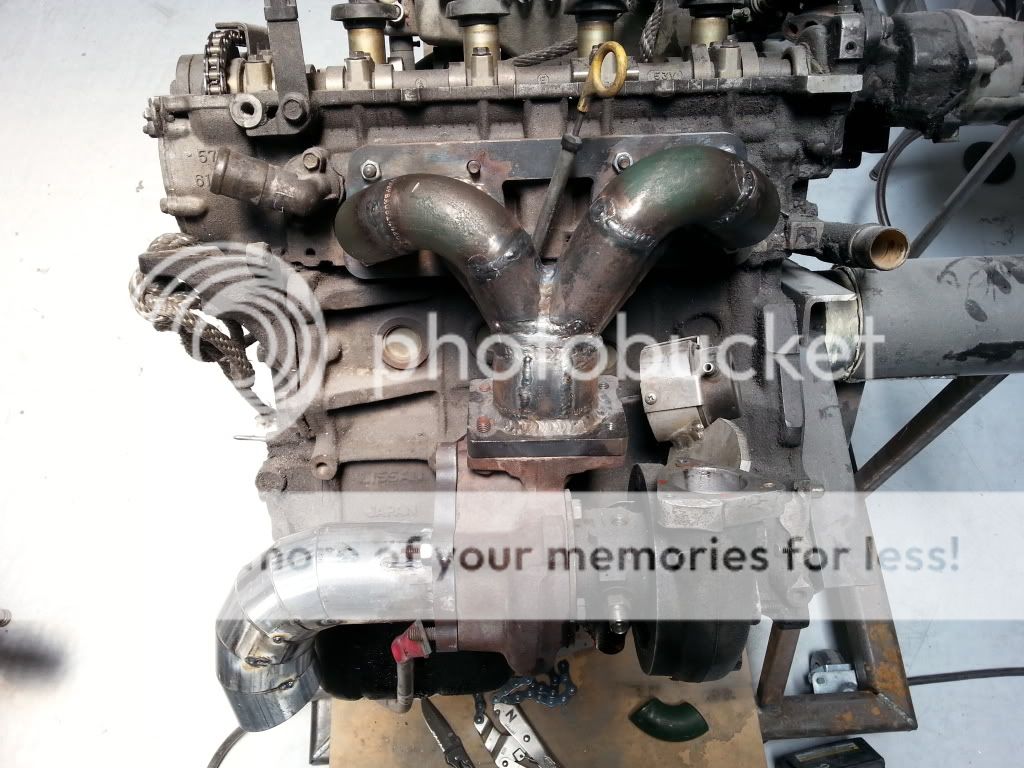
Really nothing special about it. It's just a T3 from Pure Turbos.


 Be the first to like this post.
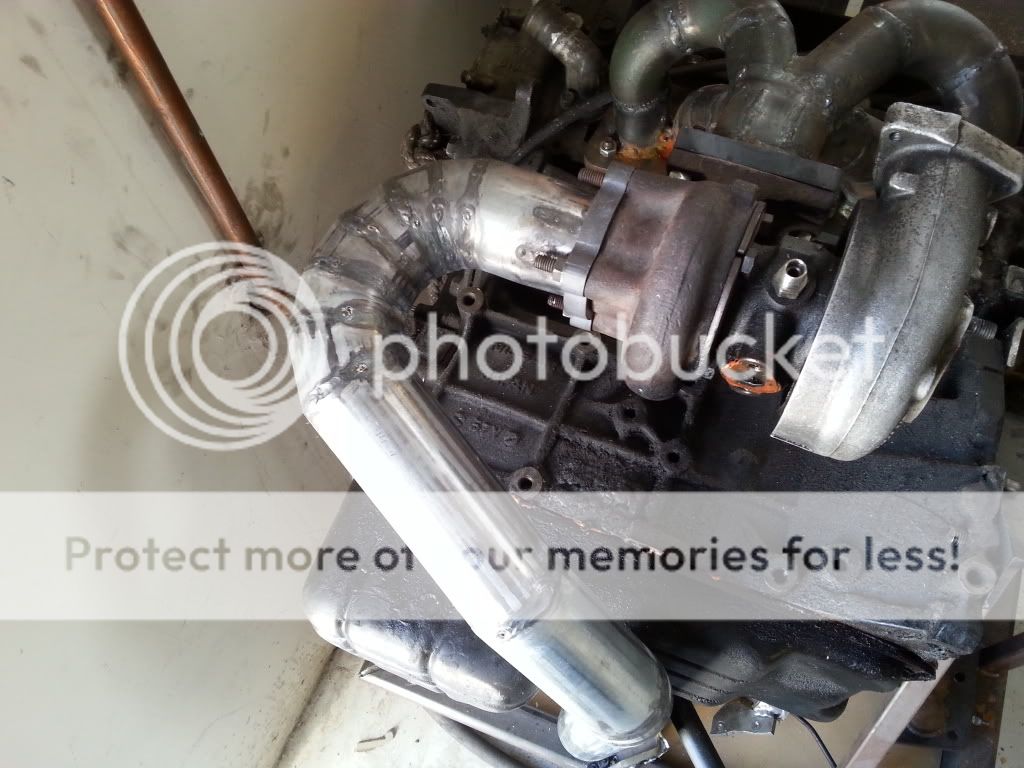
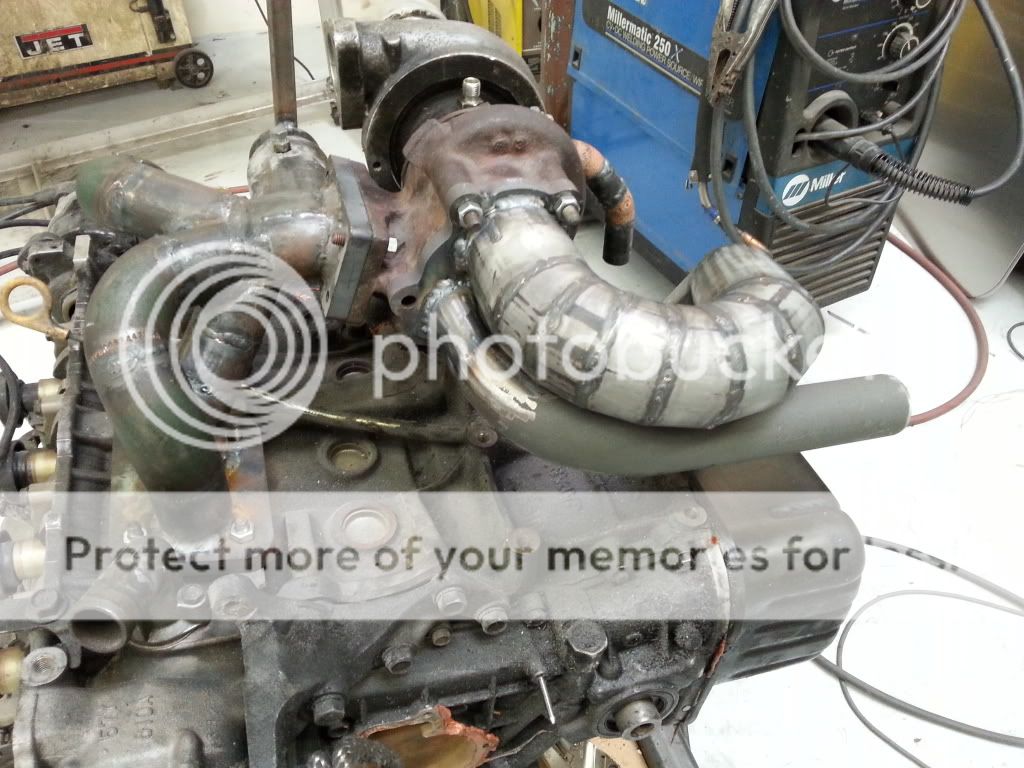
 but I cleaned the gunk out of it with decarbonizer, soap, water, 600grit wet sand paper...lol forgot the 3m scratch pad.
 Be the first to like this post.
") Be the first to like this post.
Be the first to like this post.

 nismo_star likes this post. Be the first to like this post.
 "][/URL]
 "][/URL]
Be the first to like this post.
"][/URL]
Be the first to like this post.
 "][/URL]"][/URL] Be the first to like this post.
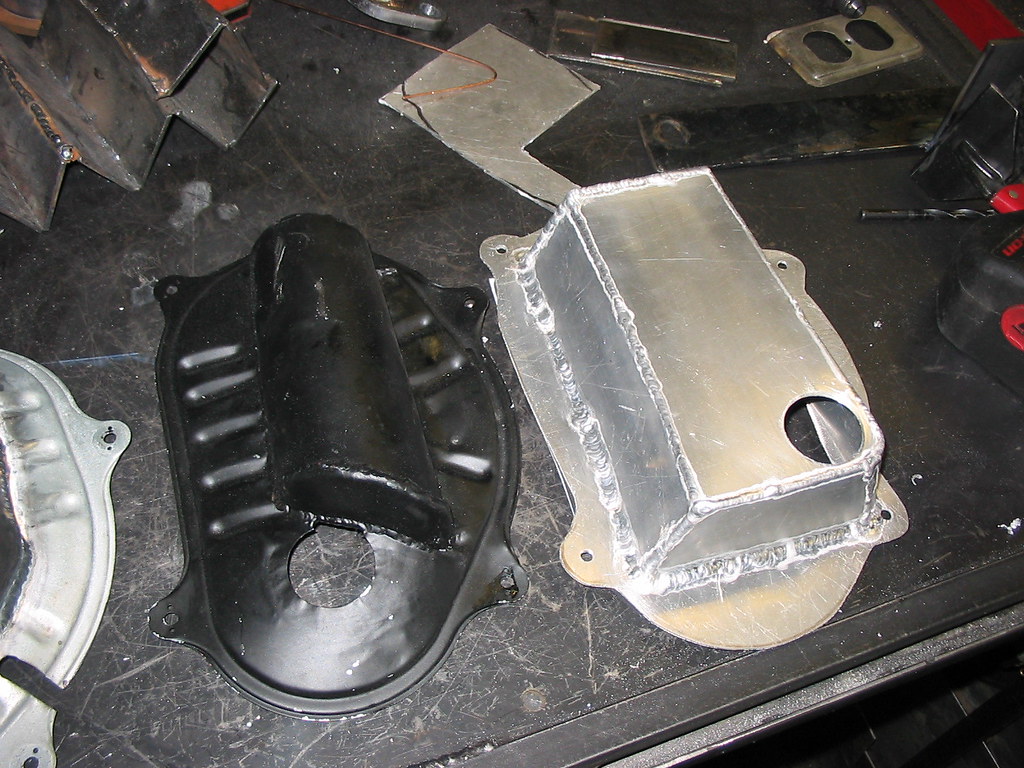 Be the first to like this post.
 Be the first to like this post.
Be the first to like this post.
Be the first to like this post.
