Welcome to the SR20 Community Forum - The Dash.
Register
SR20 forum logo

Thread: Crank Case Ventilation fully explained. (Turbocharged edition.)

+ Reply To Thread
Posts: 71-80 of 201
2012-03-05 19:24:02
#71
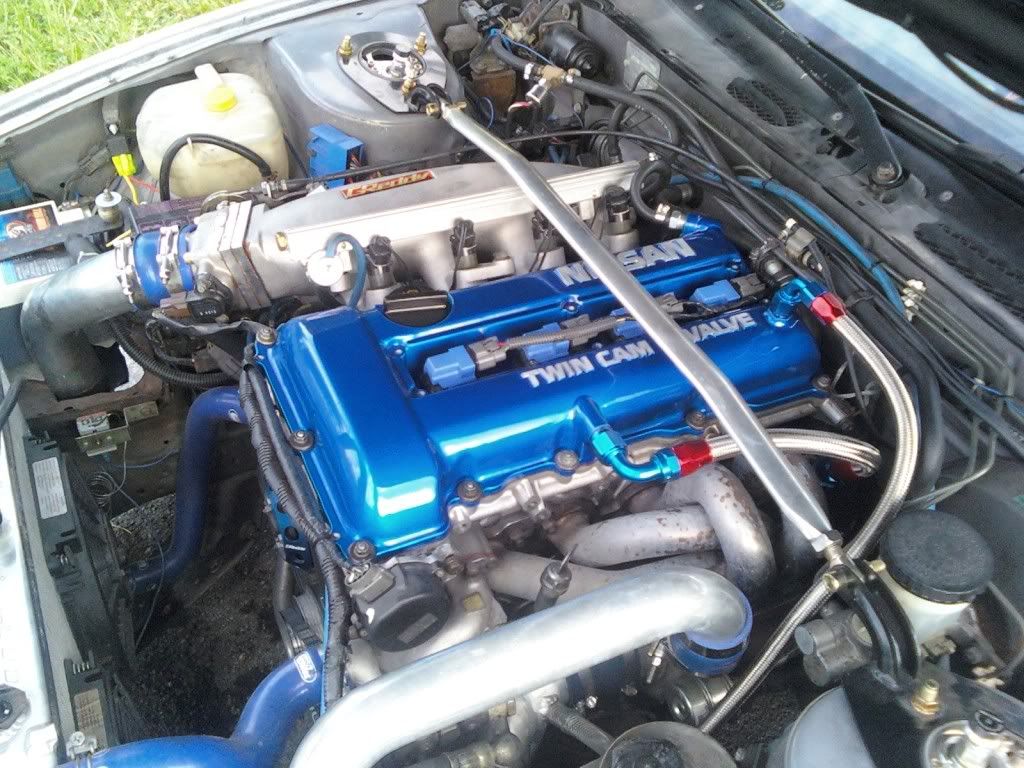
This is where the restrictor is on a DE, and it is likely a similar setup for DET and VE engines.
http://www.sr20-forum.com/448066-post27.html

It is not included in the hose, it is part of the intake boot basically.


Those pictures should also give a good idea on how big you want the hole if you decide to home-make one.
2012-03-05 19:47:58
#72
I guess im going to need to buy a ve vc then. -_-
2012-03-05 20:07:12
#73
You don't have to do it that way. There are other ways of doing things. That's just the option I recommend as a good compromise between performance, cost, and engine-bay clutter/complexity. All of the stock setups work well. You can do a DET style setup if you'd like.
2012-03-06 02:50:51
#74
Originally Posted by BenFenner
Jody, your setup is basically and effectively almost identical to a stock turbo setup. Instead of having the catch can between the block and the "T" on the valve cover, you've now basically moved the catch can to be after the "T" on the valve cover. No big deal. Except I guess you've lost the auto-drain-back feature of the stock catch can setup. So there's that...

But obviously you had to do something because of where your turbo is, so you've done a good job.

Something tells me you've probably also removed the WOT section restrictor. It might be good to put that back if you've removed it.


Thanks for the critique...I believe you are correct and I need to revisit the WOT section resitrictor...maybe some rerouting if possible. What hose are you guys using and from where? Has anyody had any issues with heat from #4 to the block drain?
2012-03-06 02:56:20
#75
I kept my small, stock, hose heat-shield (looks like a metal sleeve with a slit in it) so I'm using that to protect the hose down by the exhaust manifold. Worked for the stock hose...
2012-03-06 03:21:02
#76
I have that on there as well (maybe 2 of 'em) but for some reason was paranoid about melting the hose...maybe that was the Home Depot hose?
2012-03-08 01:15:33
#77
Ben Im just waiting for my catch can to arrive, but you suggested that swapping the lines on the following setup would be good so its similar to factory -- do you still feel the same way or is better as in the picture, with it all routed to the intake?


The other option is to connect the valve cover and the crankcase to the catch can, with it vented to the intake.

Also since some additional work has been done to the valve cover in term so of adding a bung and drilling some holes for baffling, does this mean we could safely go from the valve cover to the intake and not use a catch can at all, or is the catch can the best idea?
Last edited by saad on 2012-03-08 at 01-40-55.
2012-03-08 01:32:20
#78
Fix that image link saad?
Is this the right picture?
http://i688.photobucket.com/albums/nn40/4x4le/silvia/0901091557a.jpg
Last edited by BenFenner on 2012-03-08 at 01-35-25.
2012-03-08 01:40:05
#79
Yep thats the image - the link seems ok on my end? Lemme check
2012-03-08 02:44:59
#80
If you have that style of modified valve cover, you have two main routing options and within those options you have 4 catch can variations possible.

1) Run from the crank case to the new bung, then from the stock bung to the intake. No additional catch cans.

1a) Run from the crank case to the new bung, then from the stock bung to the intake. Additional catch can between the crank case and valve cover.

1b) Run from the crank case to the new bung, then from the stock bung to the intake. Additional catch can between the valve cover and the intake.

1c) Run from the crank case to the new bung, then from the stock bung to the intake. Additional catch cans between the crank case and the valve cover plus between the valve cover and the intake.


2) Run from the crank case to the stock bung, the from the new bung to the intake. No additional catch cans. Similar to the picture.

2a) Run from the crank case to the stock bung, the from the new bung to the intake. Additional catch can between the crank case and the valve cover. Similar to the picture.

2b) Run from the crank case to the stock bung, the from the new bung to the intake. Additional catch can between the valve cover and the intake. Identical to the picture.

2c) Run from the crank case to the stock bung, the from the new bung to the intake. Additional catch cans between the crank case and the valve cover plus between the valve cover and the intake. Similar to the picture.


The difference between the first main routing and the second main routing is that the first routing is more direct and looks cleaner. The second main method prevents oil sloshing out of the valve cover under extreme G forces. That should help you decide which routing you want to use.

Then it's up to you how many additional catch cans you want to do. I think you could easily go without the one between the crank case and the valve cover. That one in my mind is least important, and possibly redundant. So you should think about possibly having a catch can between the valve cover and the intake. I don't think this is 100% necessary and it might be worth it to just see how things go without it. If you see more oil than you'd like to see in the line, then go ahead an add a catch can there?
+ Reply To Thread
  • [Type to search users.]
  • Quick Reply
    Thread Information
    There are currently ? users browsing this thread. (? members & ? guests)
    StubUserName

    Back to top