Welcome to the SR20 Community Forum - The Dash.
Register
SR20 forum logo

Thread: Wire tuck how to:?

+ Reply To Thread
Posts: 21-30 of 35
2011-10-17 02:29:07
#21
Originally Posted by Daves_sr
umm wanna do mine?? lol


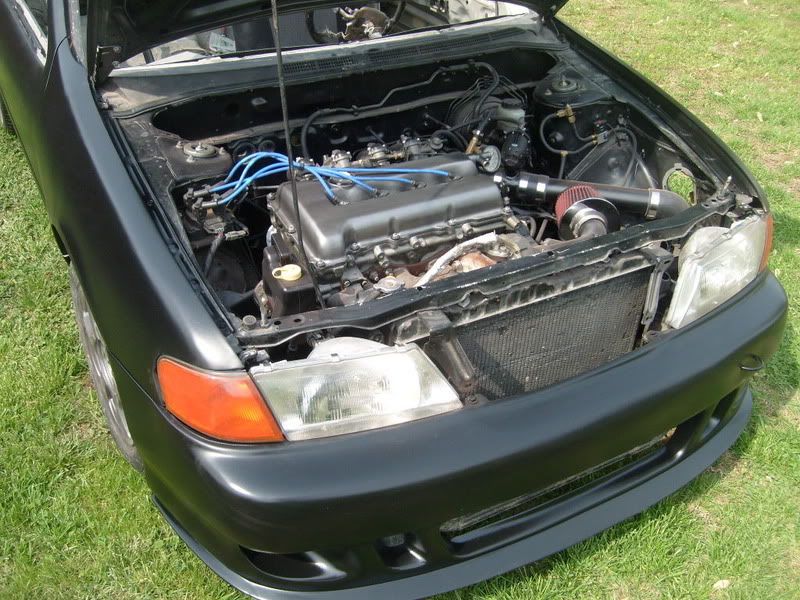
Lol I have to finish my turbo classic first before I do any other cars but even at that it takes a crazy amount of time to shave a bay like that.


Originally Posted by 1sentra-se-r
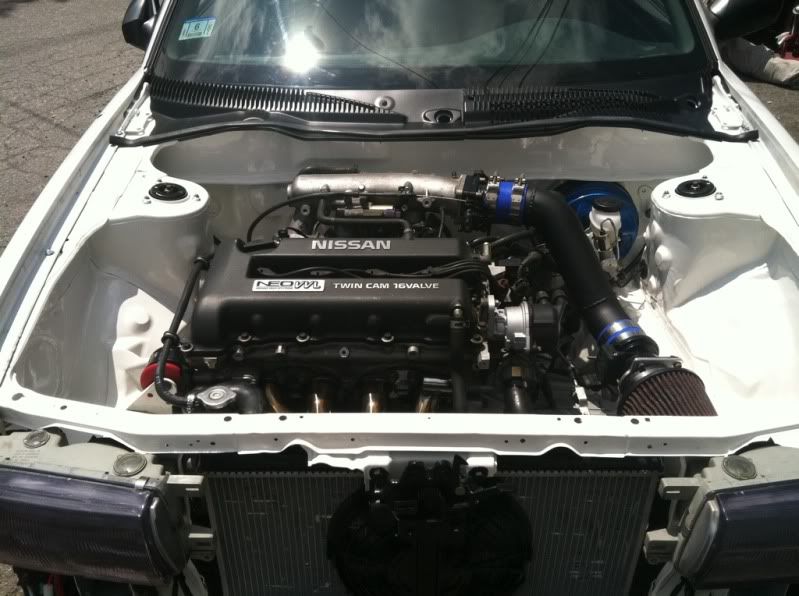
This is clean. My favorite.

Thank you very much.
2011-10-17 02:33:02
#22
I've got a wire tuck on the drag car and it's pretty clean. Opted to go with the ford edis coilpack though that sticks out like a sore thumb and puts the plug wires on the opposite side of the motor.
2011-10-17 02:45:58
#23
im doing a full shave/tuck on my b14 so ill post pics in this thread of my progress to help u out a little bro.. im gettin rid of A/C and P/S tho haha
2011-10-17 03:04:56
#24


I need some closer pics but start with the easy stuff, you can reroute the injector harness inside the manifold, the throttle cable can be routed around the back etc.
2011-10-17 17:27:33
#25
Get a 00 SE throttle cable, much shorter.

The only way to a tuck right is to redo everything.
Quick list:
1. Label all connections while removing the harness
2. Strip the harness down to the wires and tape with masking tap every foot or so and junction.
3. Pull any un-needed wires, cruise, wipers, AC, PS, ect.
4. Put the harness back in the car and figure out how you want the wires routed. (I prefer running wires on each side depending on where they go)
5. Move all relays and fuse boxes inside the cabin, behind the glove box is a good location.
6. Extend/shorten the wires as needed to get them where they need to go.
7. Tape the whole harness then loom and add tape every so often to hold the loom and at junctions.

You will end up with a lot less wire in the bay so they are easier to hide. There are a lot of wires that go from the relay box to fuse box that run from one side to the other, relocating the fuses and relays next to each other uses less wire.

This process is not easy or quick but you wont have any issues as long as you solder and heat shrink everything. Stagger any solder joints so a bulge is not created.
5.
2011-10-28 13:11:40
#26
Originally Posted by boostednx
To do this you don't need a lot of things just mostly patience and time and you will have a great outcome we did one at the shop not to long ago and all we used .
1.razor blades
2.electrical tape
3.zip ties
4.heat shrink
5.wire cutters
6. Soldering iron
7.solder

Then with patience and time you can achieve this.


Any Pics Of Where The Wires Are Hidden Or Any Behind The Fender Shots
2011-10-29 18:51:49
#27
The engine harness is on the motor and goes through the factory hole. I will see. If I have any pics of the car with the fenders off.
2011-10-29 20:37:38
#28
ok thank you i think that would help me and other members out with an idea of where most of the wires aare
2011-10-29 22:07:43
#29
^^ thats the look im after...great work man..and yes pics with fenders off would help lol
2011-10-30 04:22:52
#30
if you can gain access to an aviation-grade crimp tool, the spliced connections they make are far superior to any solder joint.

ashton, i'd love to get with you on your military style bulkhead connectors. i don't have a pin crimper for those, all i have is a mil spec butt splice crimp tool. I have a soldering iron, and with my military aviation electronics training and experience would probably have a solder joint with the least resistance across it of anyone here. but a high-quality crimp is the superior choice. i'm not talking about a $15 crimp tool... i'm referring to the type that require periodic calibration.
+ Reply To Thread
  • [Type to search users.]
  • Quick Reply
    Thread Information
    There are currently ? users browsing this thread. (? members & ? guests)
    StubUserName

    Back to top